


After reaching the Mirror Rooms in Dracula’s Castle, we head through the Ballrooms, Brauner’s Atelier and the Library to the Clock Tower. This detailed route covers the mechanical puzzles, hidden rewards, Talos boss fight, and the Smash ability.
The guide follows the progression order and distinguishes items you can obtain now from those requiring abilities unlocked later.
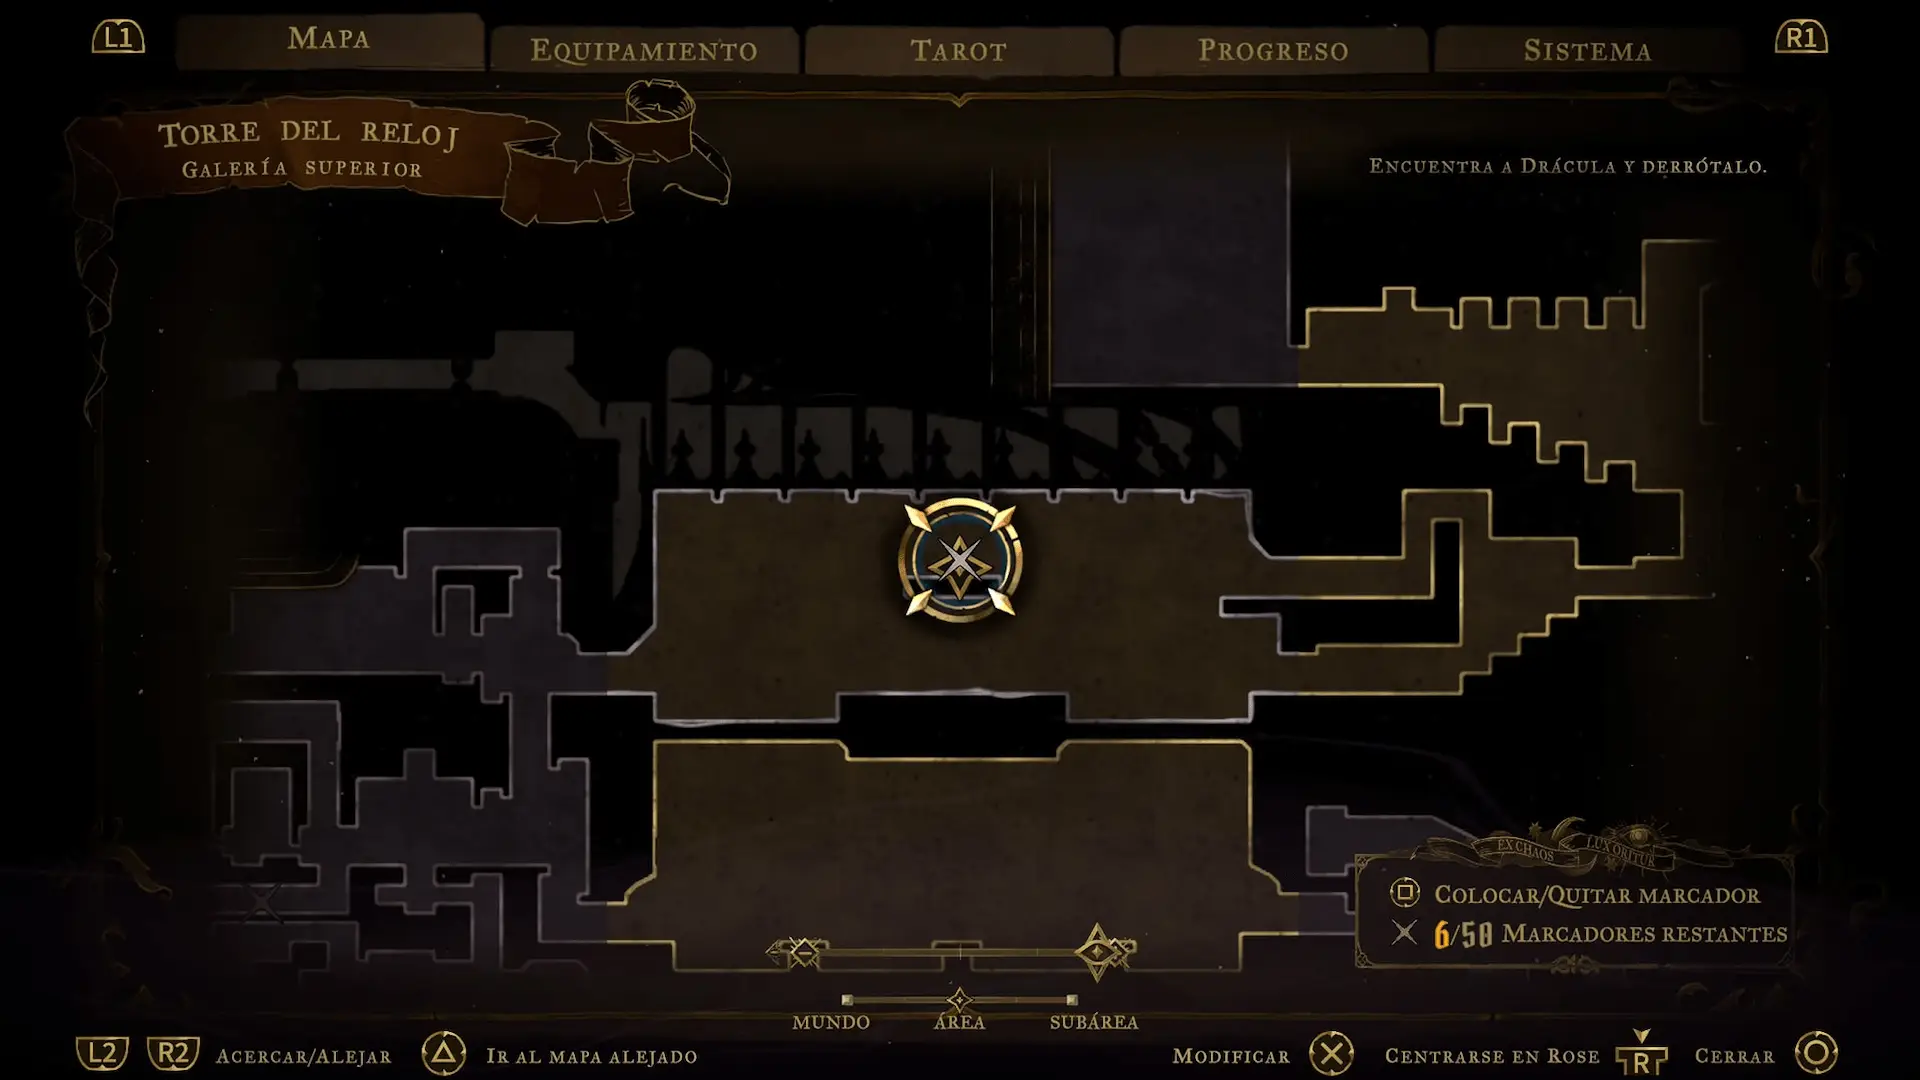
Ruta principal: Taller de Brauner → Salón oeste → Puente del conocimiento → Poesía → Retórica → Vestíbulo → Puente olvidado → Hueco oriental → Engranaje de serpiente → Escalones orientales → Galería central → Dédalo → regreso al puño → Cúspide de fundición → Contrapesos → Sala de fundición → Depósito → Camino del Constructor → Trampa final → Talos.
Returning from the Mirror Rooms: starting Part 5
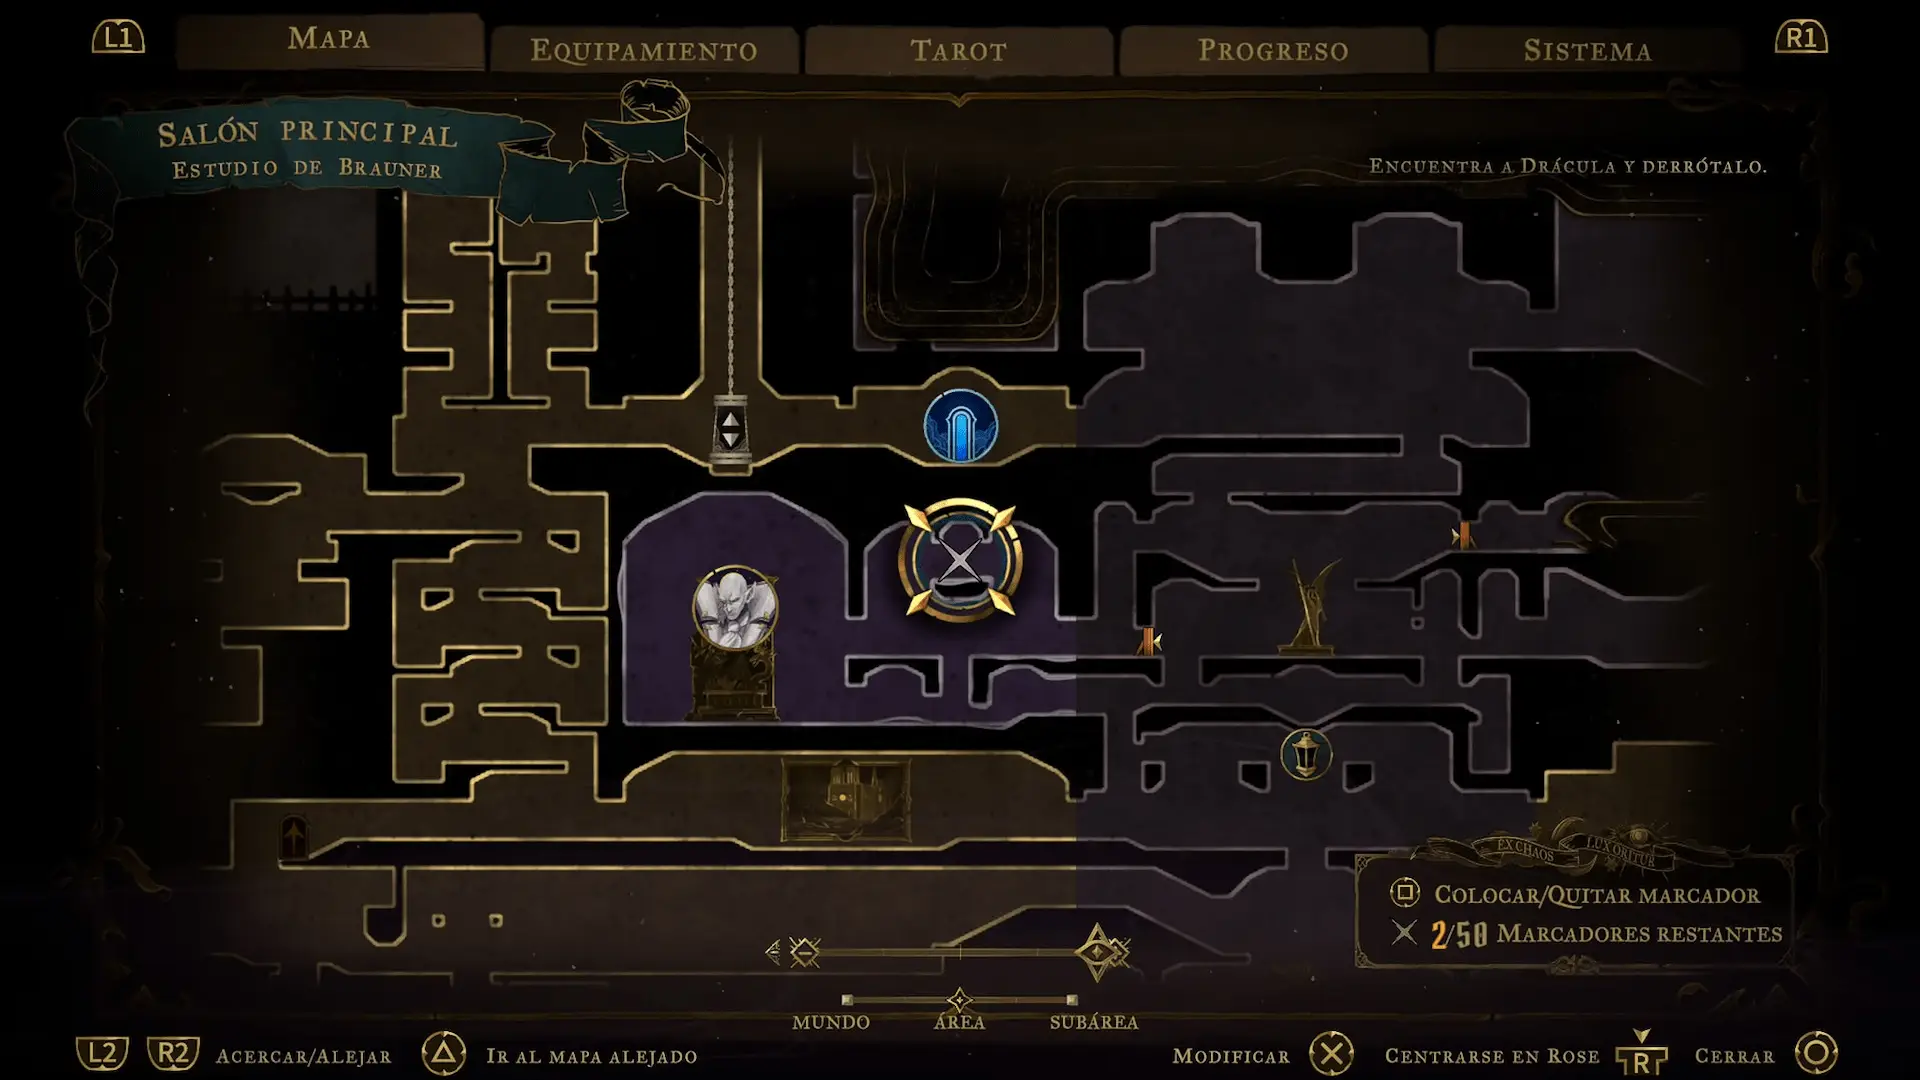
After speaking with Eleanor of Aquitaine in the Mirror Rooms, use the Life Mirrors you have already activated. Crouch in front of a mirror to enter the Mirror Room hub, then interact with the mirror for your destination. Start from the Living Quarters and head for the Main Hall. Our route leads through Brauner’s Atelier and the Library to the Clock Tower, where we will solve the three-beam mechanism, defeat Talos, and obtain Smash. Leave obstacles that require later abilities for another visit.
Ballrooms: portraits, Life Mirror, and two statues
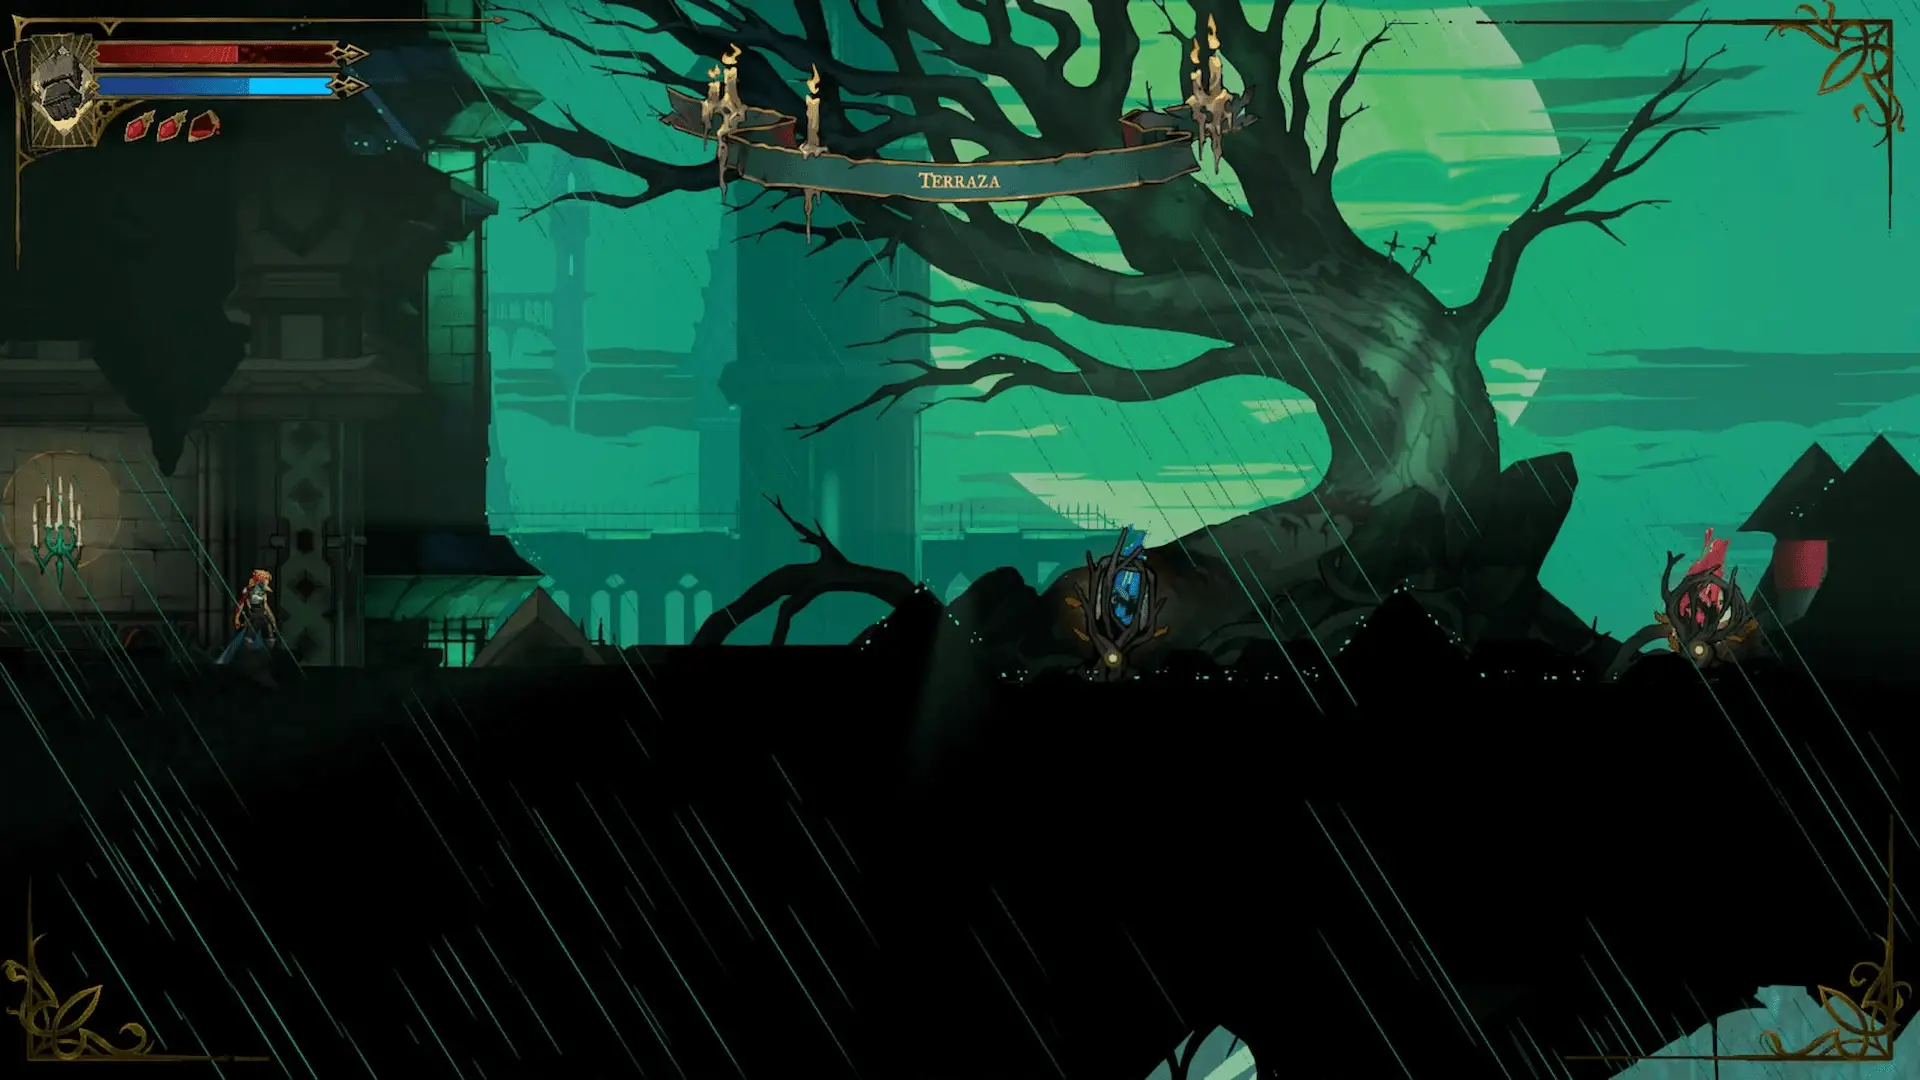
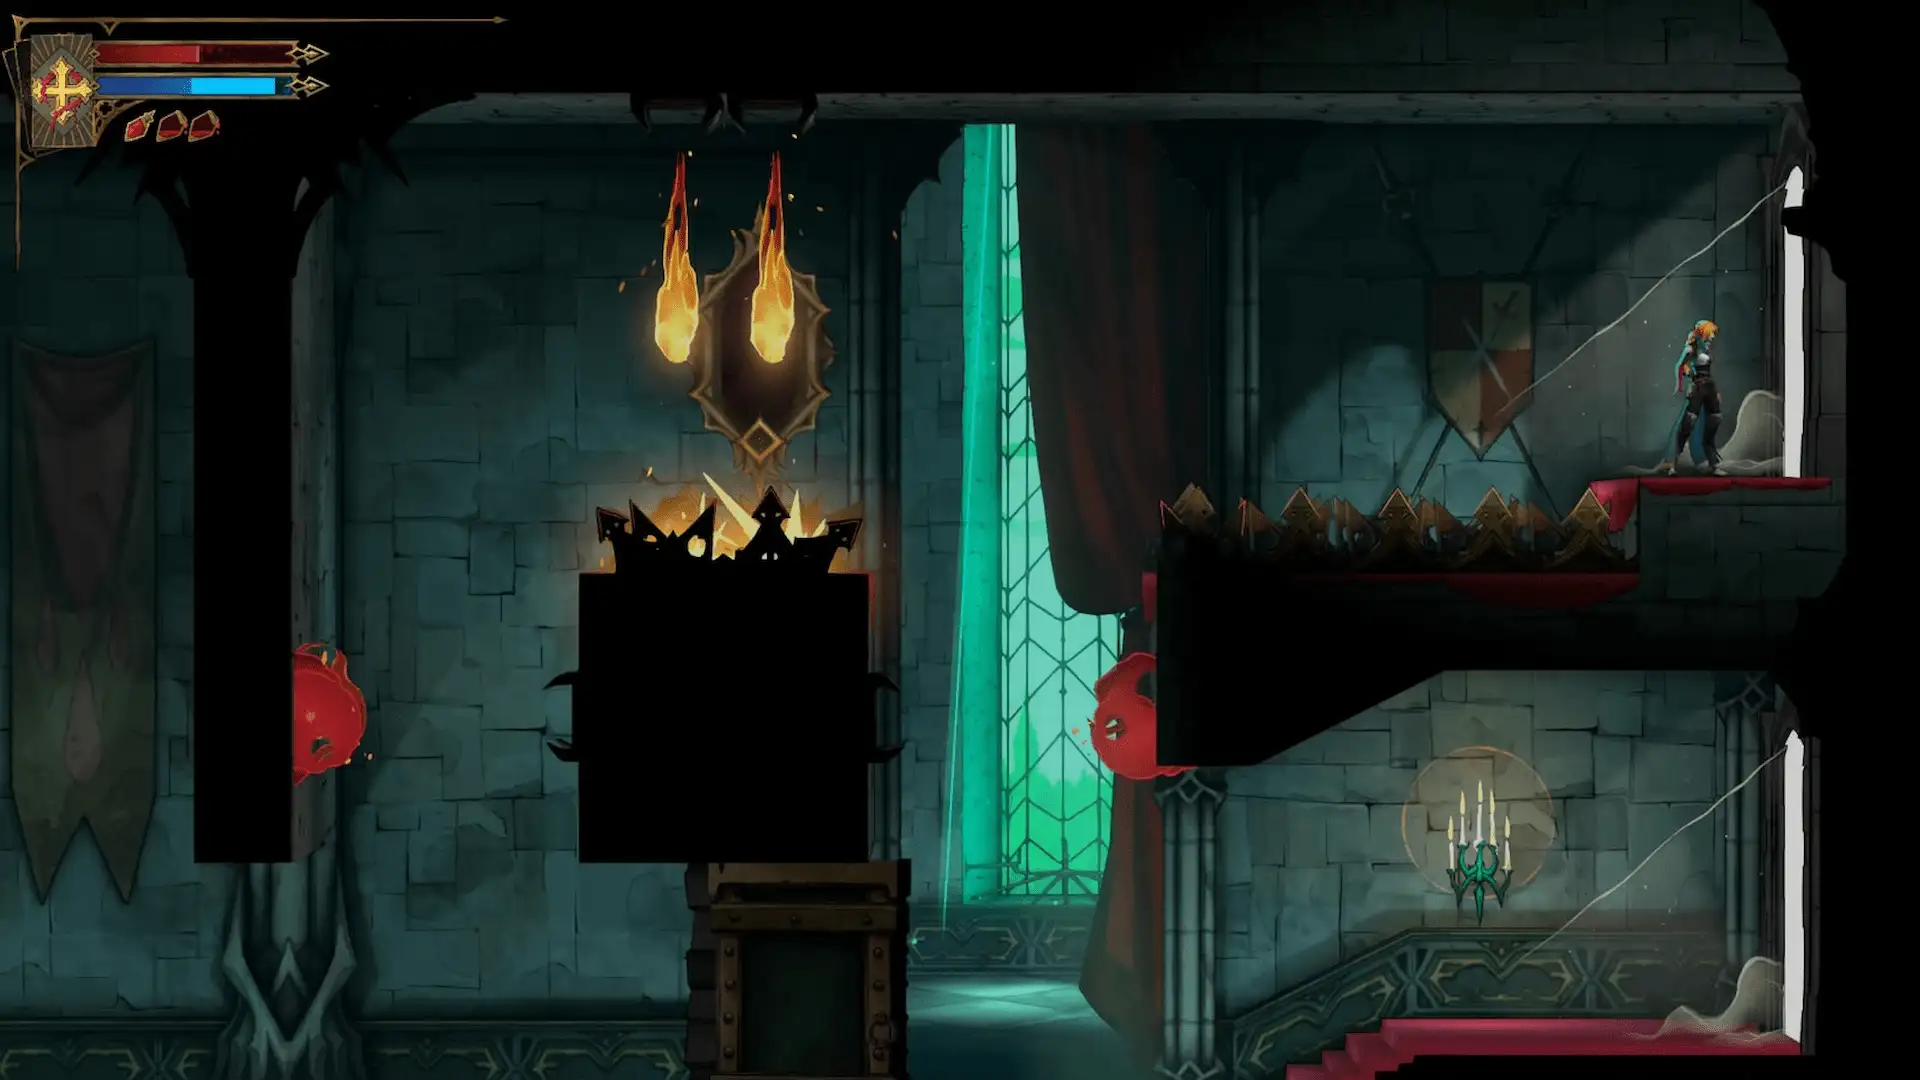
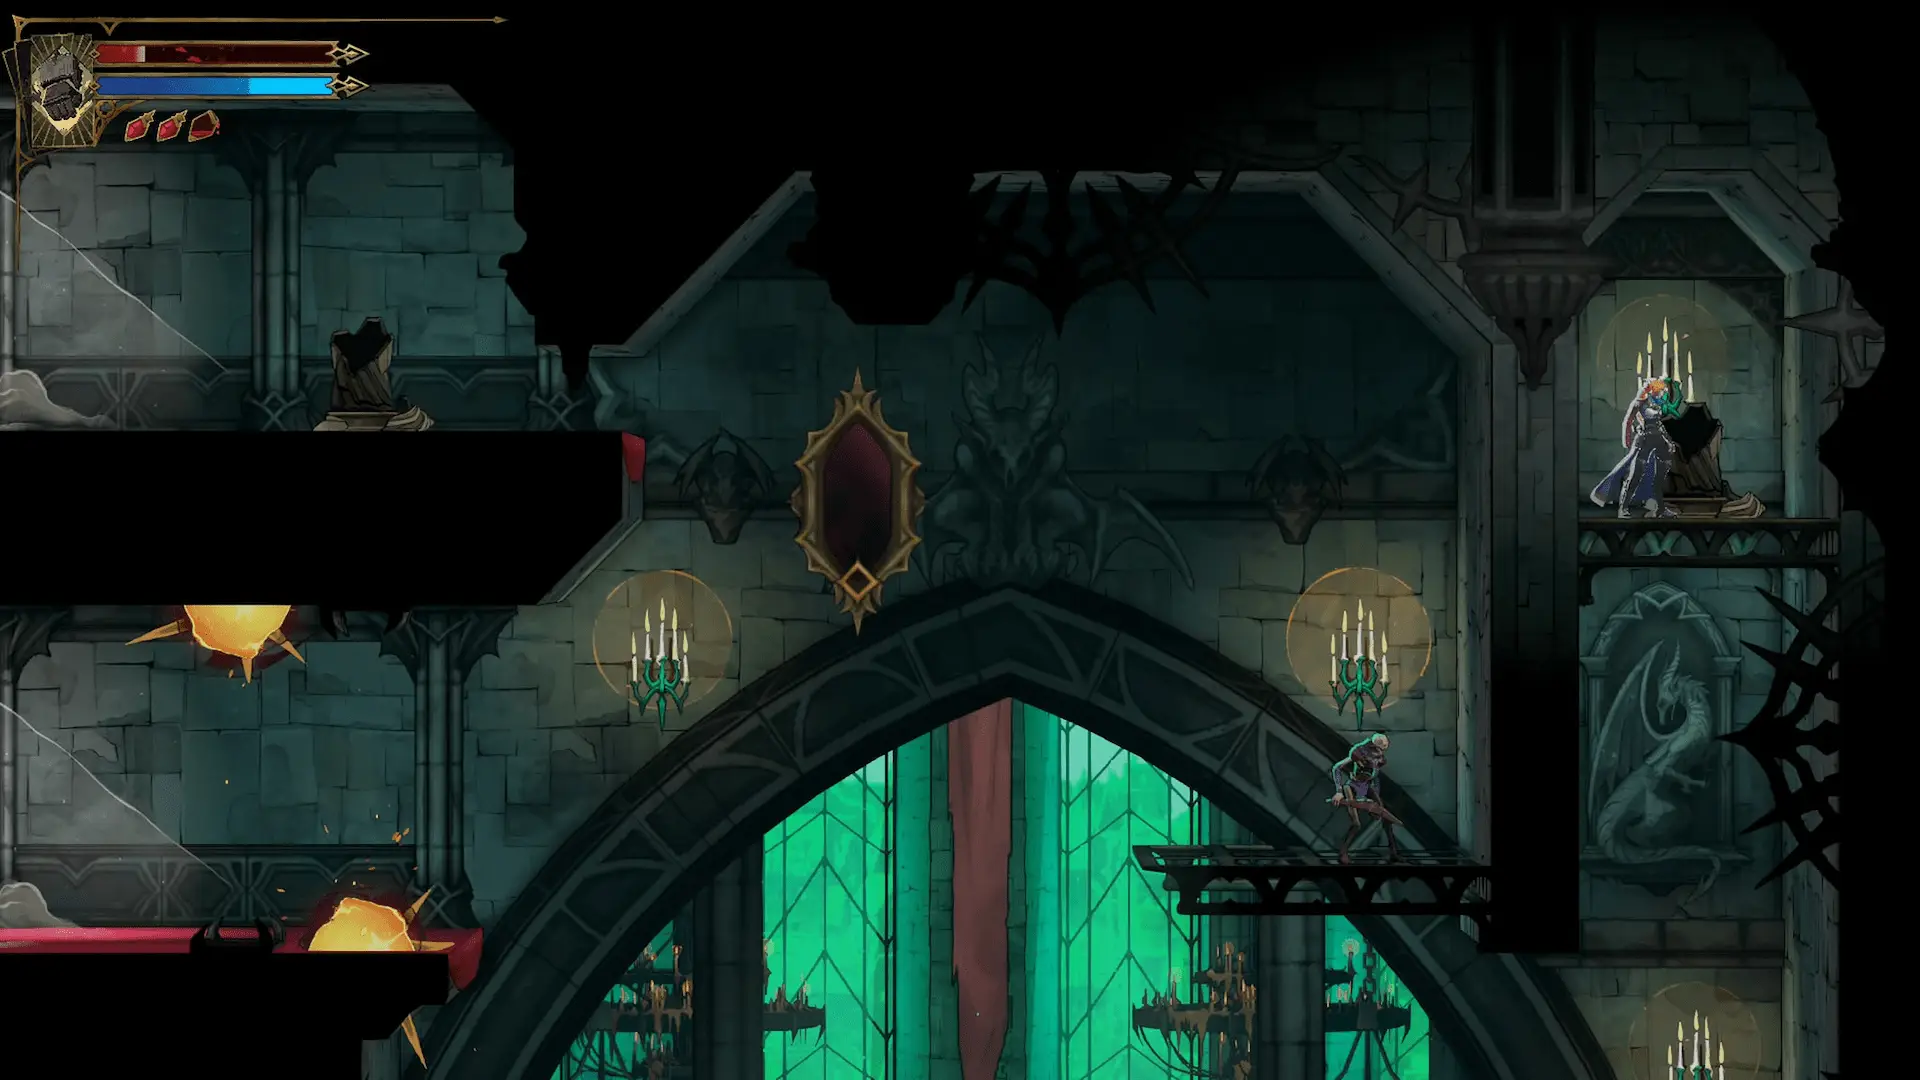
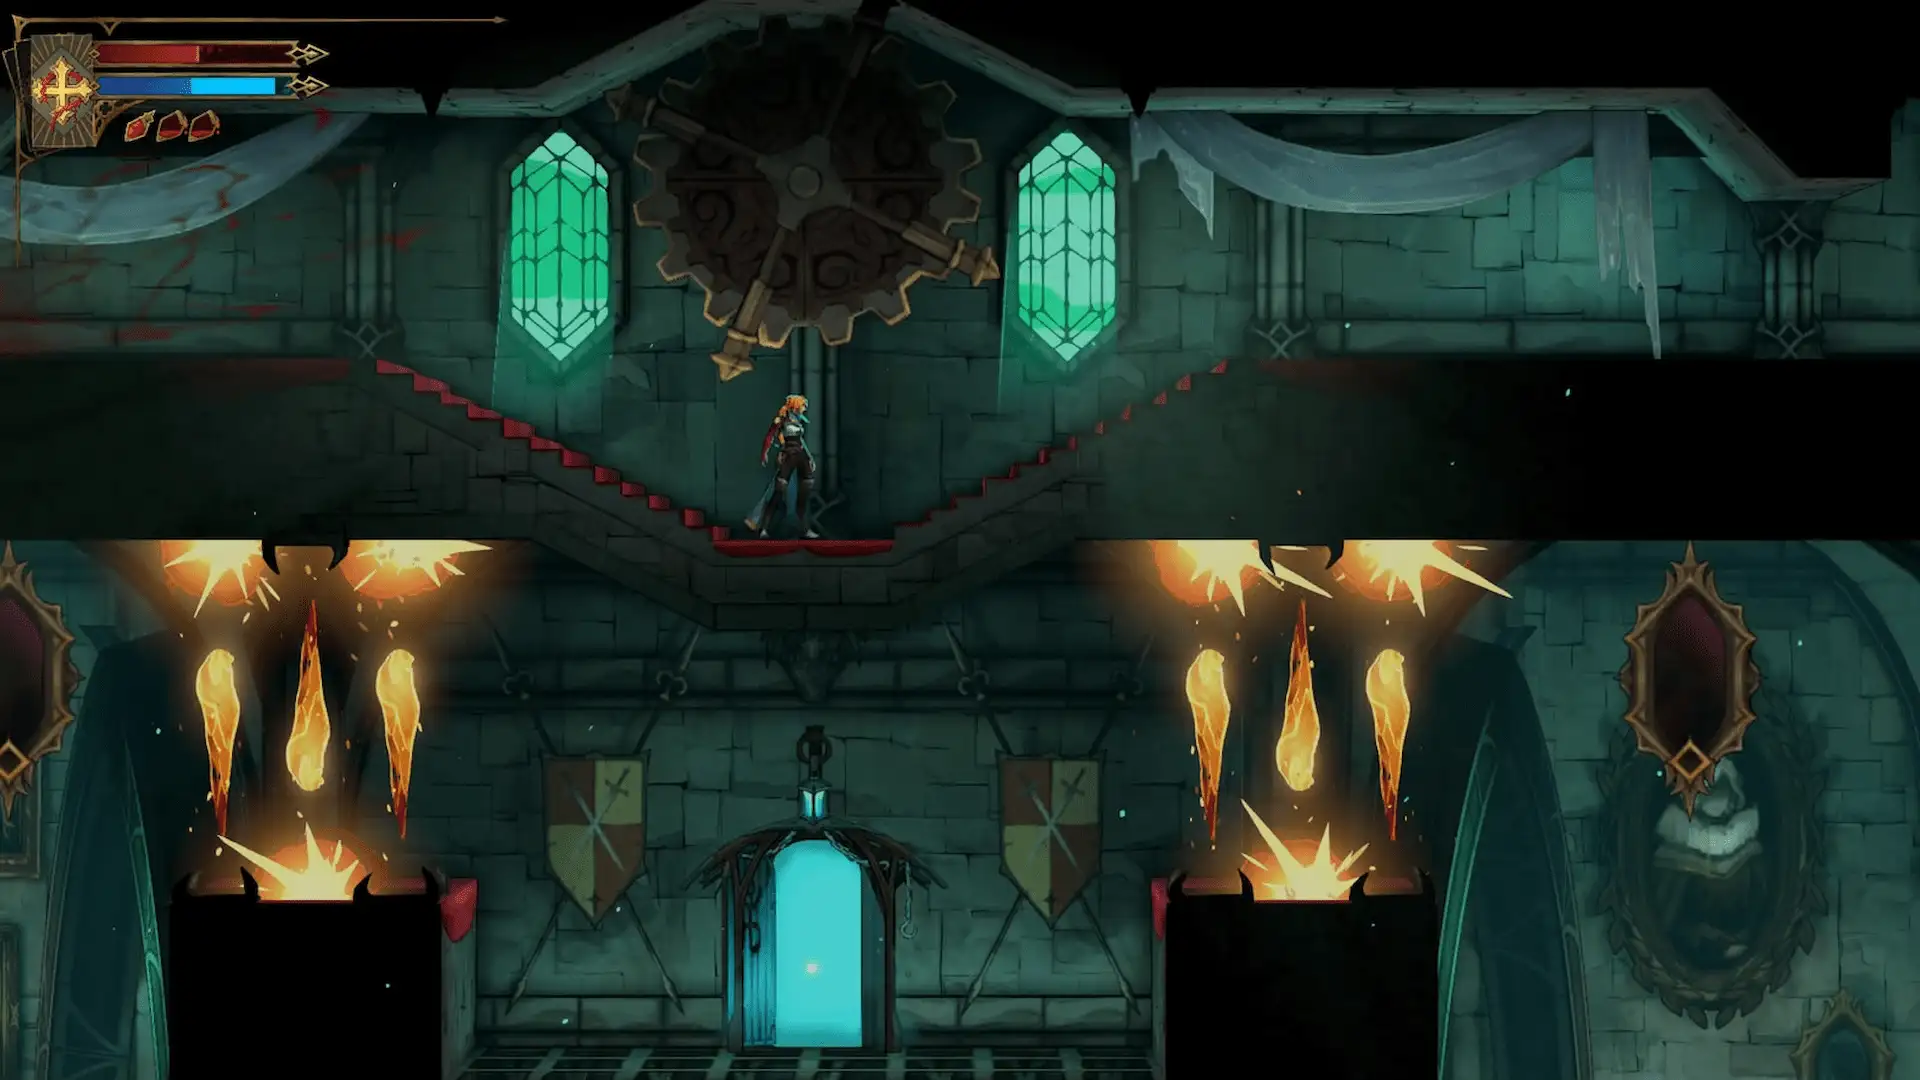
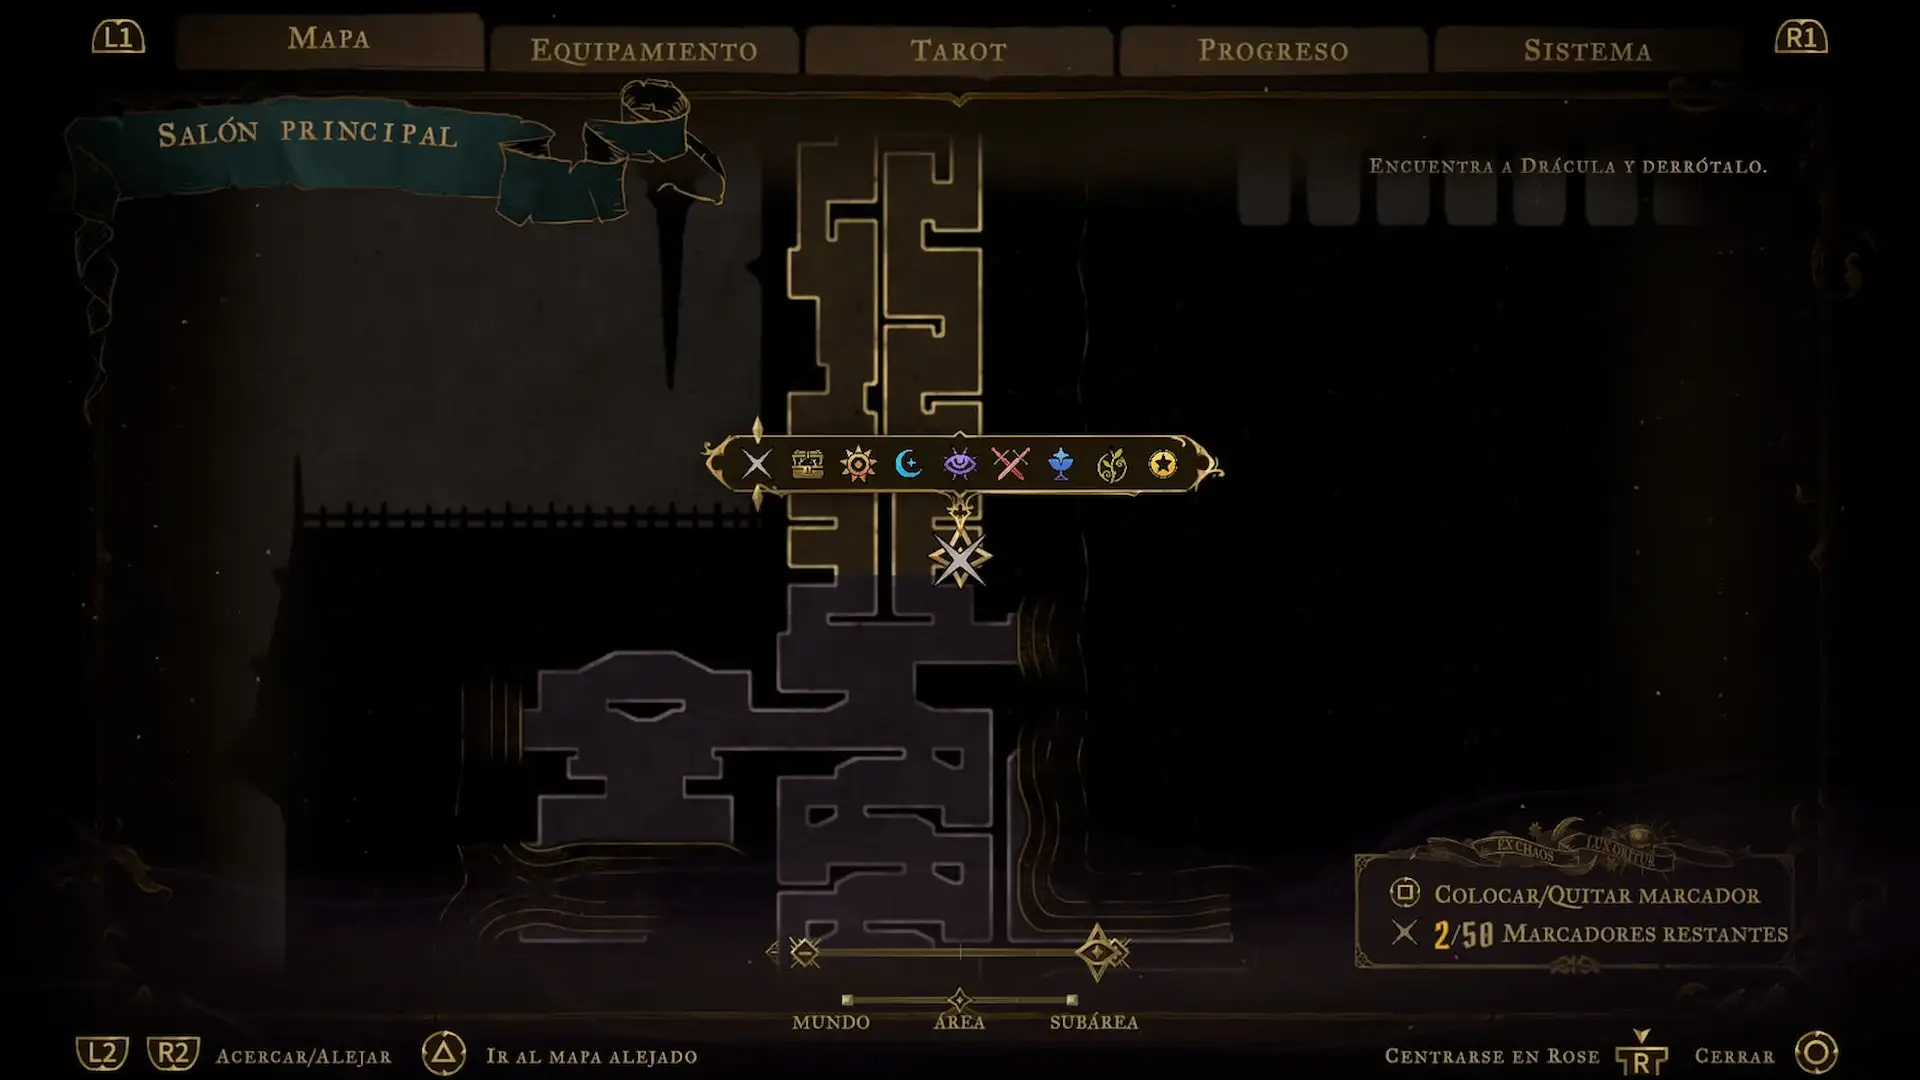
Before Brauner’s Atelier, explore the Ballrooms beneath the Abandoned Workshop. From the Main Hall, descend and go right. Watch out for falling chandeliers and spear-wielding soldiers. Enter the portrait and launch yourself right onto the Terrace: two fragments can be seen, but they are not accessible yet. Return indoors and climb using portraits and golden grapple points between the rows of fireballs. Activate the Life Mirror in the left-hand room. Search the upper corridors for two experience statues; use the painting launches to reach the side routes. Return to the Main Hall once you have explored the accessible paths.
Brauner’s Atelier: gear, Carmilla’s letter, and sculpture
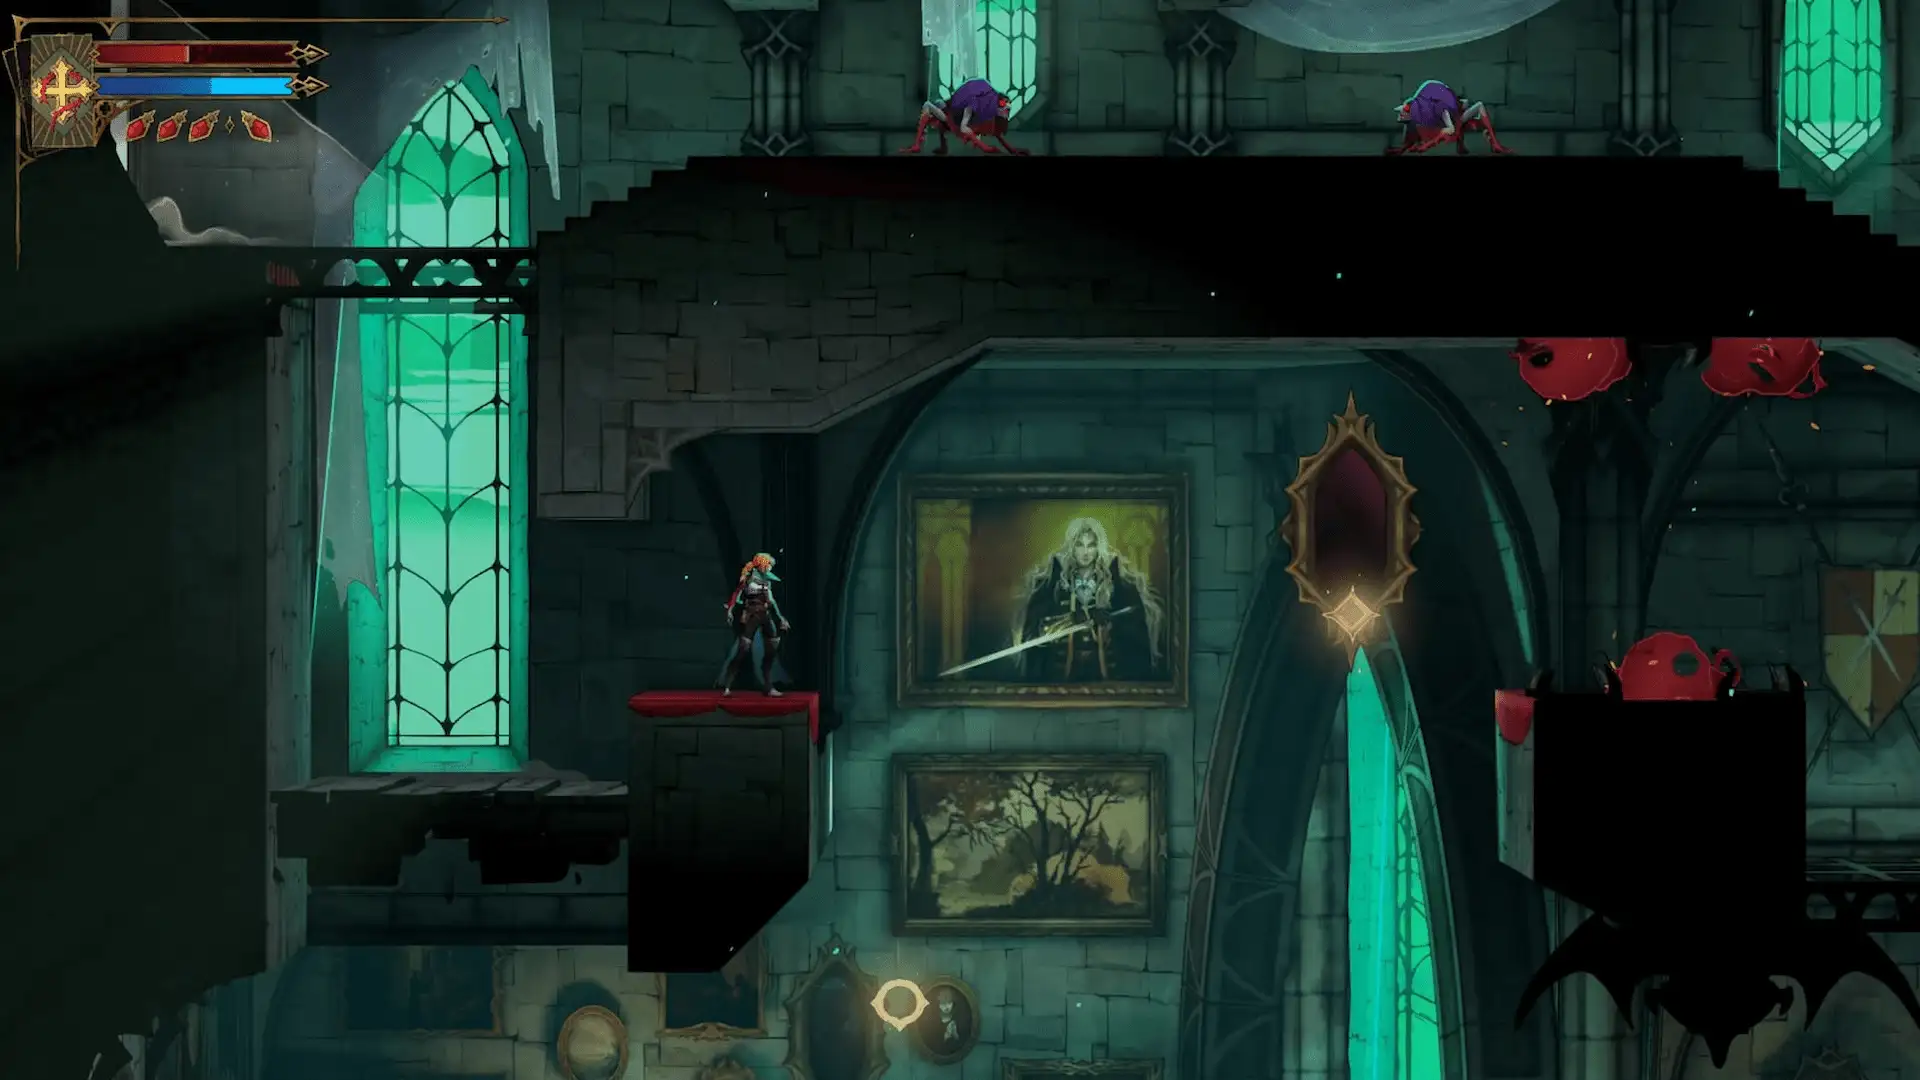
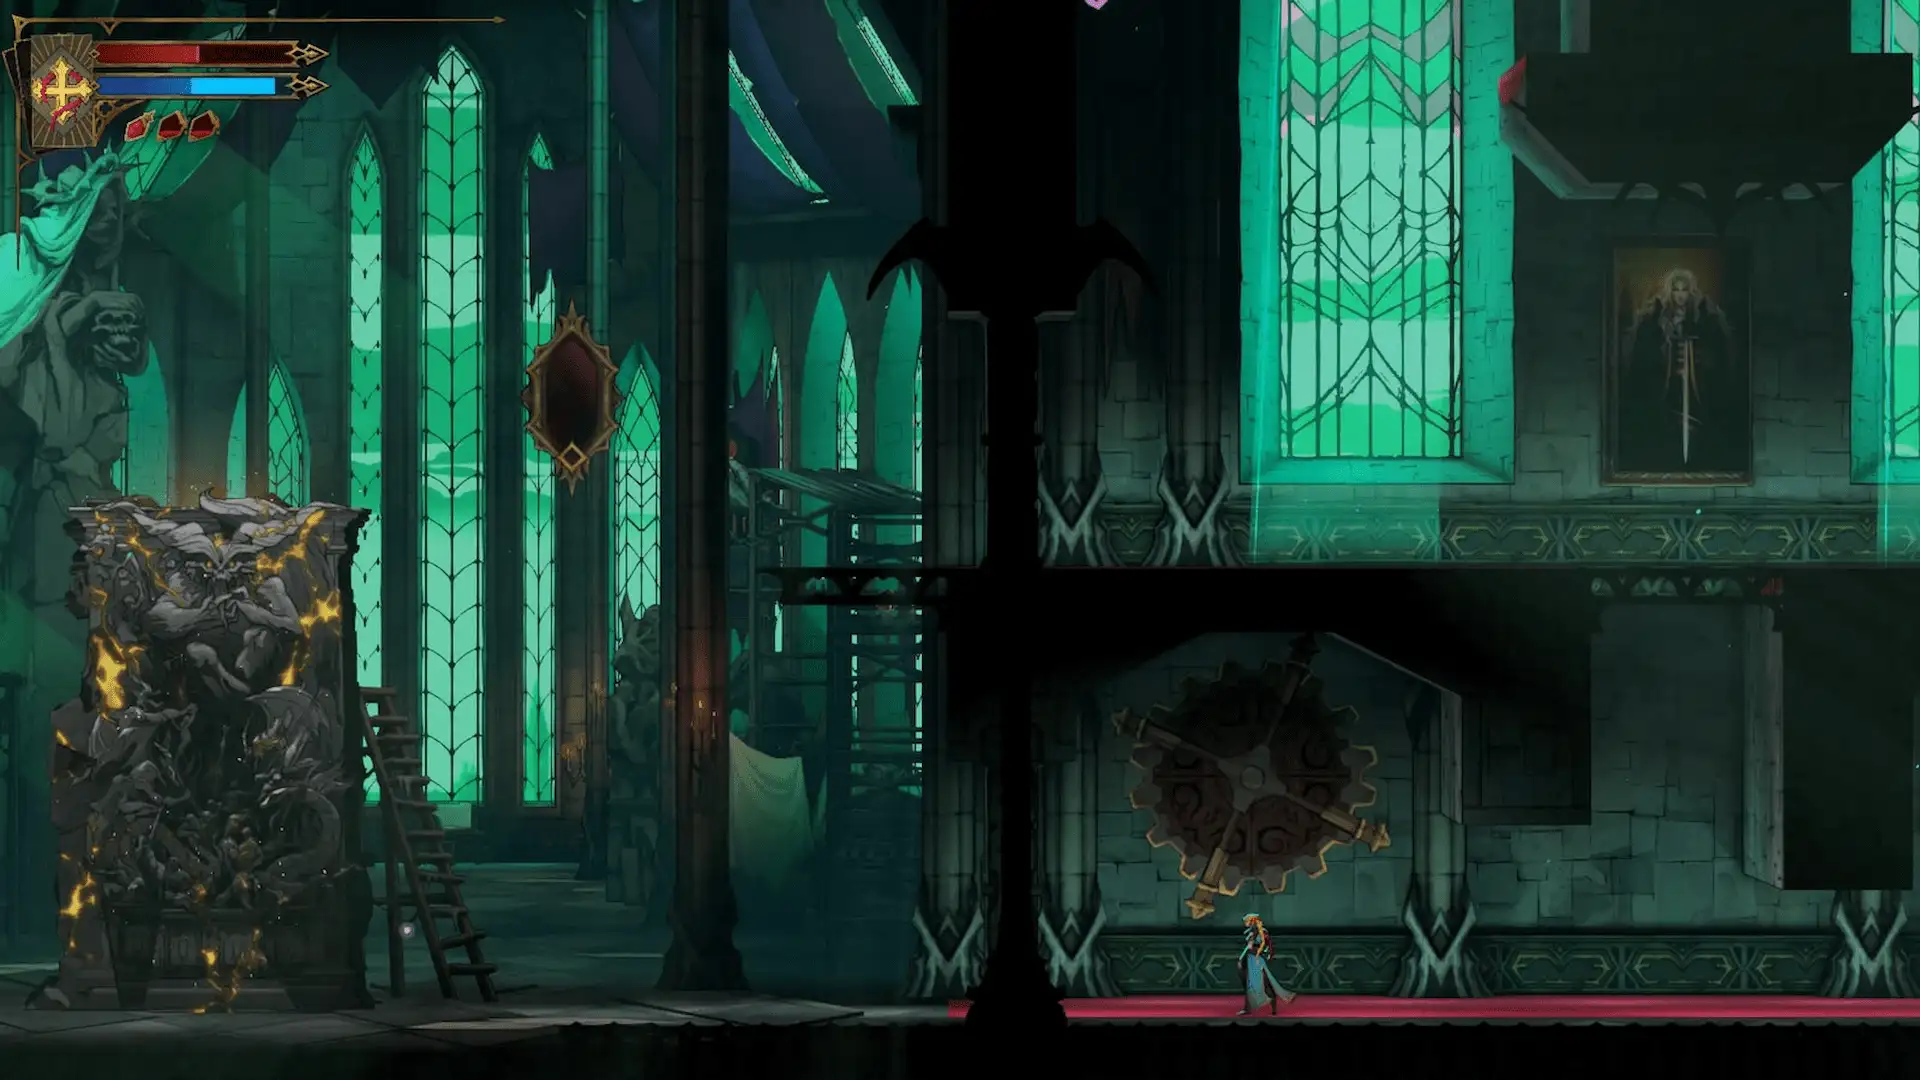
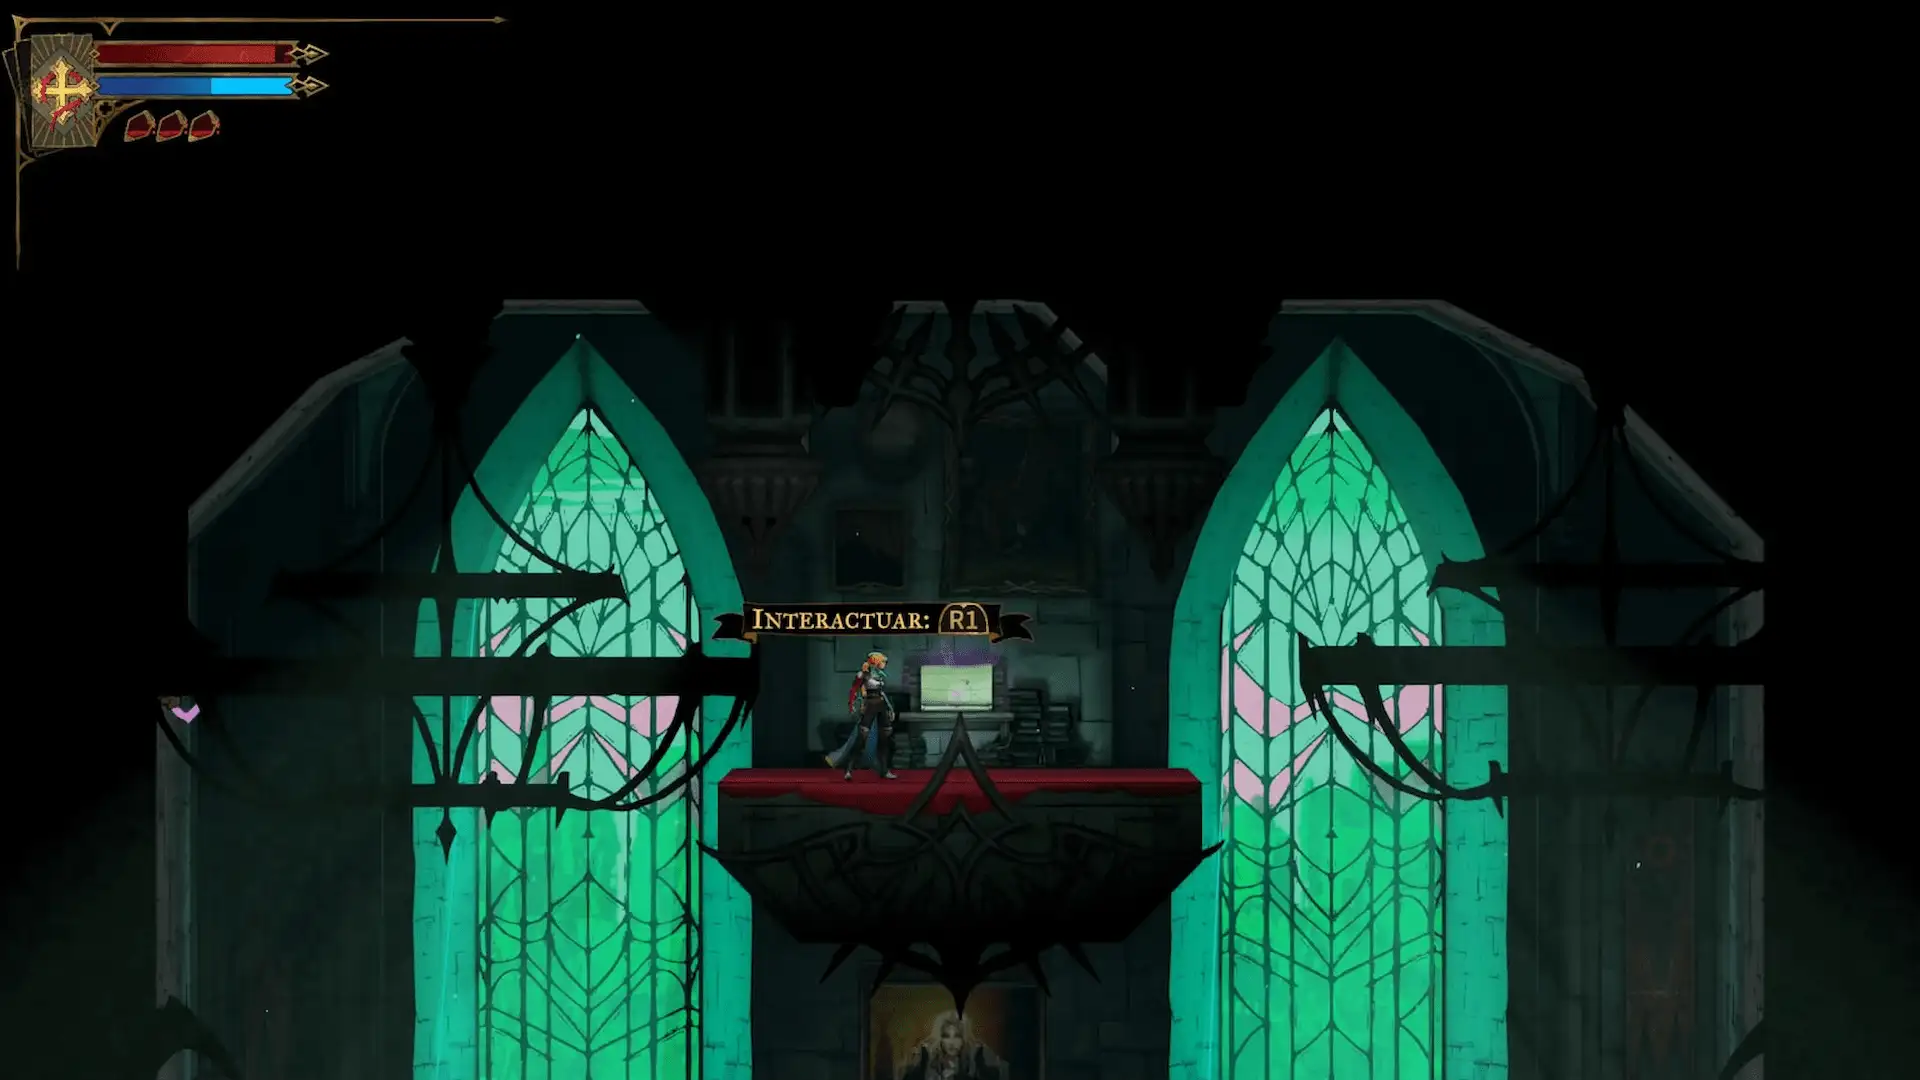
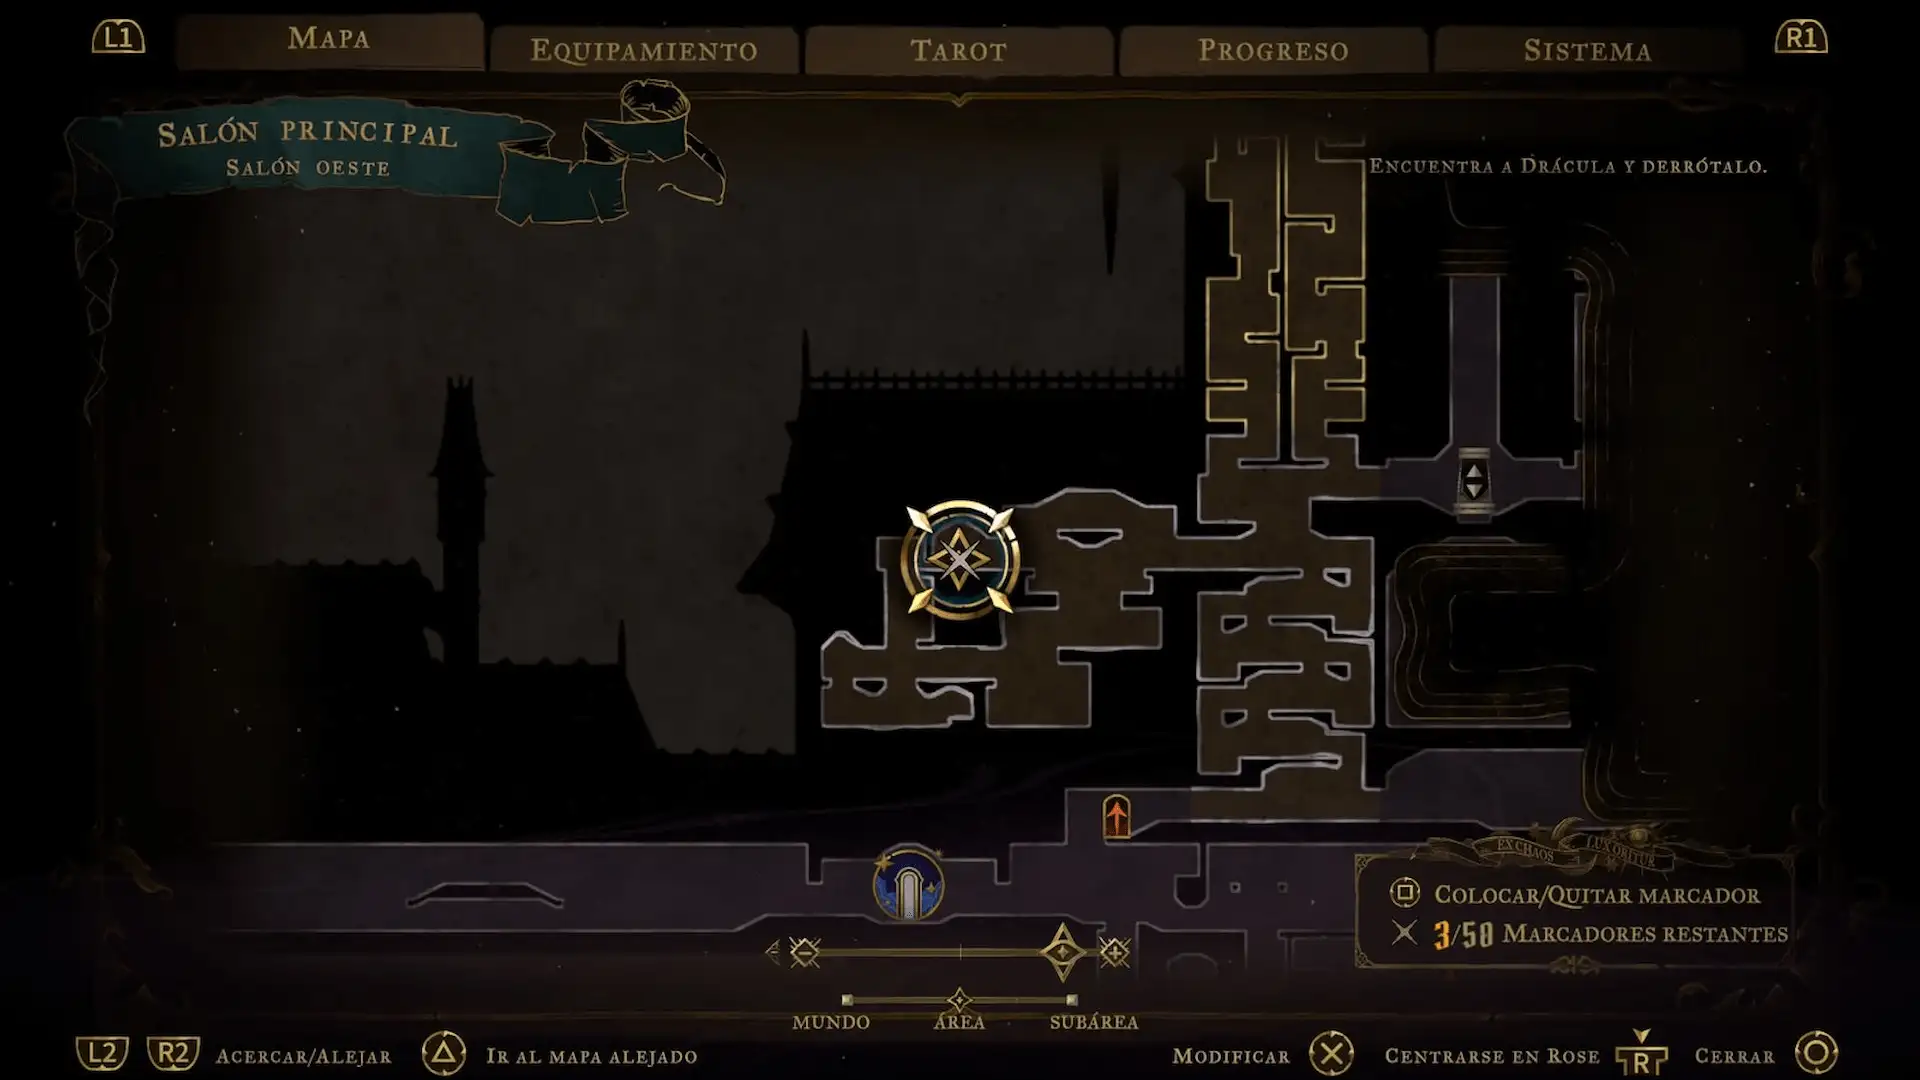
Strike the large rotating gear embedded in the wall to move the mechanism and reveal a route. Climb to the raised desk and read the letter pointing to Carmilla in the Library. The hidden chamber above the painting also provides a clue to the Occultist tarot card. Examine the suspended central sculpture; it is protected and cannot be broken until you obtain Smash. Remember the location for later. Leave through the upper corridor and follow the Gallery of Eternal Night toward the West Hall.
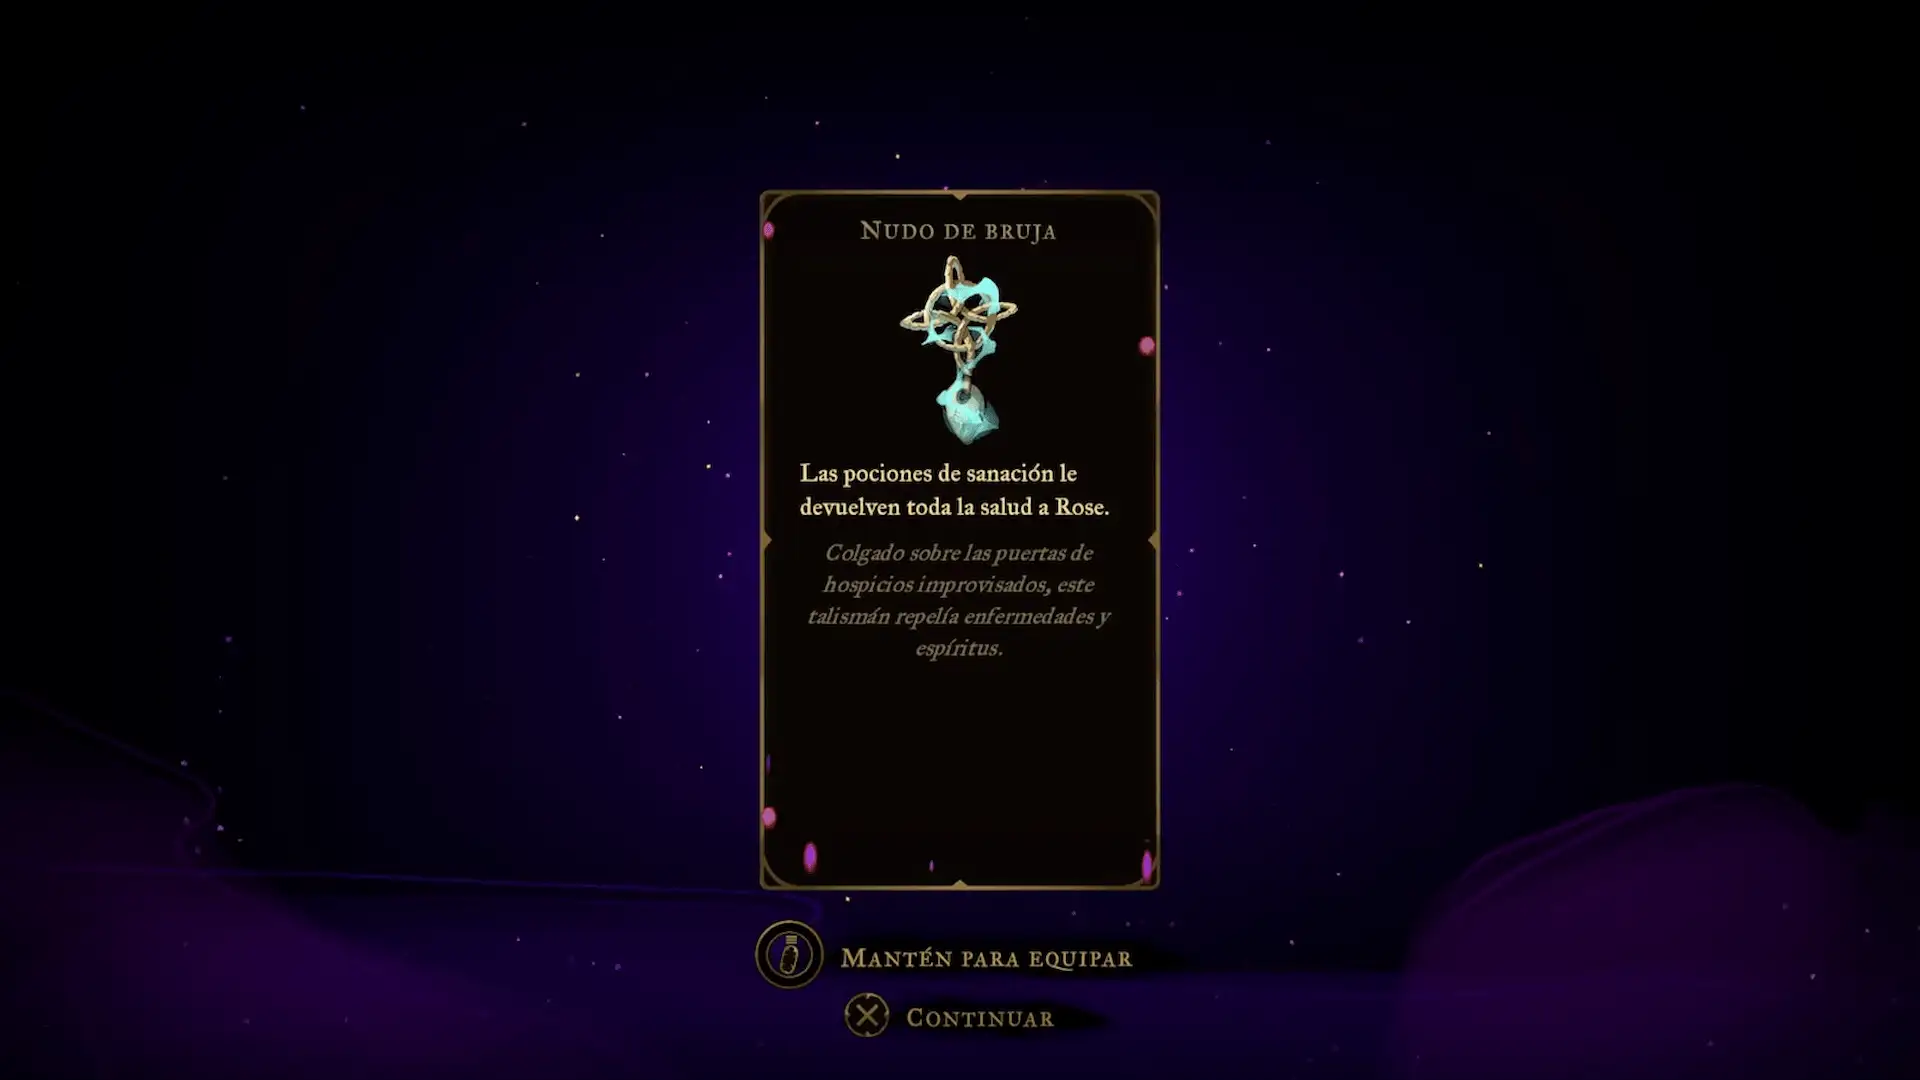
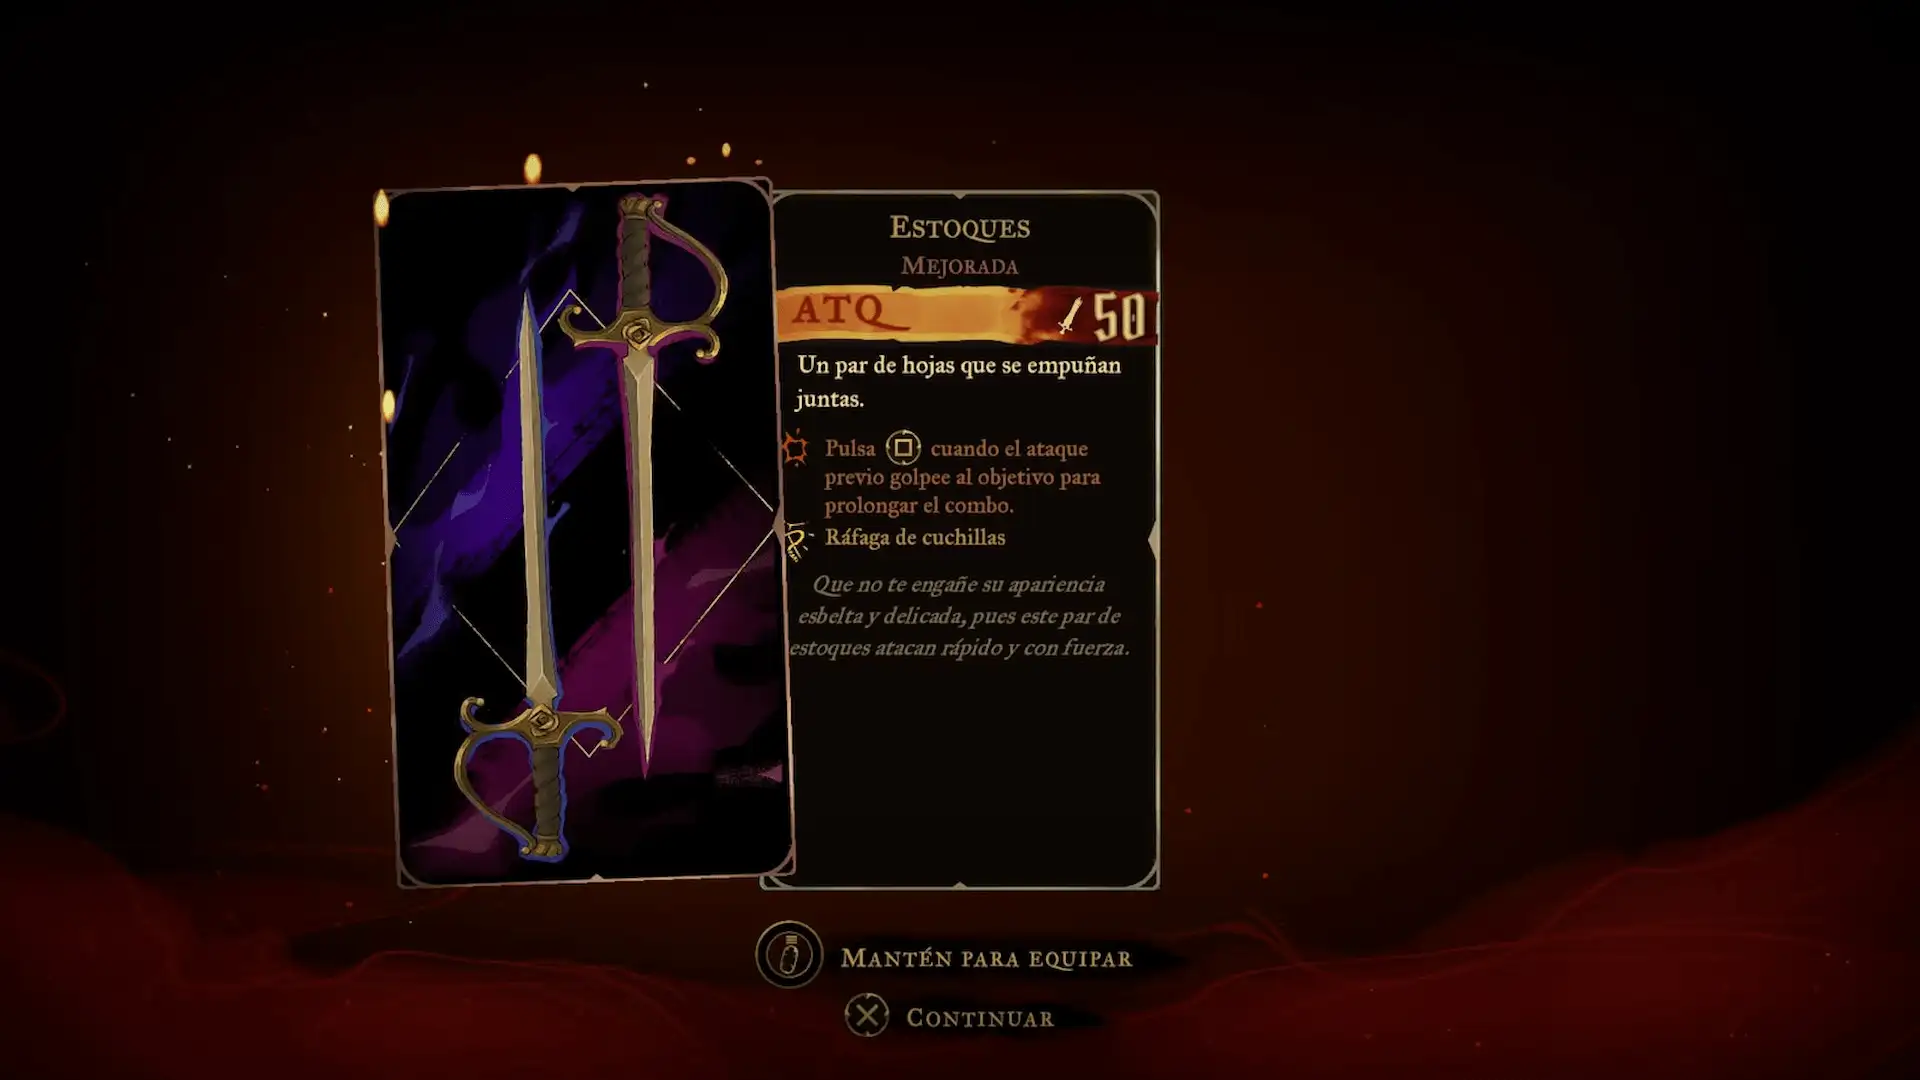
West Hall: Witch’s Knot, Rapiers, and the Watchtower
Enter the West Hall and climb its zigzag passage. Side walls periodically emit flames, and armored spearmen guard the floors. Time each portrait launch between bursts of fire. At the first left junction, explore the relic room: operate the lever to open its gate and collect Witch’s Knot. Return to the rising route, then use the series of portraits and temporary platforms to reach the chest containing the Rapiers. Use the activated shortcuts rather than repeating all the hazards. Continue through the Watchtower and its elevator.
Bridge of Knowledge and entrance to the Library
Use the elevator in the Elevator Tower. At the top, the two side doors open; speak to the statue immediately to the right for another clue about the Artist tarot card. Return below, heal at the Life Mirror, and continue to the Main Hall. Several waves of armored enemies and airborne guards attack as you cross using portraits and whip grapples. The floor and walls can be dangerous here, so remain mobile and deal with ranged enemies first. After the fight, continue across the Bridge of Knowledge and enter the Library.
Poetry Shelves: golden statue and Brave Heart Fragment
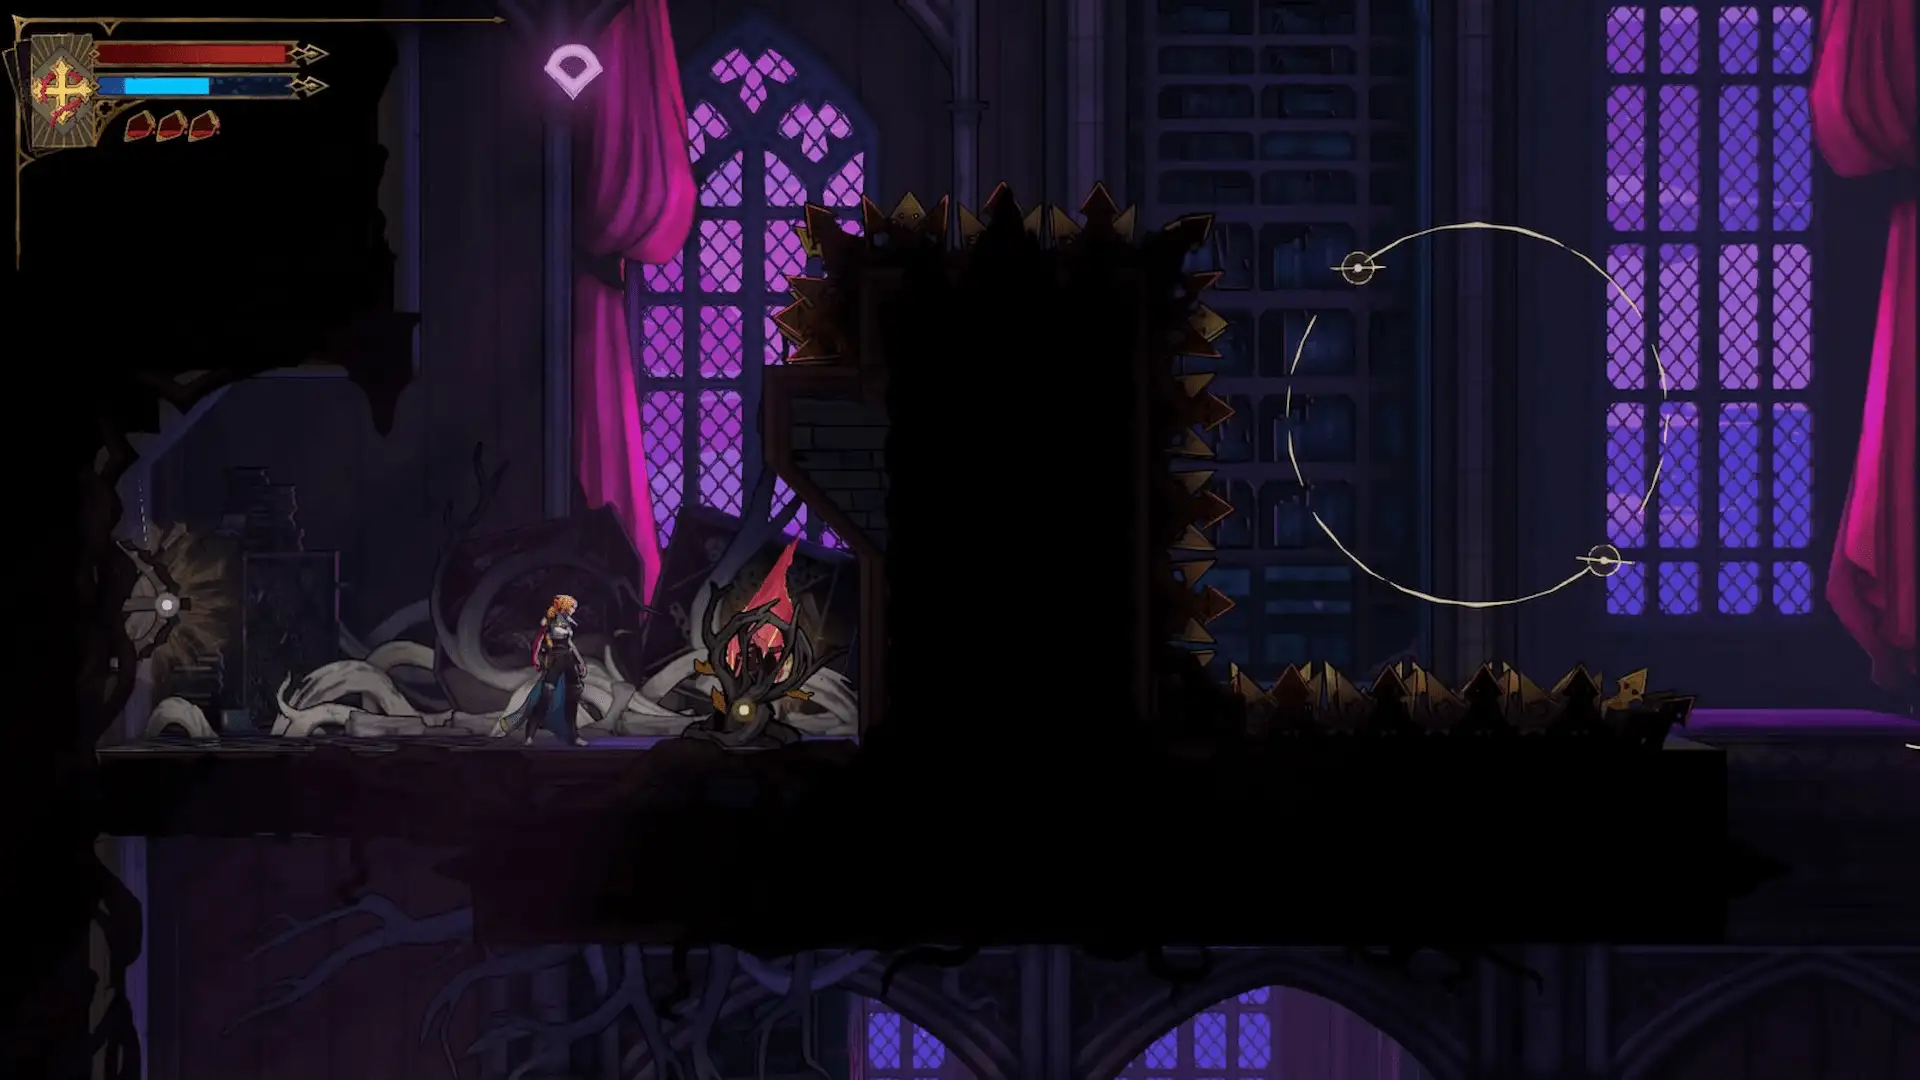
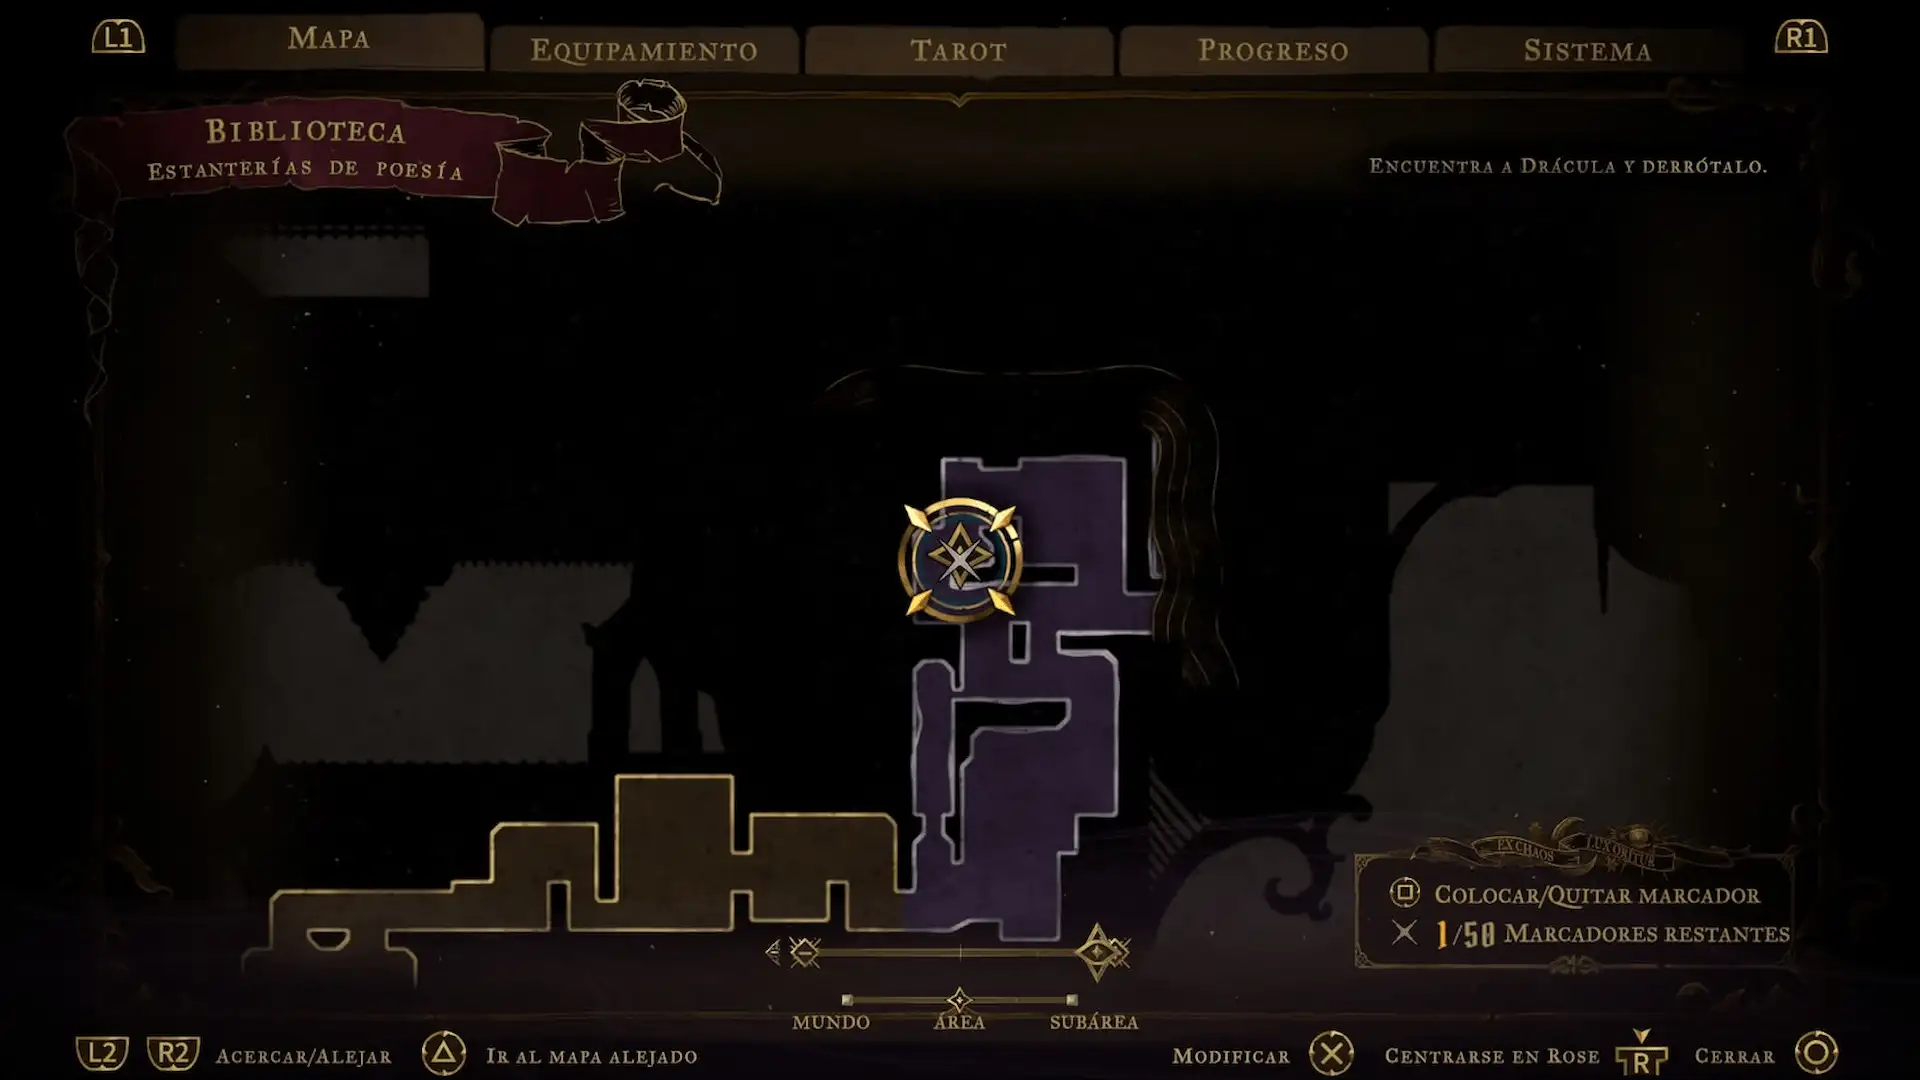
Jump between the glowing platforms in the Poetry Shelves. When you reach an enemy platform, slide along its left wall to uncover a narrow hidden passage. Drop inside to break the golden experience statue, then climb back out. Before leaving, reach the high ceiling passage using the circular arrangement of lights. Travel left over the spikes, swing between grapple points, and take the Brave Heart Fragment from its altar. Pull the lever to open the gate, exit right, and continue upward using the lights and grapple points.
Rhetoric Shelves: Life Mirror and Lich’s Mark
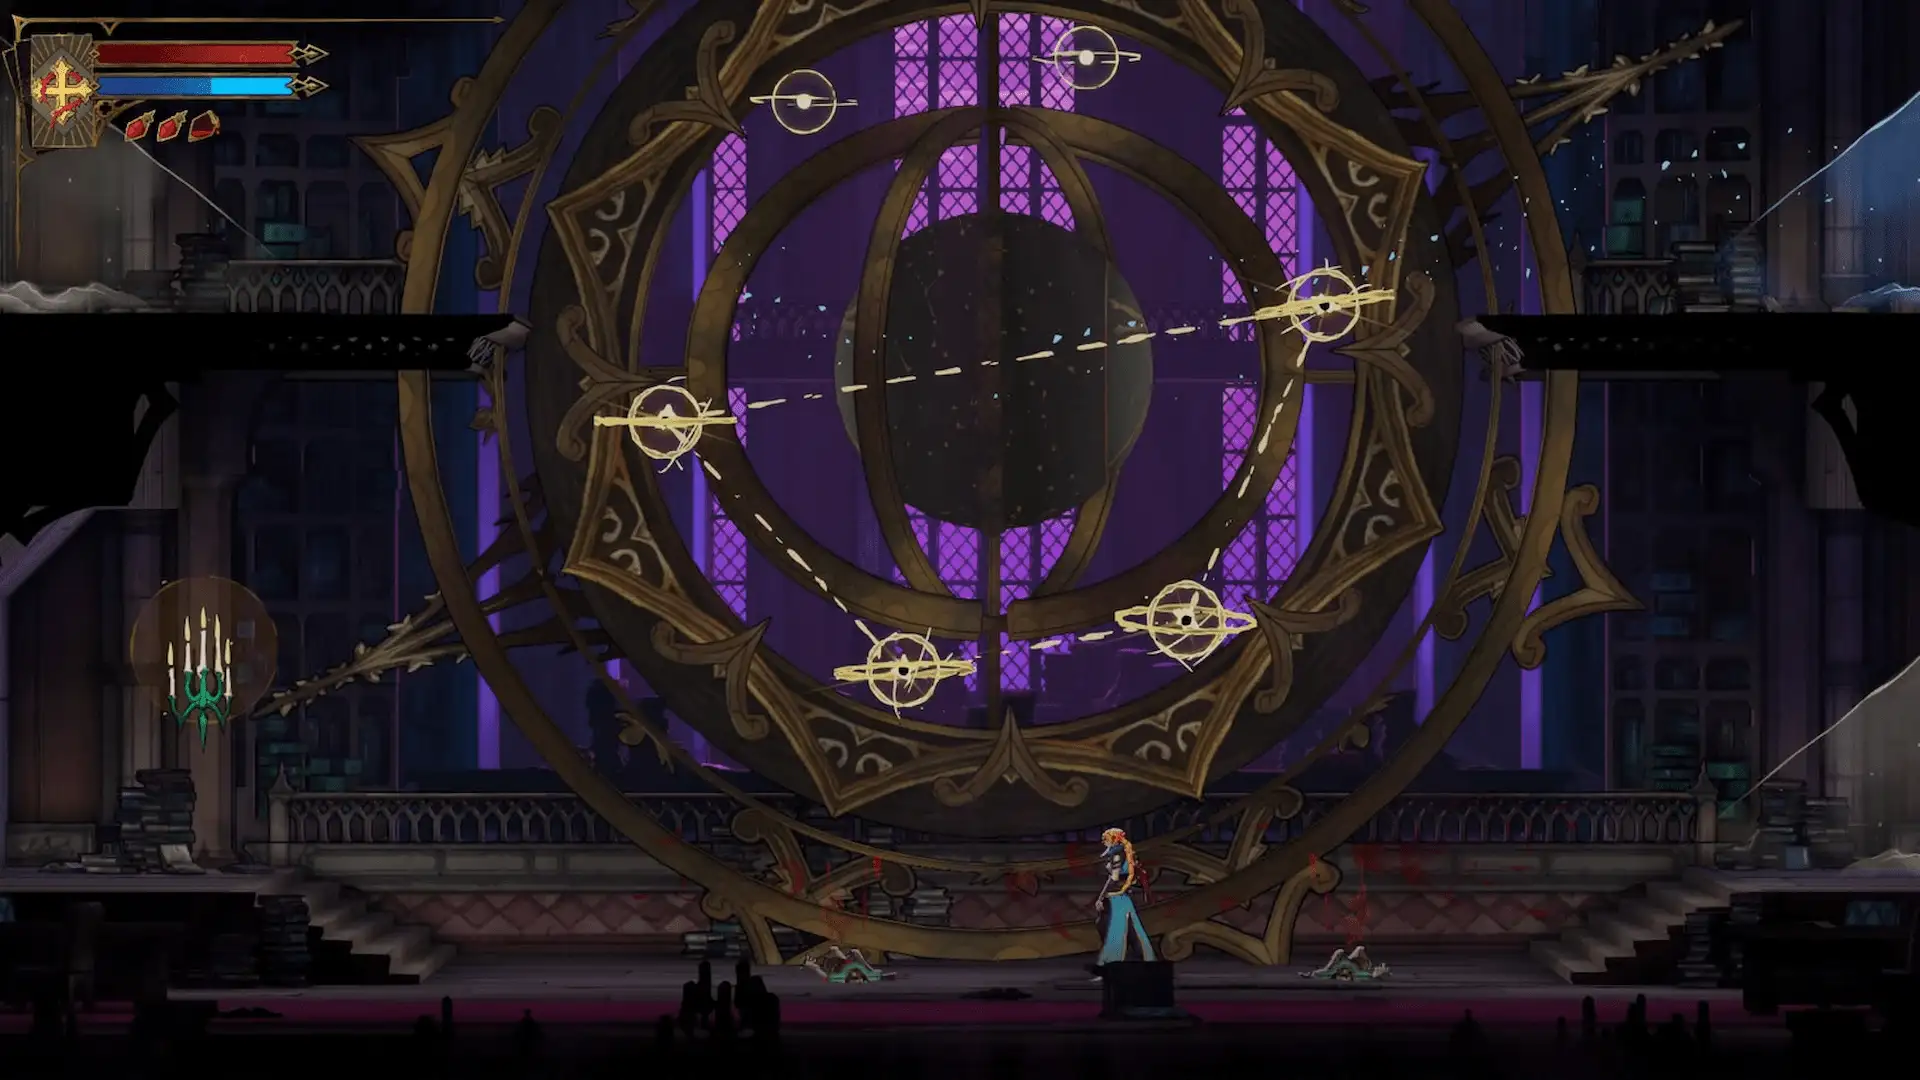
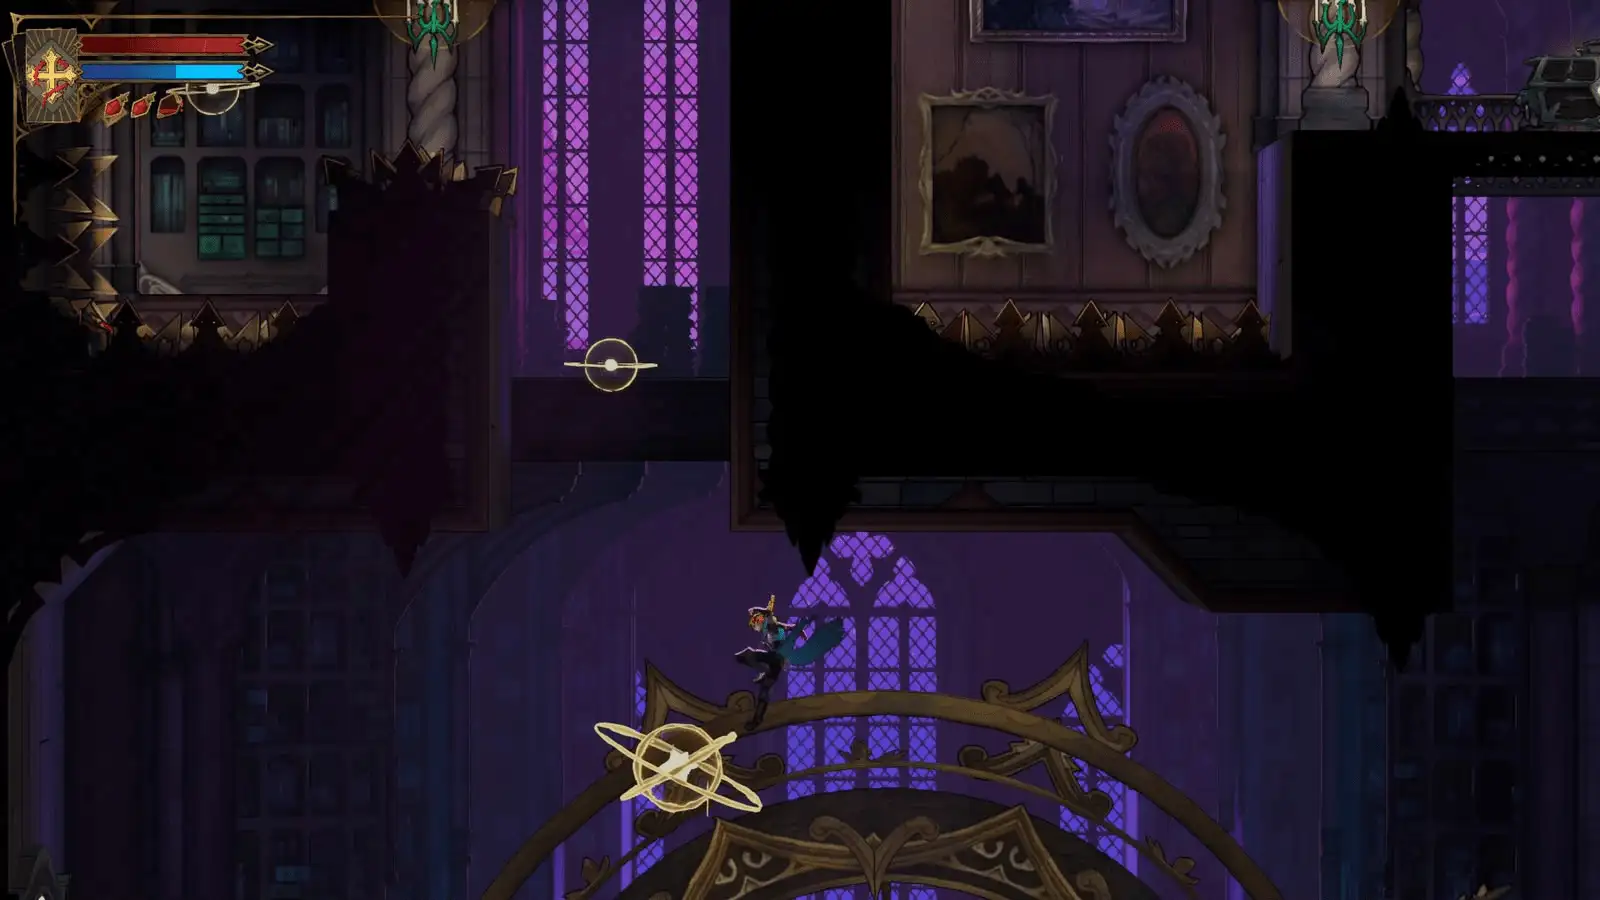
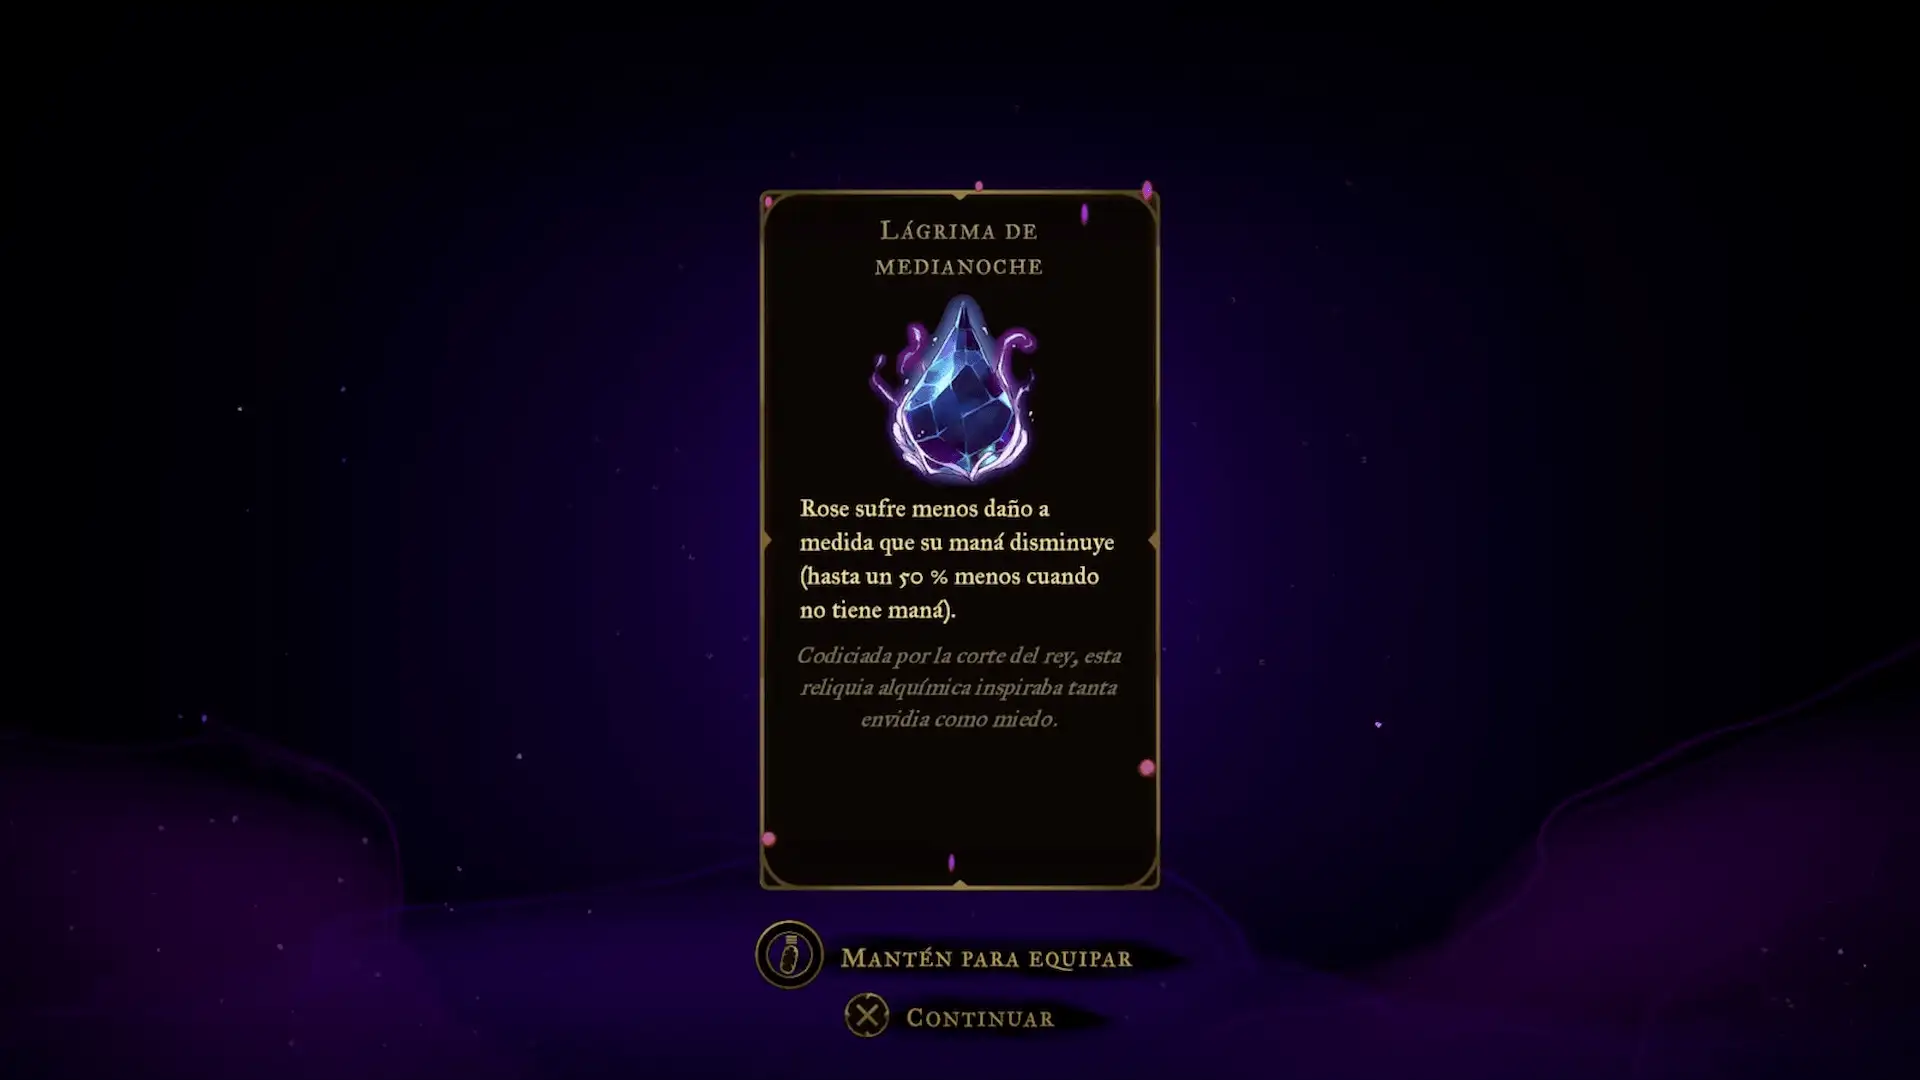
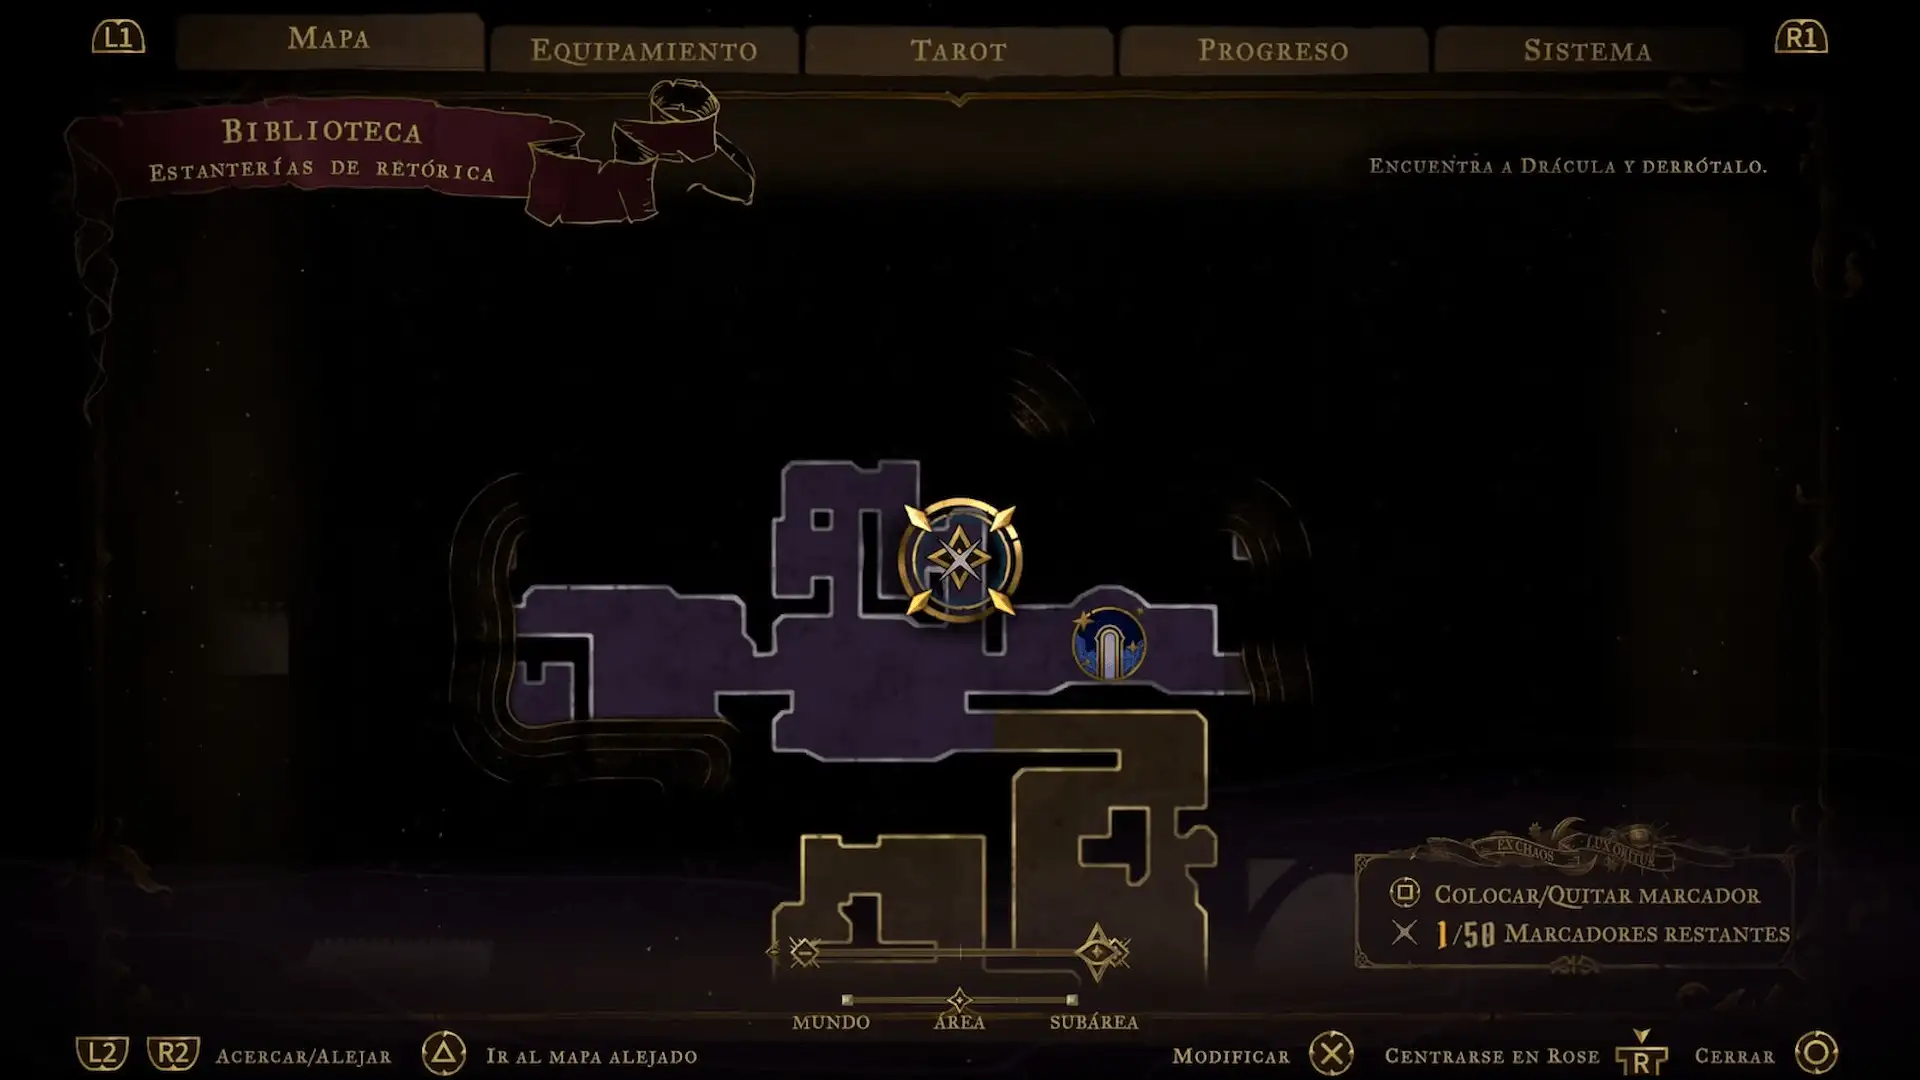
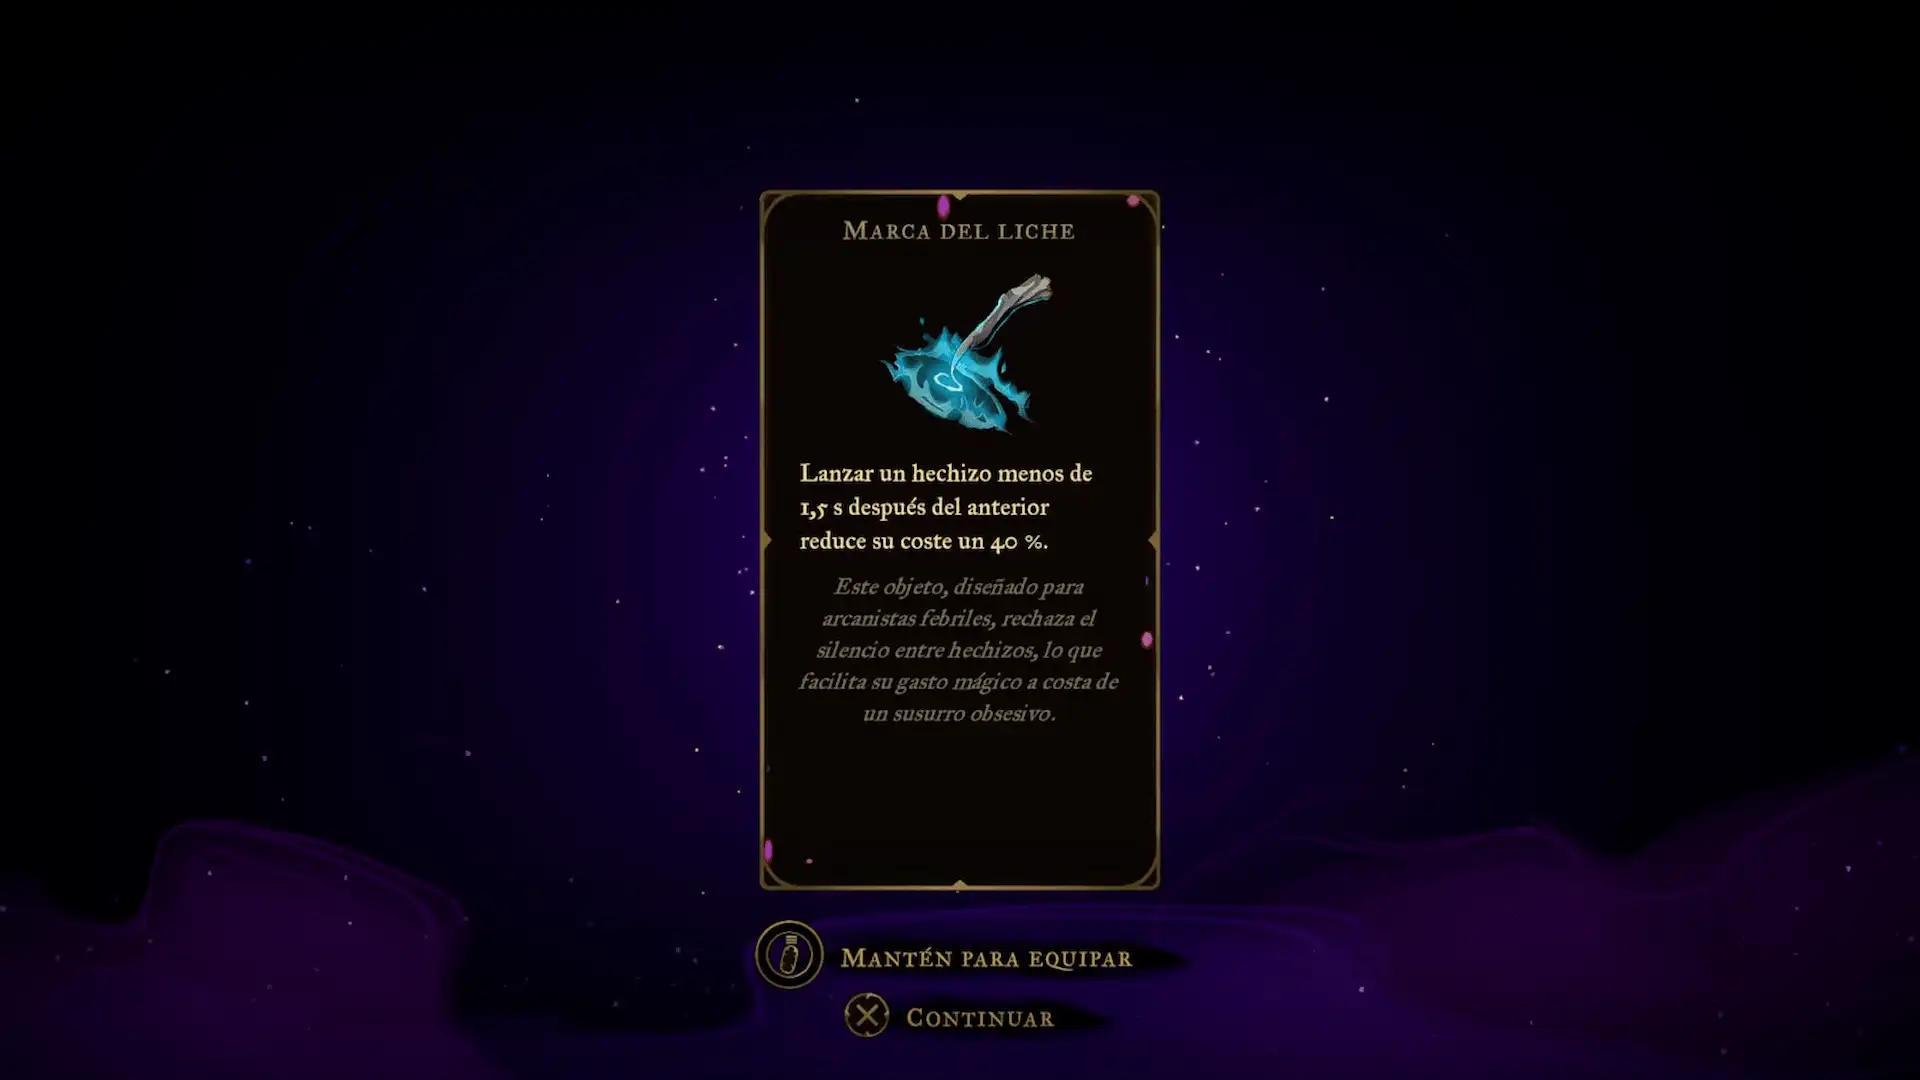
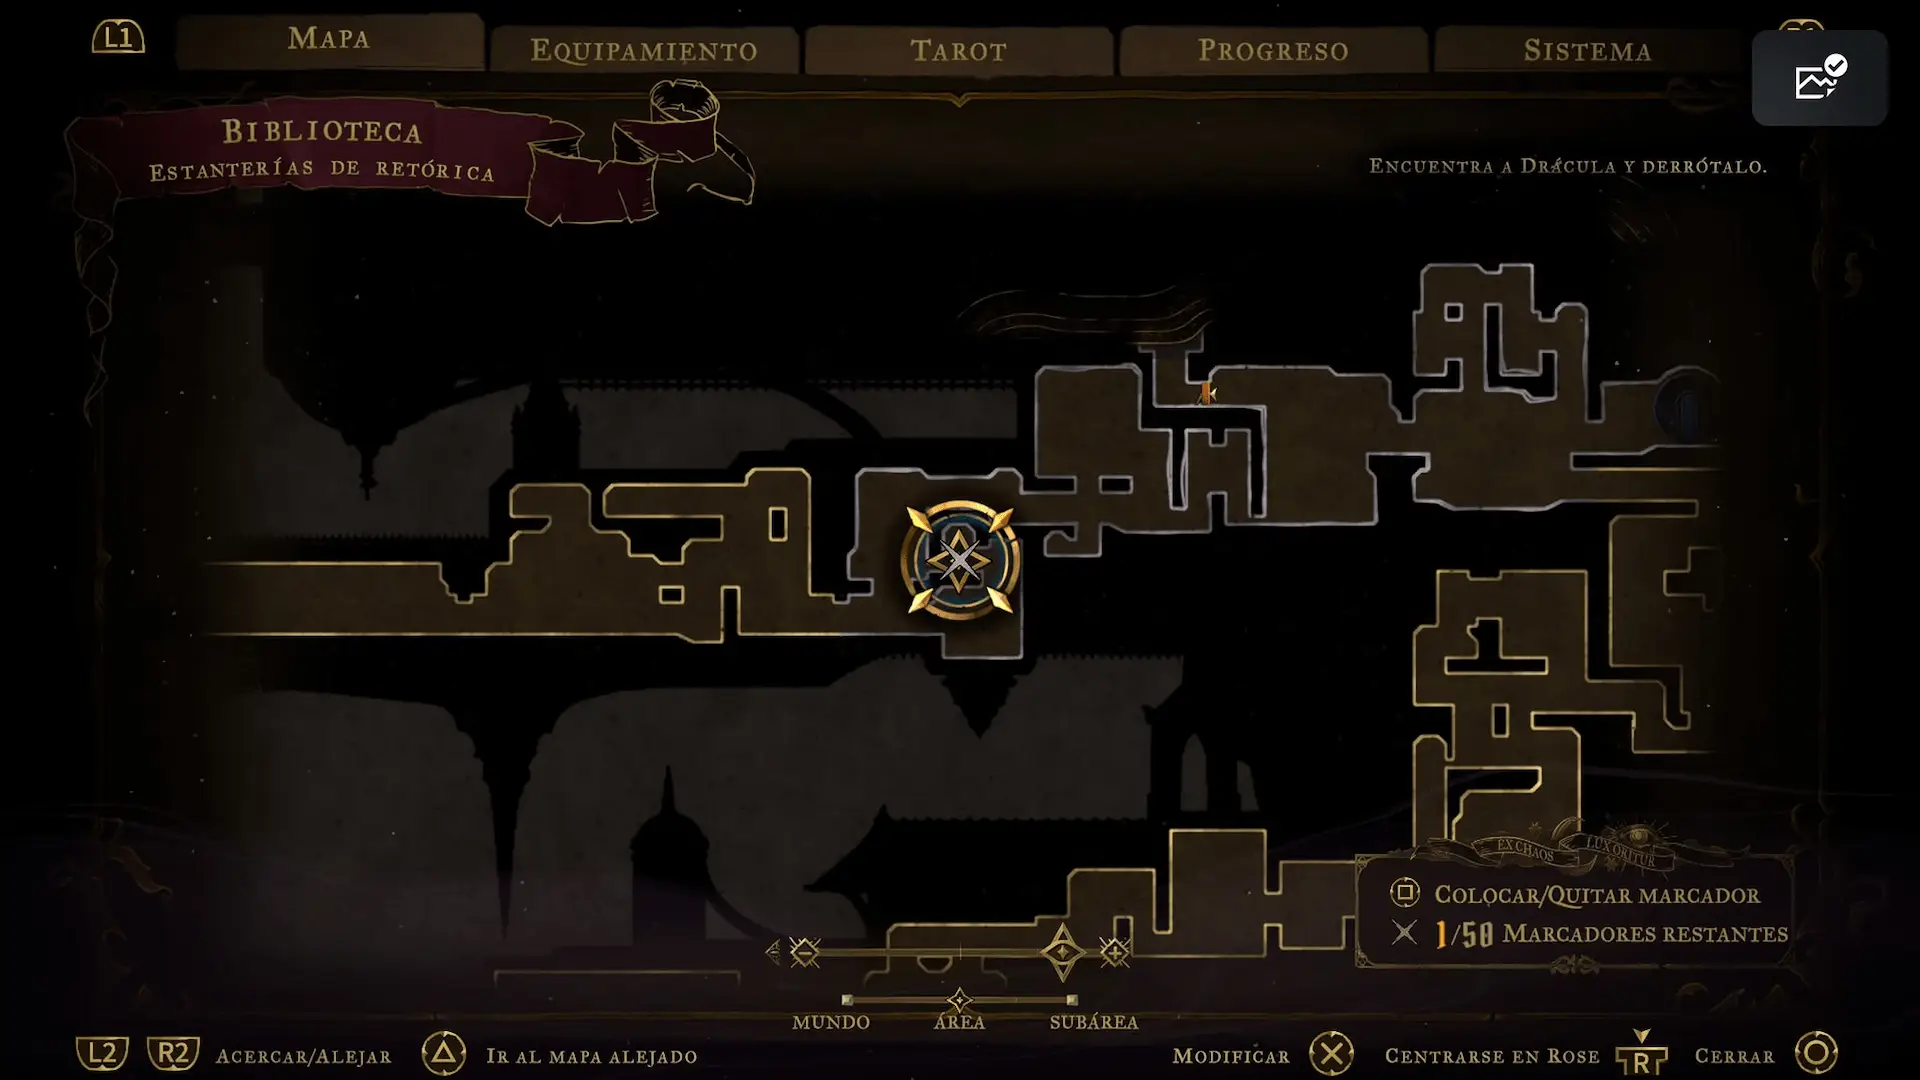
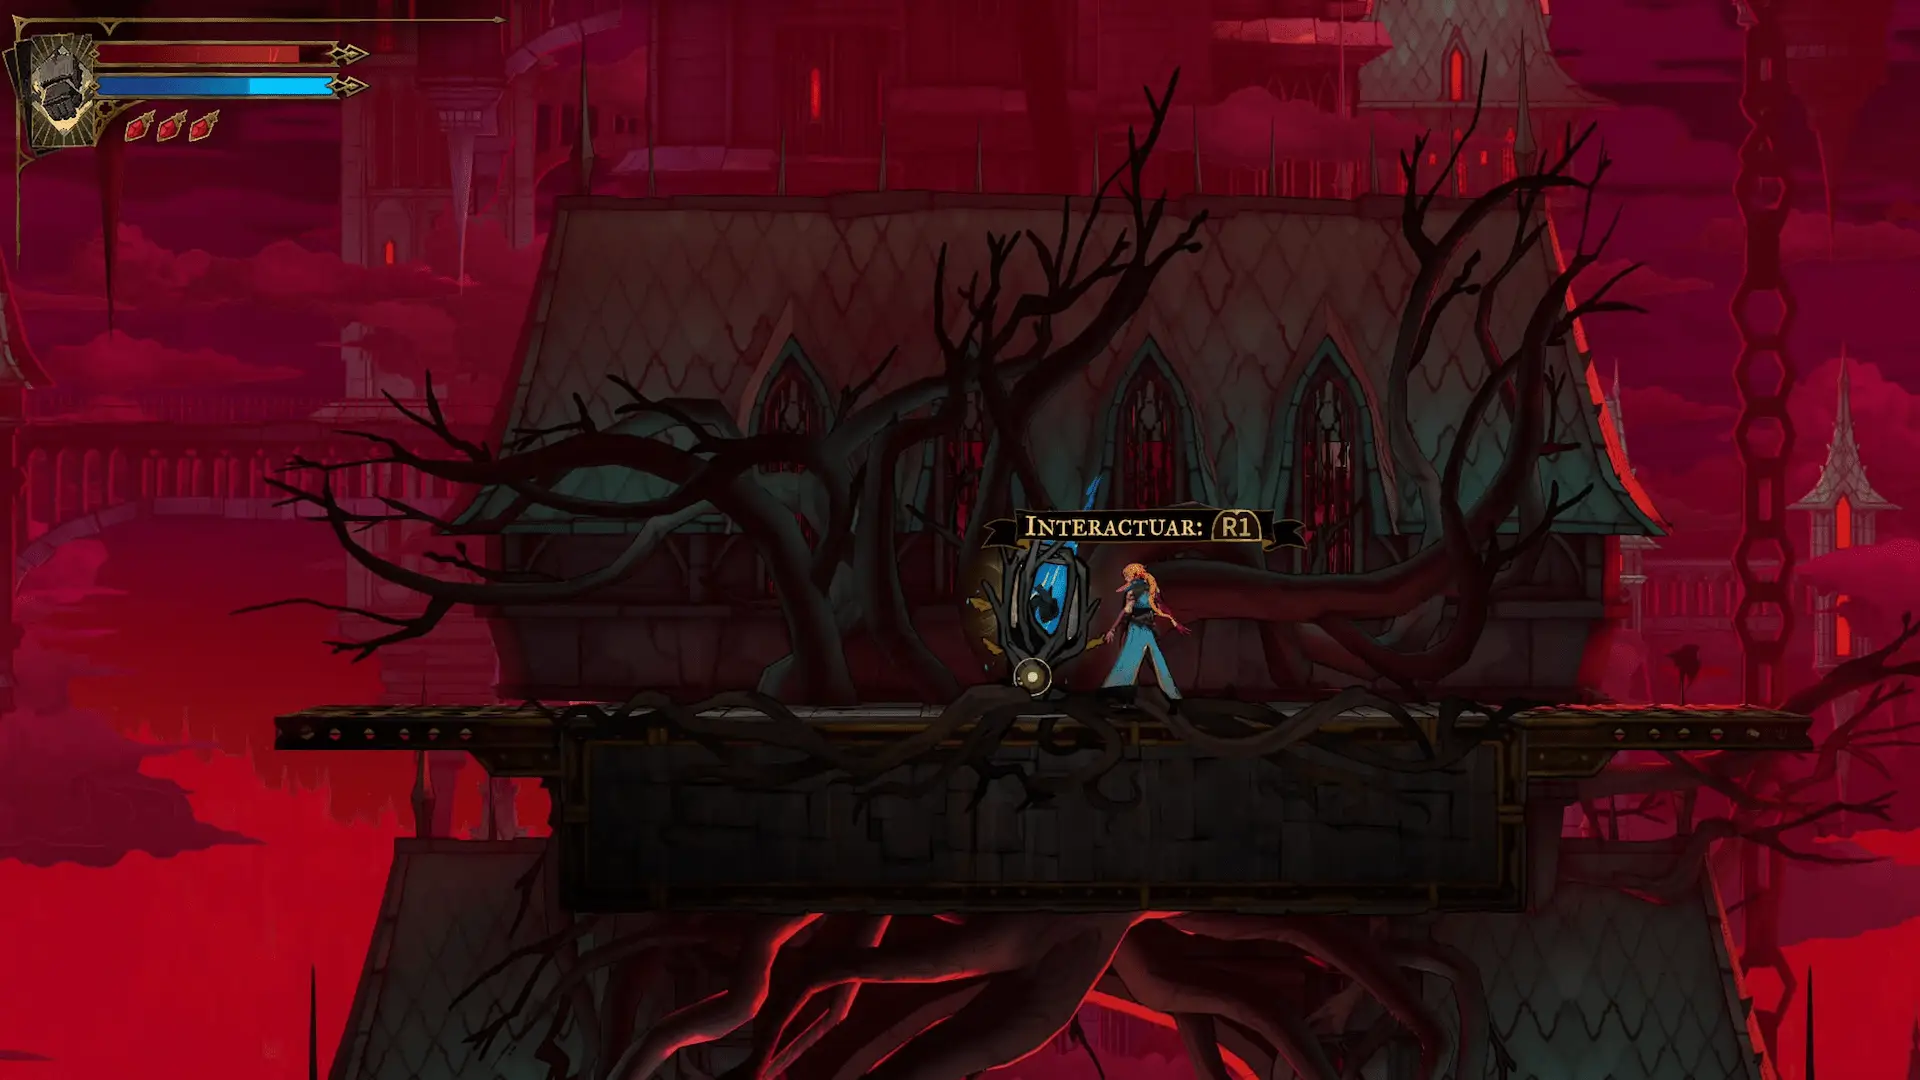
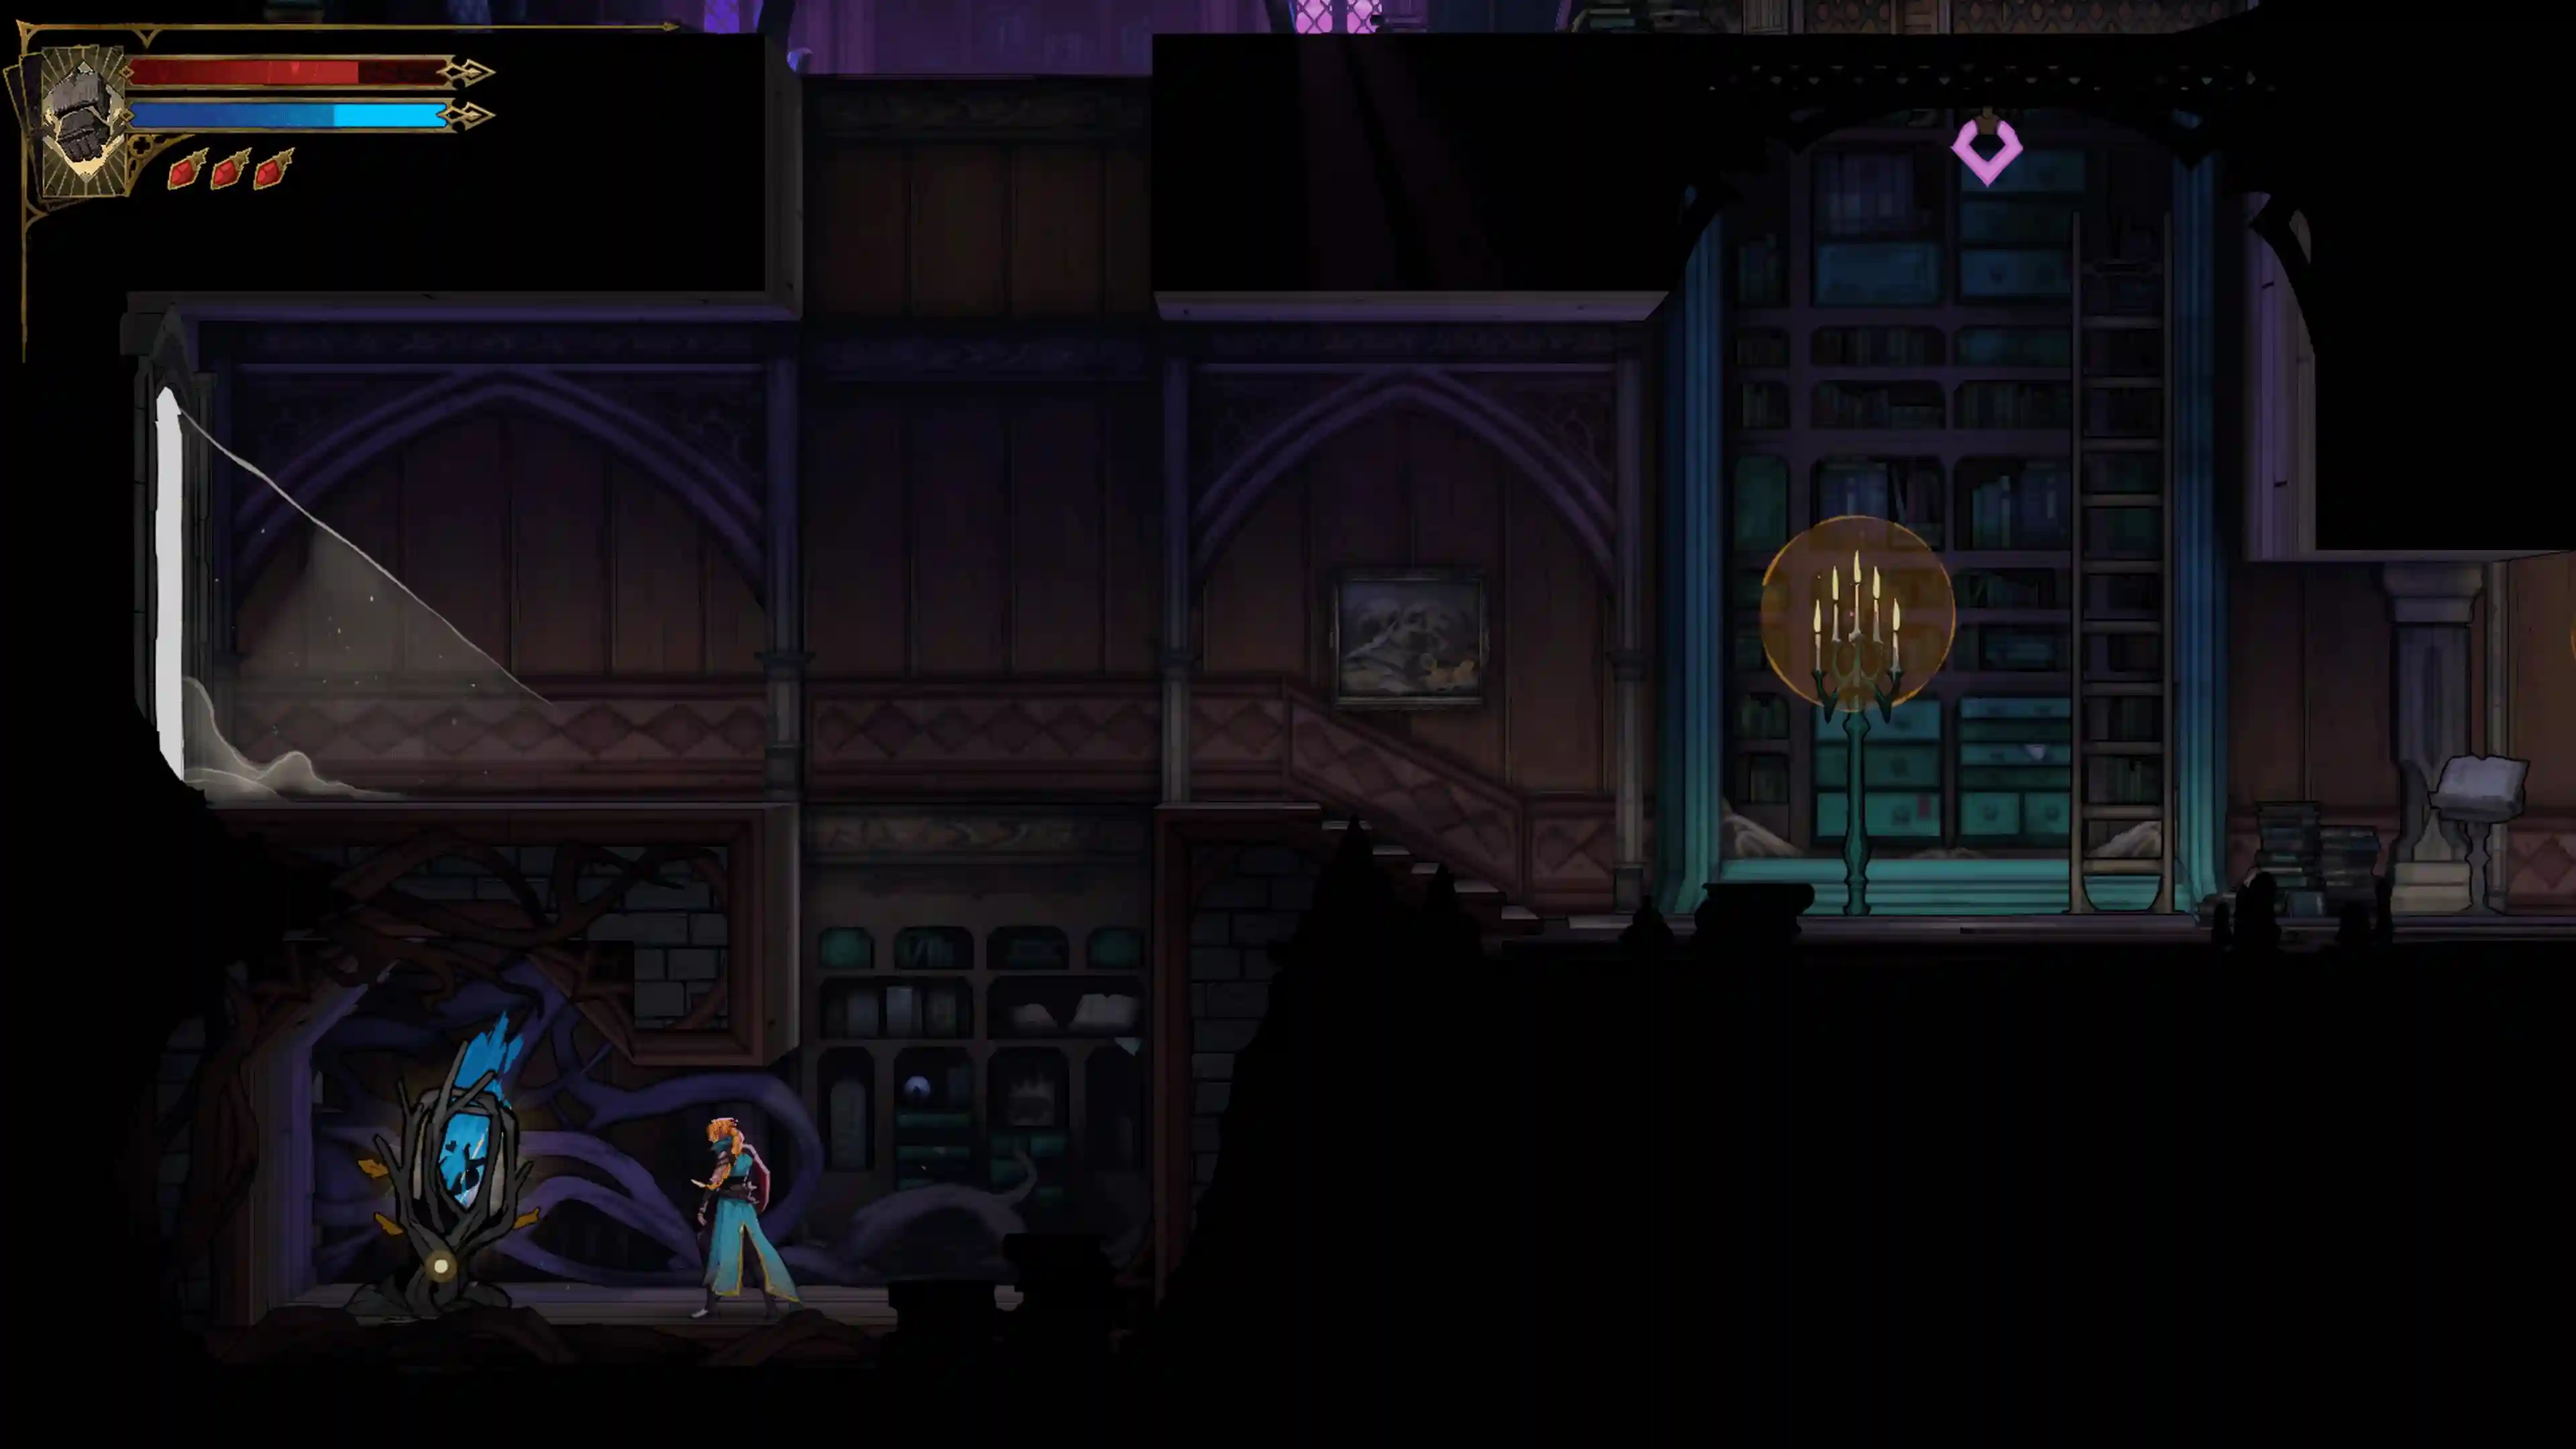
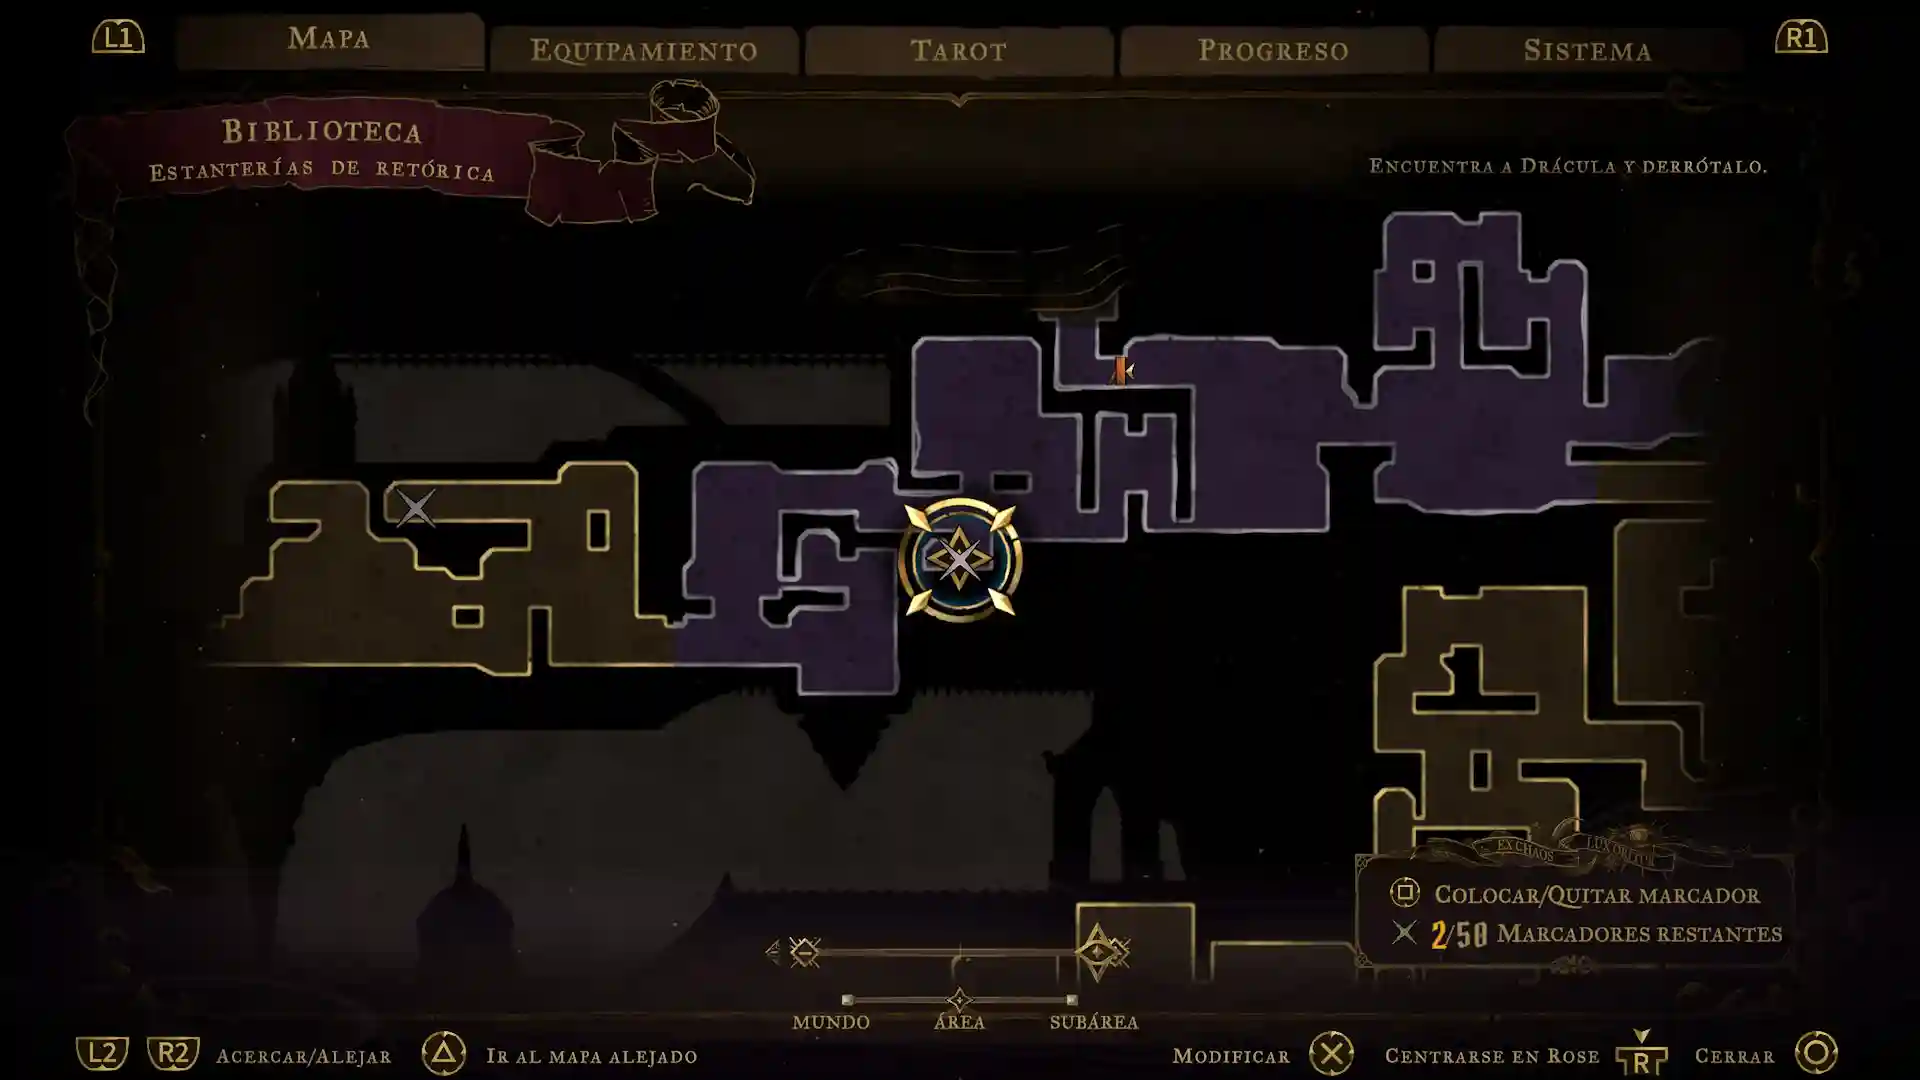
The huge armillary sphere marks the Rhetoric Shelves. From the entrance, use the glowing launch points to reach the room above the doorway on the right and activate the Life Mirror. For Midnight Tear, bounce from the four lights at the base of the sphere without touching a floor or ledge, then reach the upper corridor using the walls, light platforms, and pendulum. Open the chest to get Midnight Tear, which reduces damage when Rose’s mana is depleted. For Lich’s Mark, return to the sphere and follow the alternate upper passage, using the available lifts and grapples to reach the hidden relic chest. Note the thick cracked floor here: it requires Smash later.
Library Foyer: hidden health and the bridge exit
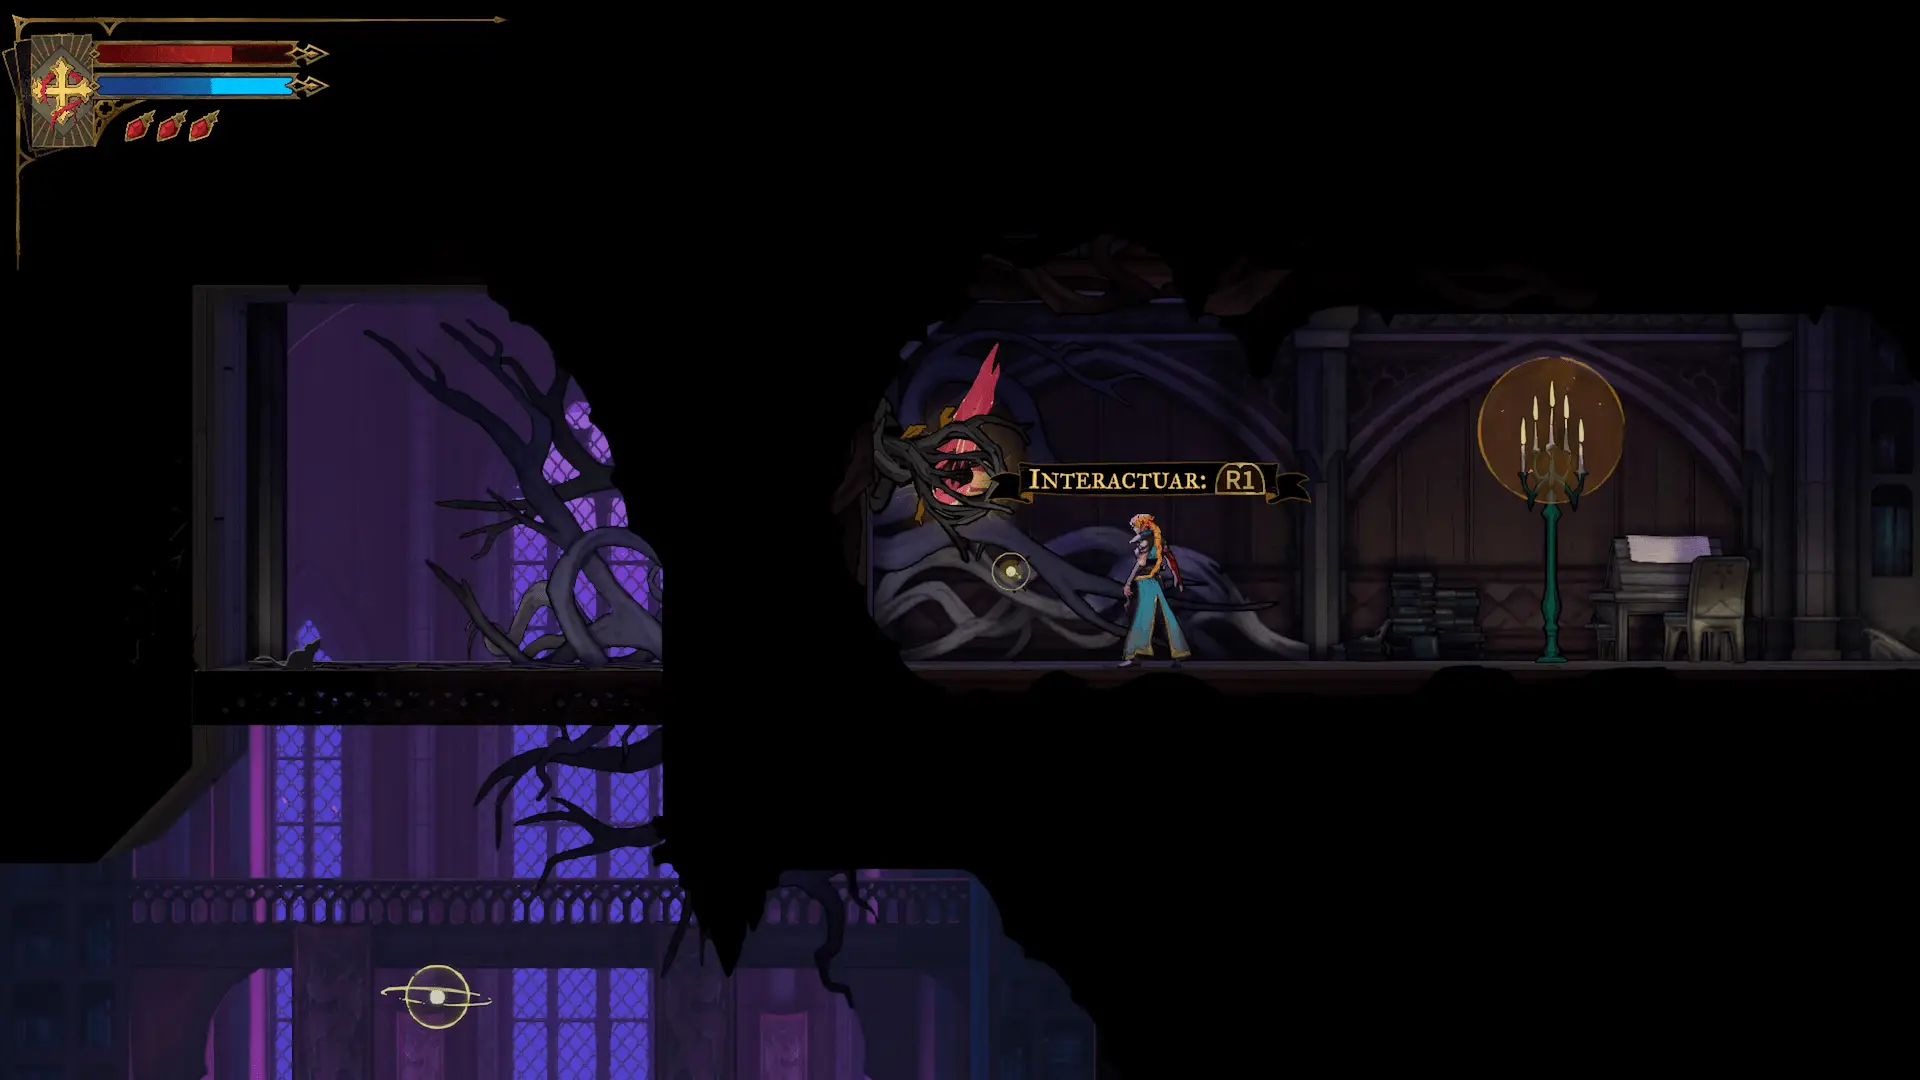
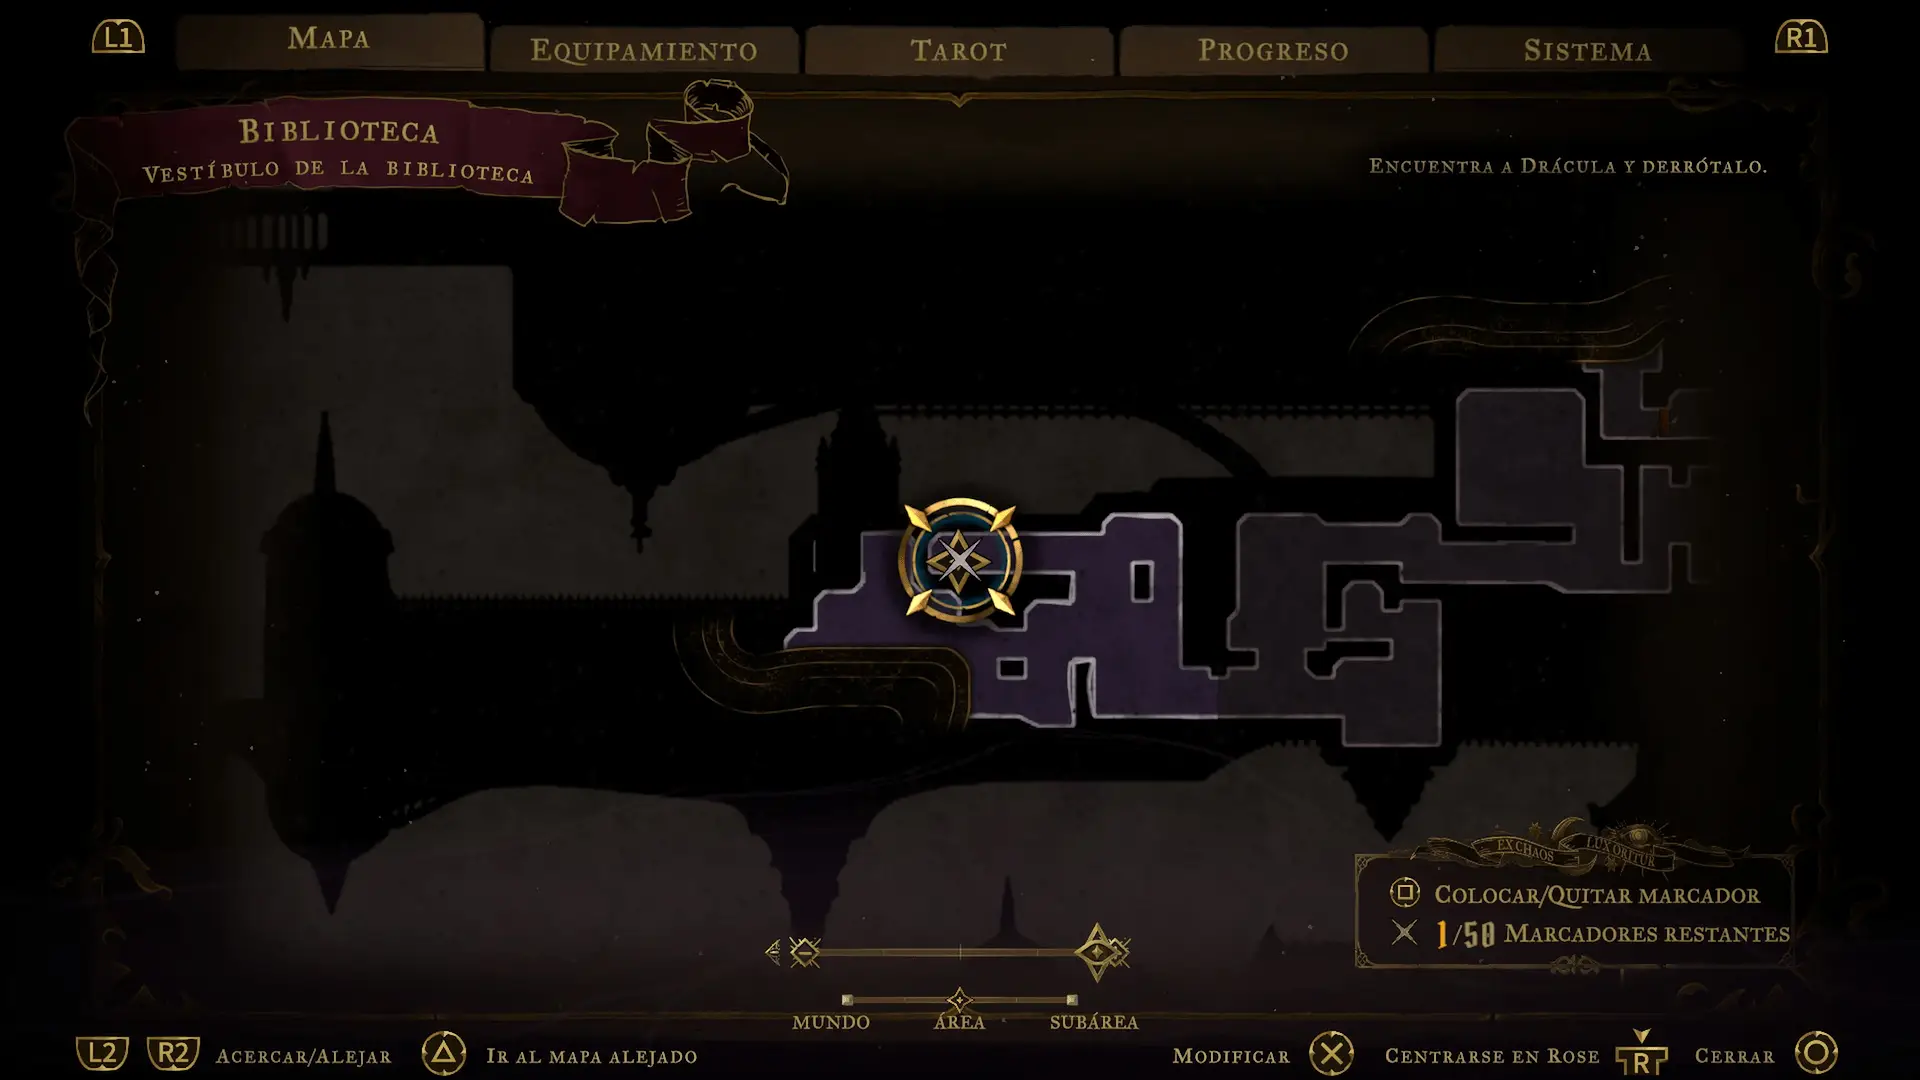
In the Library Foyer, climb with the purple grapple and the glowing lights on the right wall. Reach the dark opening at the upper left by bouncing between the lights. Inside is a hidden Brave Heart Fragment. Return to the main chamber and use the group of four lights near the exit to climb again. Break the cracked wall in the high side passage for a golden experience statue. Continue along the upper exit to the Forgotten Bridge.
Forgotten Bridge: entering the Clock Tower
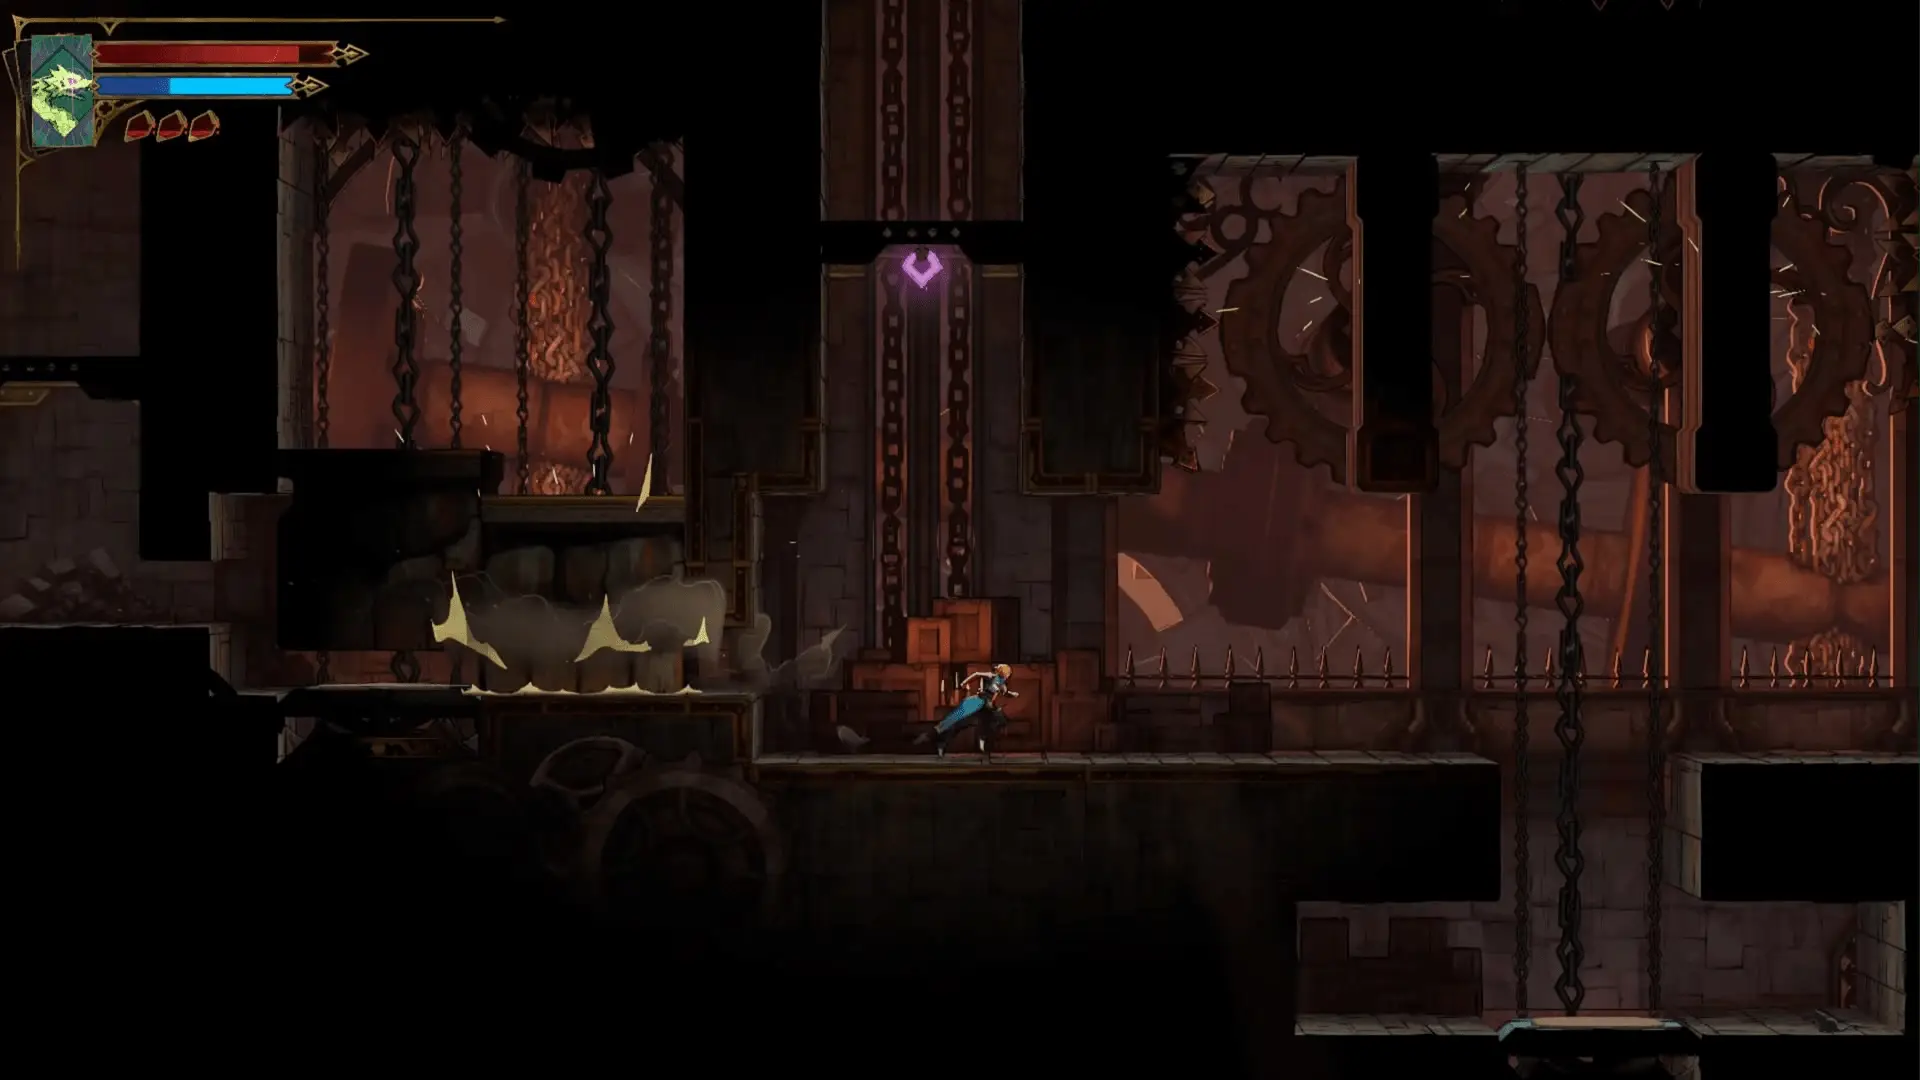
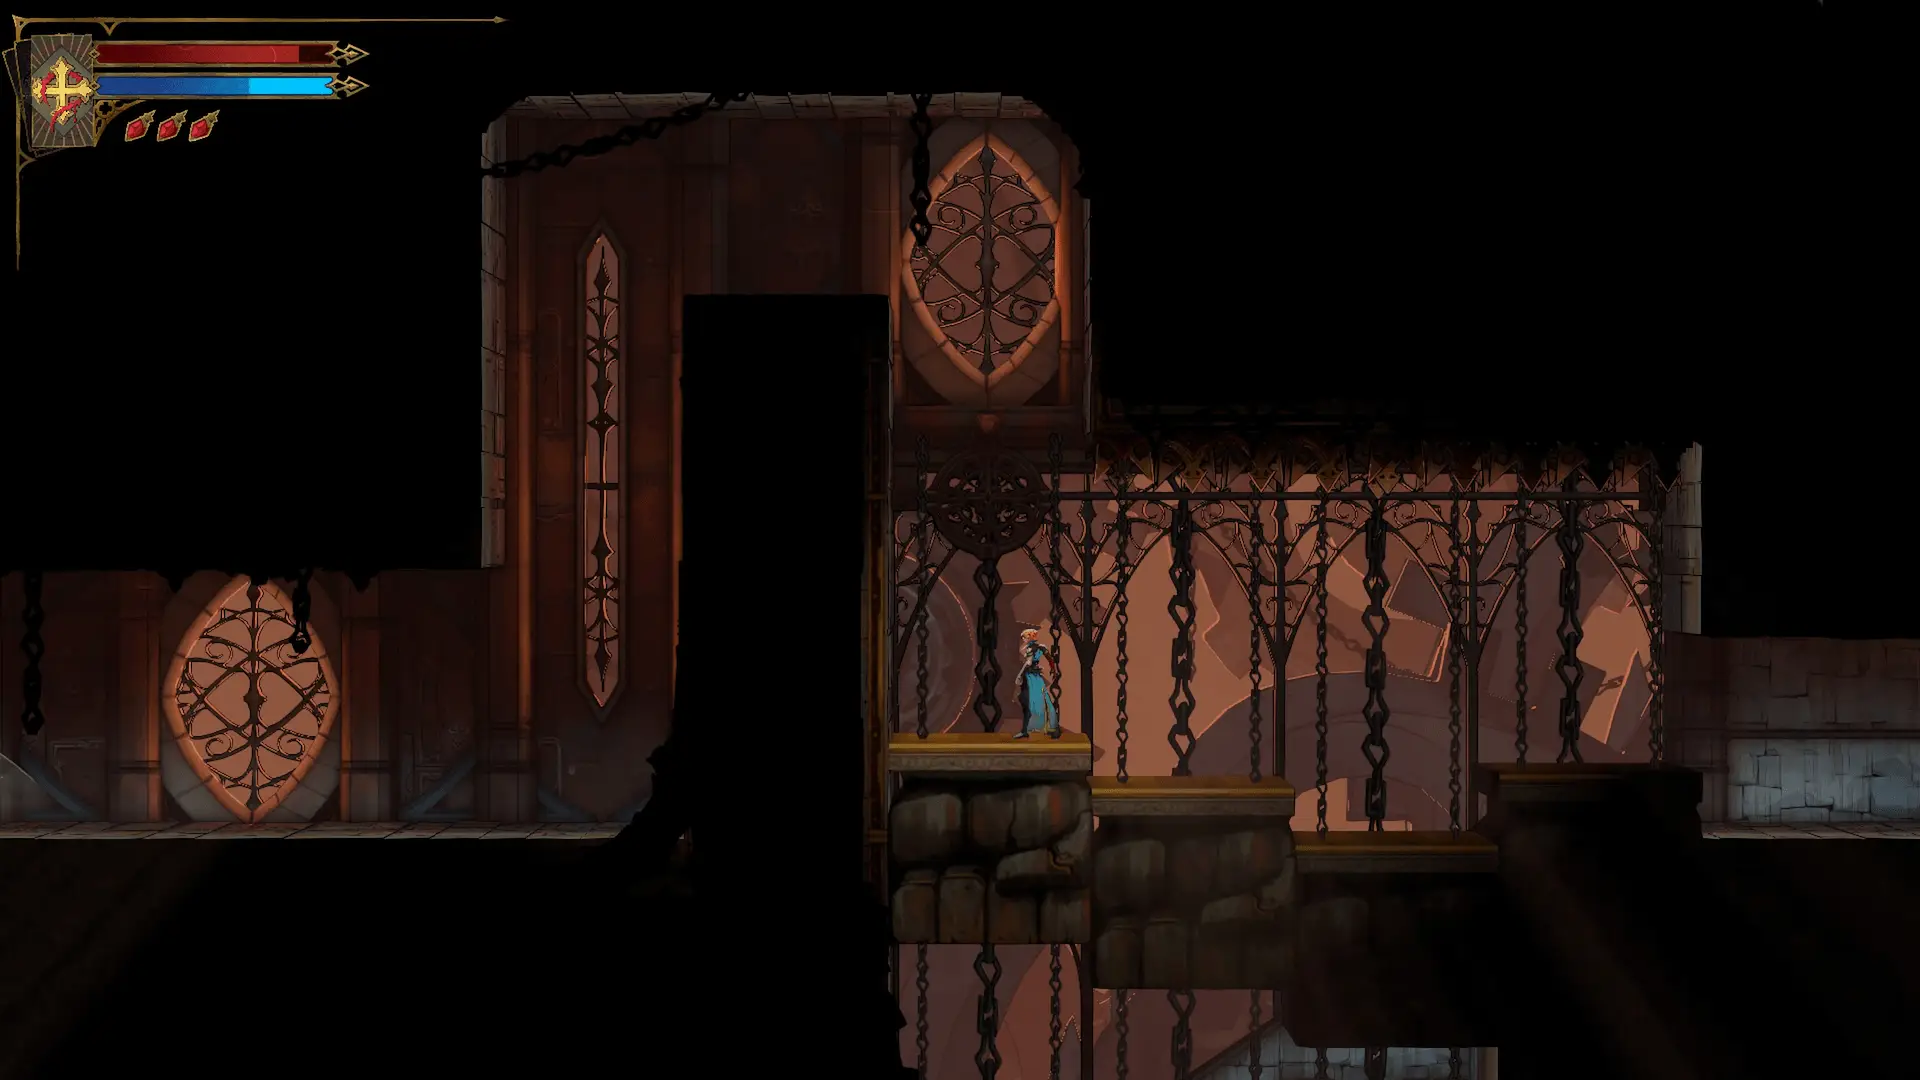
Cross the long reddish exterior walkway connecting the Library and Clock Tower. Activate the Ferryman Dock if it becomes available on your route. Inside the Clock Tower, heavy stone fists begin dropping across the passage. Wait until each fist strikes, then slide across while it retracts. Keep moving toward the Eastern Access Shaft. The route will first explore the eastern mechanisms before returning to the large fist supported by three rotating beams.
Eastern Access Shaft: statues, Sinister Rune, and first gear
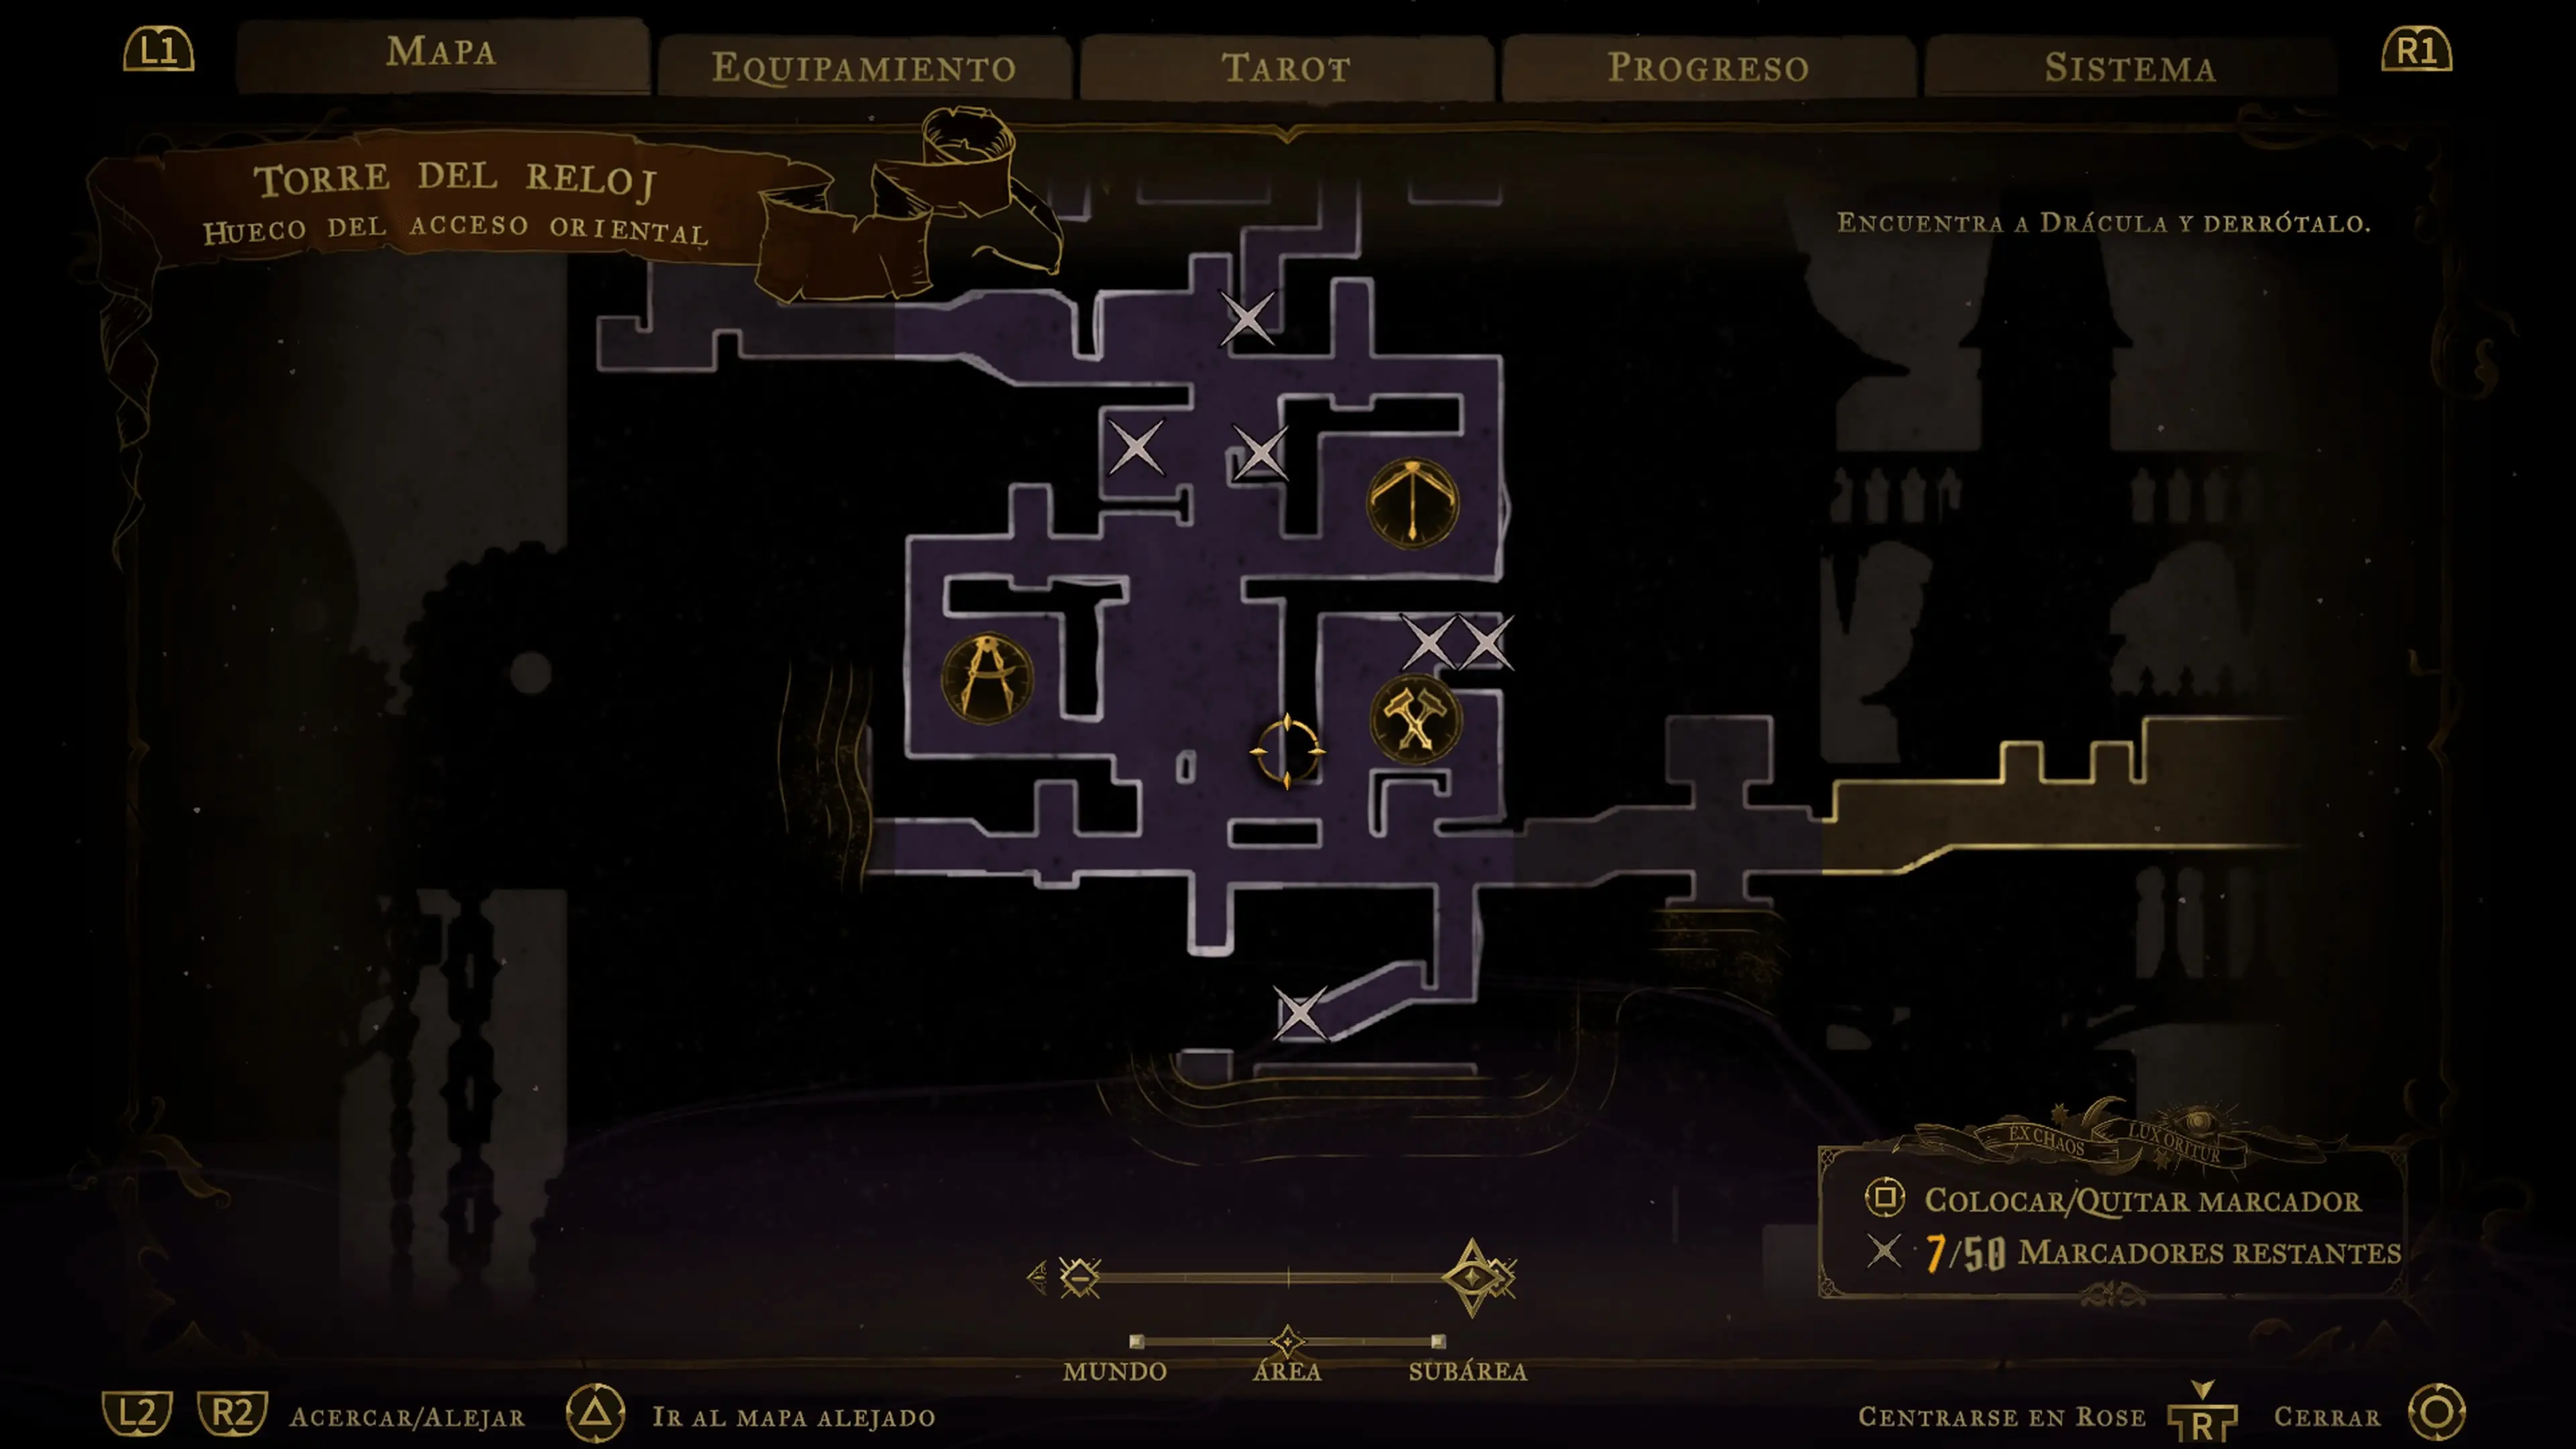
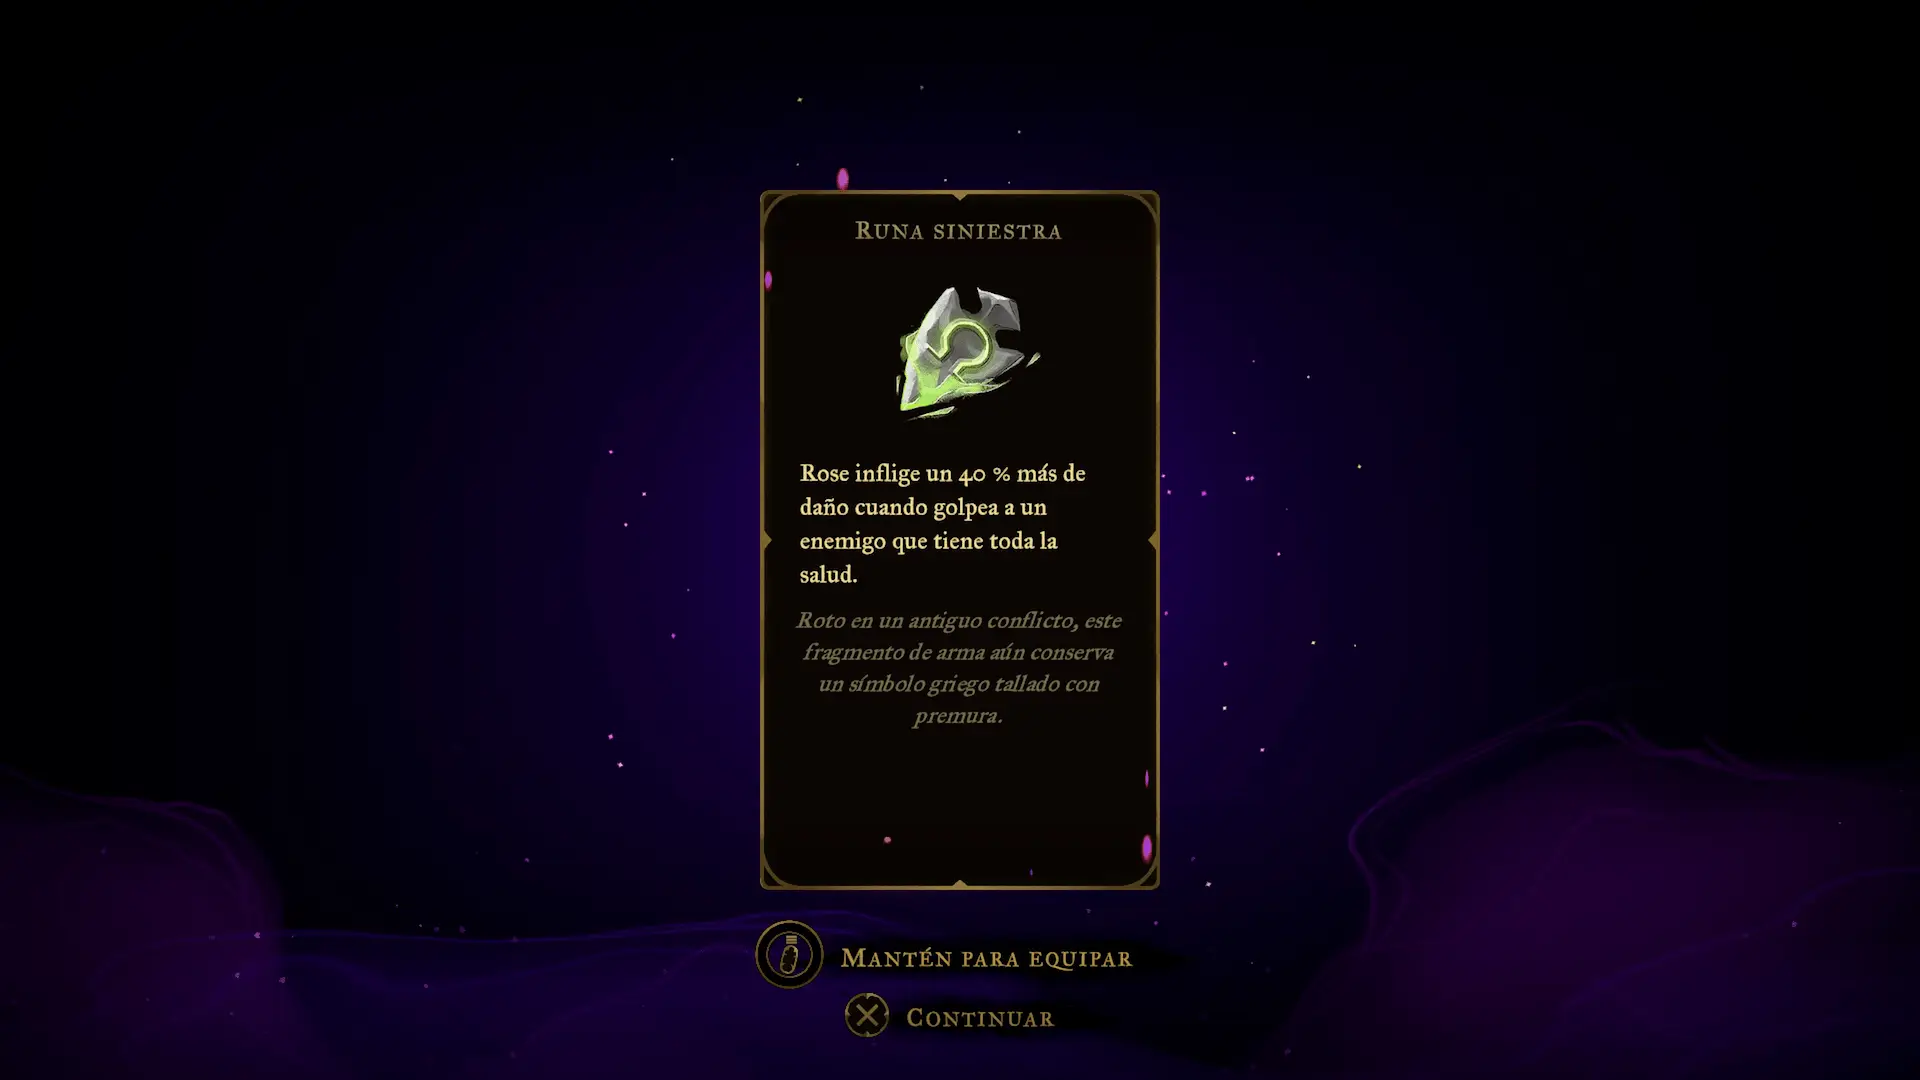
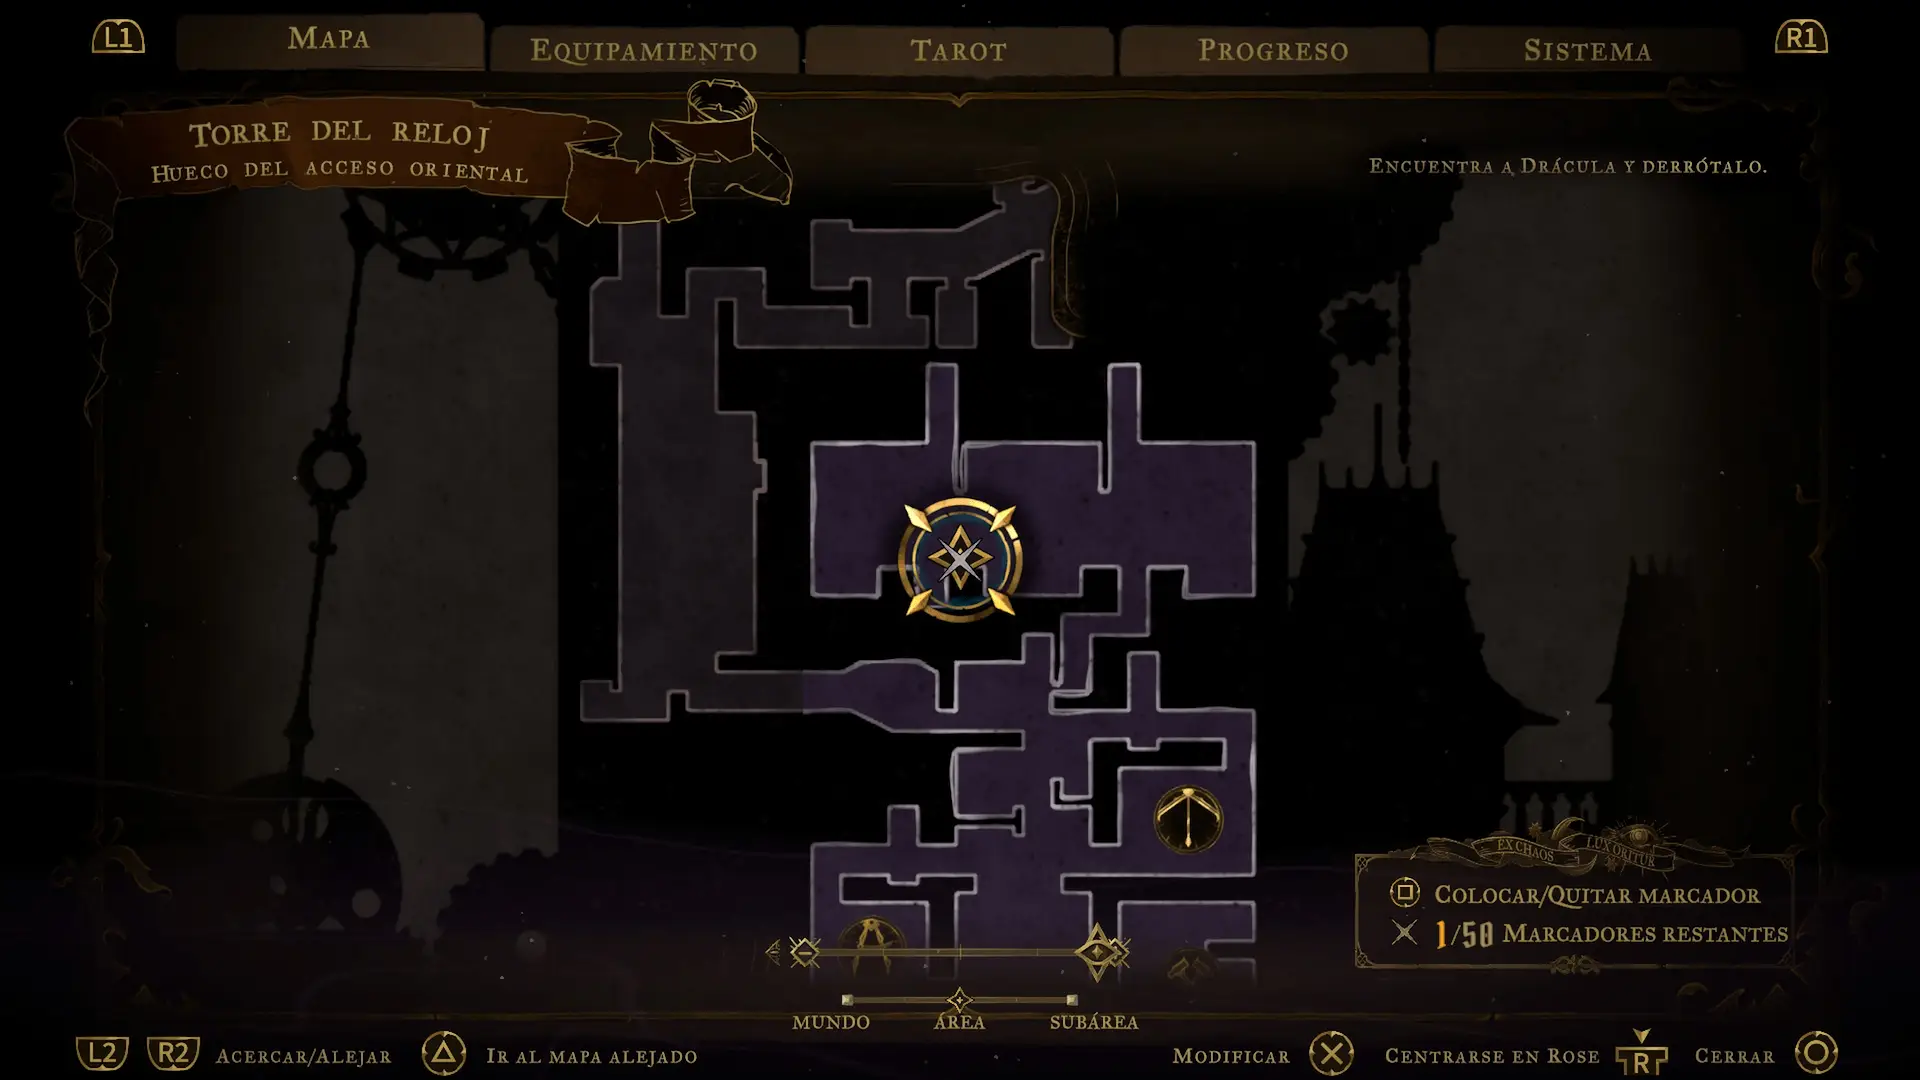
The Eastern Access Shaft is a tall chamber with a huge mechanical fist held by three rotating beams. Descend one level to destroy the first golden experience statue, then return to the central platform, operate its lever, and climb again. Use purple grapples to reach balconies and side corridors. There are six golden statues in this area, and the central platform orientation changes when you activate the fist mechanism. For the Sinister Rune, take the side passage around the trap rather than attempting to run directly through its striking zone. Follow the safe right-hand route and open the relic chest before returning to the main shaft.
Serpent Pinion: rotating wheels and a health fragment
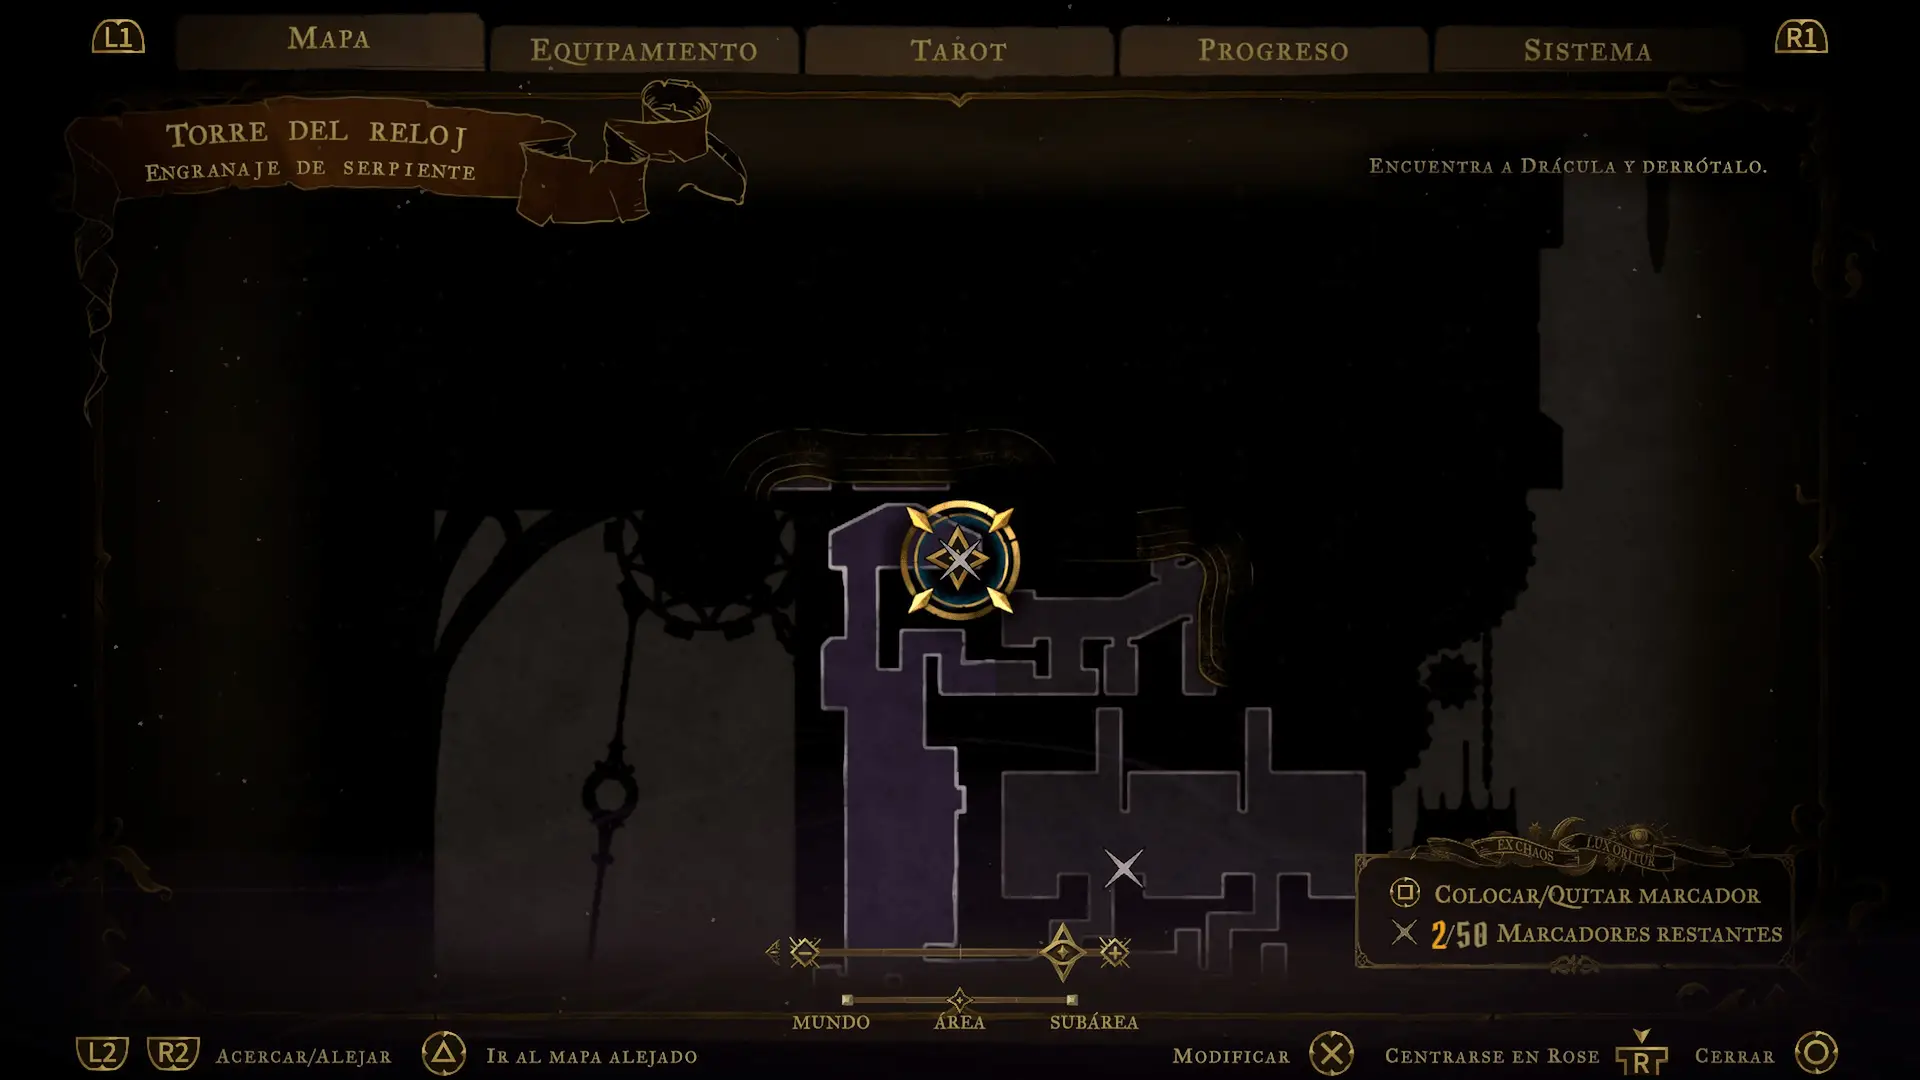
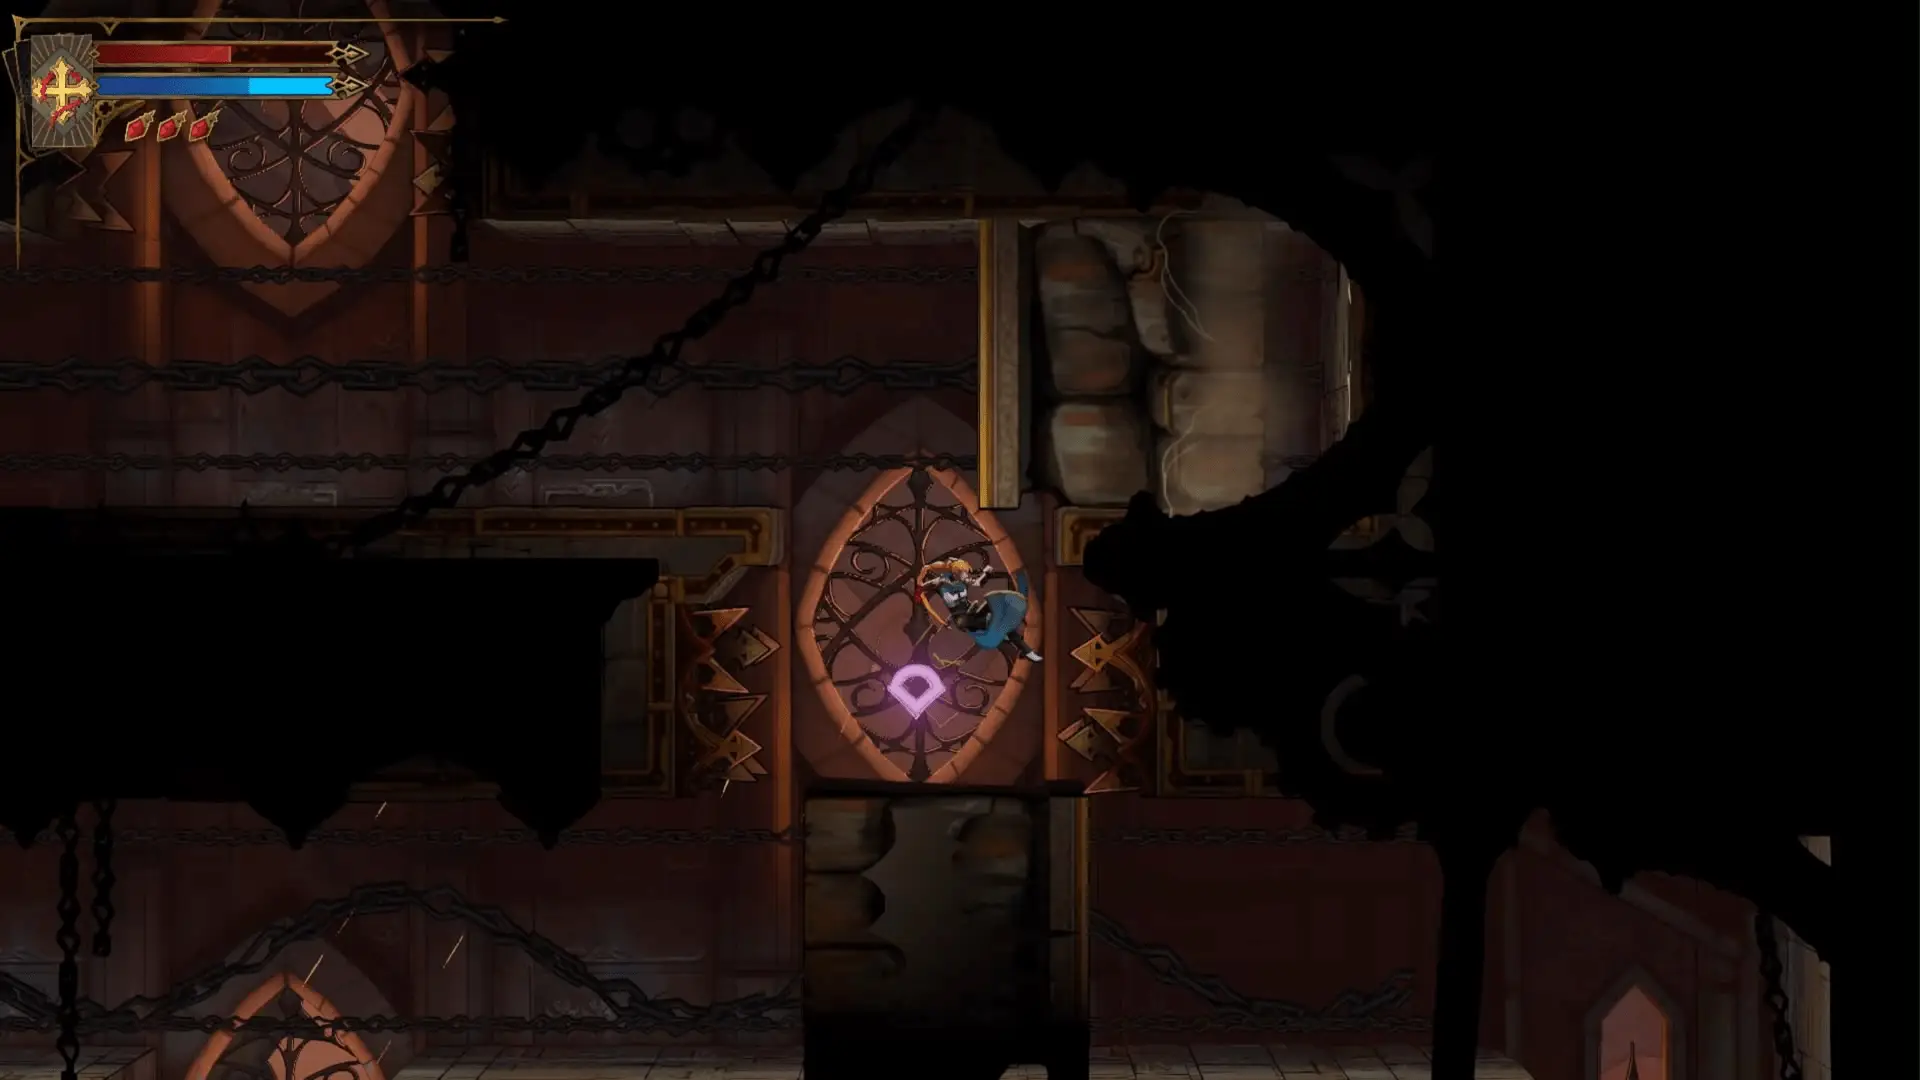
Climb through the center of Serpent Pinion by timing jumps between cogwheels and rotating platforms. Wait until a moving ledge approaches the wall, jump into it, and wall-jump to the next safe spot. Avoid waiting on the spike-covered floor. Search the upper platforms for the experience statue and Brave Heart Fragment before moving toward the Eastern Steps.
Eastern Steps: rolling blades and the main route
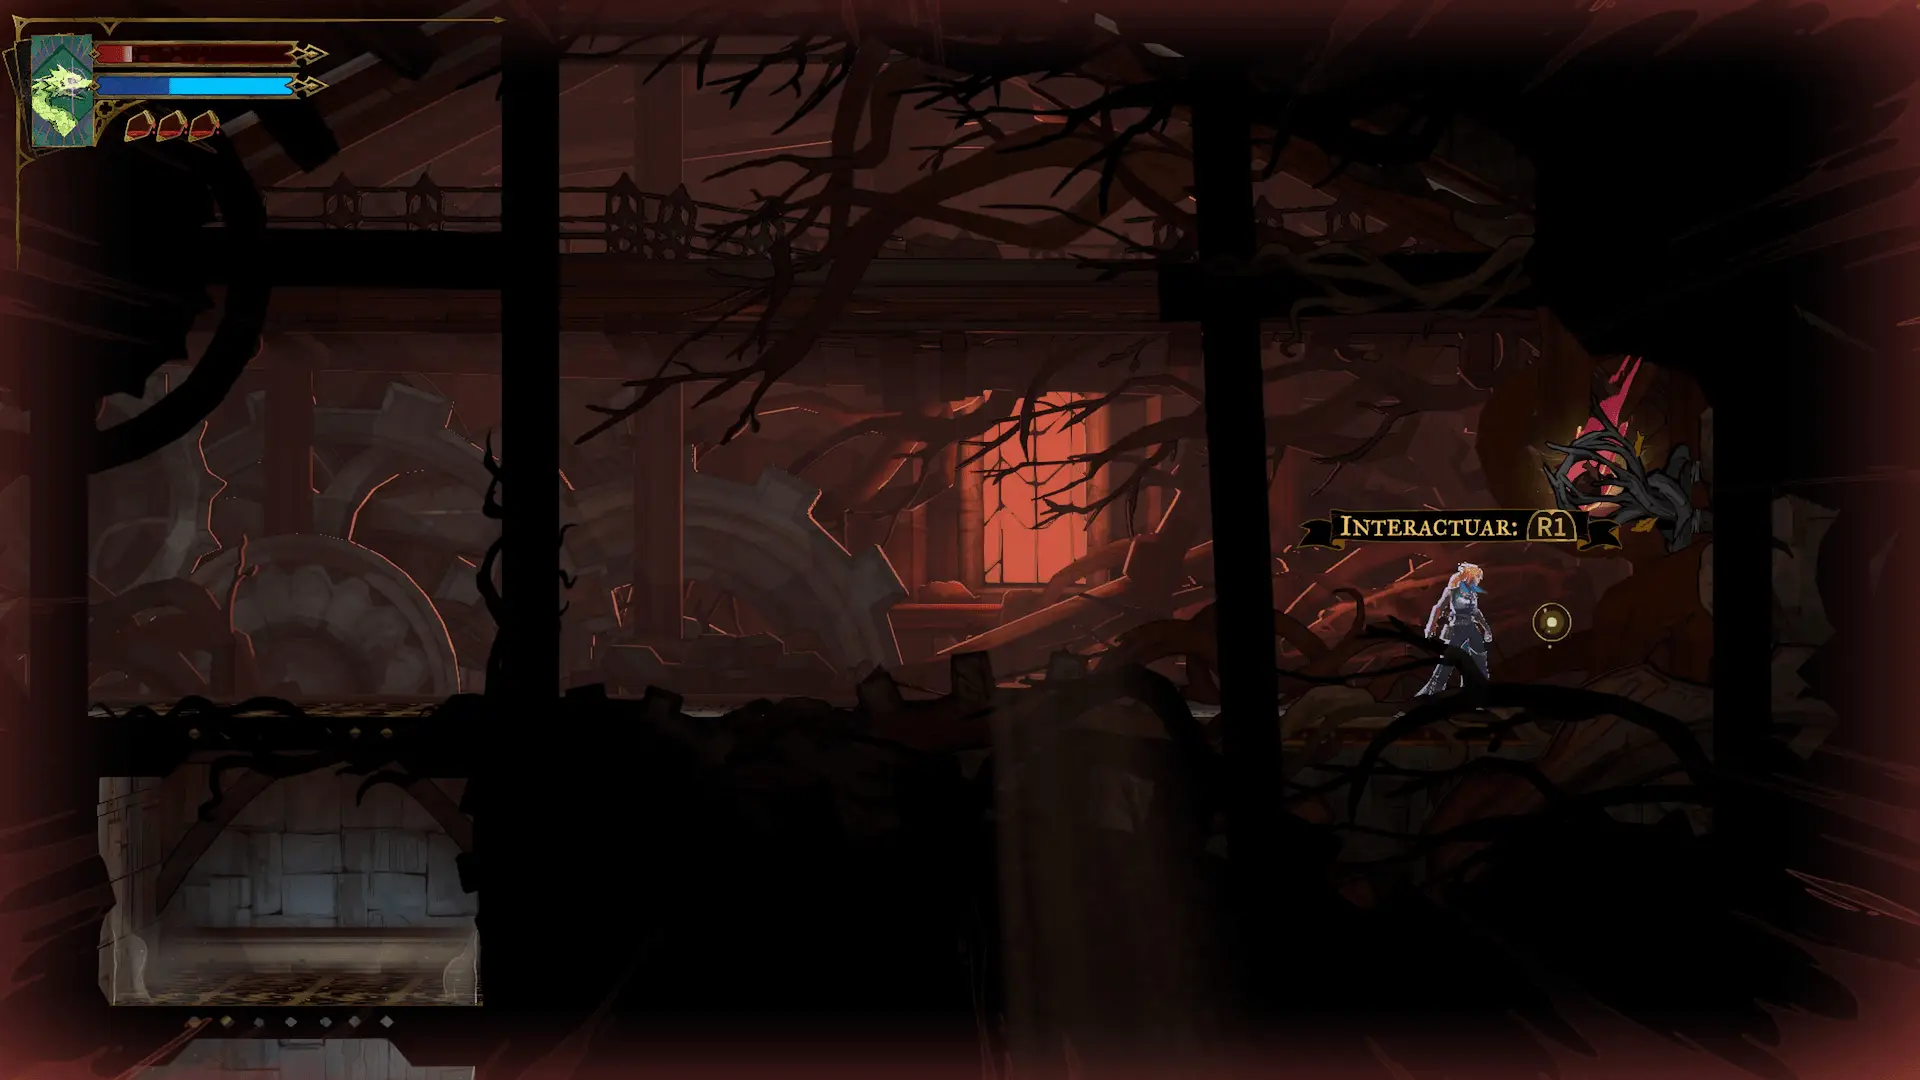
The Eastern Steps are lined with rolling saws. Move only after a blade has passed, and use the wall ledges for shelter rather than jumping blindly into the next corridor. The visible health fragment on a higher route requires Aerial Rush, which you do not yet have. Mark it for a later visit and continue toward the connecting galleries and Daedalus Crossing.
Middle Gallery: rotating platforms and hidden food
Cross the Middle Gallery by following the rhythm of its turning platforms. Wait for each platform to face your next landing point and use wall jumps or grapples to gain height. Look for a breakable wall with restorative food if you need healing. Take the route toward Daedalus Crossing instead of looping through the lower corridors.
Daedalus Crossing: find the blueprints before the giant fist
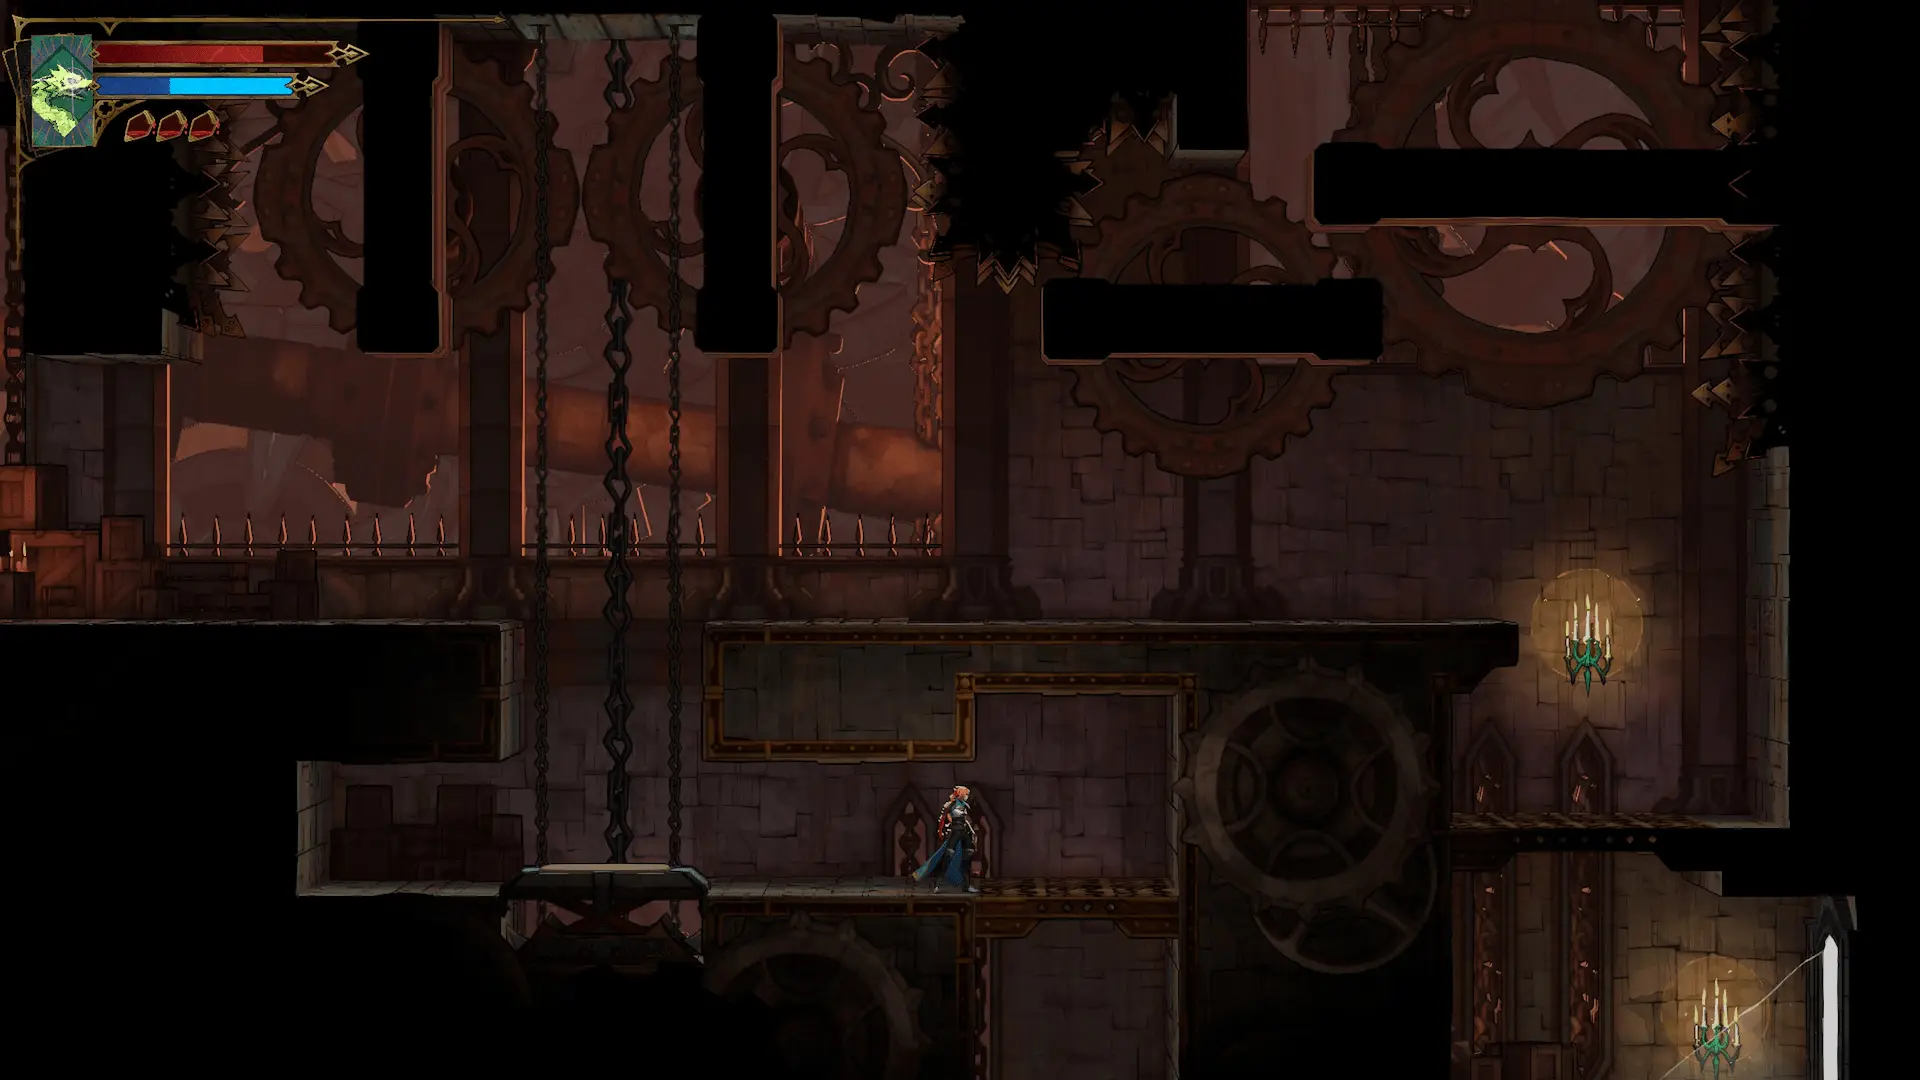
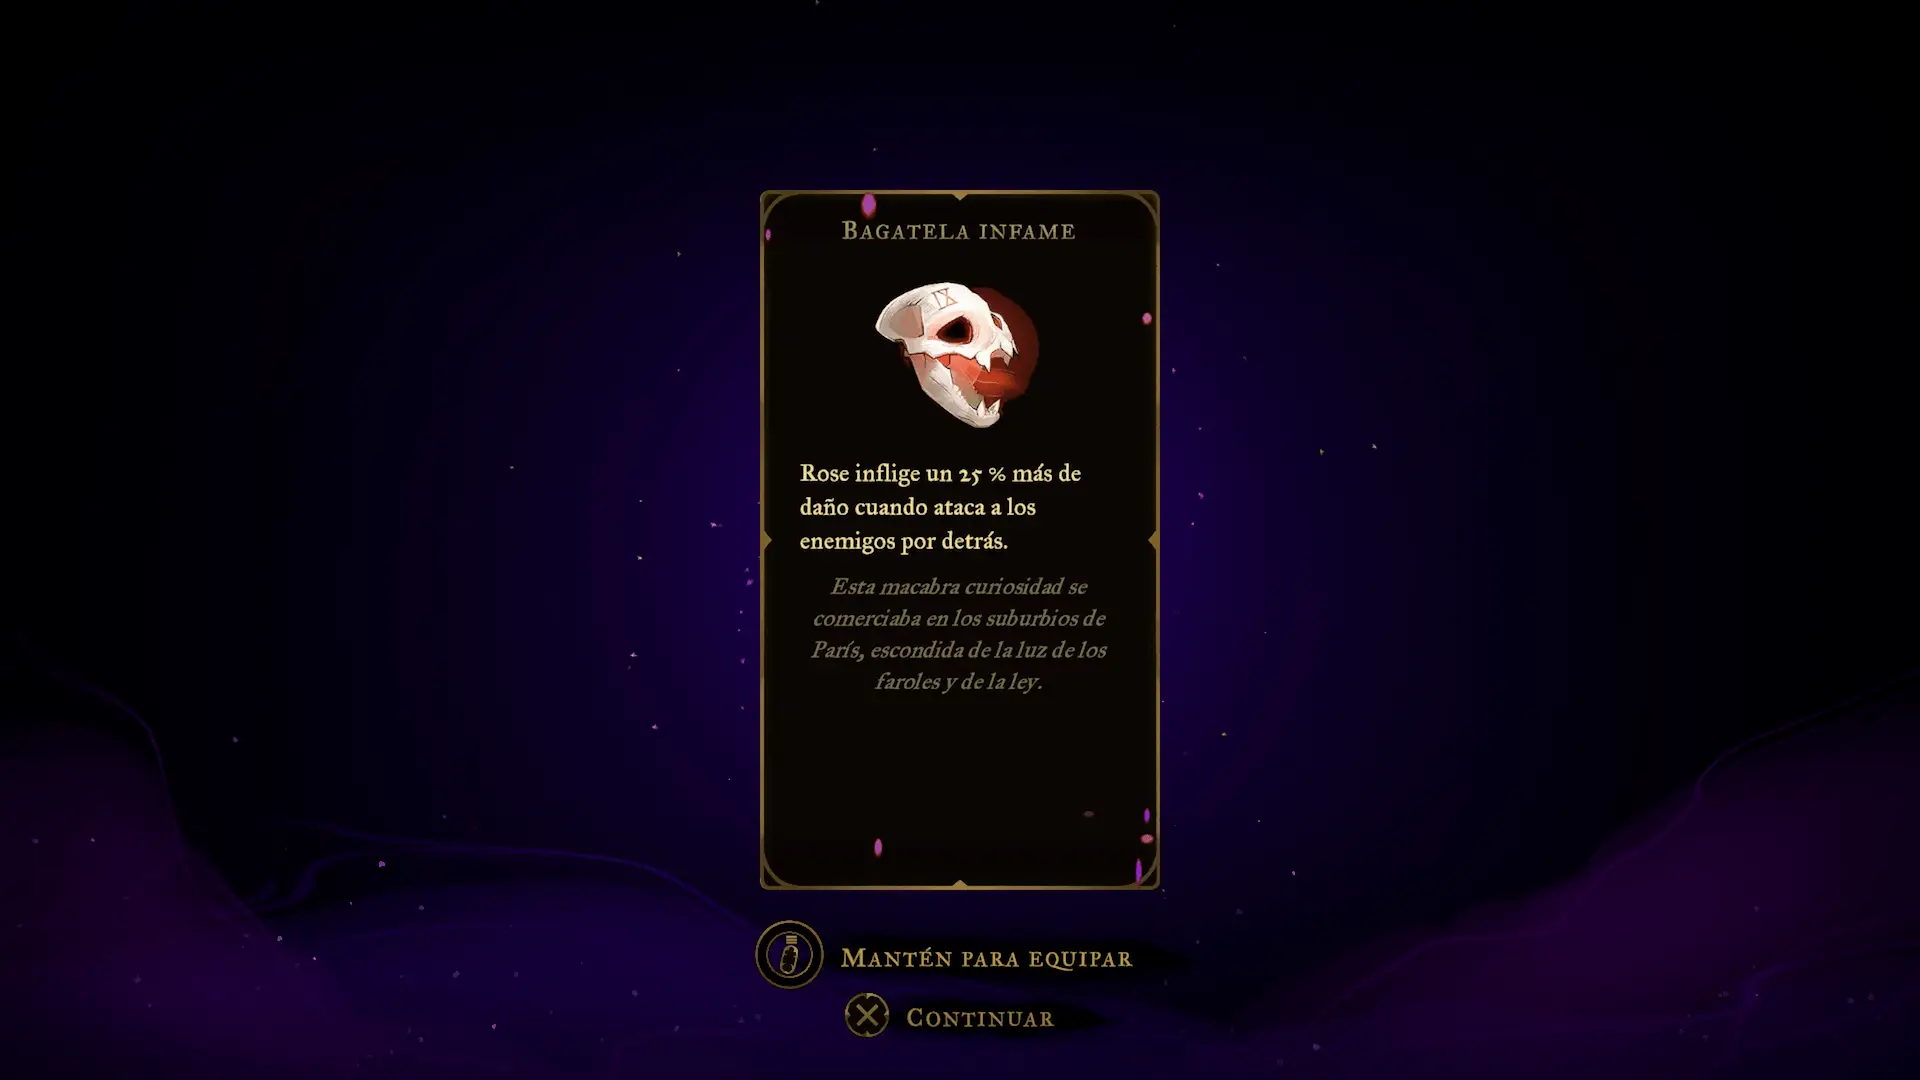
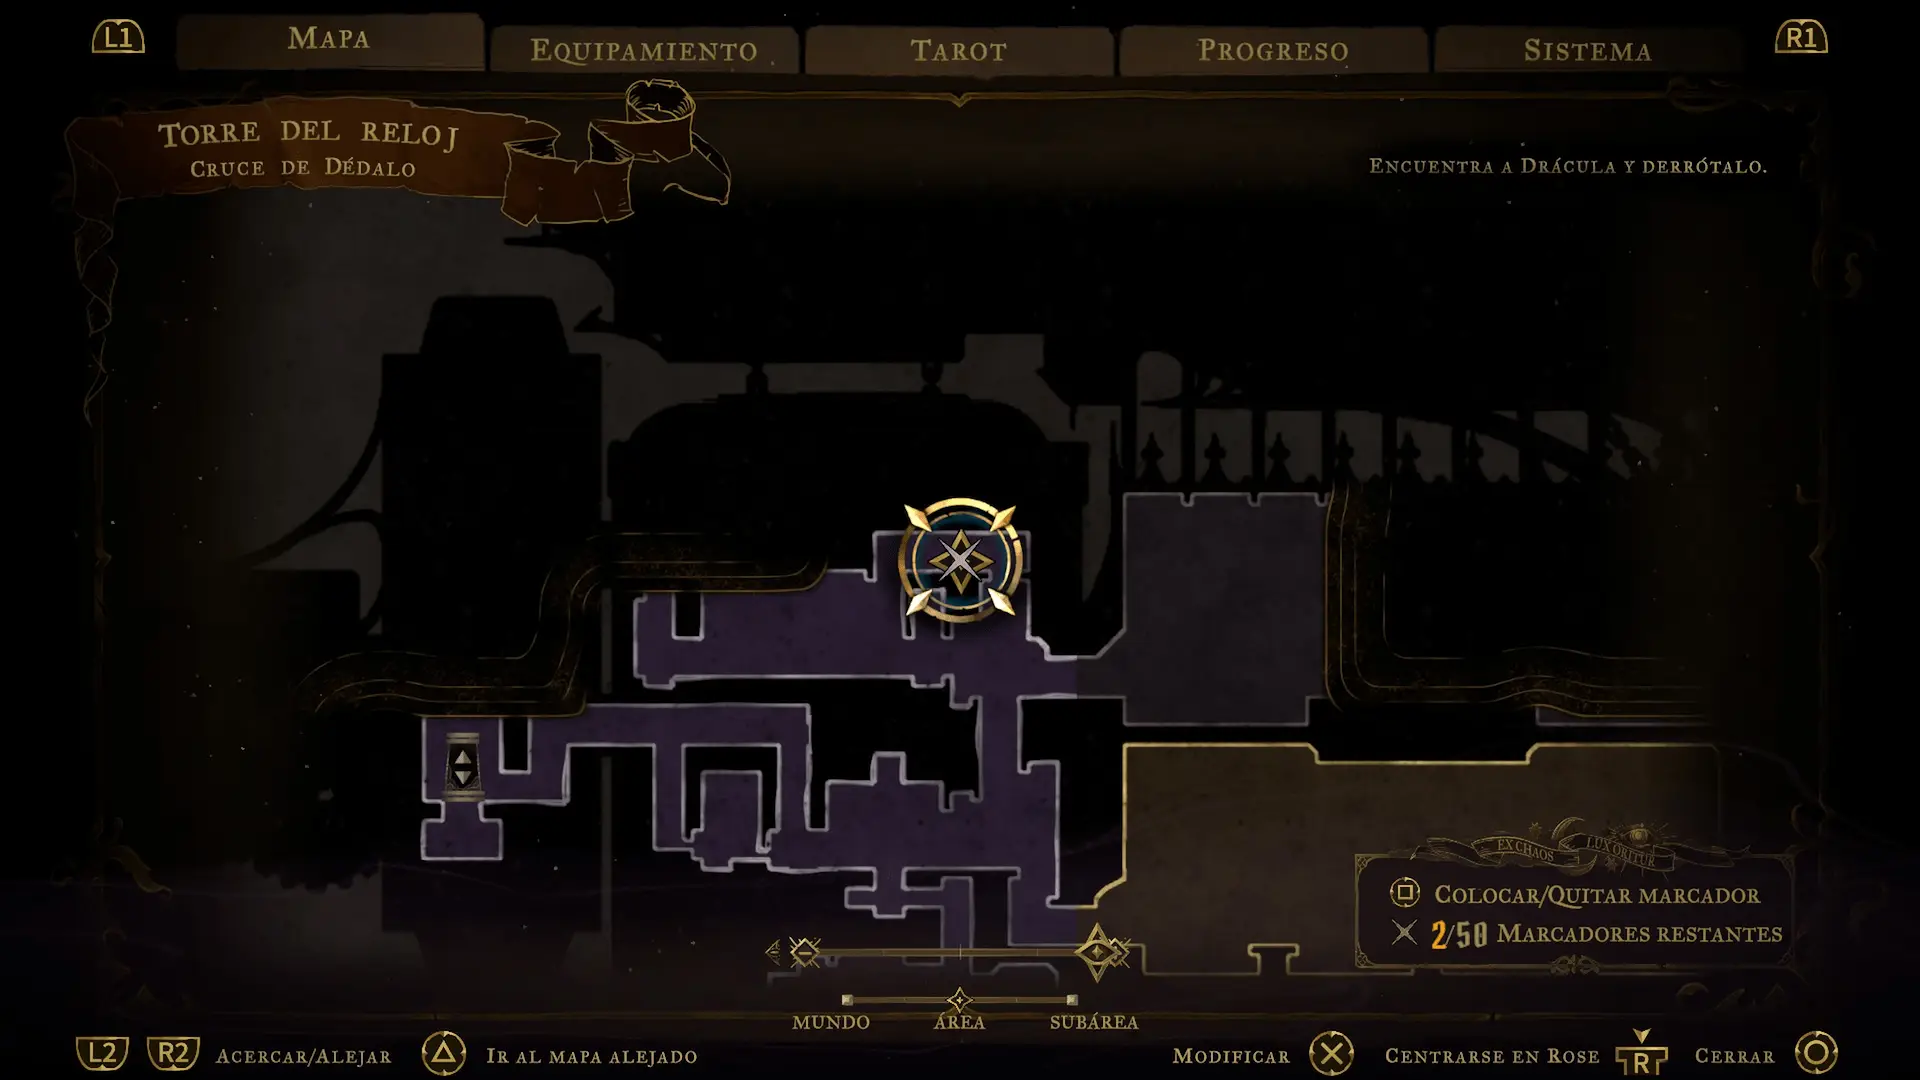
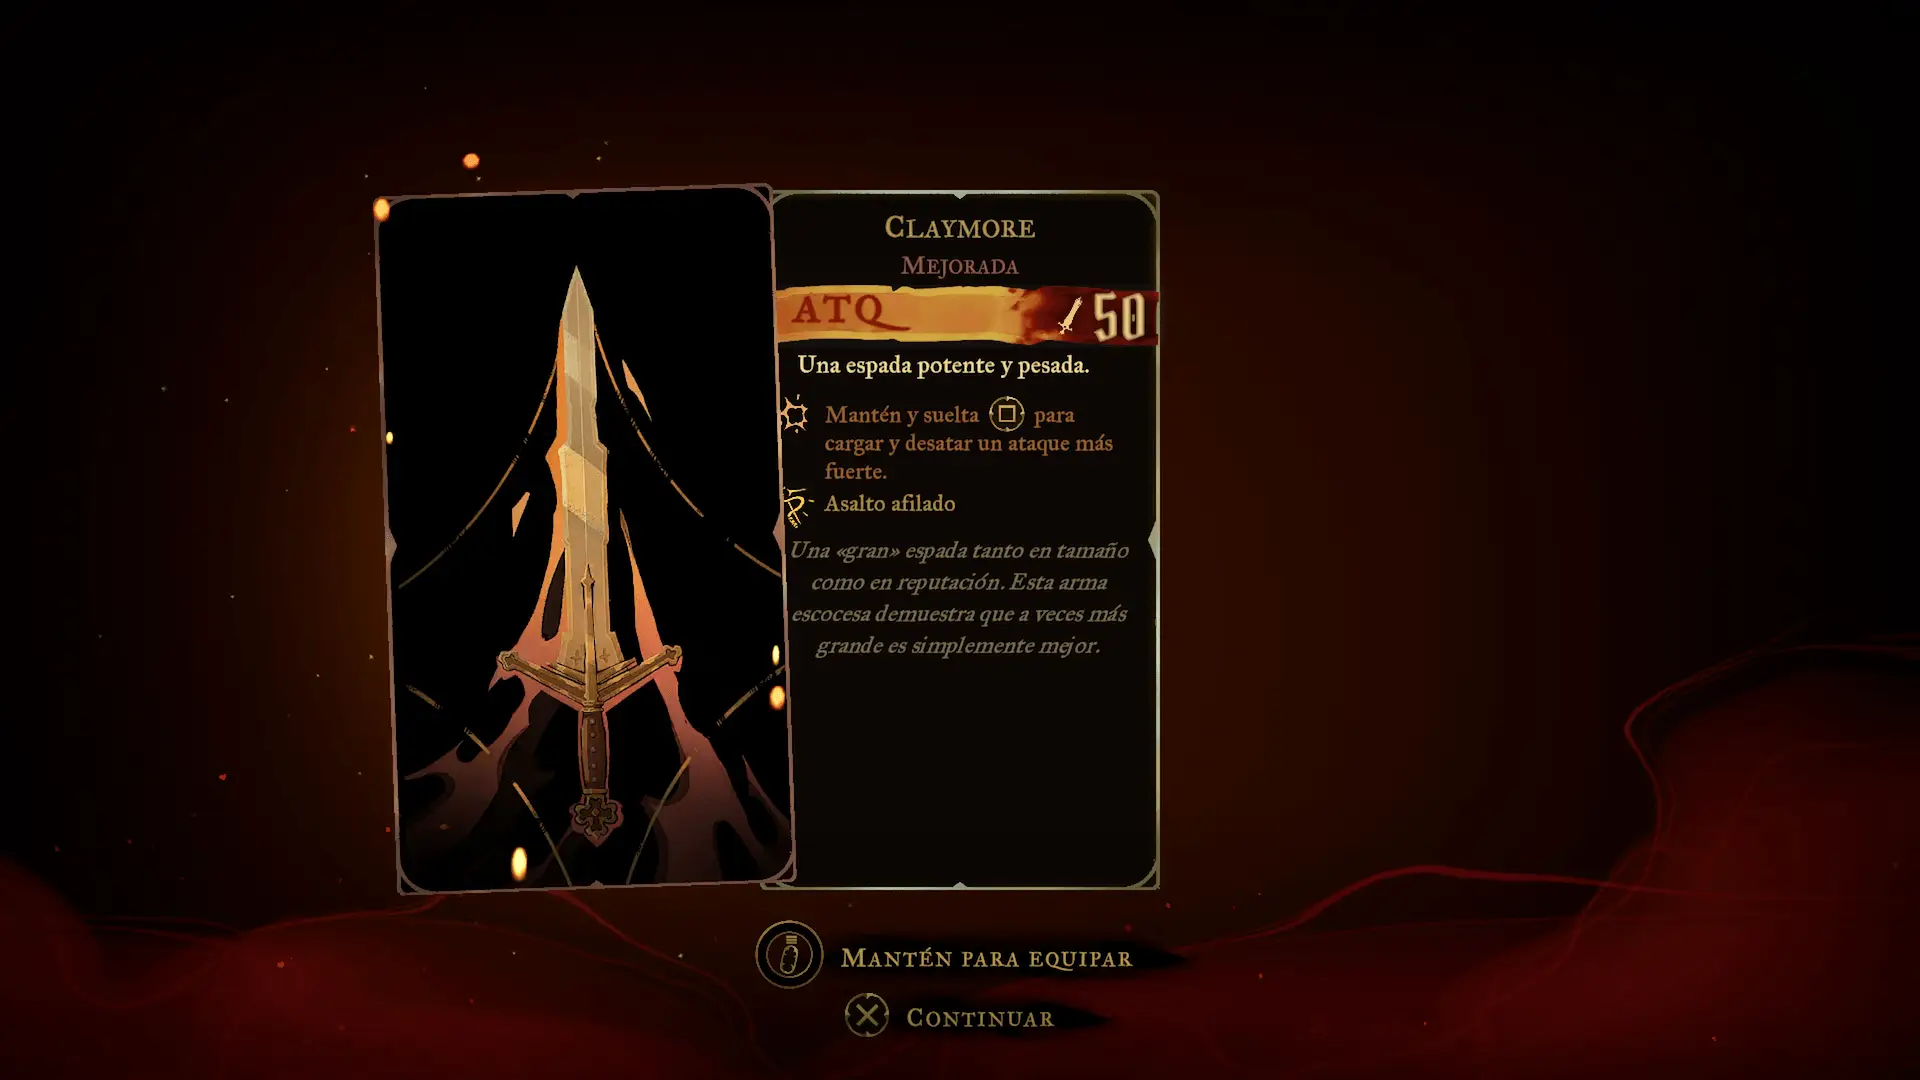
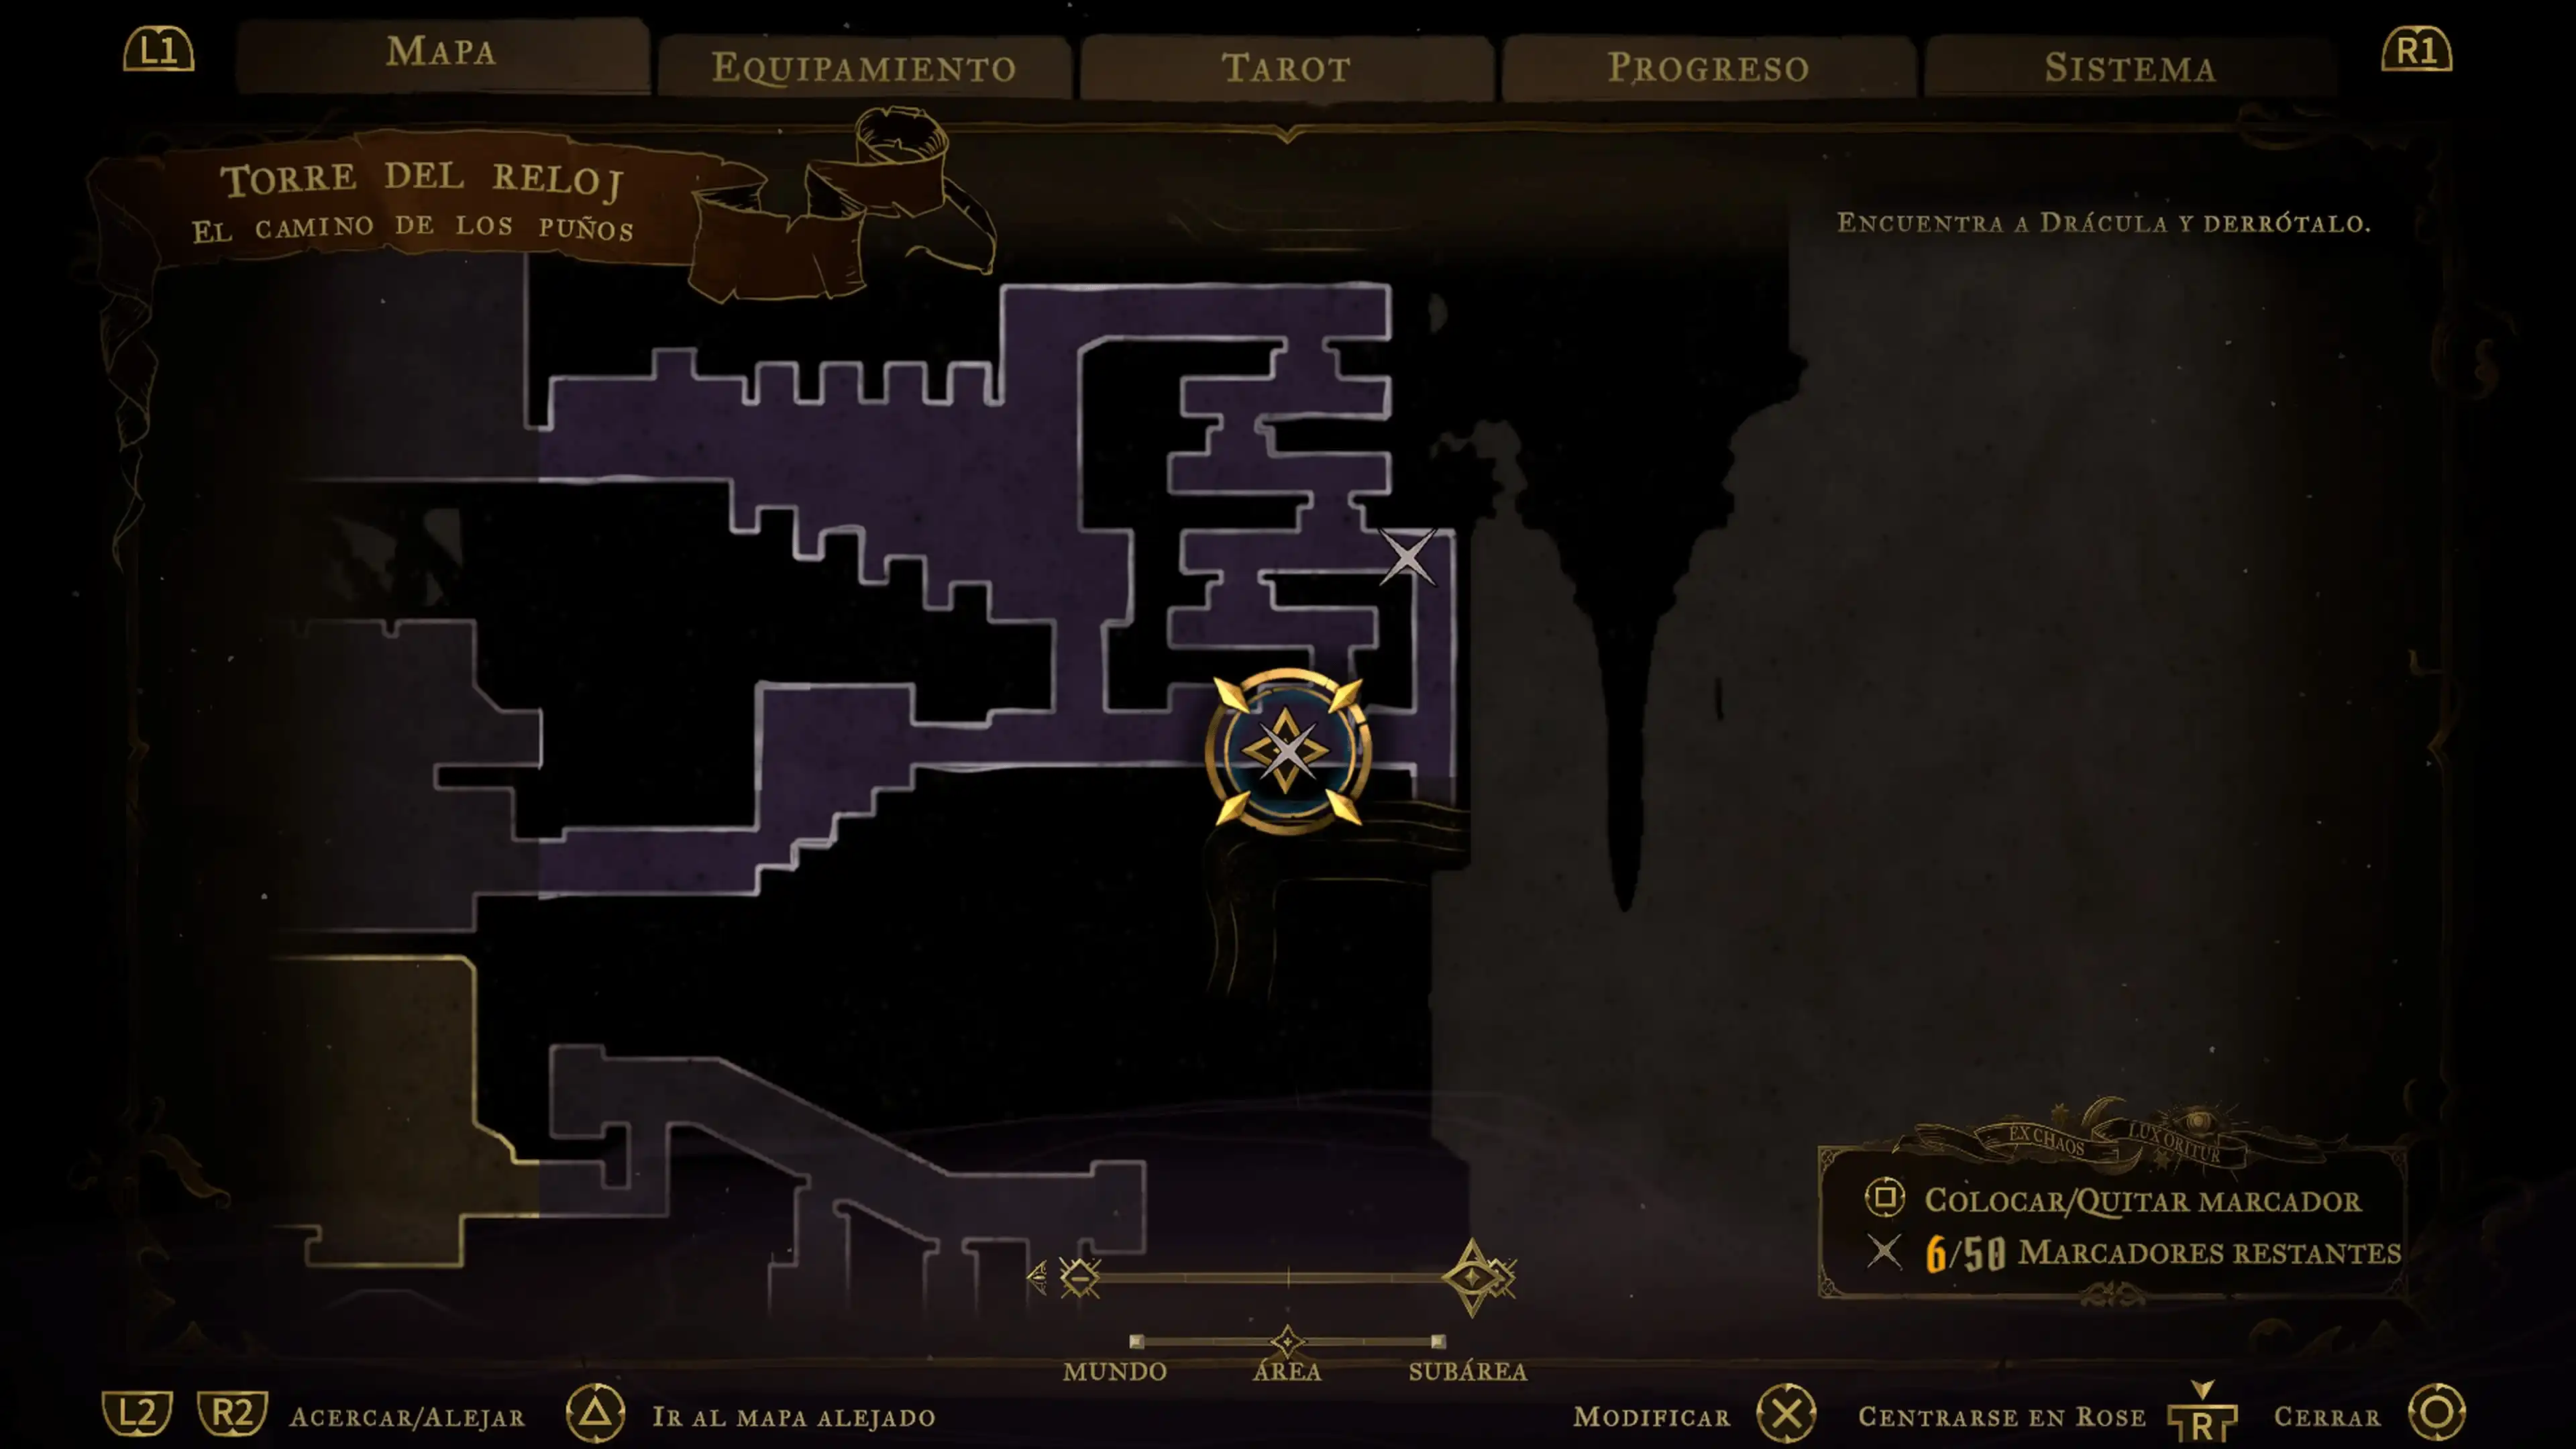
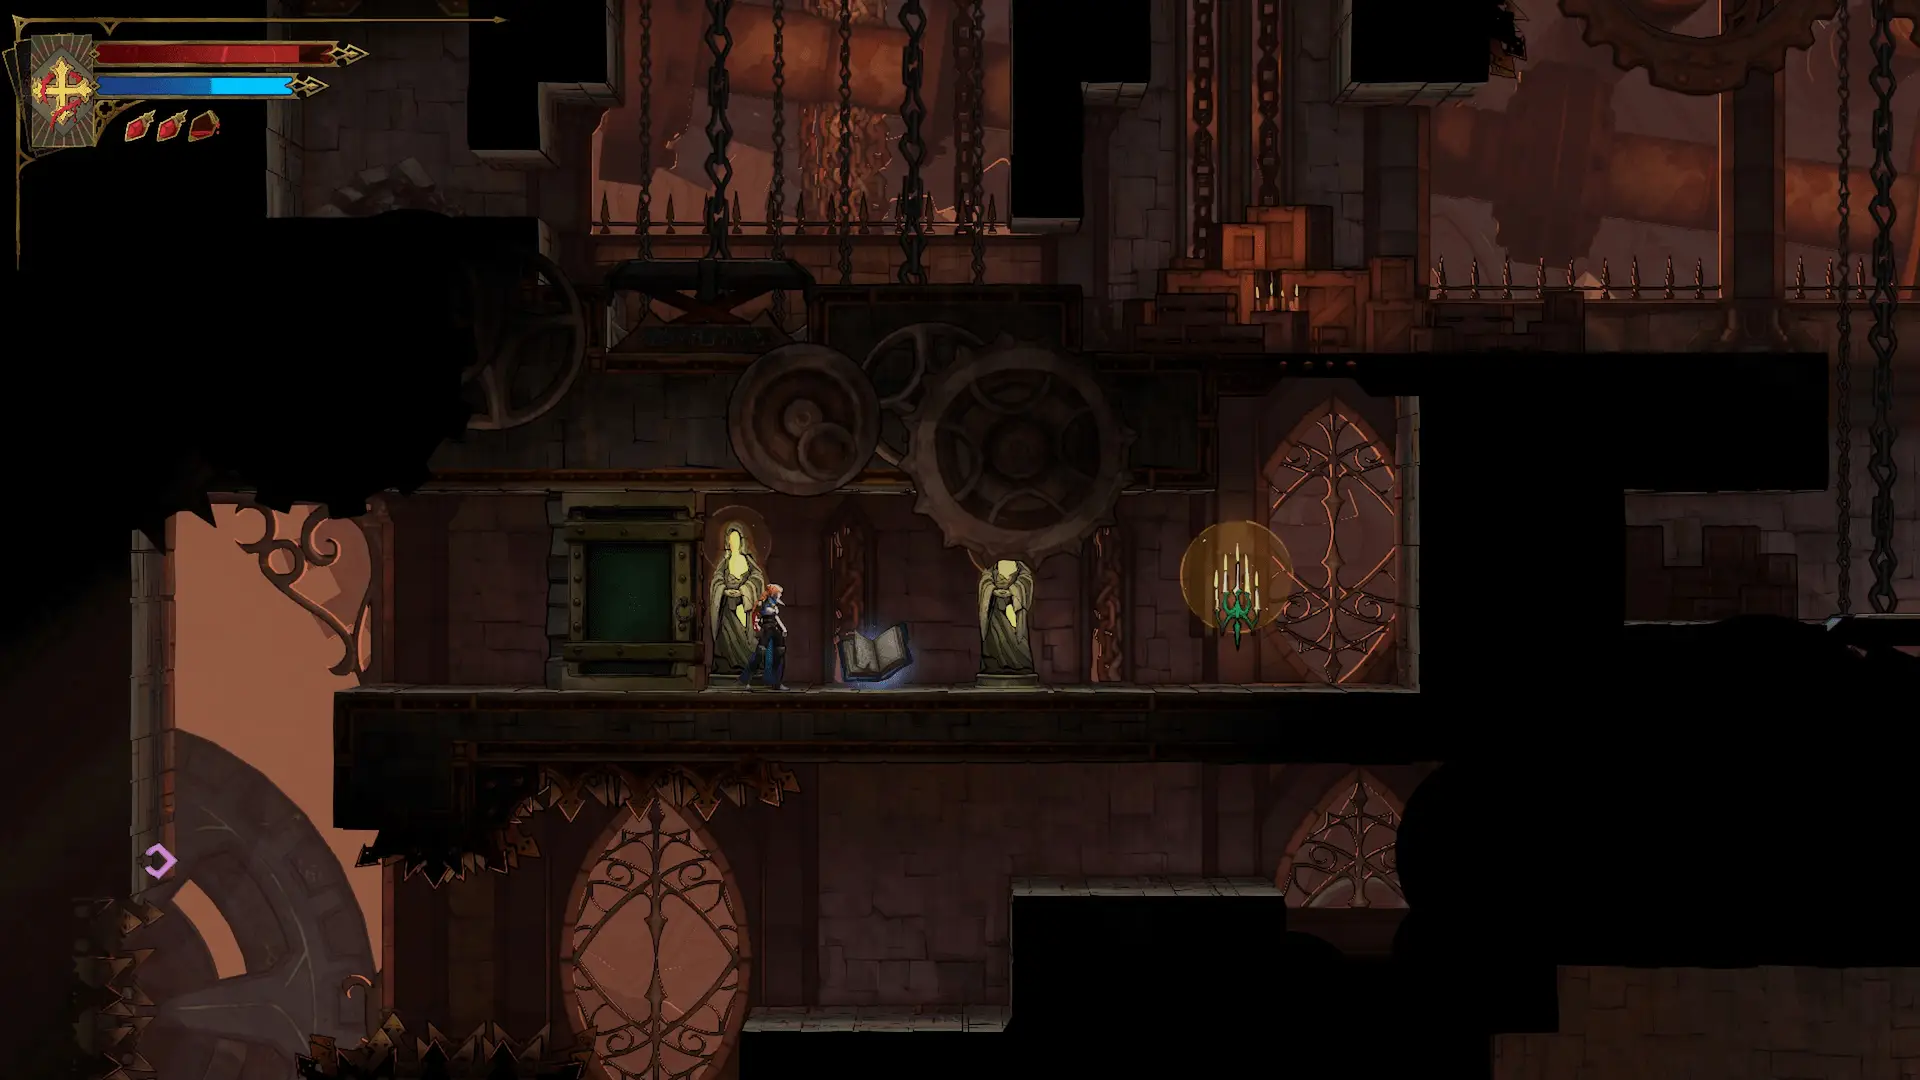
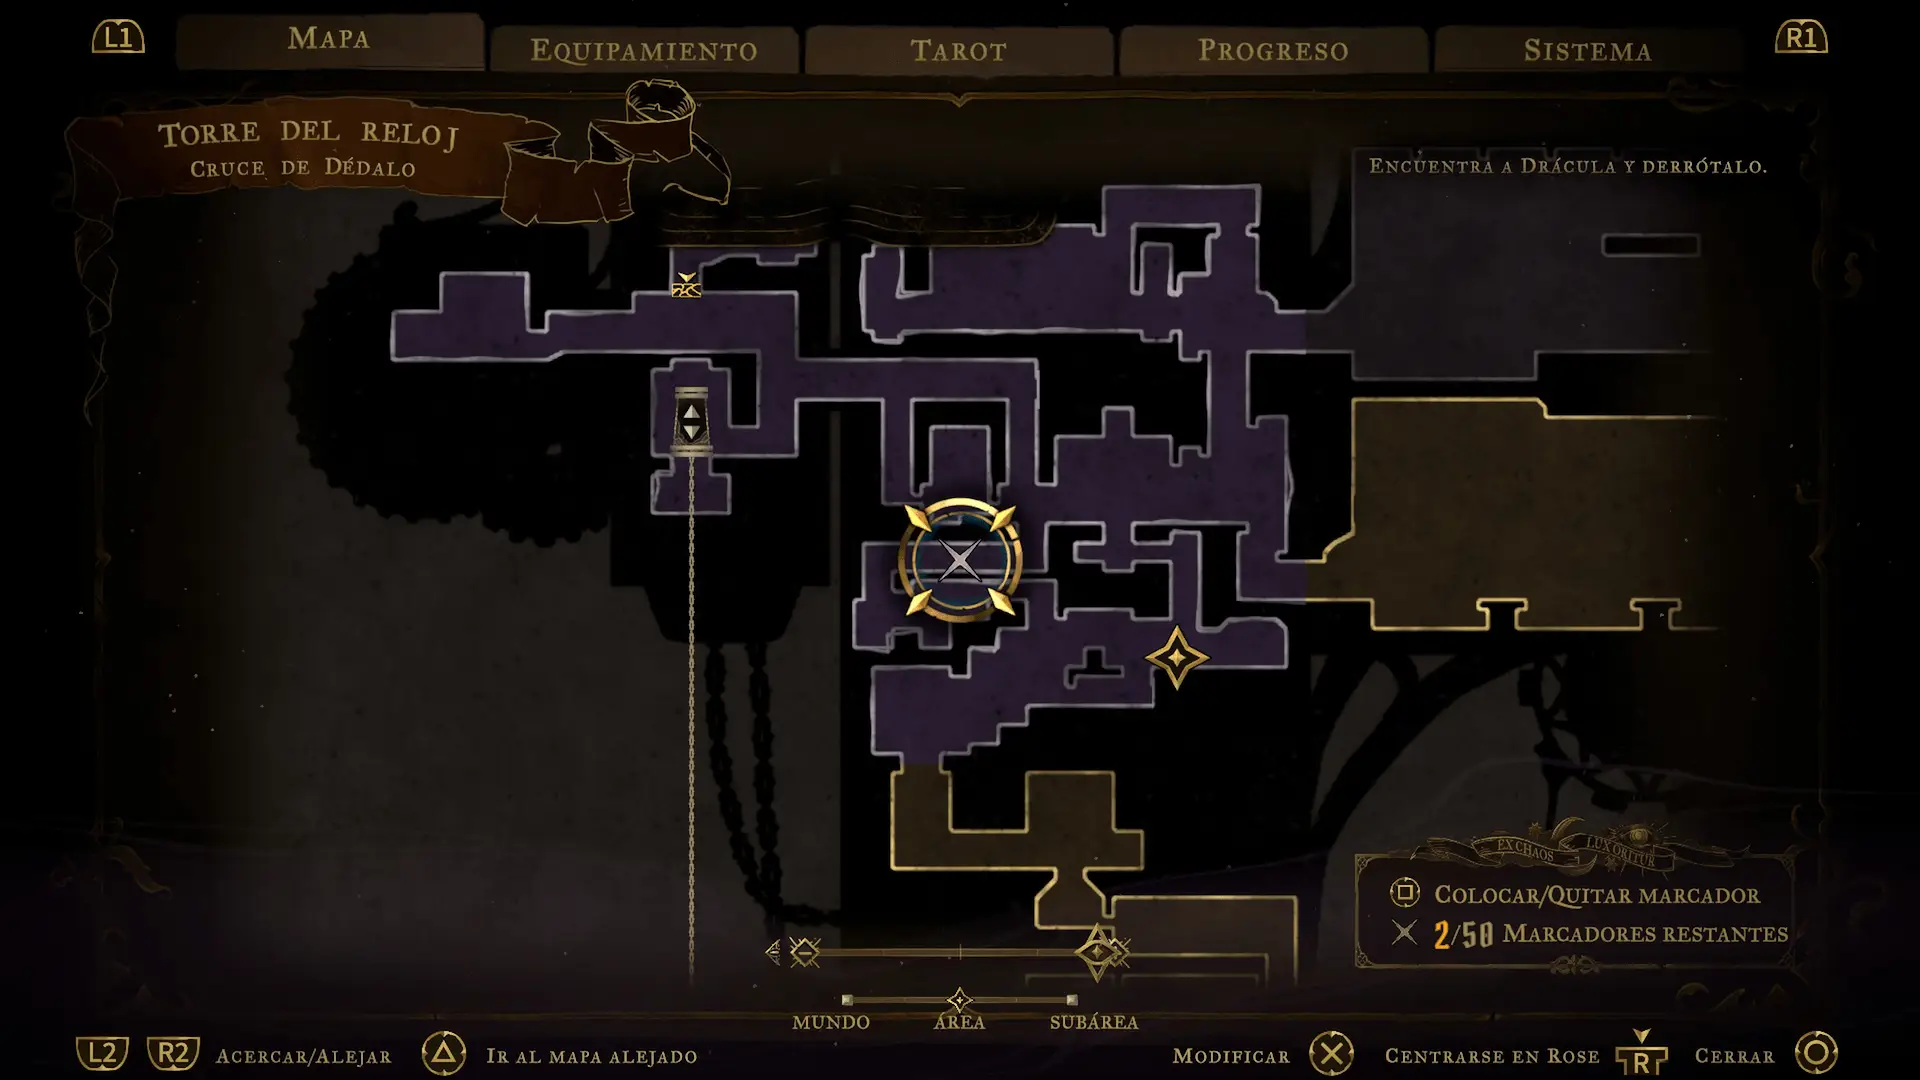
In Daedalus Crossing, examine the accessible side rooms before committing to the enormous fist mechanism. Read the blueprints and look at the beams that hold the fist in place: three separate switches must change their orientation. The room called Infamous Bagatelle contains another stone-fist obstacle; time its punches and work through its ledges. The Light Bones chest cannot be reached on this first visit, so leave it for the later Smash and timed-clock route. Along the connected elevator detour, collect the Claymore and the Wise Heart Fragment. Search the hidden statue chamber for the Defense Book, then return via the shortcut.
Halberd: western maintenance shaft detour
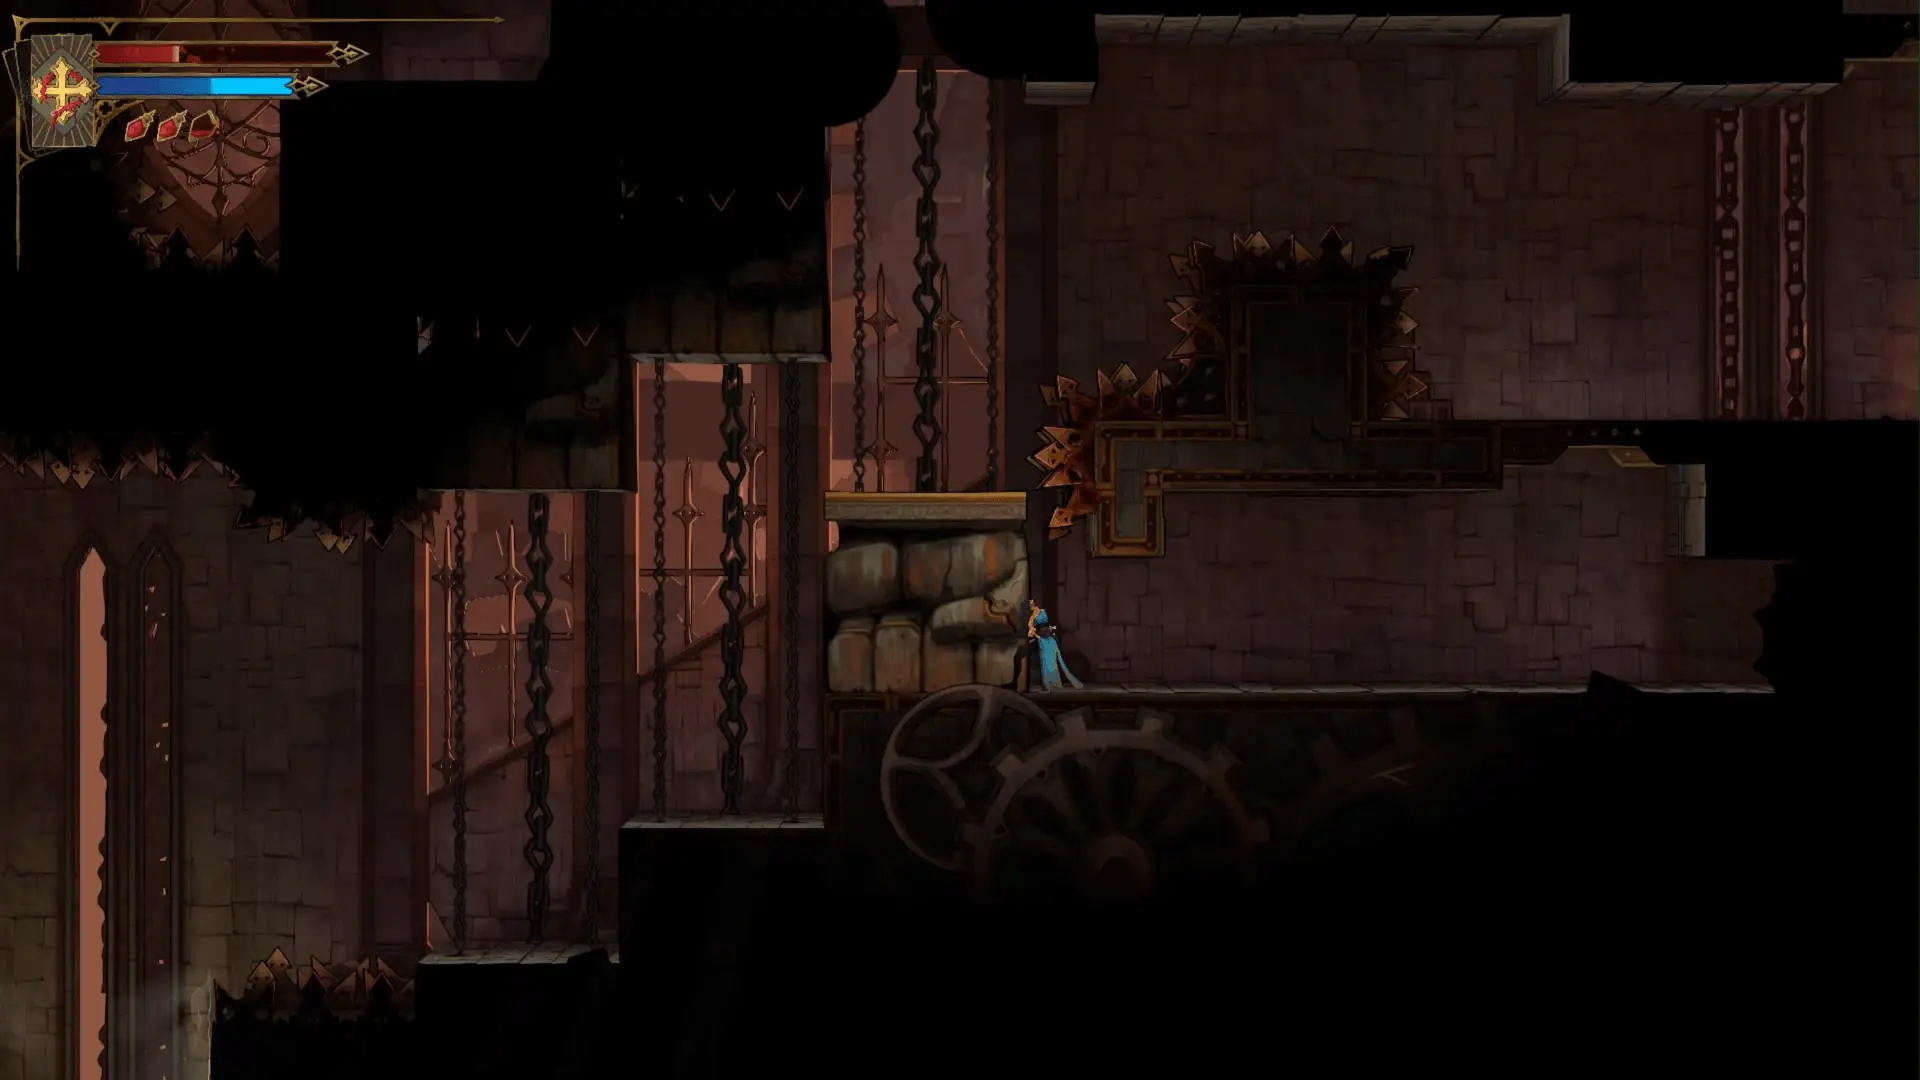
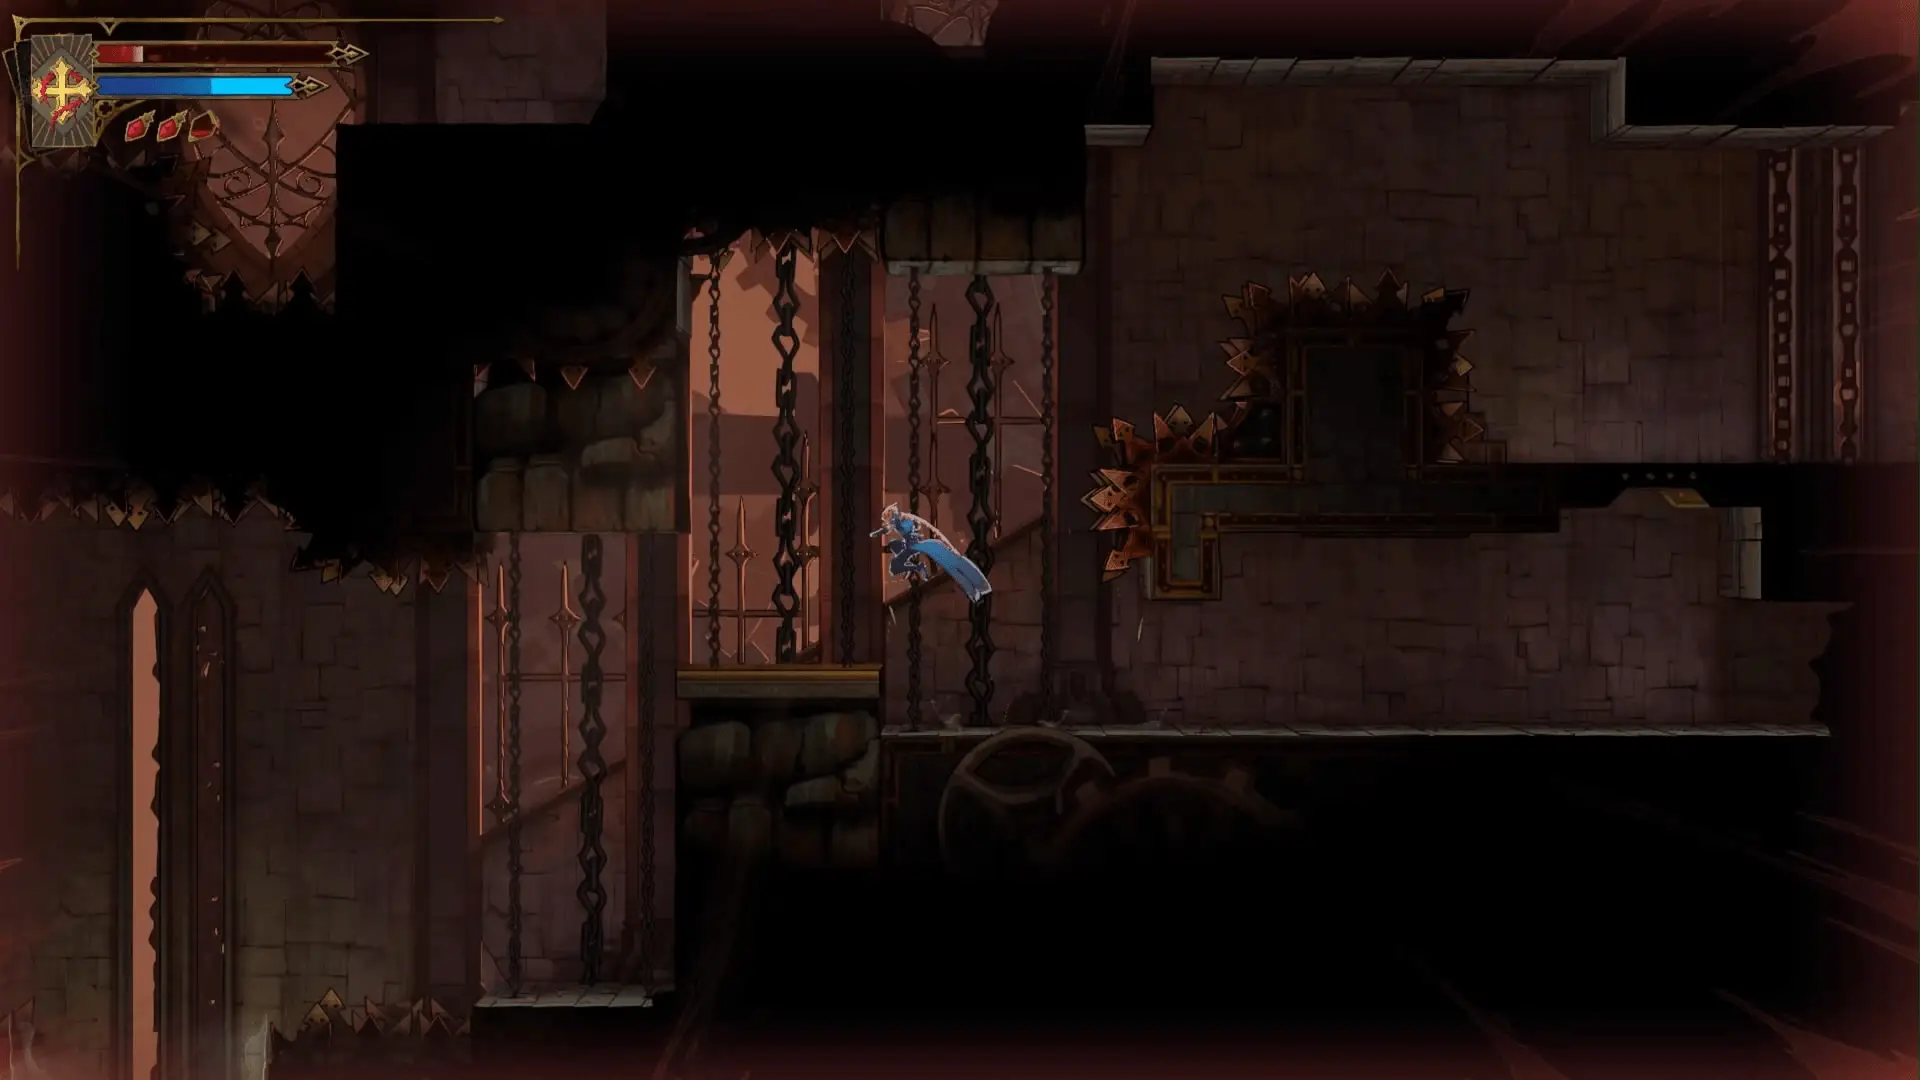
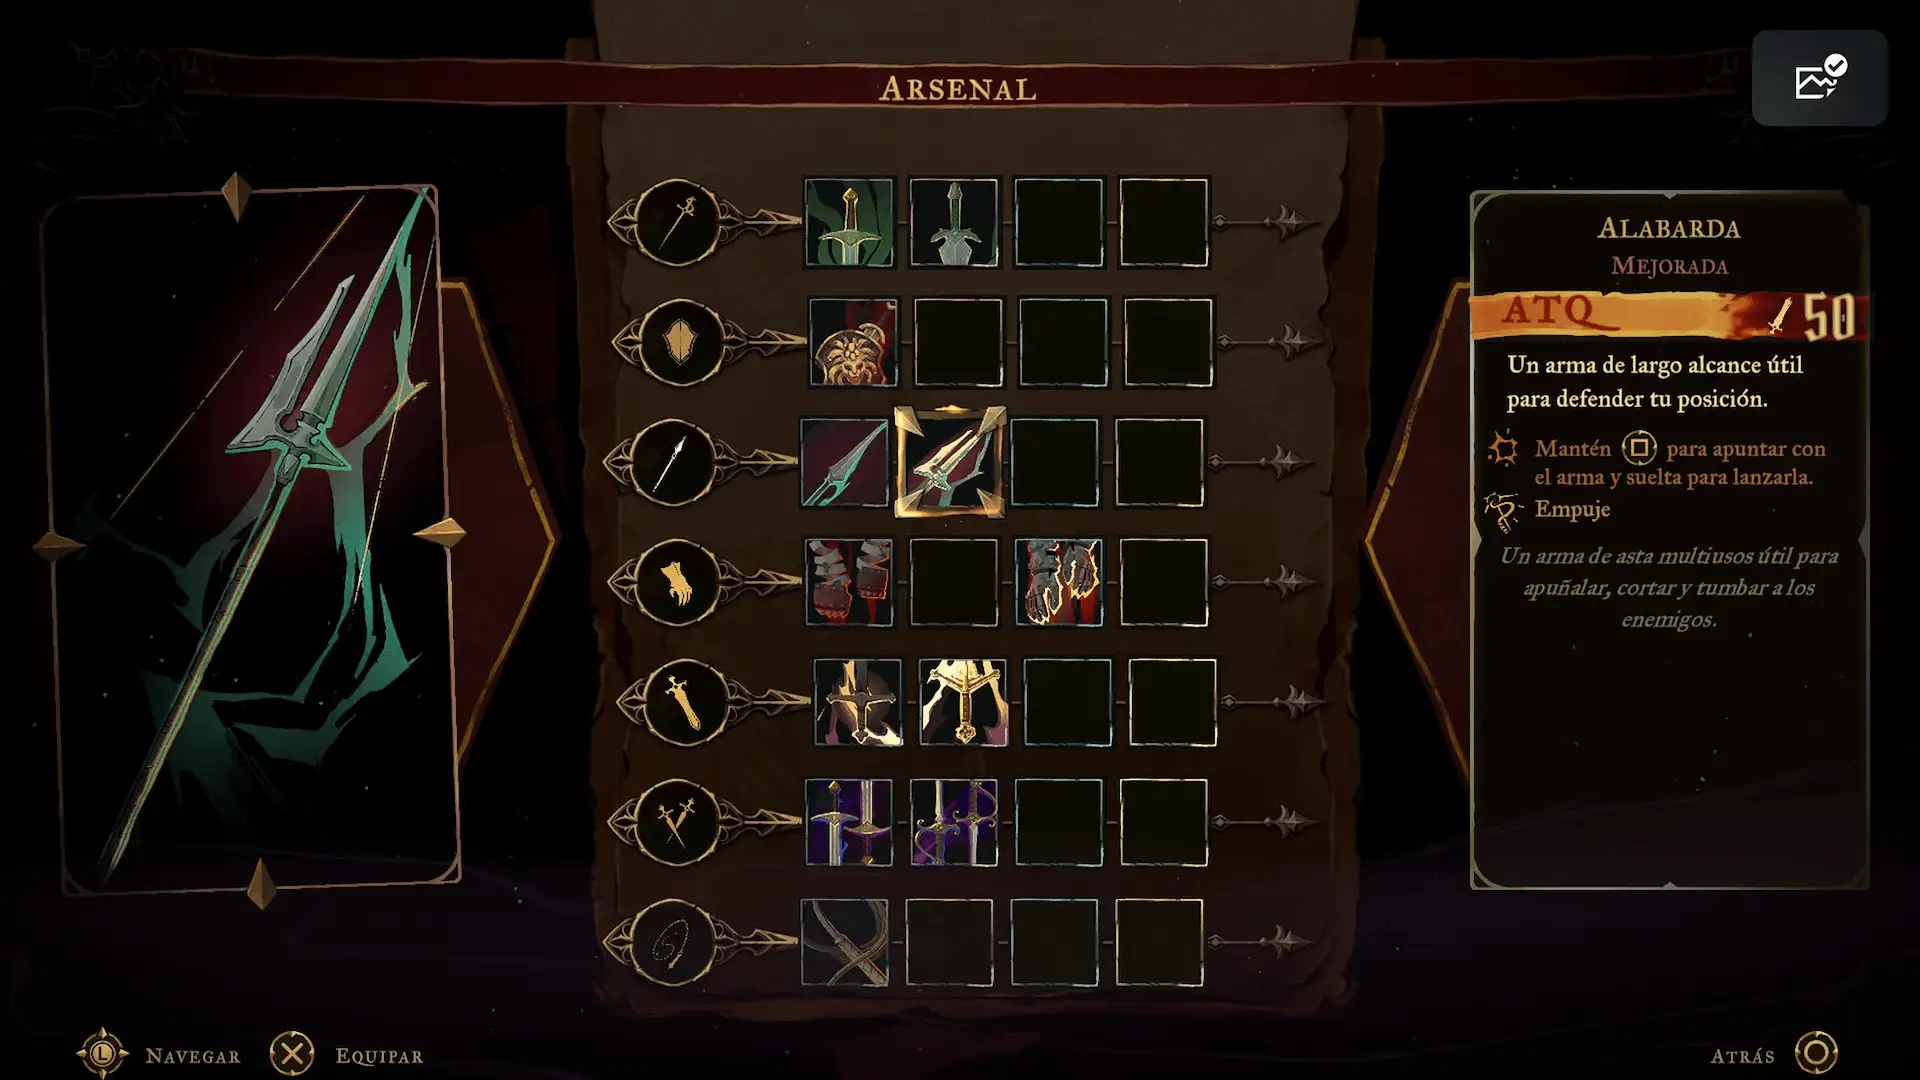
Enter the Western Maintenance Shaft from the lower connecting passages. Use the whip grapples to clear the hazards and find the chest containing the Halberd. Continue through the maintenance path and return to the west-side mechanisms.
Mechanic’s Ascent and western base: mirror and mana fragment
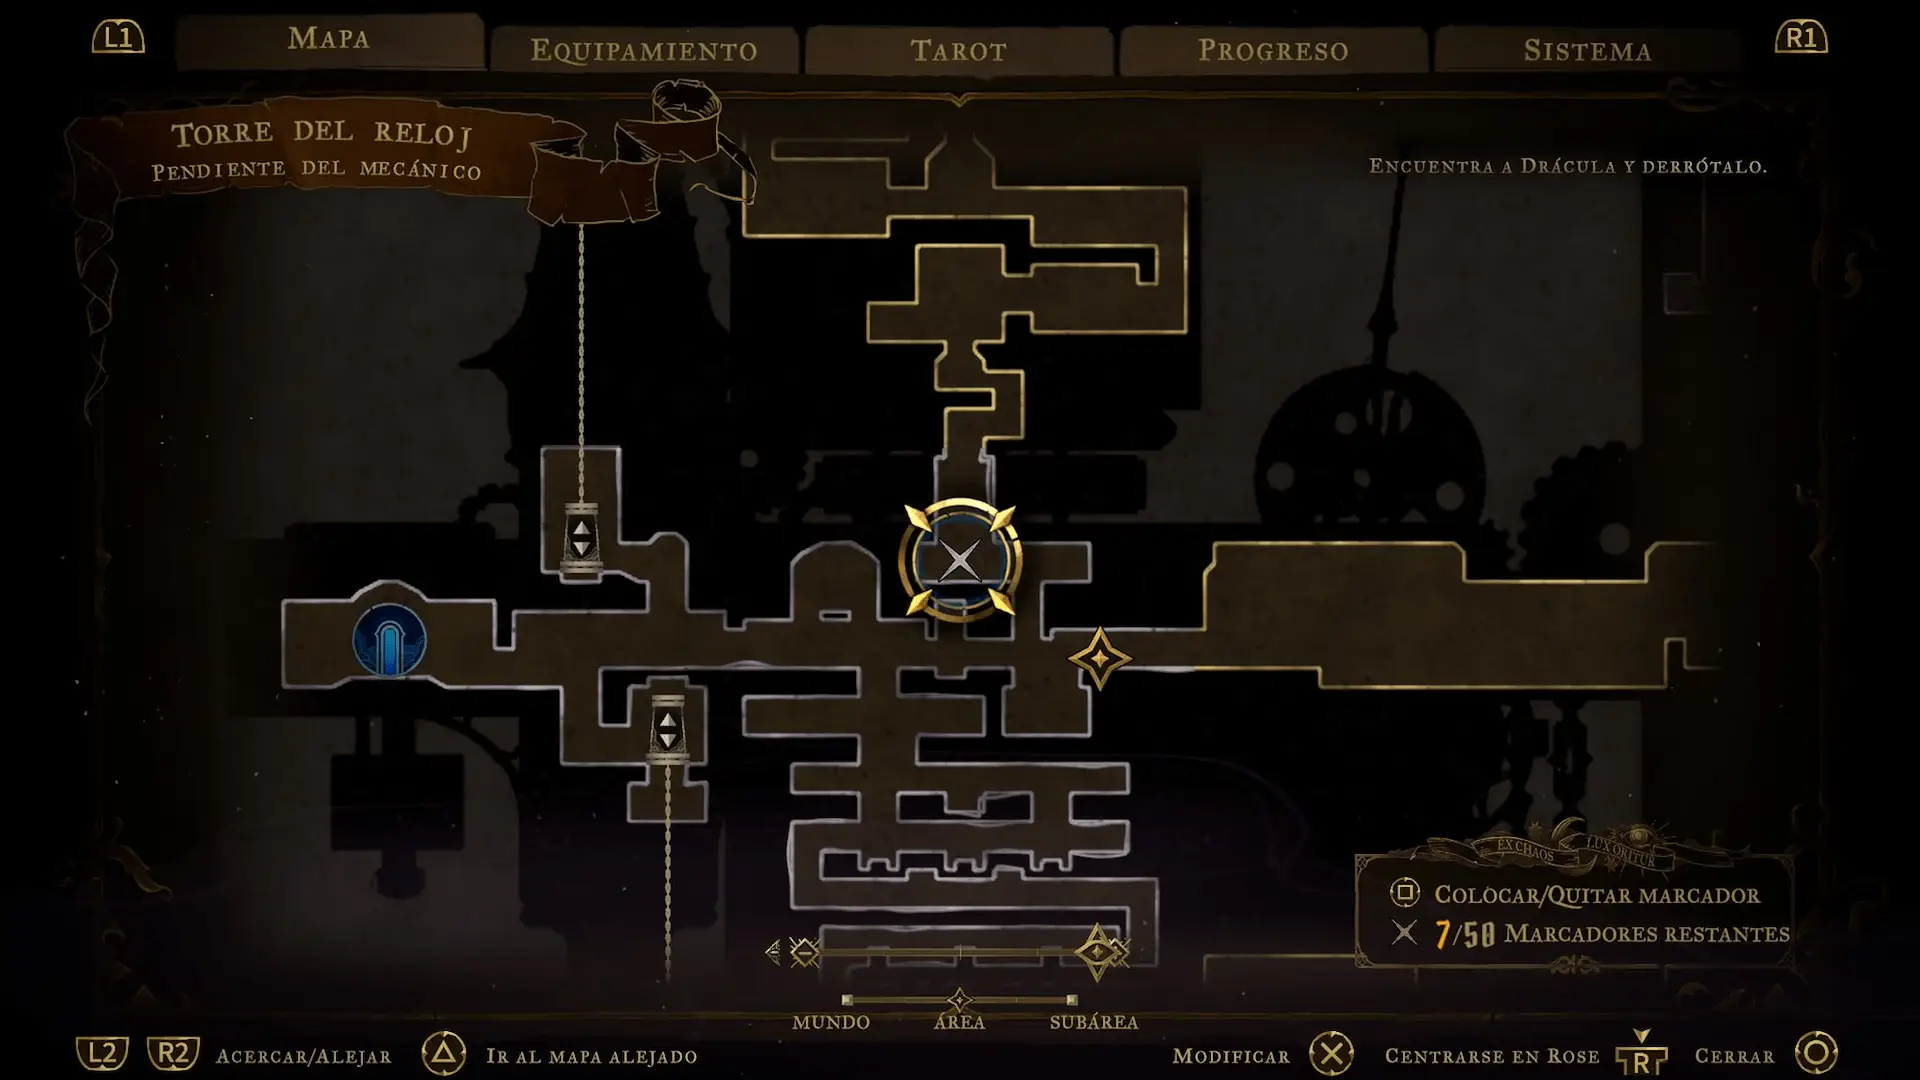
Proceed down Mechanic’s Ascent toward the western base. Activate its Life Mirror as soon as you reach it. Check the reachable side routes for a Wise Heart Fragment and open the nearby shortcut so you can travel between the tower levels without retracing the entire descent.
Lower Gallery and return to the Eastern Access Shaft
Cross the Lower Gallery using the lifts, grapple points, and platforms that shift under the weight of the mechanisms. Follow the connecting passage back to the Eastern Access Shaft. The next objective is to free the central stone fist by moving all three supporting beams.
Giant fist puzzle: solving the three beams
Return to the suspended giant fist and locate the switches operating its three rotating crossbeams. The lower switch controls the first beam, the high switch controls the second, and the central switch controls the last. Approach the first switch from below, then climb to the upper switch using the available platforms and grapple points. Finally, return to the central switch. Check the beams after each activation rather than assuming the fist can fall immediately. Once all three are correctly positioned, the fist descends and opens the route ahead.
Foundry Apex: activate the Life Mirror
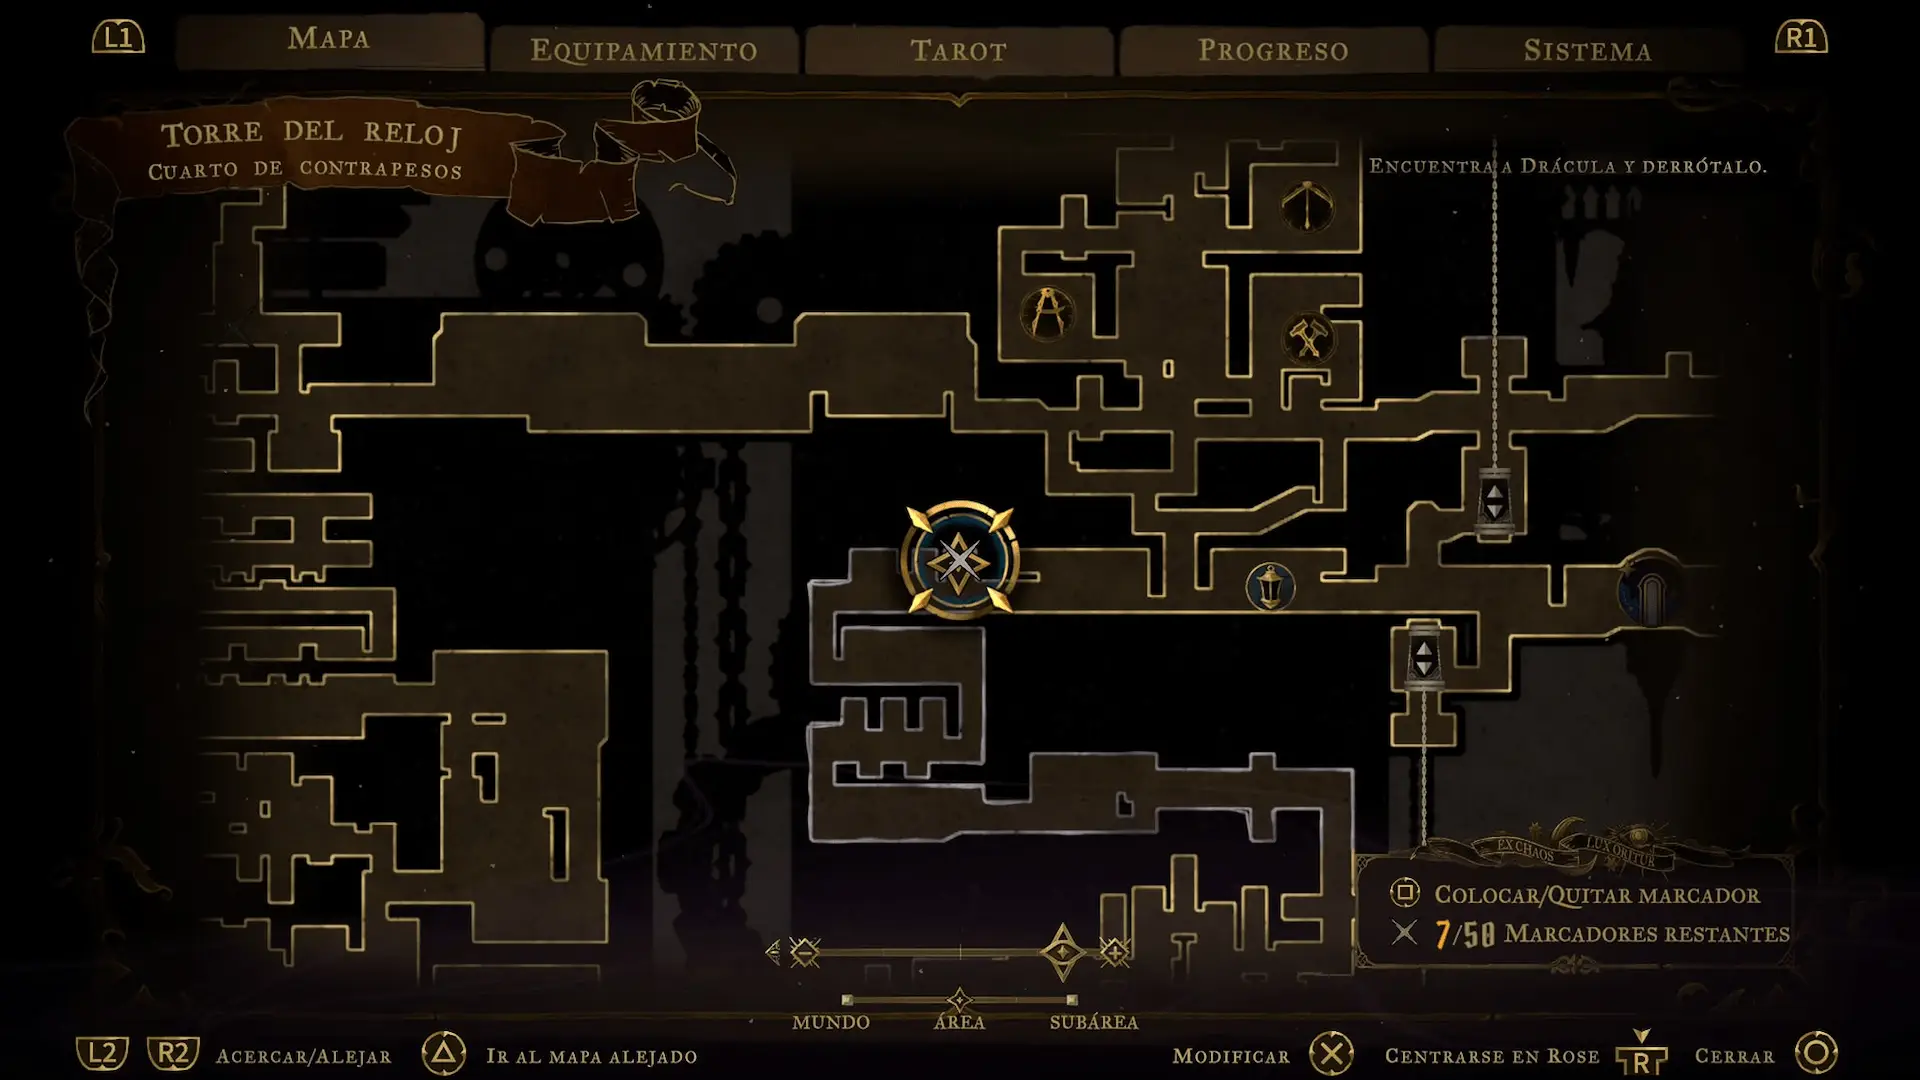
Climb through the newly opened route to Foundry Apex. Activate the Life Mirror before moving deeper into the foundry. Use this save point as your base when exploring the counterweights and preparing for the boss.
Counterweight Room: obtain the Attack Book
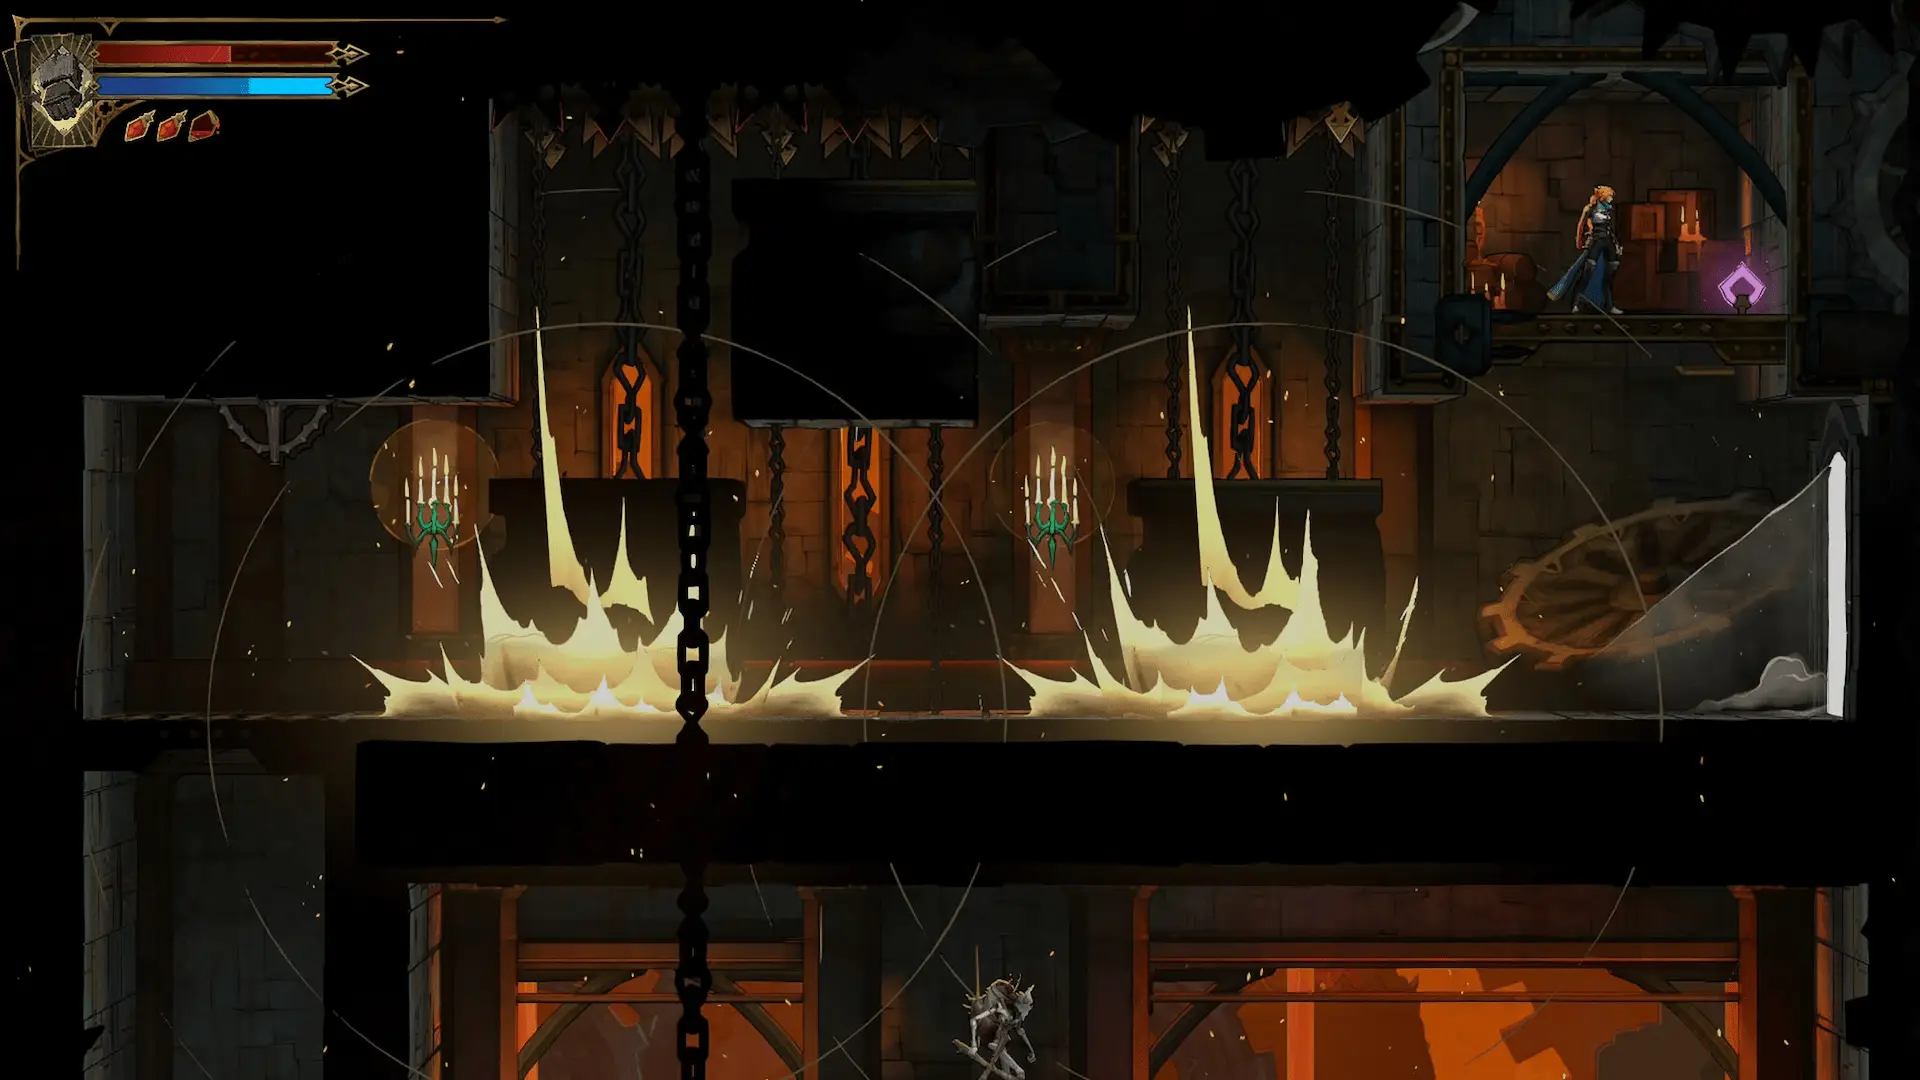
Cross the Counterweight Room by moving between the large mechanical platforms. Time the shifting blocks and use the whip to hold your position while the weights move. Explore the accessible upper side path to claim the Attack Book, then return to the main route.
Foundry Room: grapples and stone fists
In the Foundry Room, swing between the overhead grapples and wait for the stone fists to strike before crossing each narrow opening. Use the recesses between attacks to pause. Continue into the Central Fuel Depot and keep the return route in mind.
Central Fuel Depot: mechanisms, food, and Wise Heart Fragment
Work through the machinery in the Central Fuel Depot, taking each lever and moving platform in sequence. Break the hidden wall for food when needed. Before leaving, check the high side passage for a Wise Heart Fragment. Return to the main machinery and follow the exit toward the Builder’s Path.
Builder’s Path: statue, levers, and enemy arena
Follow the Builder’s Path, destroy the experience statue, and operate the levers that open the following corridors. A closed arena forces you to defeat its enemies before advancing. Once the doors unlock, continue along the trap-filled route leading toward the Throne of the Builder.
Final trap: unlock the elevator and cross the fists
Use the final elevator shortcut before entering the boss approach. Several enormous fists fall in succession over spike-covered gaps: stand outside the first impact area, wait for the punch, then slide beneath it as the fist lifts. Swing across the pits using whip grapples. The upper hidden passage can return you to the room entrance if necessary. Enter the Throne of the Builder with full health and your healing supplies ready.
Talos, first arena: destroy the three shield drones
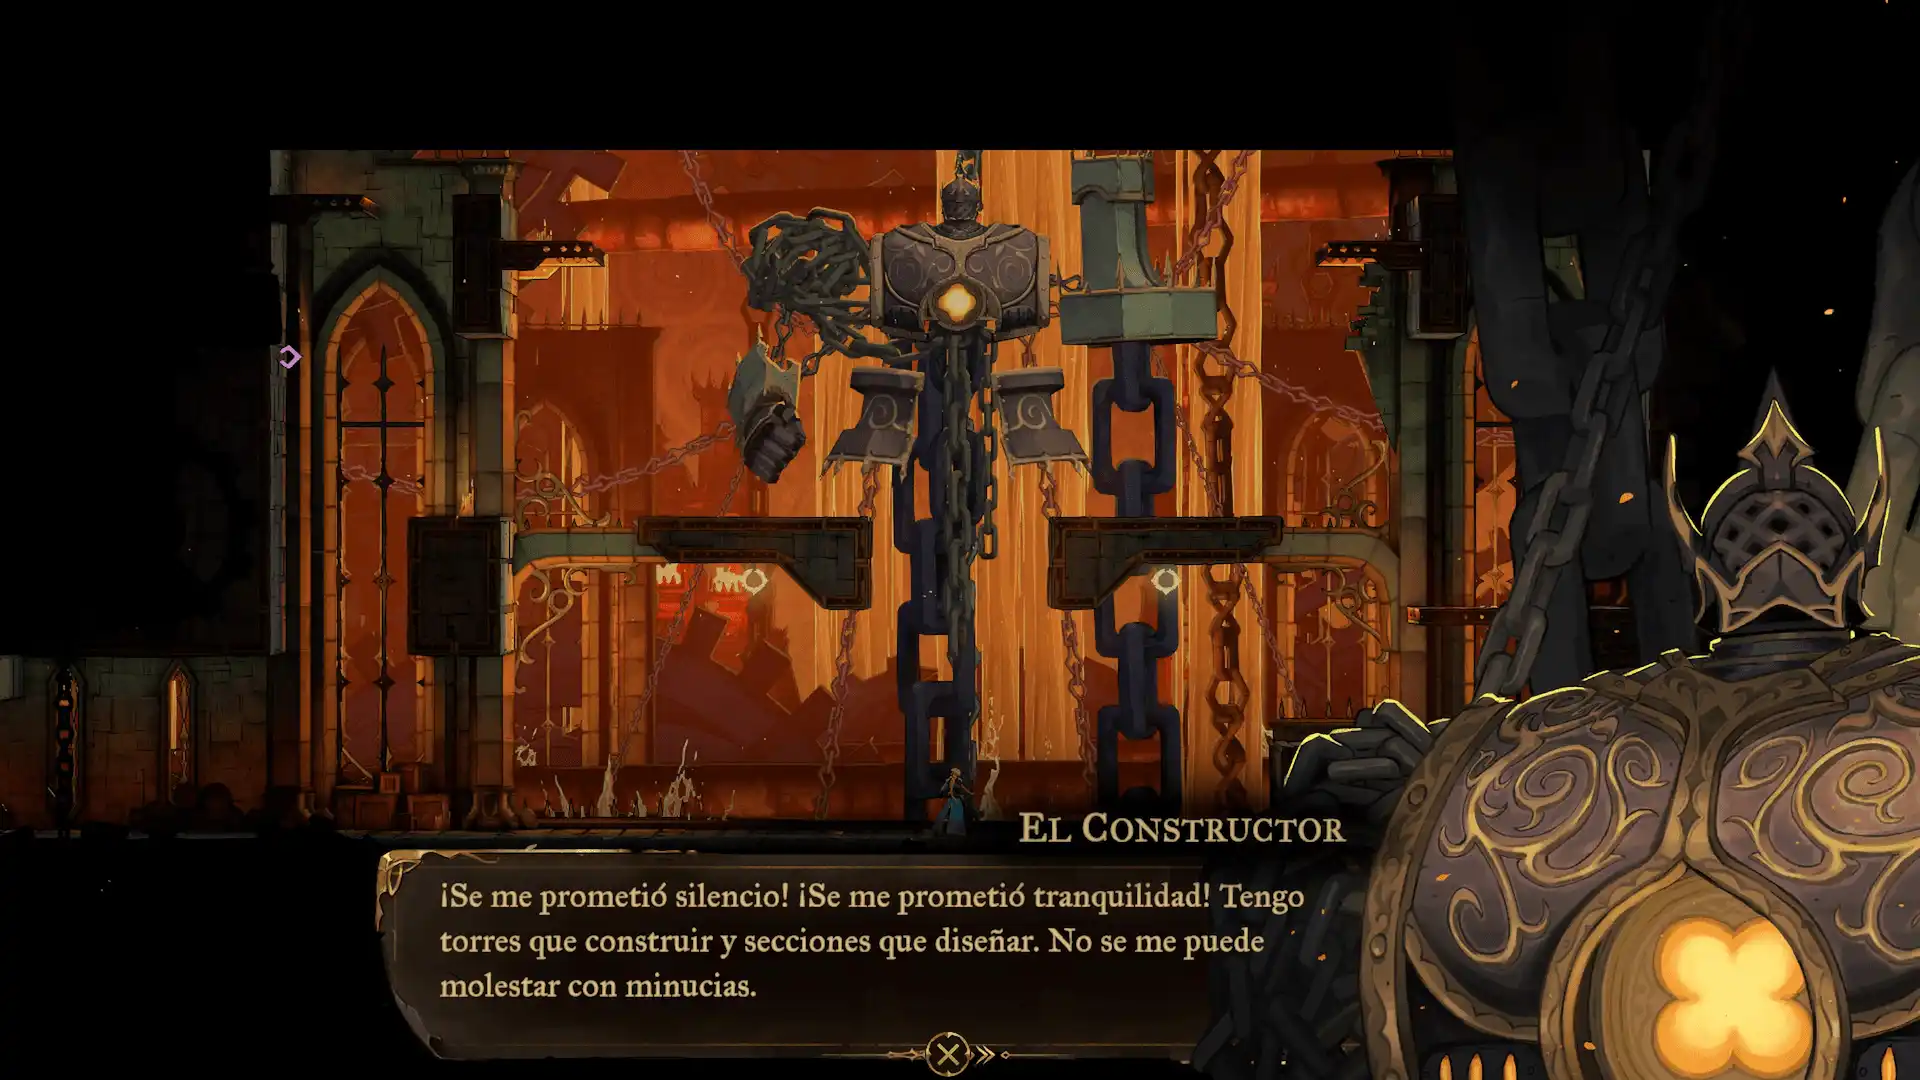
Talos begins protected by a blue shield linked to three floating drones. Attack the drones with the Arcane Whip: on the left, wait below for the first drone to descend, grapple it, and hit it. On the right, climb the small wall ledge and grapple the higher second drone as it passes. For the third, use the central platforms and aim your grapple upward. Only after all three drones are destroyed does Talos expose its chest core.
Talos, first arena: chest core, fire, and punches
When Talos’s shield falls, climb onto the left central platform and strike the glowing orange core in its chest. Keep the edge of the platform between you and the floor hazards. If Talos prepares a fire volley, retreat and wait until it finishes before attacking again. Watch for columns of fire, floating mines, and enormous punching attacks. Move into open spaces as each attack telegraphs, and repeat the drone phase if the shield returns.
Between Talos phases: descend through the traps
Follow Talos left and down when the first arena ends. This is a one-way-feeling descent through crushing blocks, pits, and grapple points; it leads directly to the second fight. Wait for each block to slam down before slipping through. Descend from safe ledge to safe ledge, grapple over the spike pit beside the round gear, and continue to the second arena. Memorize the handholds: you will traverse this route in reverse later.
Talos, second arena: four drones and the core
The second arena features four shield drones. Destroy the two low drones first by grappling upward when they descend. Deal with the left-hand drone when it reaches the bottom of its vertical path. The final drone is high on the right: swing from the grapple below the right central platform to the high pillar, then jump and grapple the drone as it passes overhead. With all four destroyed, strike the exposed core, avoiding fire and fist attacks as before.
Talos finale: the 90-second return
When Talos is almost defeated, a 90-second countdown begins. The boss retreats to the first arena, and you must climb back through the trap circuit before time expires. Leave immediately to the left, grapple the first purple hold, and pass beneath the crushing blocks immediately after they fall. Chain the next two grapples above the spike shaft, swing across the hanging chains at the top, and reach the first arena. Climb onto a central platform and land the last hits on the exposed core before the timer reaches zero.
After Talos: unlock Smash and collect Talos Fists
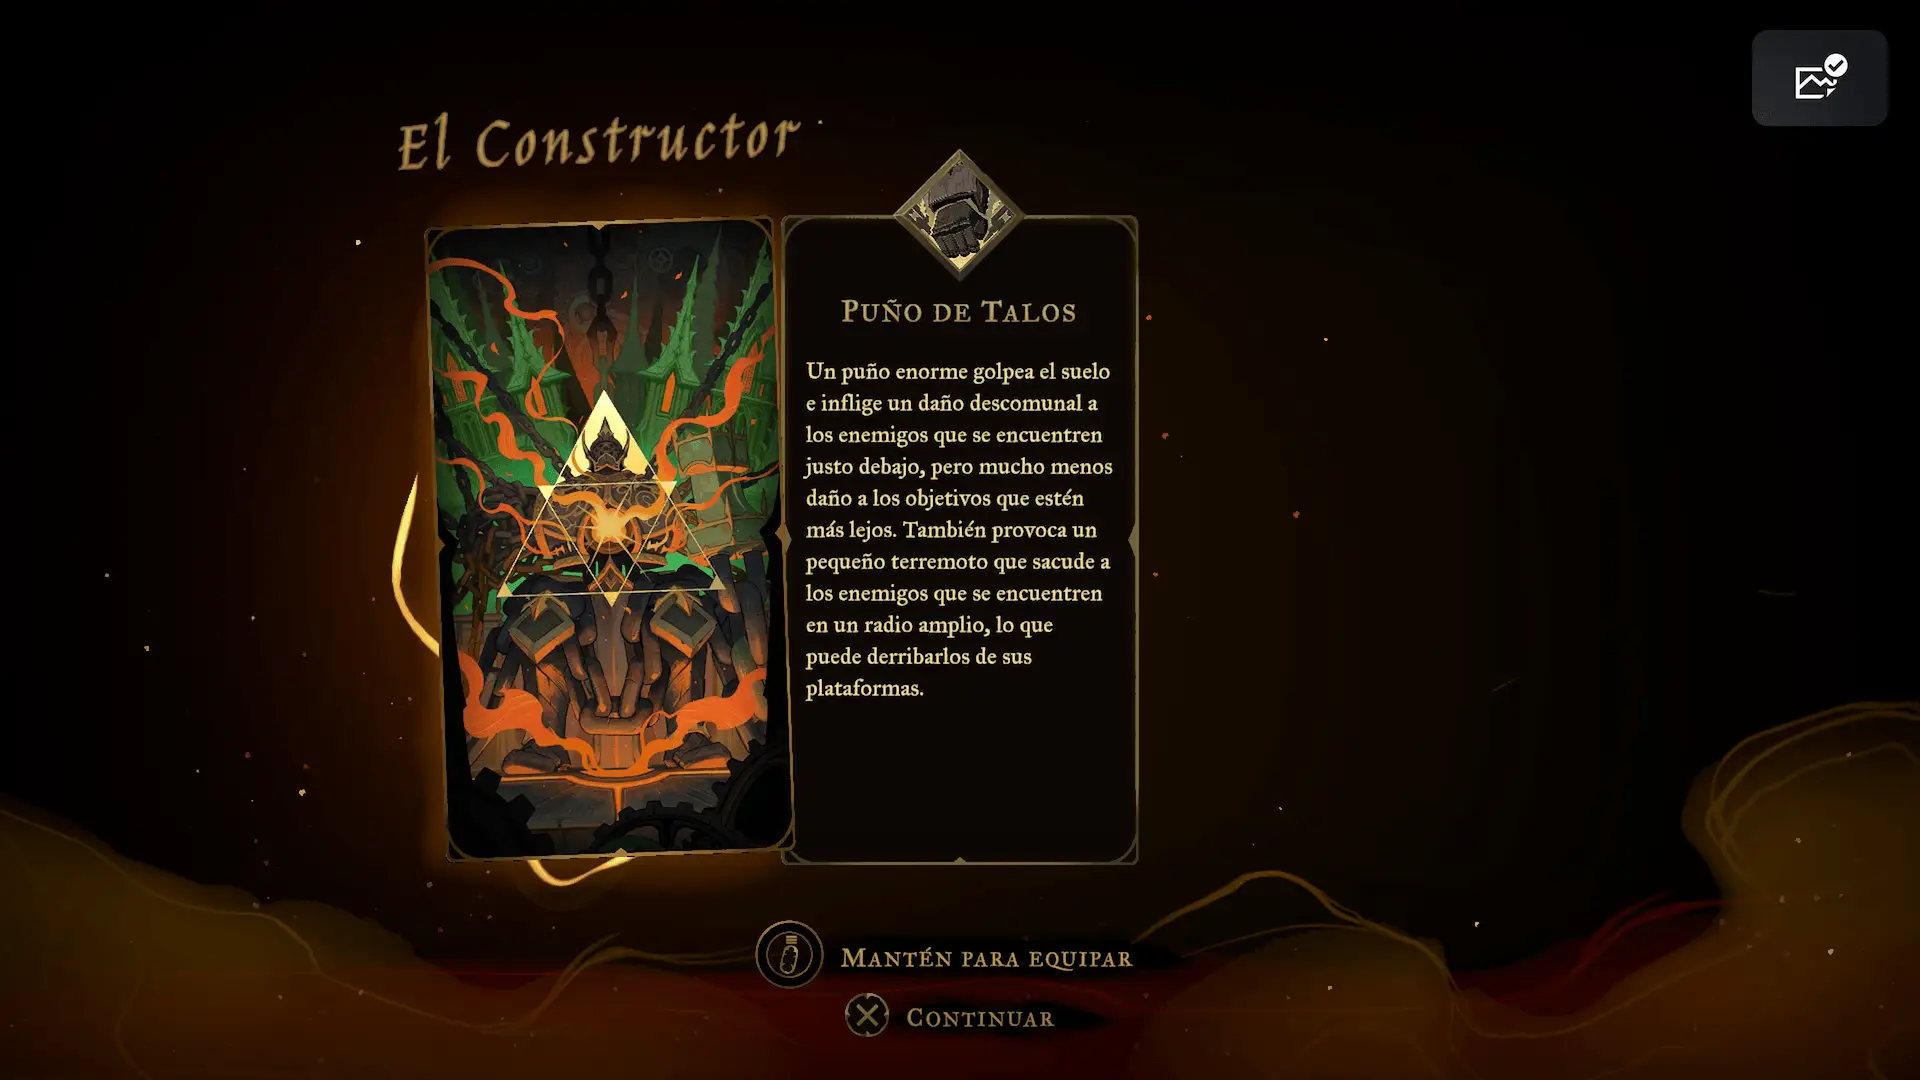
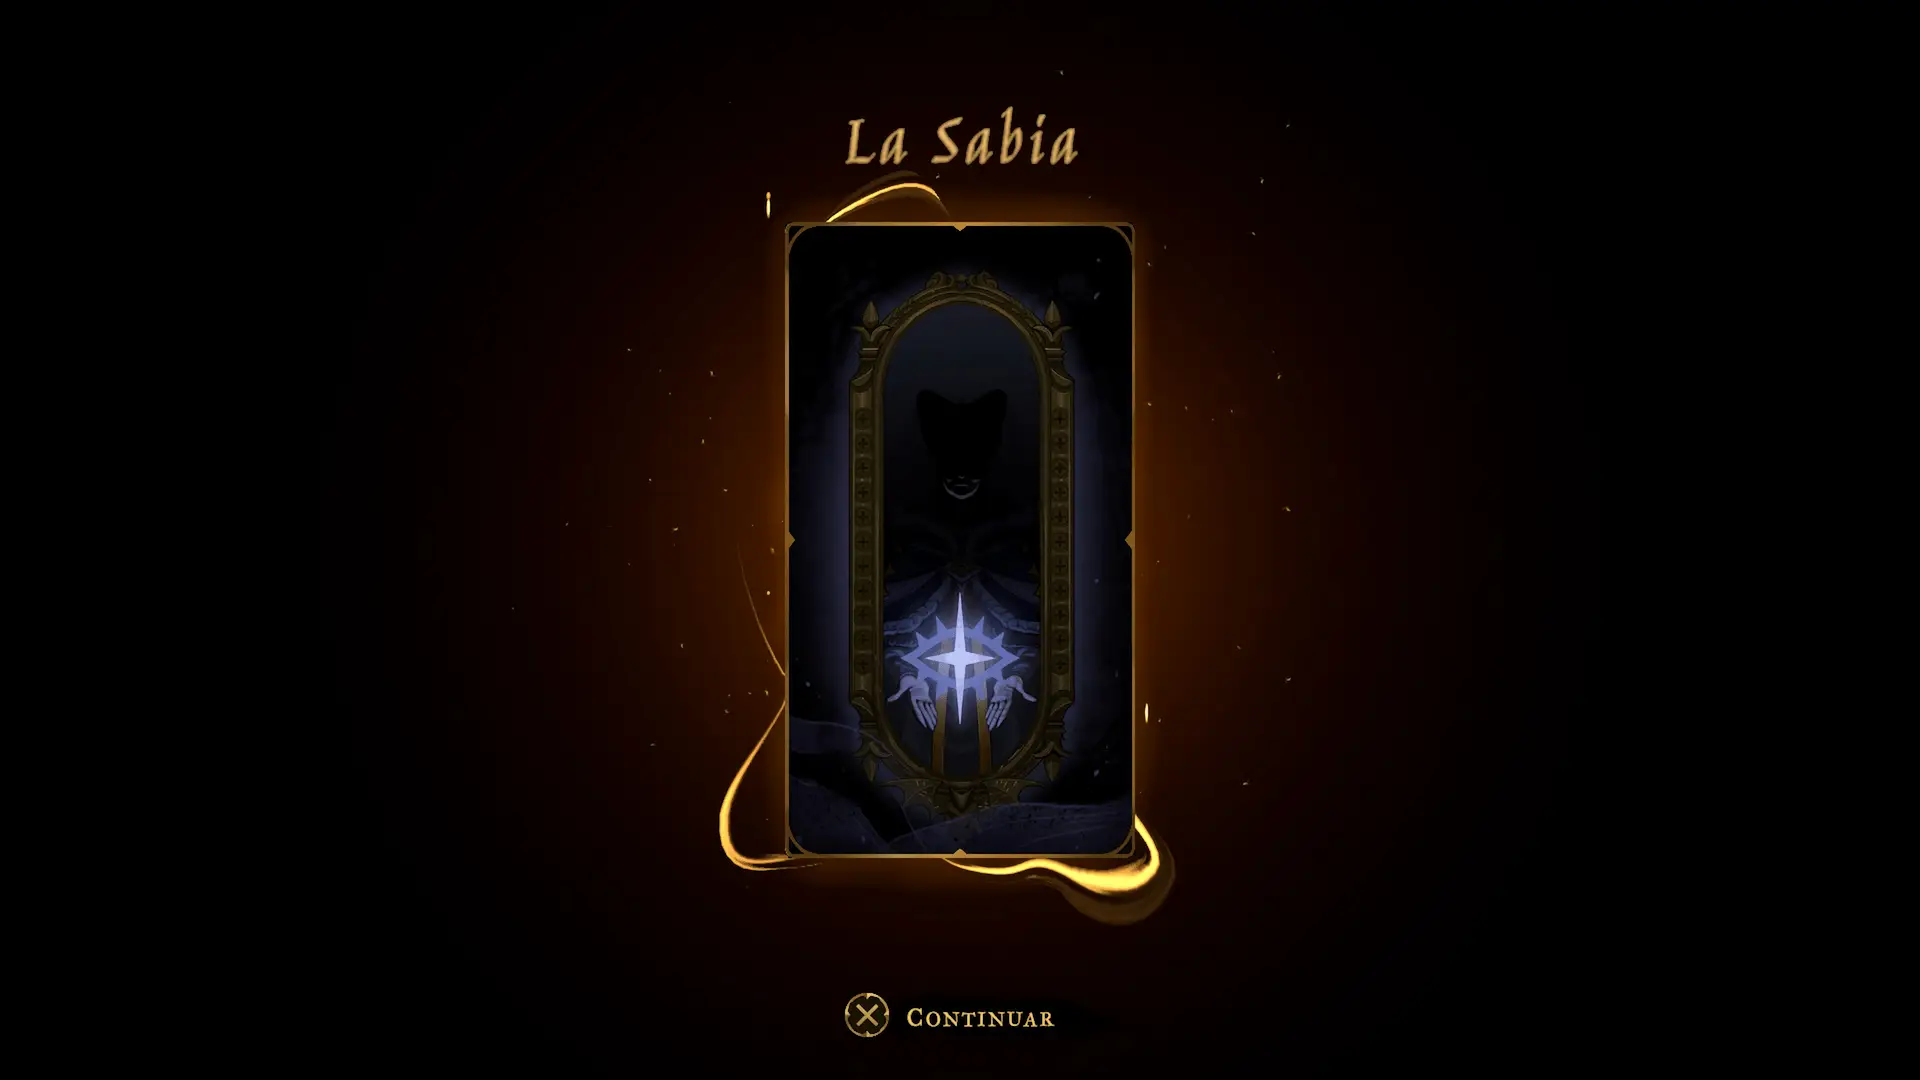
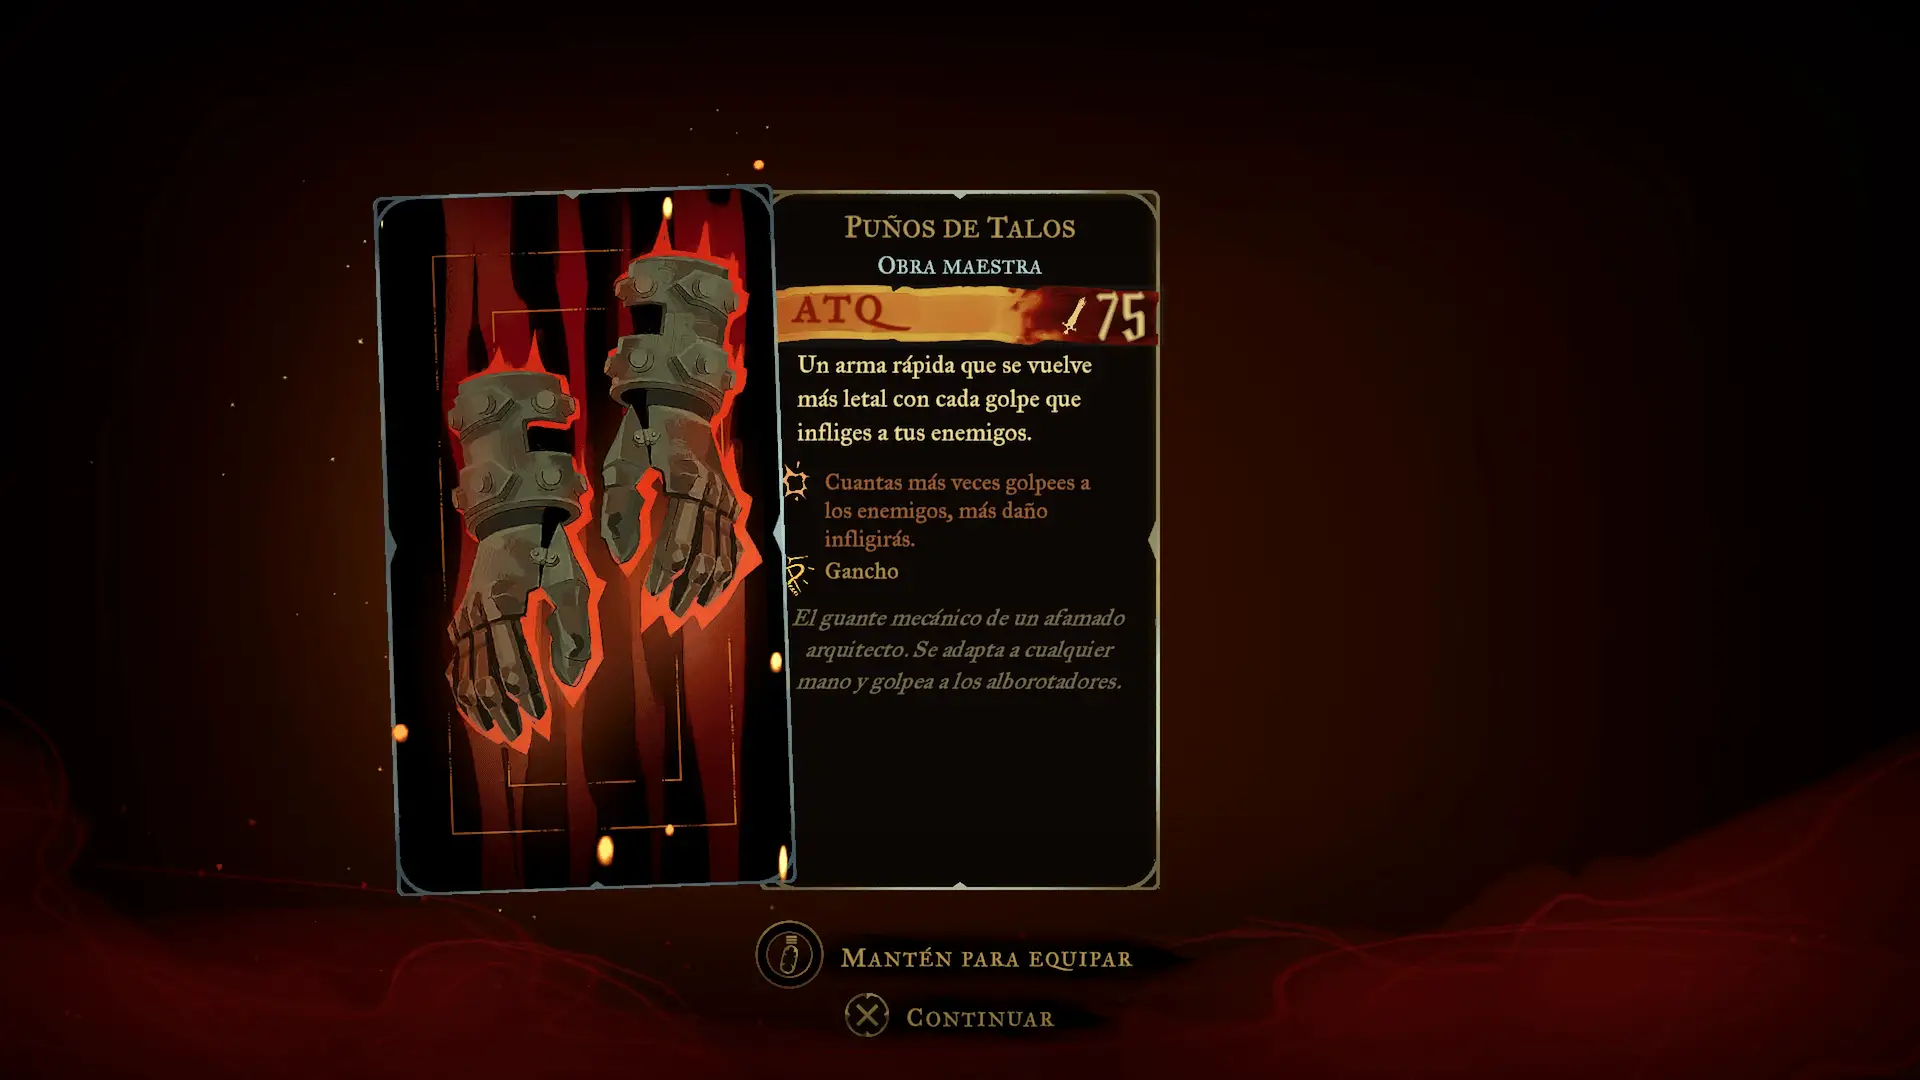
Follow the exit from the boss room to the thick golden cracked floor. Rose learns Smash here: jump and press Down + Jump while airborne to slam through breakable reinforced blocks. For thicker flooring, begin from a higher platform. Descend into the Builder’s Bureau, enter the left door, and use the purple grapples to reach the reinforced floor. Break through it with Smash. Read the Talos sketch on the desk for a Sage tarot clue; open the chest at the far right for Talos Fists, a masterpiece-quality fist weapon. Use the upper lever to open the return shortcut.
First Smash return: Spectral Ring
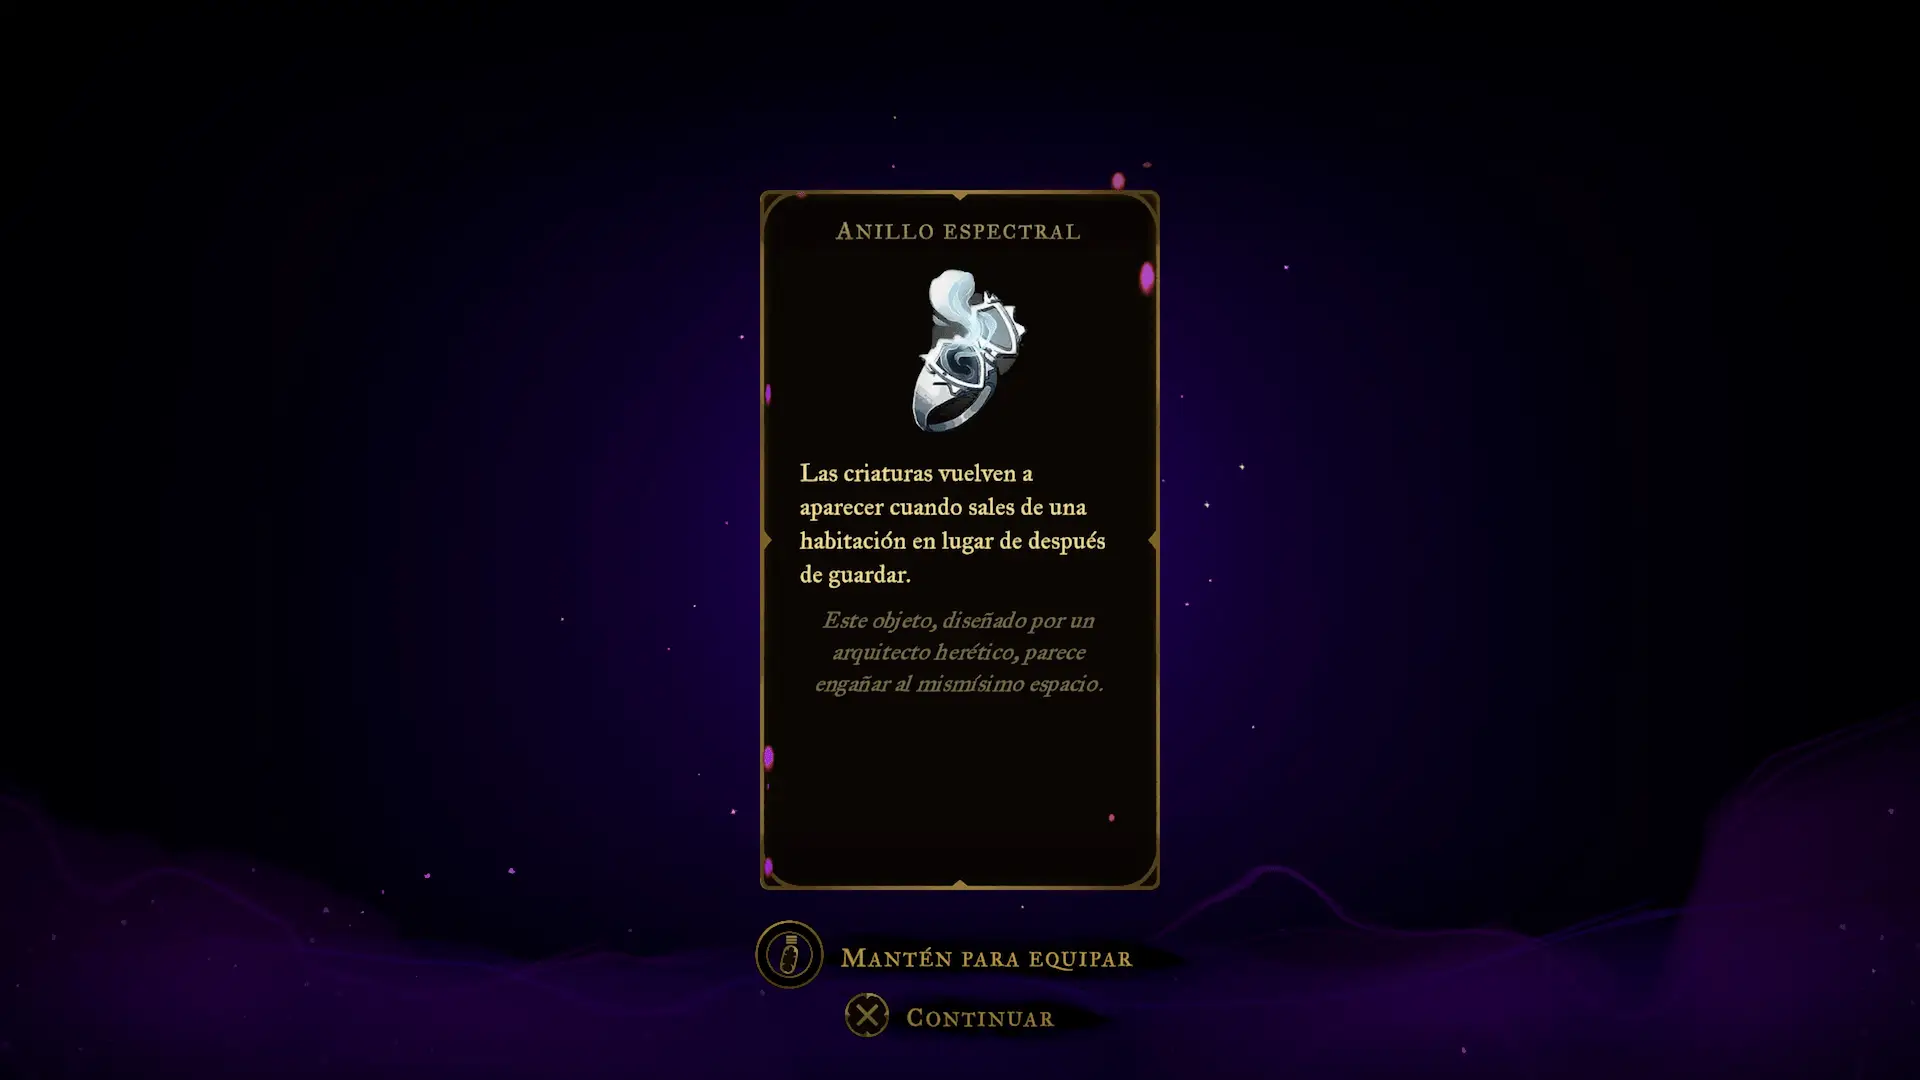
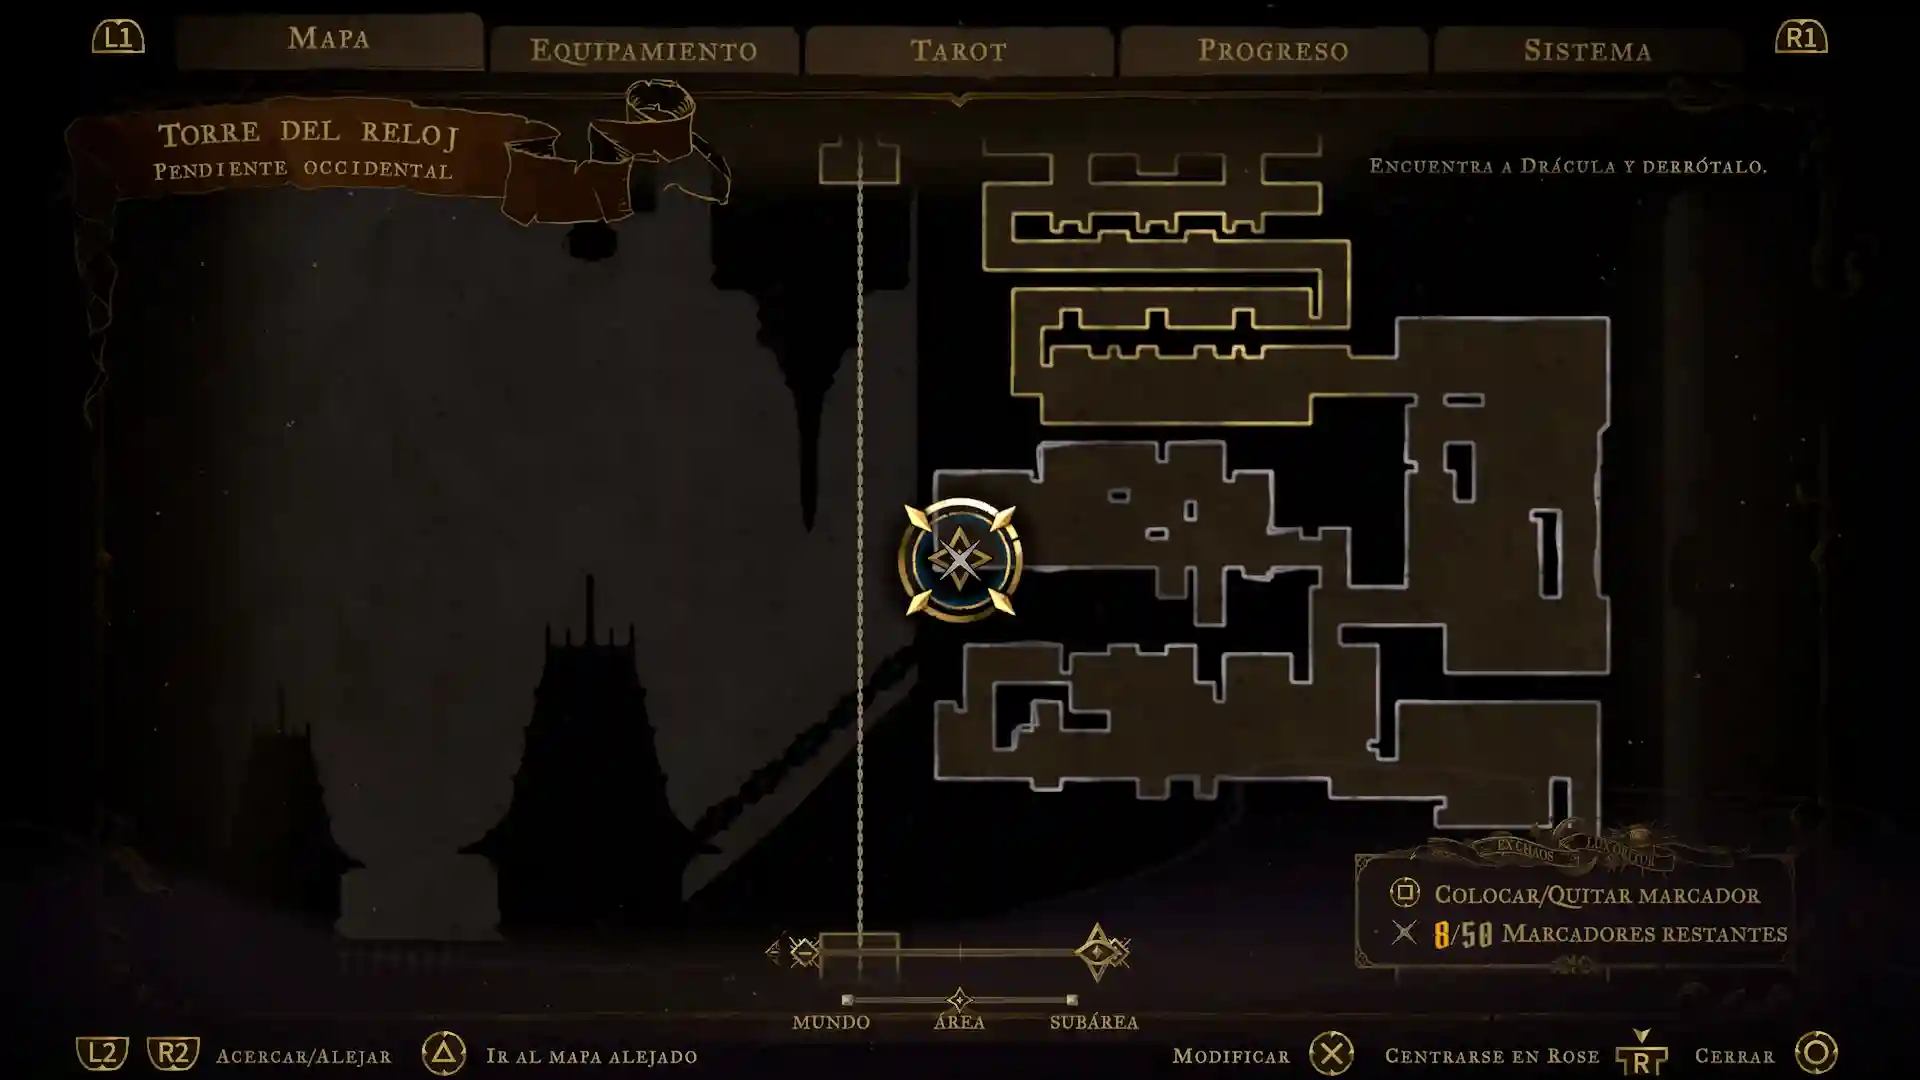
From the tower elevators, travel to Western Slope, where the Spectral Ring chest remained out of reach. Climb with the rotating wheels and purple grapple points. At the top, cross the wheel, enter the next room, and change the platforms’ positions so the rightmost platform stands vertically and can be used as a step. Ignore the right-hand exit at first and keep climbing. Use Smash on the floor switches to rearrange the mechanism. Continue along the opened path until you can collect the Spectral Ring, then return via the activated shortcuts.
Return to Rhetoric: mana fragment under reinforced flooring
Cross the Forgotten Bridge back to the Rhetoric Shelves in the Library. Return to the armillary sphere and locate the thick cracked floor you saw earlier. Jump from a sufficiently high point and use Smash to break through; if the slab holds, move to a higher ledge and try again. Drop into the hidden chamber and claim the Wise Heart Fragment. Return to the Rhetoric Life Mirror. Part 6 continues from the Library toward the Planetarium, Observatory Tower, and Carmilla.
Remaining detours and when to return
Not every visible item can be collected now. The Brave Heart Fragment at the Eastern Steps requires Aerial Rush, earned after Carmilla. The Moonlight Fragment on Builder’s Path requires Double Jump later in the story. The Light Bones chest in Daedalus Crossing belongs to a later return toward Isaac that uses Smash and a timed Clock Tower mechanism. Do not rush into the Cursed Clock route before obtaining Death’s Arcana: the stained-glass room can lead to an early ending. Our next destination is the Library, not the clock.
Important items in route order
The main progression rewards are Witch’s Knot and Rapiers in the West Hall, the Ferryman Dock on the Bridge of Knowledge, Brave Heart Fragments and a golden statue in the Poetry Shelves, Lich’s Mark and Midnight Tear near the Rhetoric Shelves, the Library Foyer health fragment, Sinister Rune and the first beam in the Eastern Access Shaft, the Serpent Pinion fragment, the Defense Book, Claymore, Halberd, and Attack Book during the tower detours, Talos Fists after the boss, the Spectral Ring on the return, and the Wise Heart Fragment beneath the Rhetoric floor. The gold statues and restorative food are described along the route; this first visit does not complete both regions at 100%.
Thanks to Konami for providing a press code of Castlevania: Belmont’s Curse so we could prepare this walkthrough.

Medios amigos

Un medio de videojuegos dedicado a los RPGs.