


We’re kicking off Wardens of the Aquapolis, Chapter 3 of Final Fantasy Resonance! After defeating Aether at the Wind Shrine, we board Lid’s airship and set off for Olderion. Of course, things don’t quite go according to plan.
In this part, we’ll explore the new region, obtain Firion’s and Squall’s Visions, collect the city’s Tablet Shards, and make our way through the Cave of Waters to rescue the Water Maiden. We’ll also discover Ruby Cave and Carbuncle’s riddle, which we’ll come back to as we explore Olderion. Let’s take it one step at a time: there’s plenty to find.
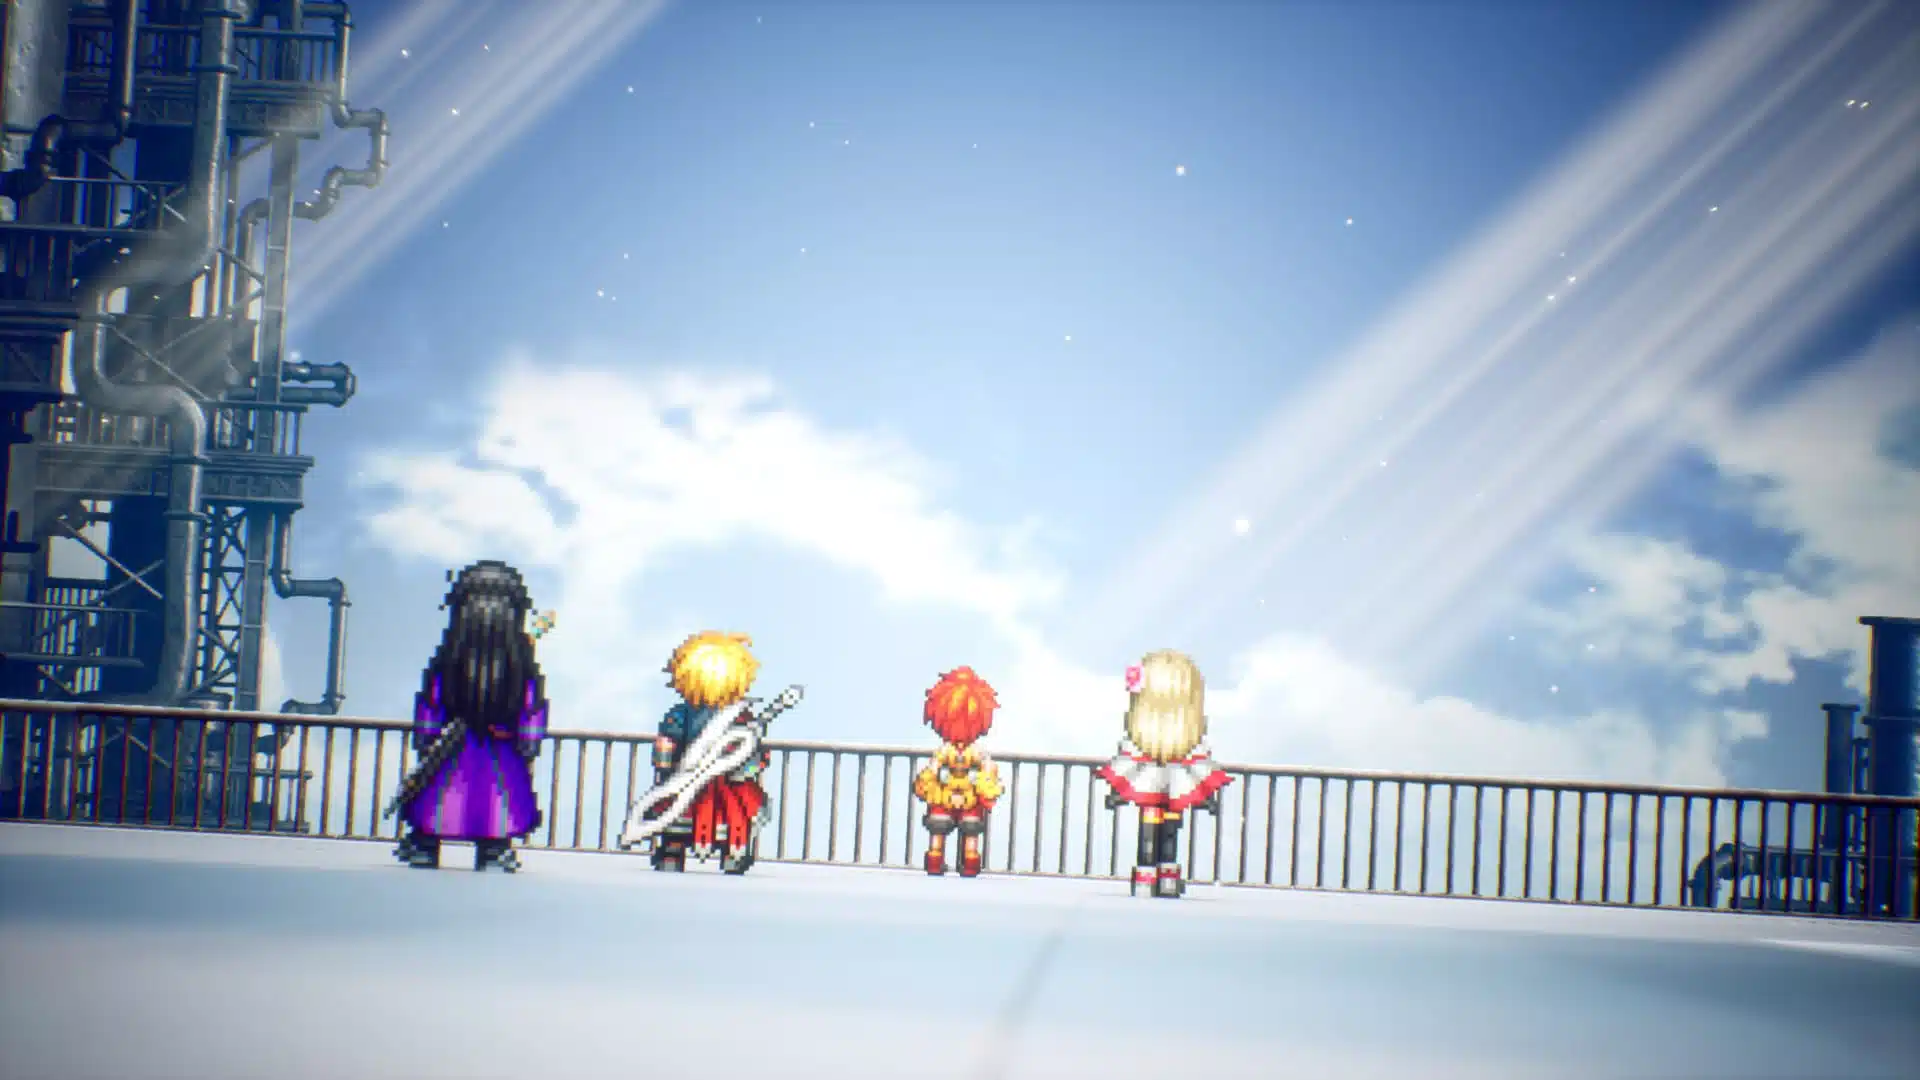
After the Wind Crystal: The Journey to Olderion
We’re picking up right where our Wind Shrine walkthrough left off. After defeating Aether, we return to Dilmagia and speak with Lid at the shipyard to board the airship. This conversation brings us into the next chapter.
During the flight, Lid will ask us a question. Our answer gives her a permanent three-point increase to one of her stats.
“No matter what happens, we’ll have your back.”: +3 Strength.
“There might be a reason behind your brother’s change.”: +3 Magic.
“Doesn’t matter how far away you are, siblings are still siblings.”: +3 Stamina.
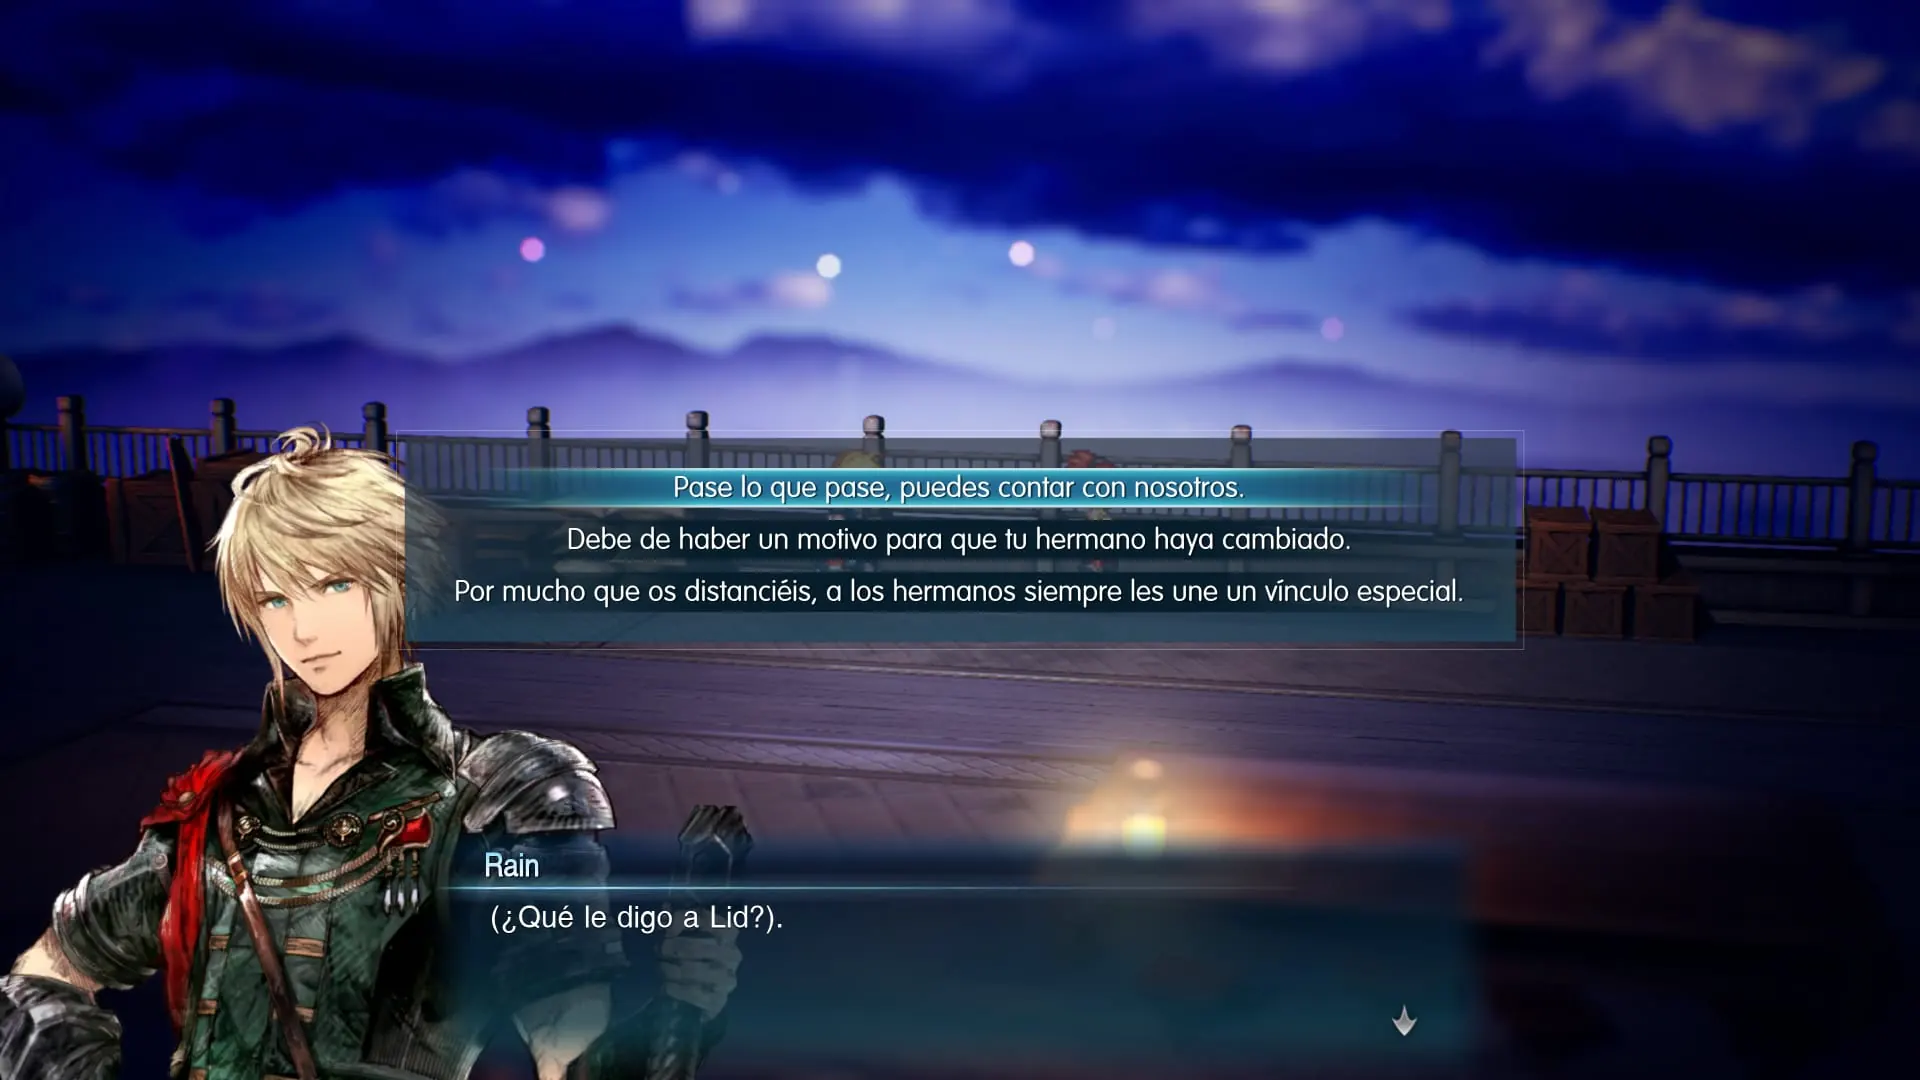
After the conversation, something goes wrong with the airship and we’re forced into an emergency landing. When we regain control of the party, we’ll be in a new region: the Olderion Federation.
Our main objective is to reach the city, northeast of the landing site. But there’s a sanctum nearby that we should visit first.
How to Get Firion’s Vision
From the spot where you regain control, head north across the world map. You’ll find a Sanctum of Light containing another classic Final Fantasy Vision.
Before entering, check the area southwest of the sanctum entrance. There’s a glowing item on the ground containing a Mist Hi-Potion.
Go inside and examine the crystal. This time we’ll meet Firion, from Final Fantasy II, and answer three questions.
1. “Suss out like-minded individuals by using a password.”
2. “Bring them to their senses, even if you must fight them.”
3. “Stay the course and carry on.”
Once the conversation ends, we’ll receive Firion’s Vision. It’s especially useful for breaking enemy defenses and increasing the damage they take while staggered.
Equip it on a character you regularly use to reduce the enemy’s stagger gauge. It’ll come in handy against the bosses in this region.
Ruby Cave and Carbuncle
Before leaving Firion’s sanctum, look just behind it. You’ll find the entrance to Ruby Cave. Head inside and examine the gravestone, which presents a riddle about three Ruby Fragments hidden across the Olderion world map.
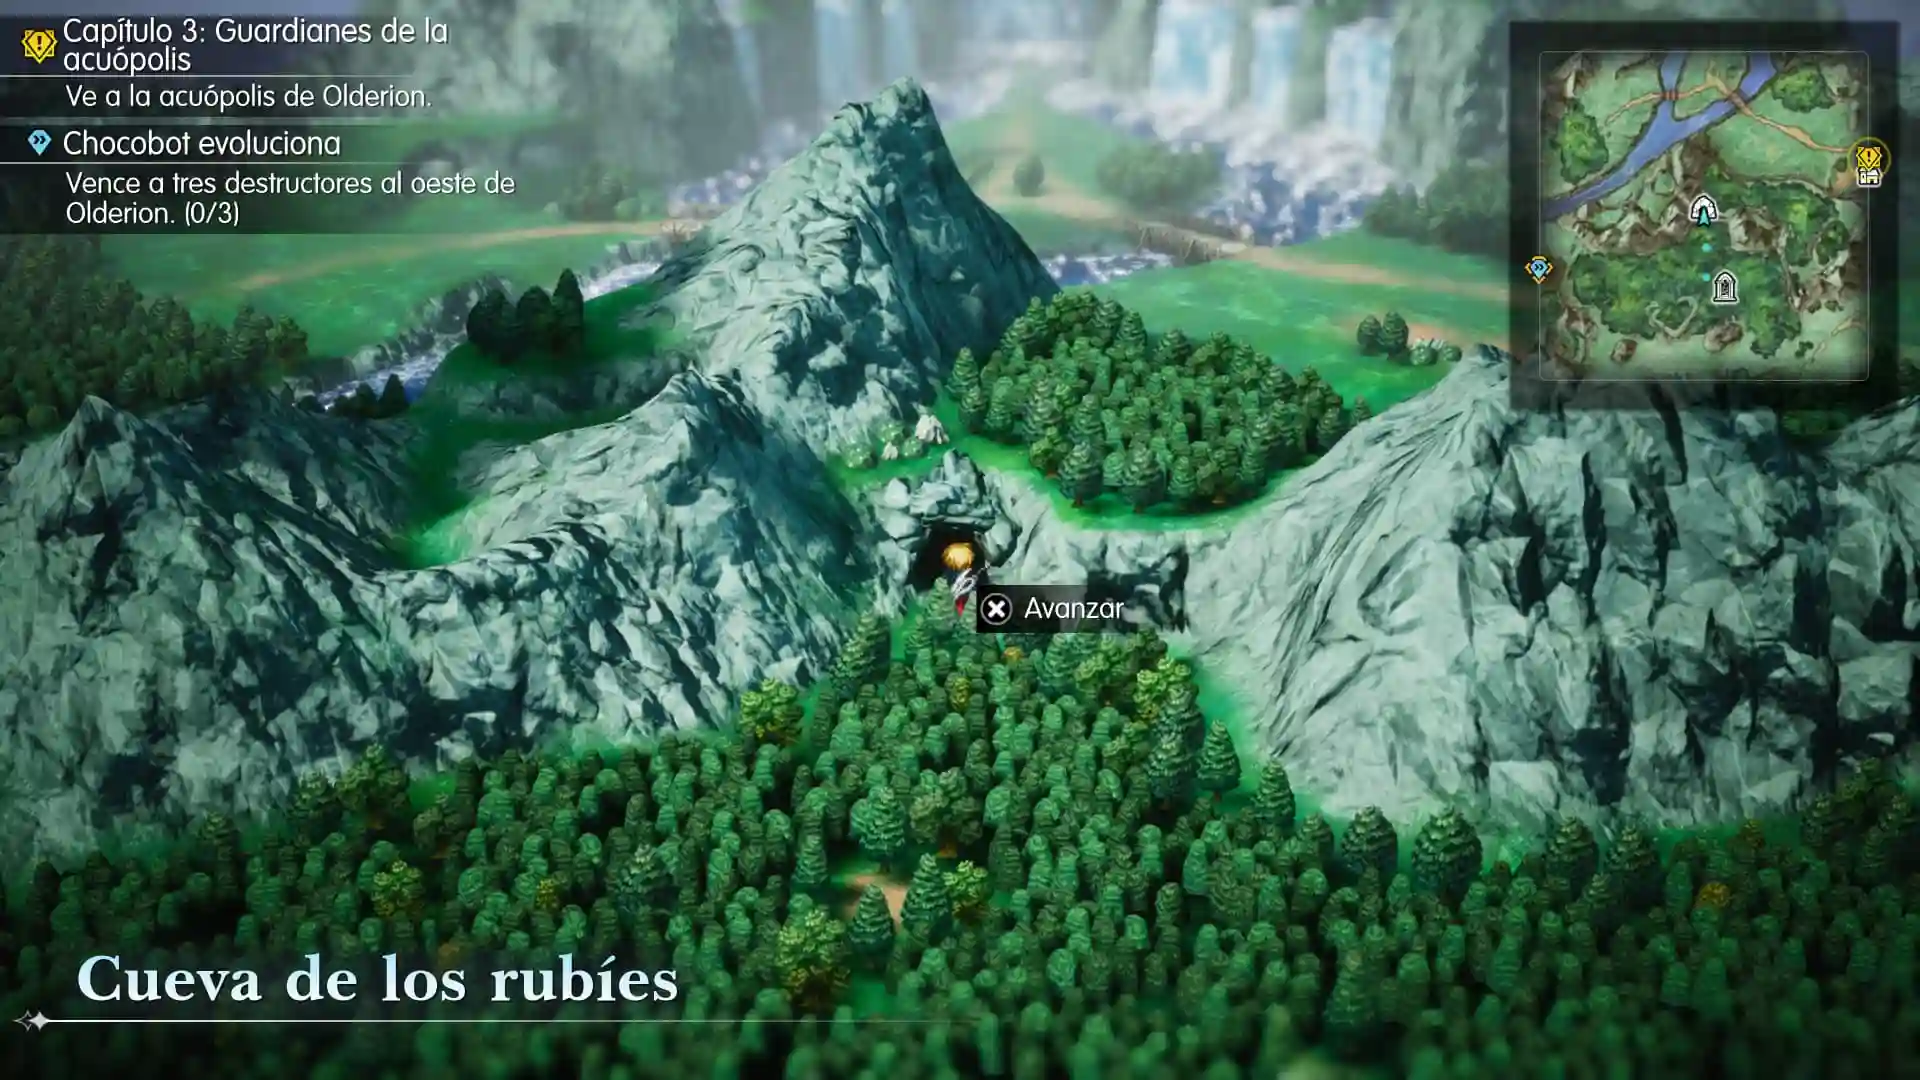
1. Between Two Ponds: Near the Cave of Waters, in the southeastern part of the region, between a large pond and a smaller one. Look for the sparkle on the ground.
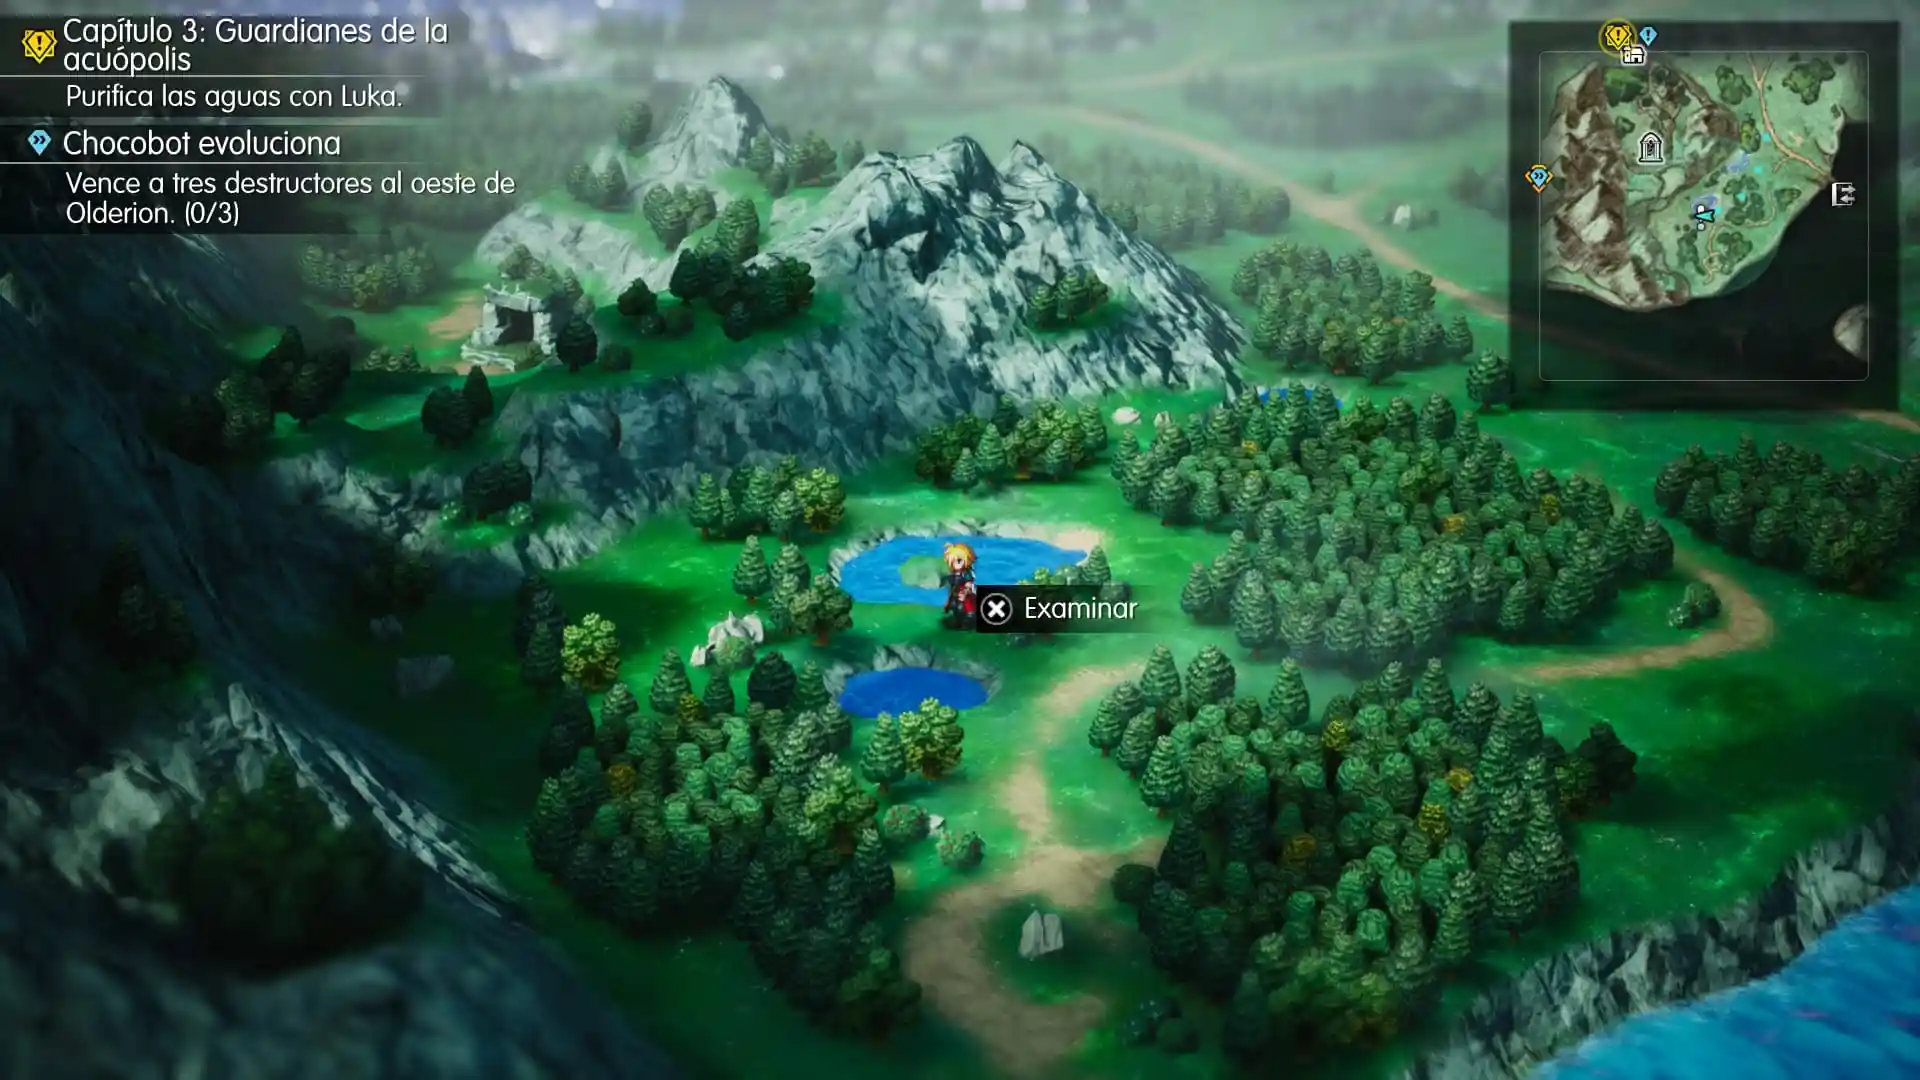
2. Eastern Coast: Follow the road along the eastern side of Olderion, southwest of Squall’s sanctum and east of the Cave of Waters. The sparkle is near the mountains, beside the coastal path.
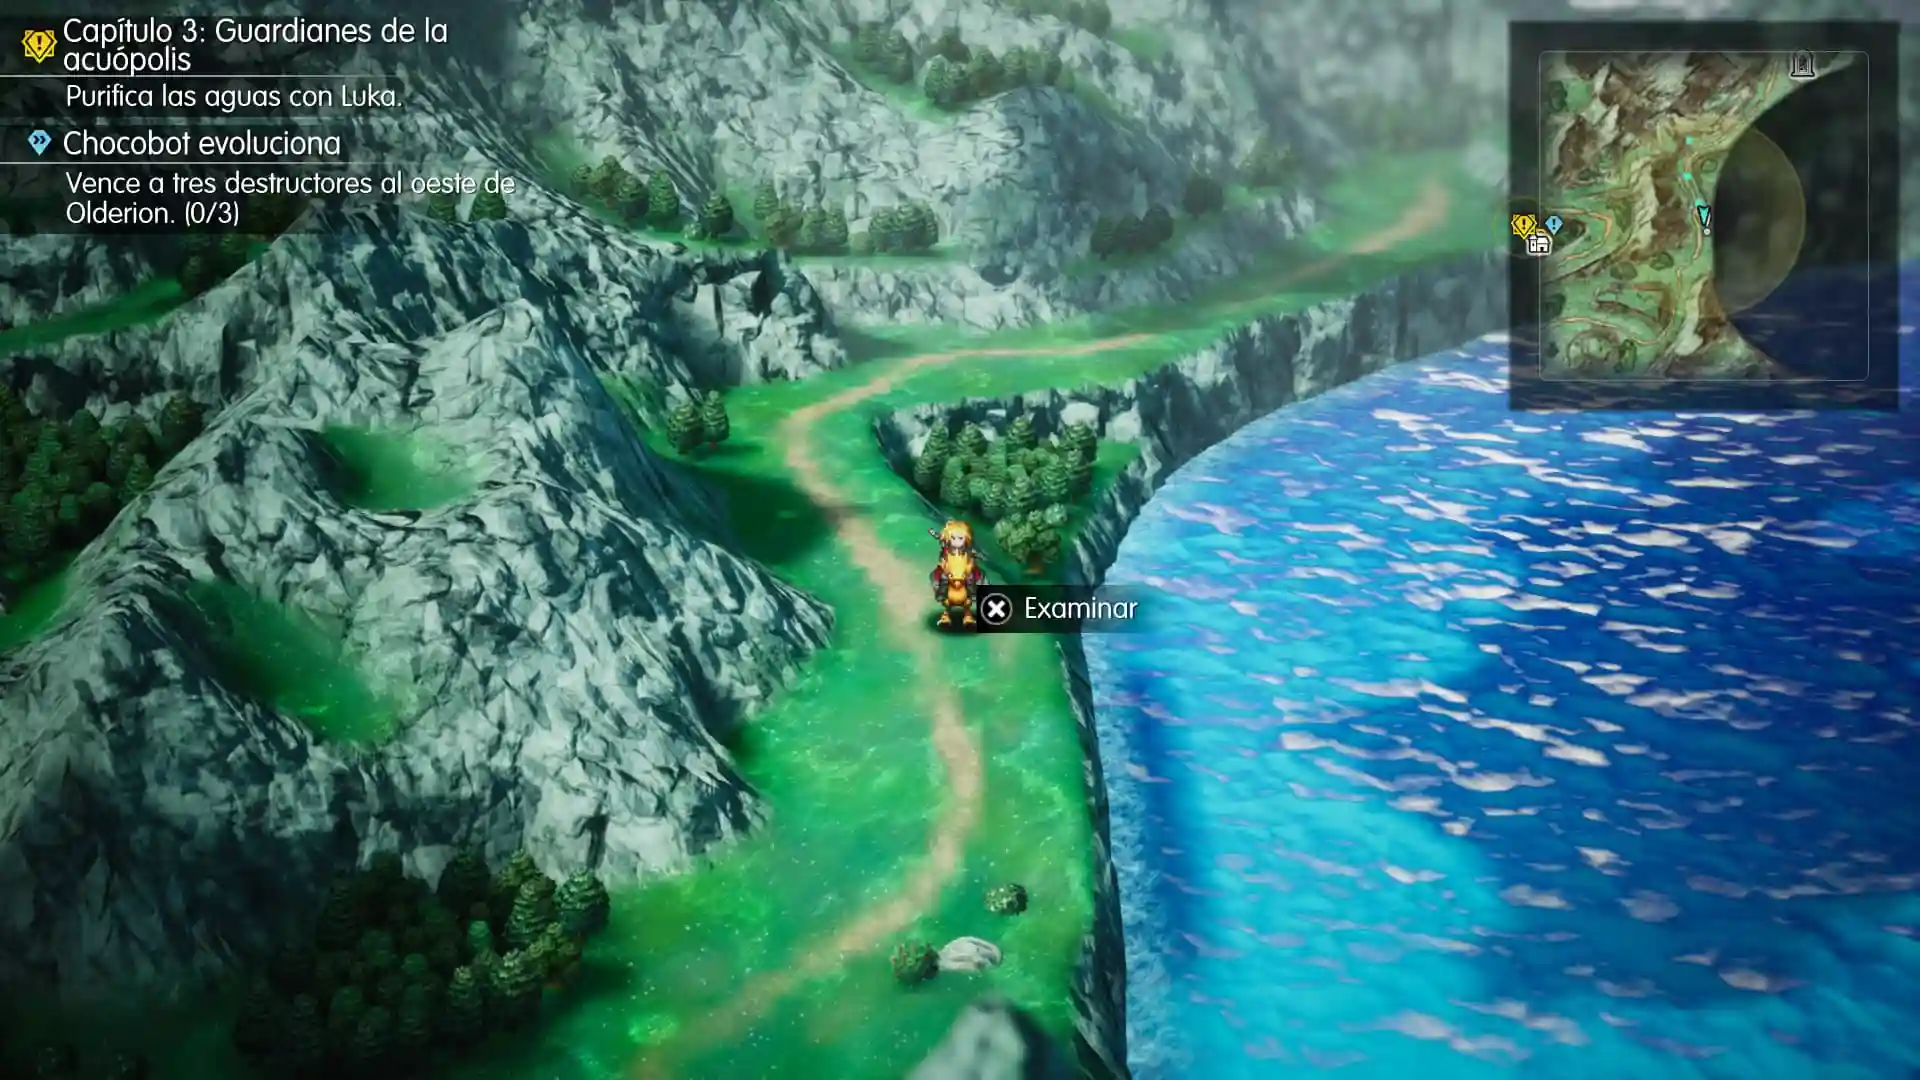
3. Seven Waterfalls: West of Olderion, the Aquapolis, cross the two wooden bridges near the waterfalls and climb onto the small grassy ledge.
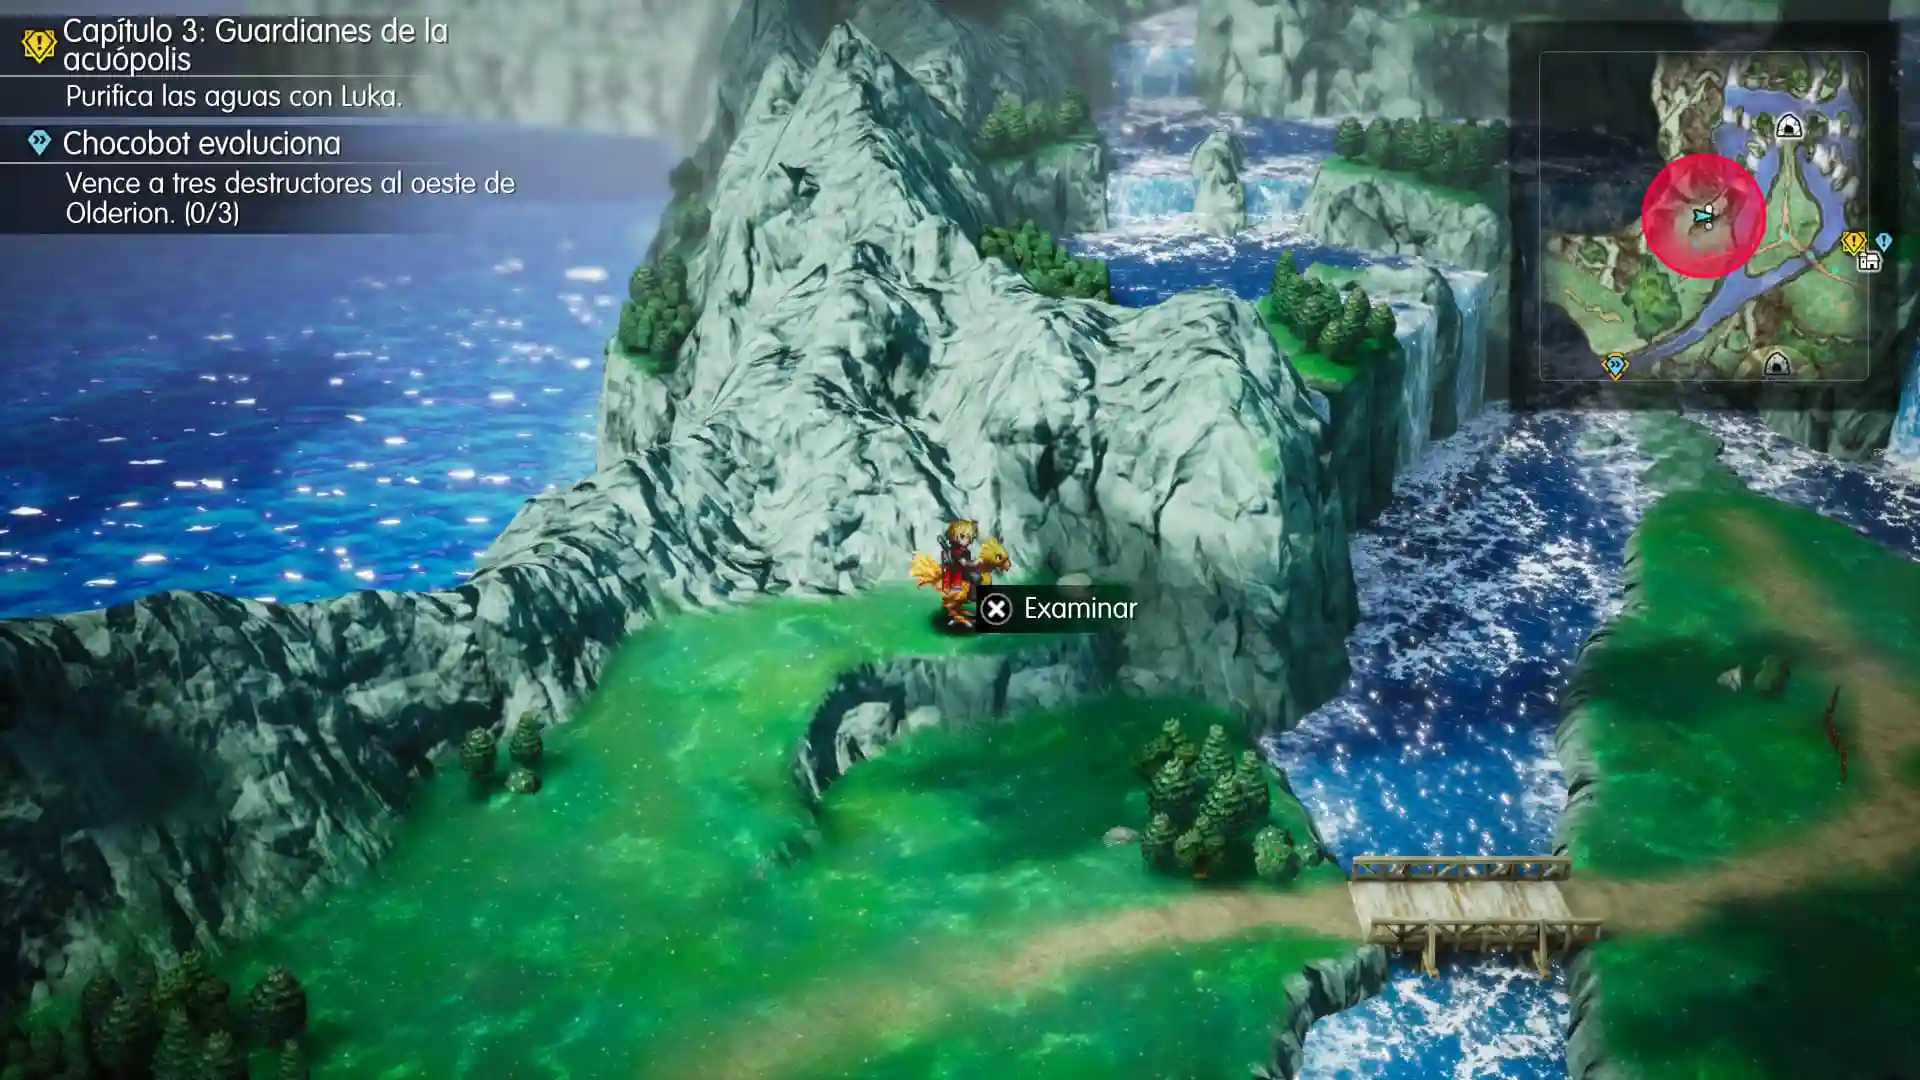
After collecting all three in that order, return to Ruby Cave and examine the gravestone again to obtain Carbuncle as one of Fina’s Espers.
How to Reach Olderion, the Aquapolis
From the region’s starting area, continue northeast until you reach the entrance to Olderion. This city is full of canals, bridges, and boats, and we’ll be spending quite a bit of time here during the chapter.
Before continuing the main objective, let’s collect its four Tablet Shards. They’re all in the accessible parts of the city, so it’s much easier to pick them up now than to come back looking for them later.
All Four Tablet Shards in Olderion
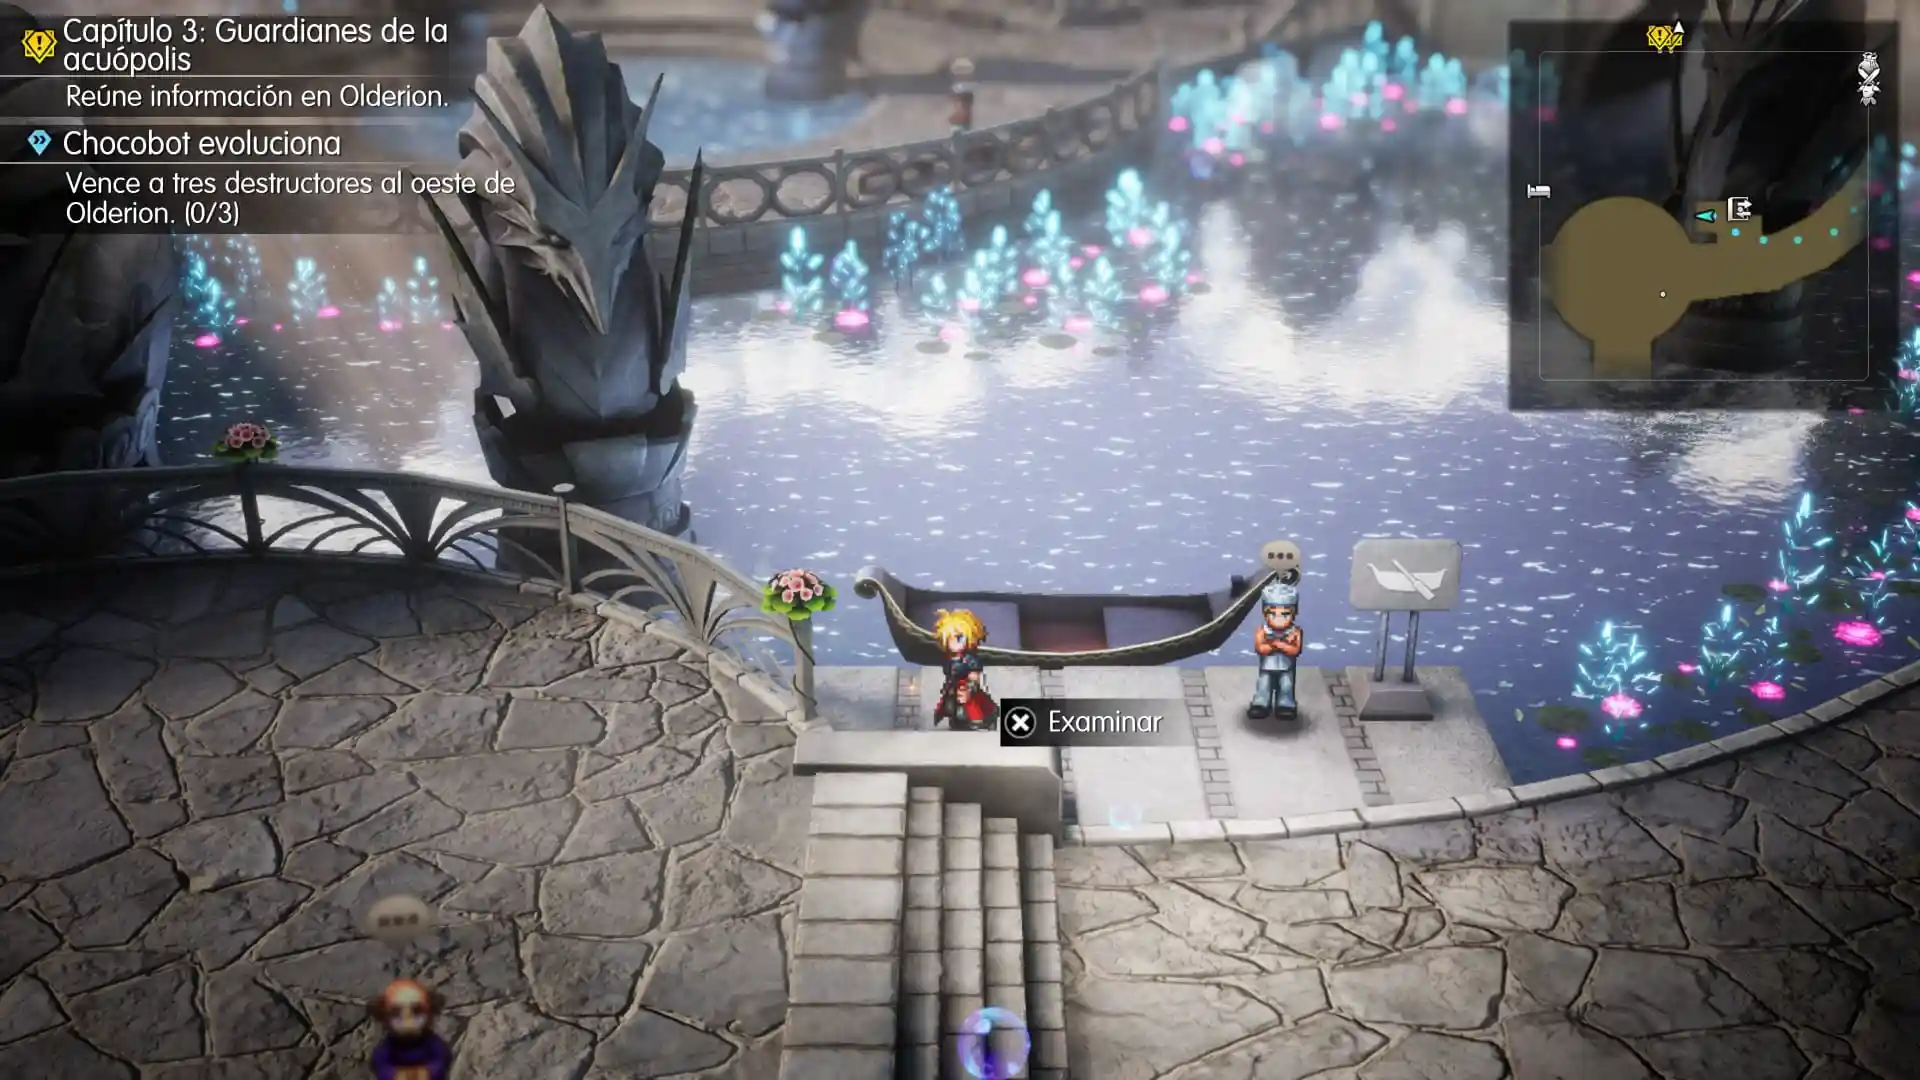
First Tablet Shard: Beside the Sightseeing Boat
When we enter Olderion, we’ll arrive at the central platform. Just to the right is the person offering boat rides. Walk over to the steps leading down to the dock, next to that person, and pick up the first Tablet Shard.
Second Tablet Shard: The Statue Plaza
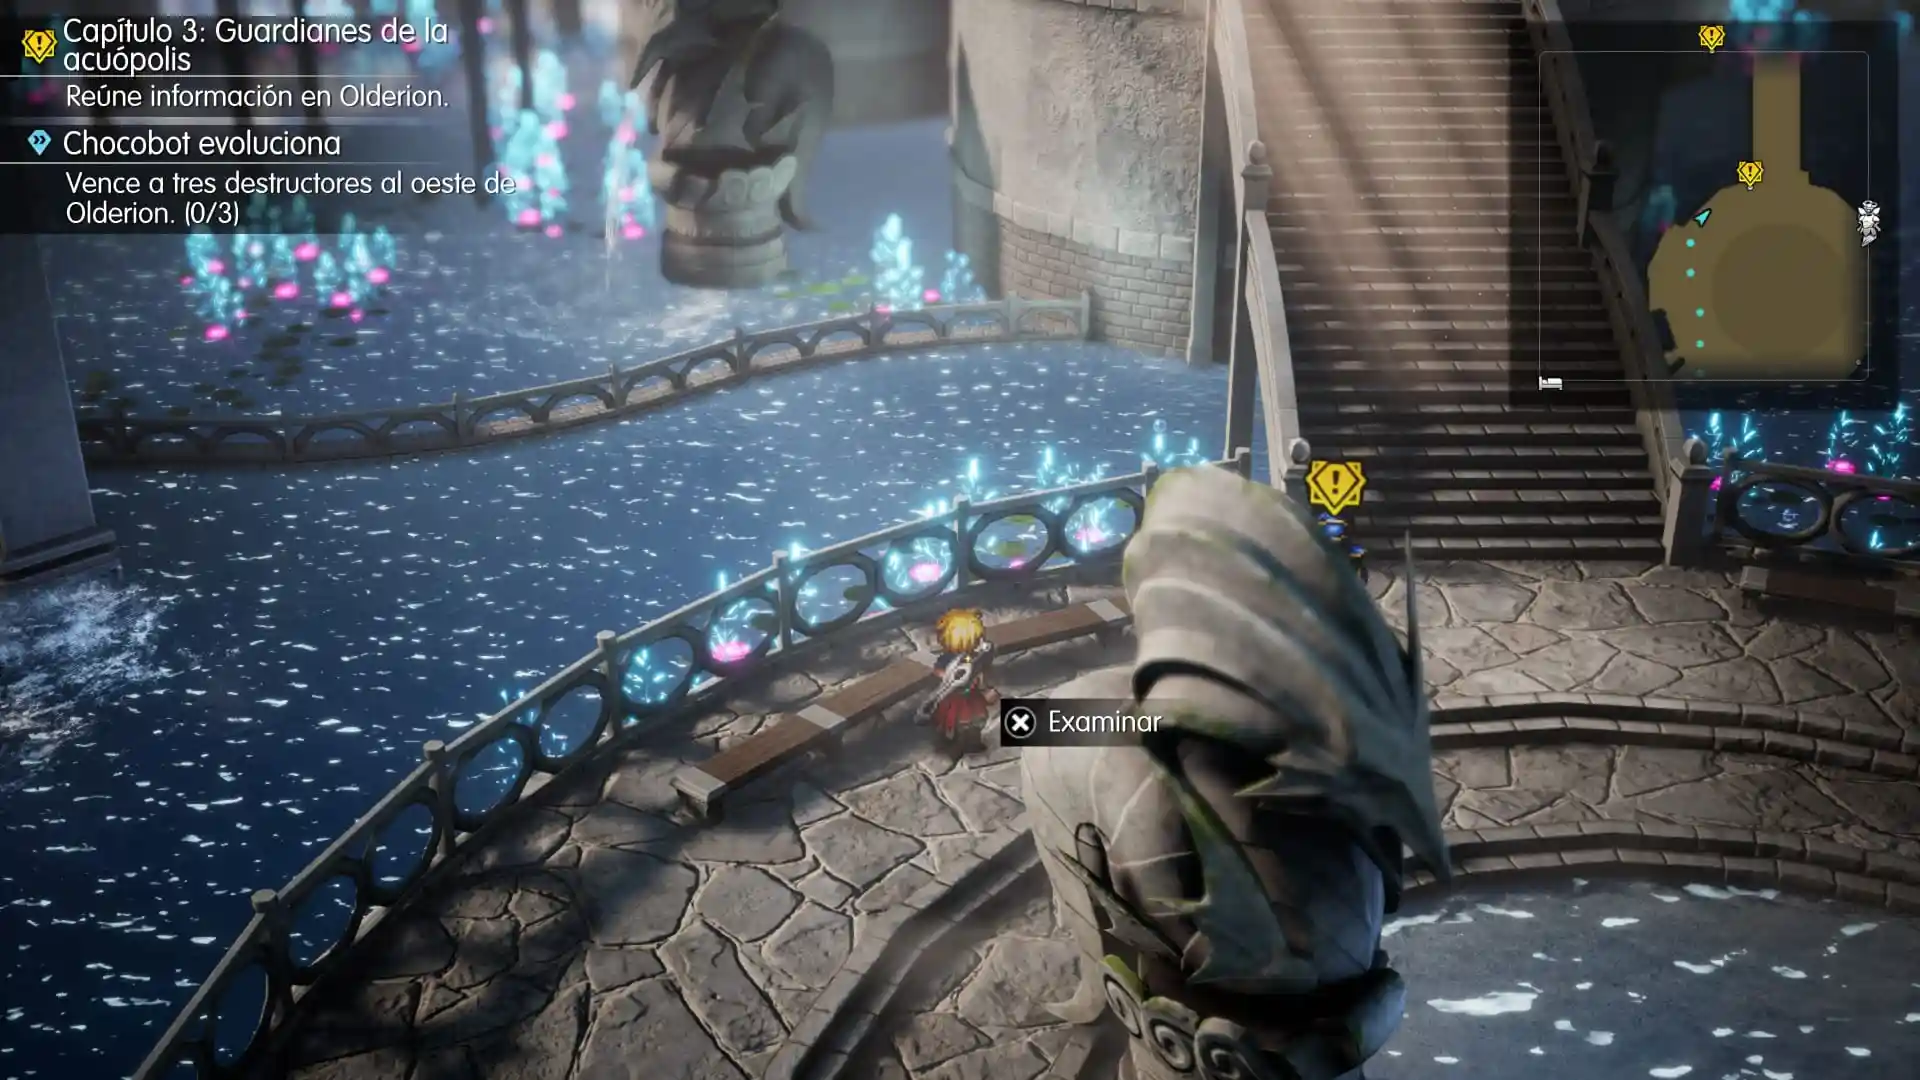
Head north from the dock platform until you reach a plaza with a pond and two stone statues. Go to the left side of the plaza and look between the benches, behind the statue on the left. That’s where you’ll find the second shard.
Third Tablet Shard: The Waterwheel Bridge
From the same plaza, continue northeastpast a huge waterwheel. You’ll see a stone bridge on a higher level. Look behind the flowerpot in the middle of the bridge to collect the third shard.
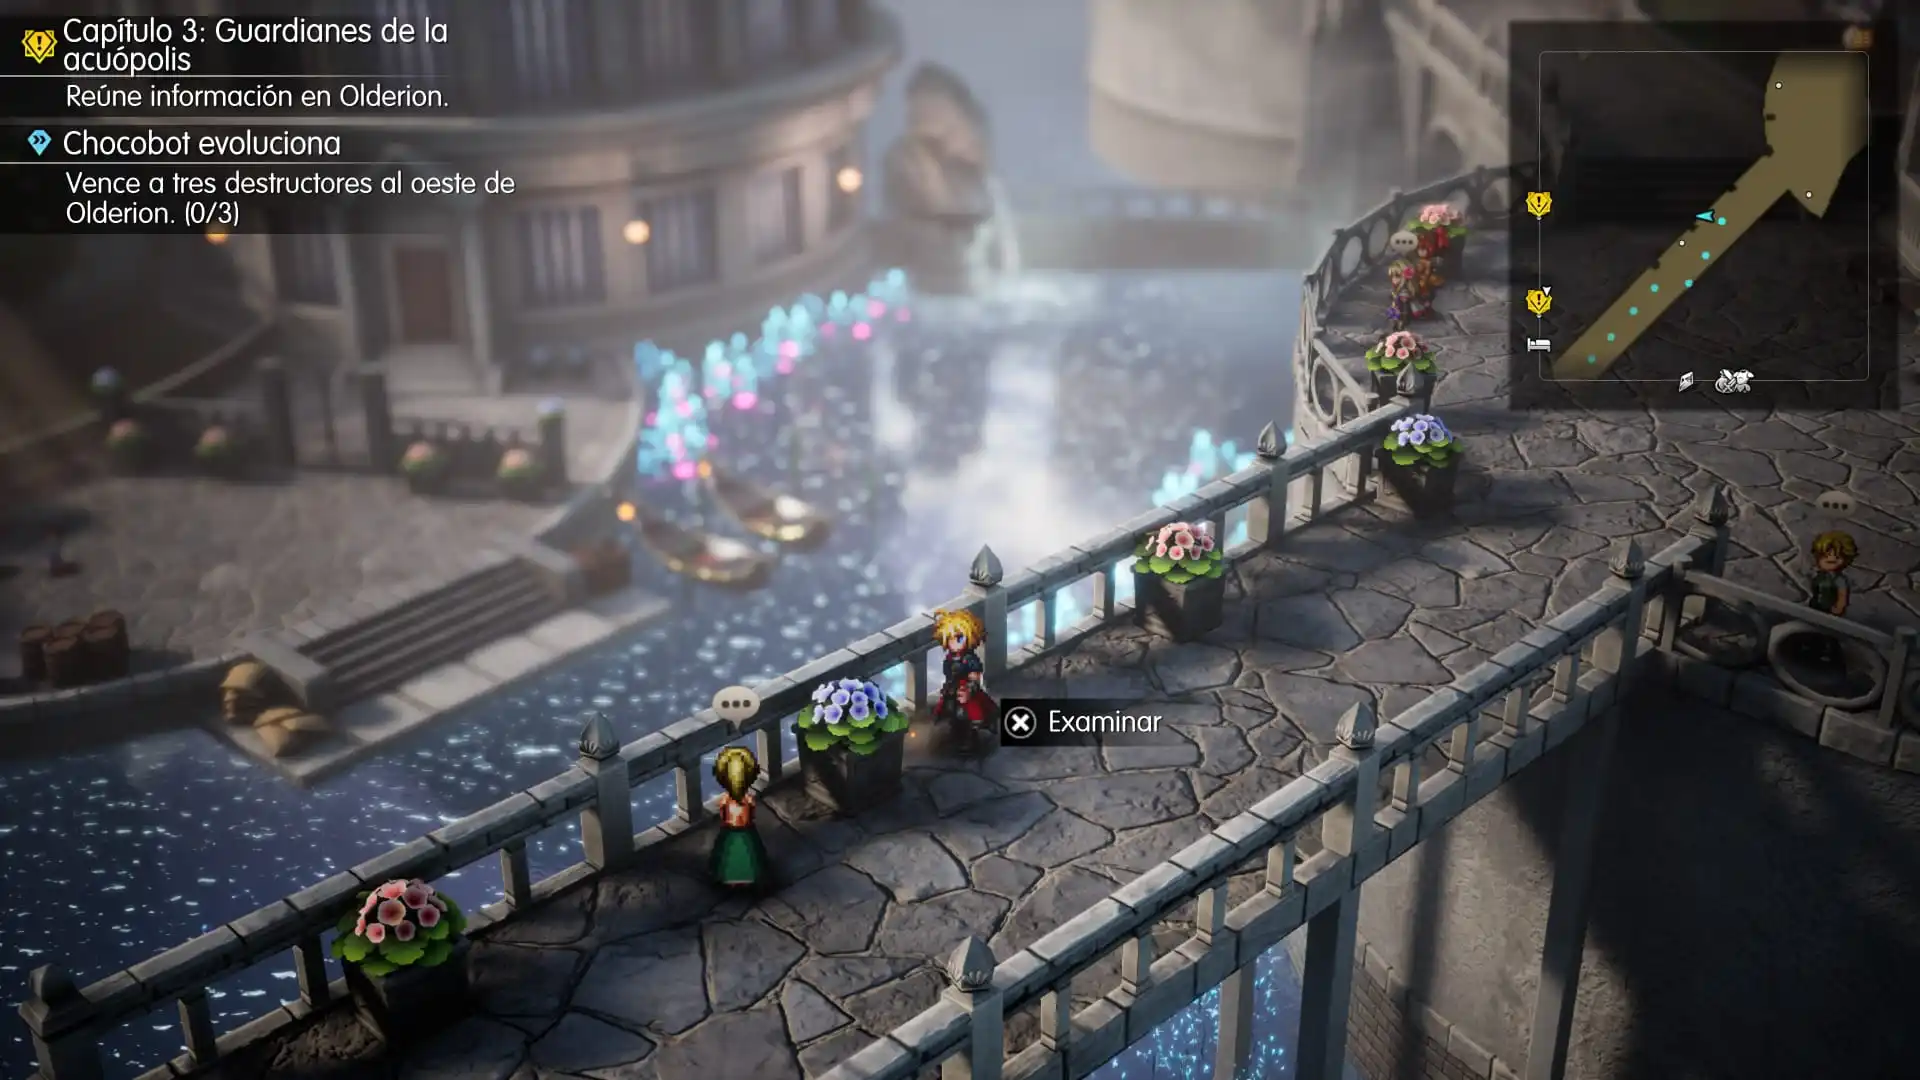
Fourth Tablet Shard: Behind the Tree
Return to the plaza with the pond and two statues and climb the northern stairs. In the small square at the top, you’ll find a tree. Walk around its trunk and collect the fourth Tablet Shard.
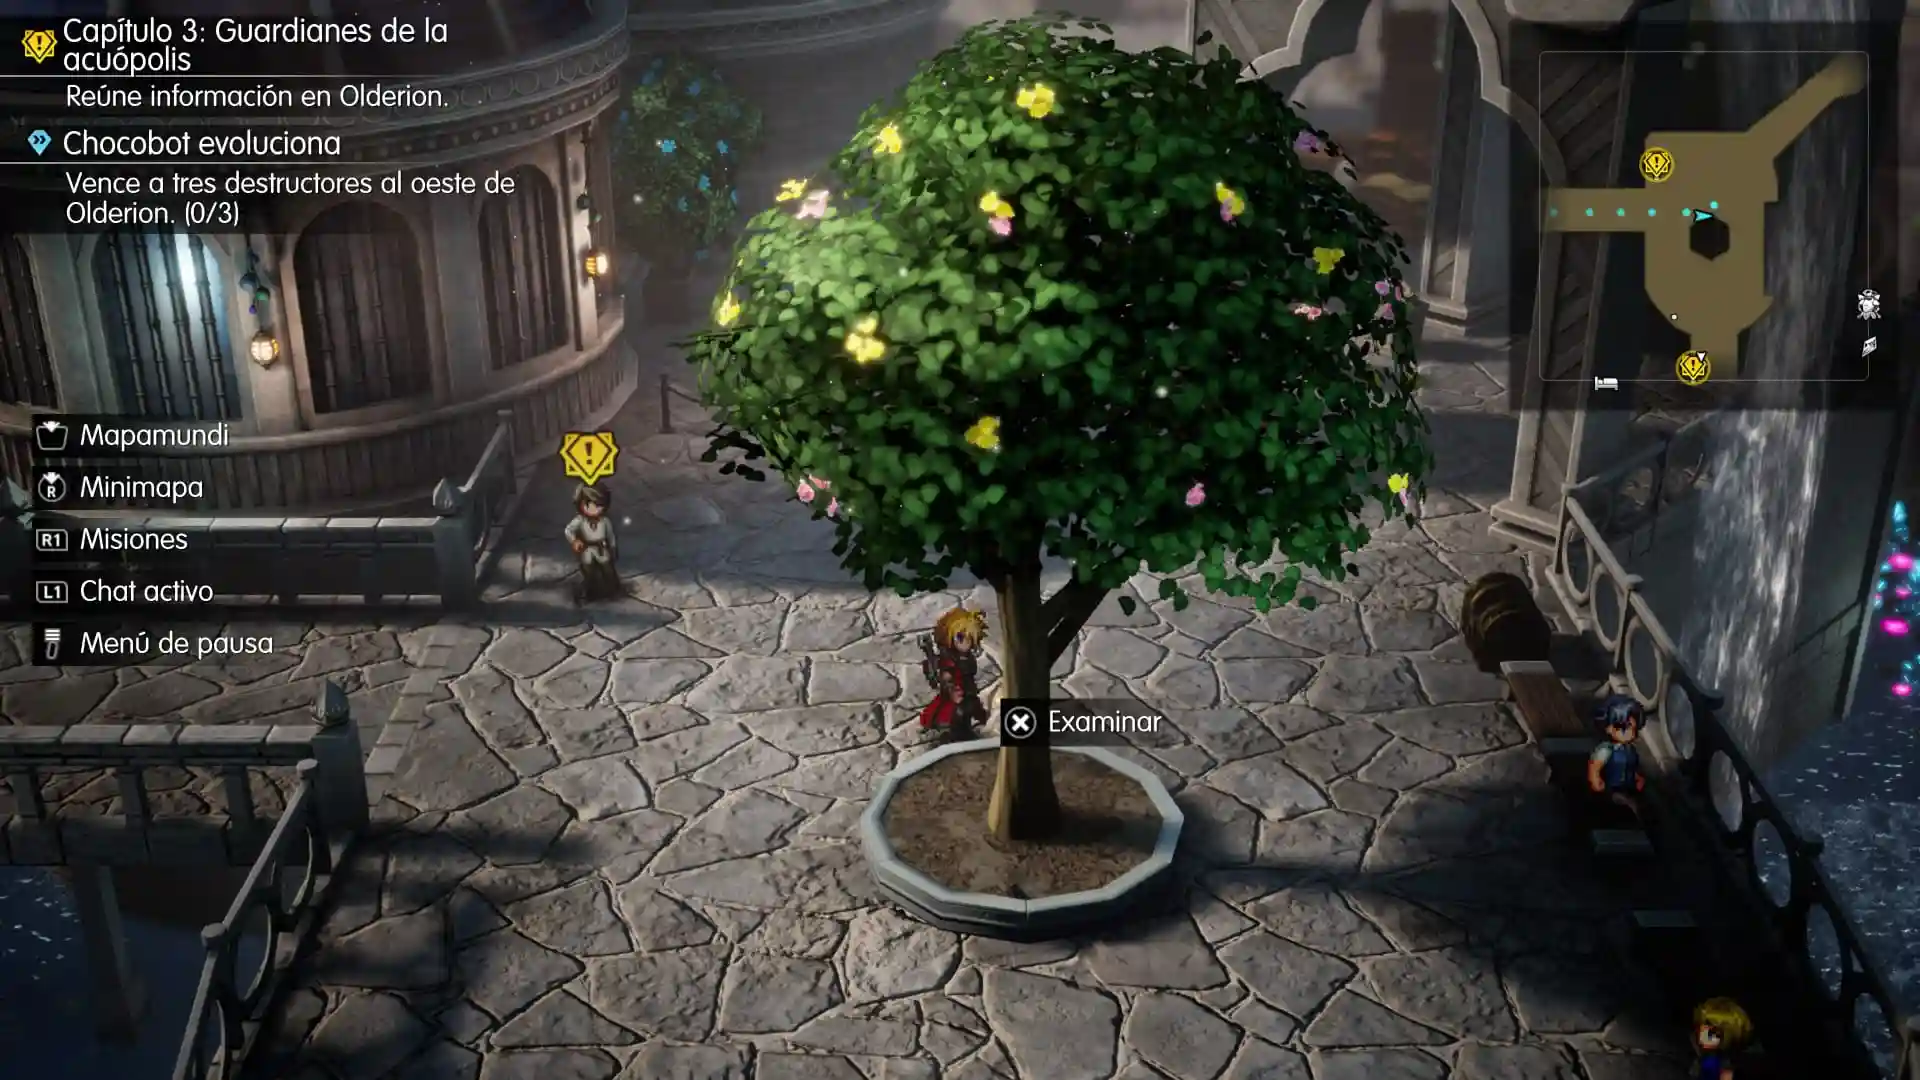
Near the waterwheel, you’ll also see a man with an exclamation mark icon above his head. Speak to him to hear about Leviathan’s dwelling.
Shops, Equipment, and Preparations in Olderion
Now that we’ve explored the city, it’s worth visiting the weapon and armor shops. The difficulty is starting to rise, so this is a good time to replace some of the equipment we’ve been using since Dirnado.
One useful item in the armor shop is the Red Jacket, which gives a solid boost to both physical and magical defense. Check the stats before buying it, and prioritize the characters who tend to take the most hits.
Stock up on Potions and MP-restoring itemsas well. The next dungeon has a boss accompanied by two smaller enemies, so we’ll need healing items and elemental magic.
Jump Rope Minigame and Notice Board
In the southeast of Olderion, we’ll find some girls playing jump rope. Oh no… getting flashbacks to that infamous Final Fantasy jump rope minigame! Talk to them to join in. There are three rewards to earn, one after another.
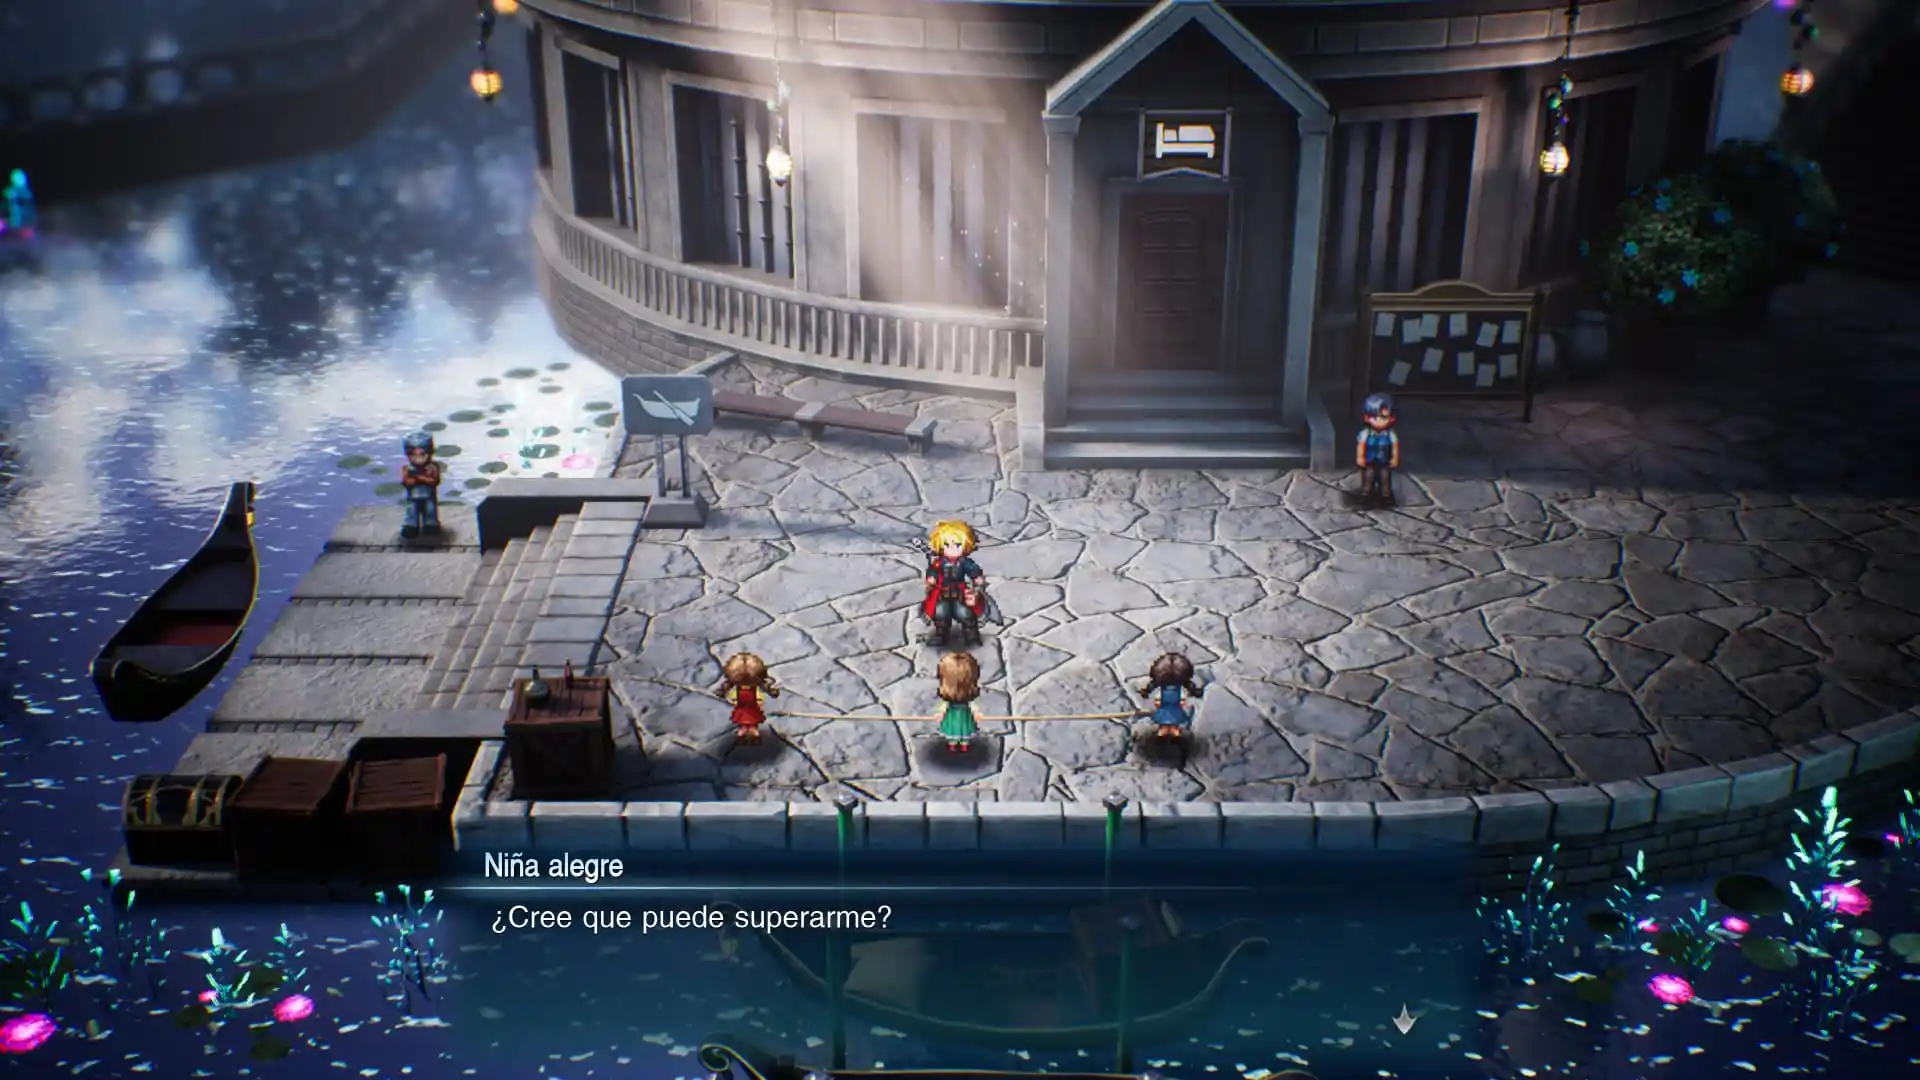
10 jumps: Magicite Shard.
15 jumps: Mist Hi-Potion.
20 jumps: Mist Ether.
Once you’ve completed 20 jumps, the girl will tell you she’s trying to beat her own record. Those are all the rewards available for now.
Just to the right of the girls is the notice board. Take a look at it, just as we’ve been doing whenever we arrive in a new city.
How to Find Nichol, the Warden of the Waters
Once you’ve finished shopping and exploring, speak with the two residents marked with yellow objective icons. They’ll tell us more about Olderion’s sacred waters and the protection of the Water Crystal.
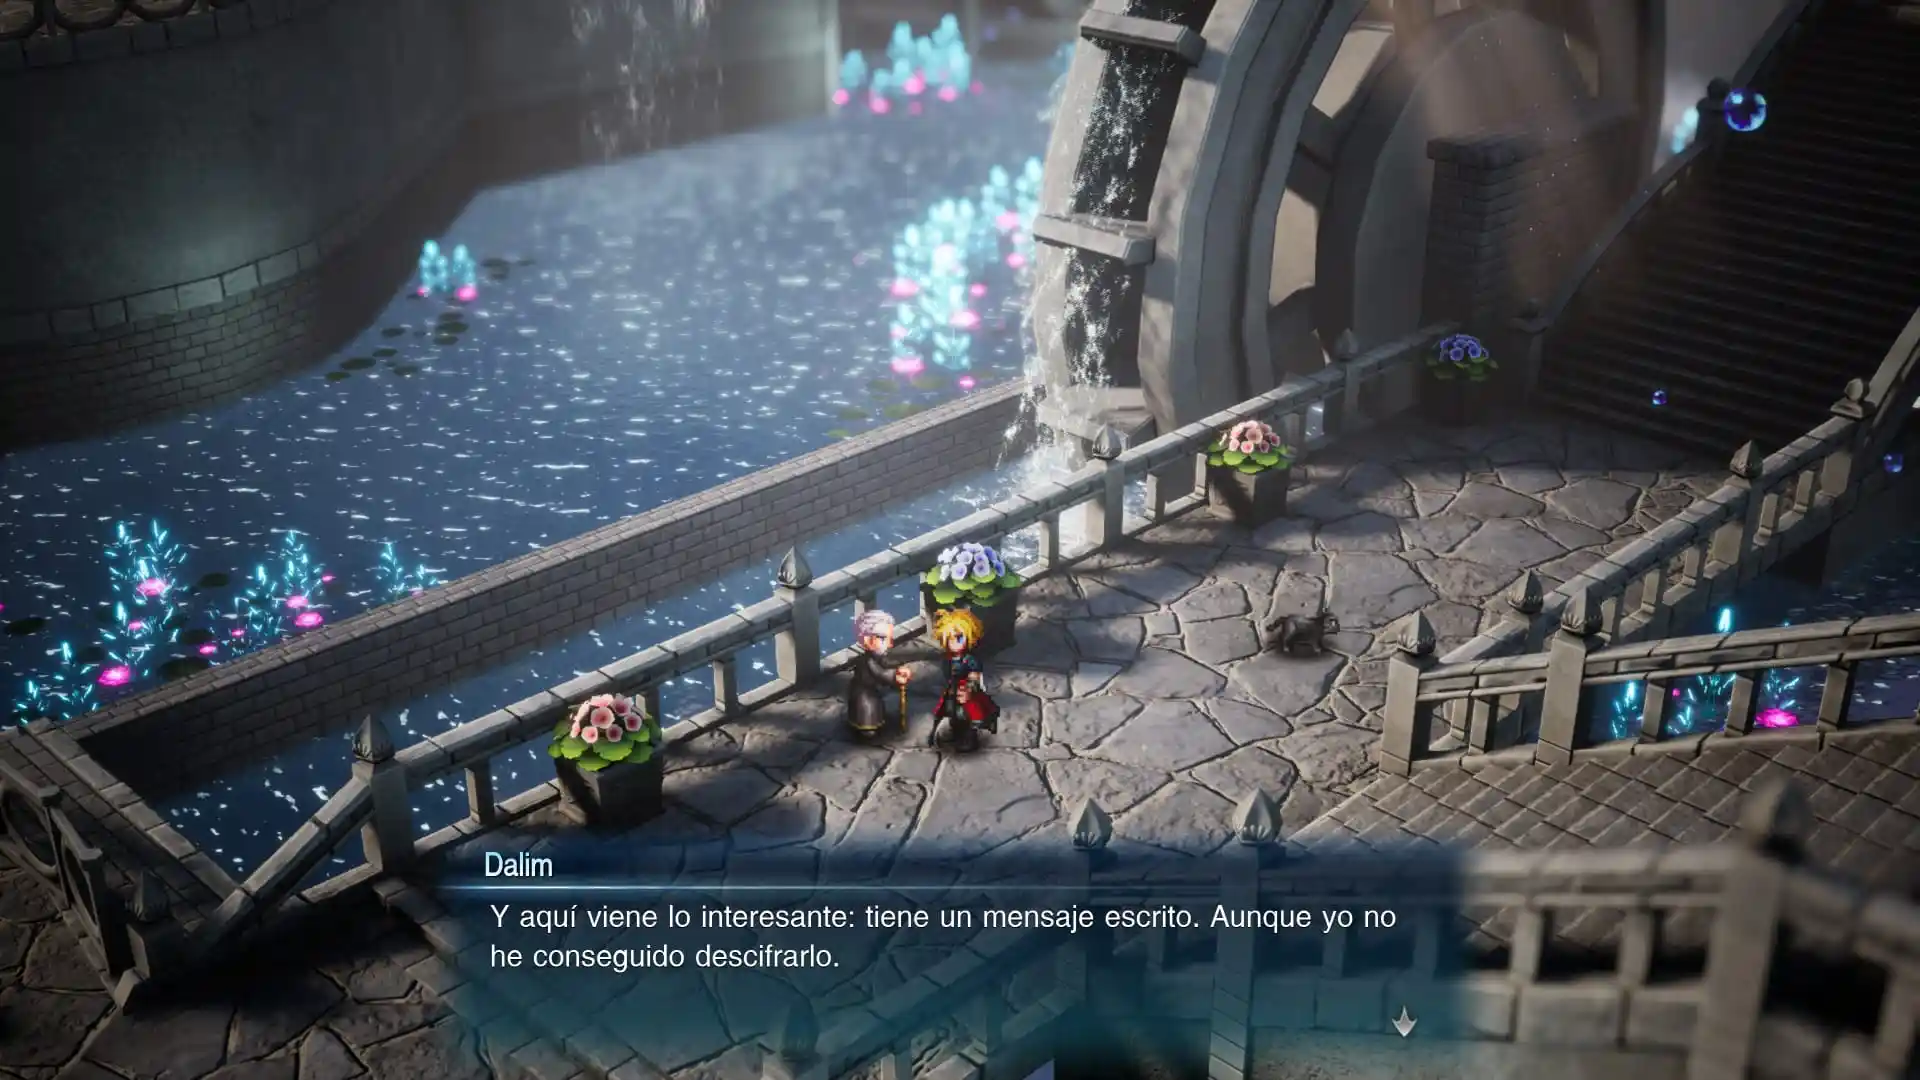
Next, head to the northwestern canal and look for Nichol, one of the wardens tasked with protecting the city. Speak with him to trigger the scene.
Nichol explains that the entrance to the Water Shrine is sealed and that we’ll need the wardens’ help to enter. During the conversation, news arrives that monsters have appeared in the Cave of Waters.
Our next objective is to head there and help the Water Maiden who’s in danger.
How to Reach Squall’s Sanctum
Leave Olderion and follow the road toward the Cave of Waters. The turnoff for Squall appears well before the cave entrance, so keep an eye on the surrounding terrain.
As you continue, you’ll spot a path heading east between the mountains. Take it and follow it to the Sanctum of Lightat the end of the route.
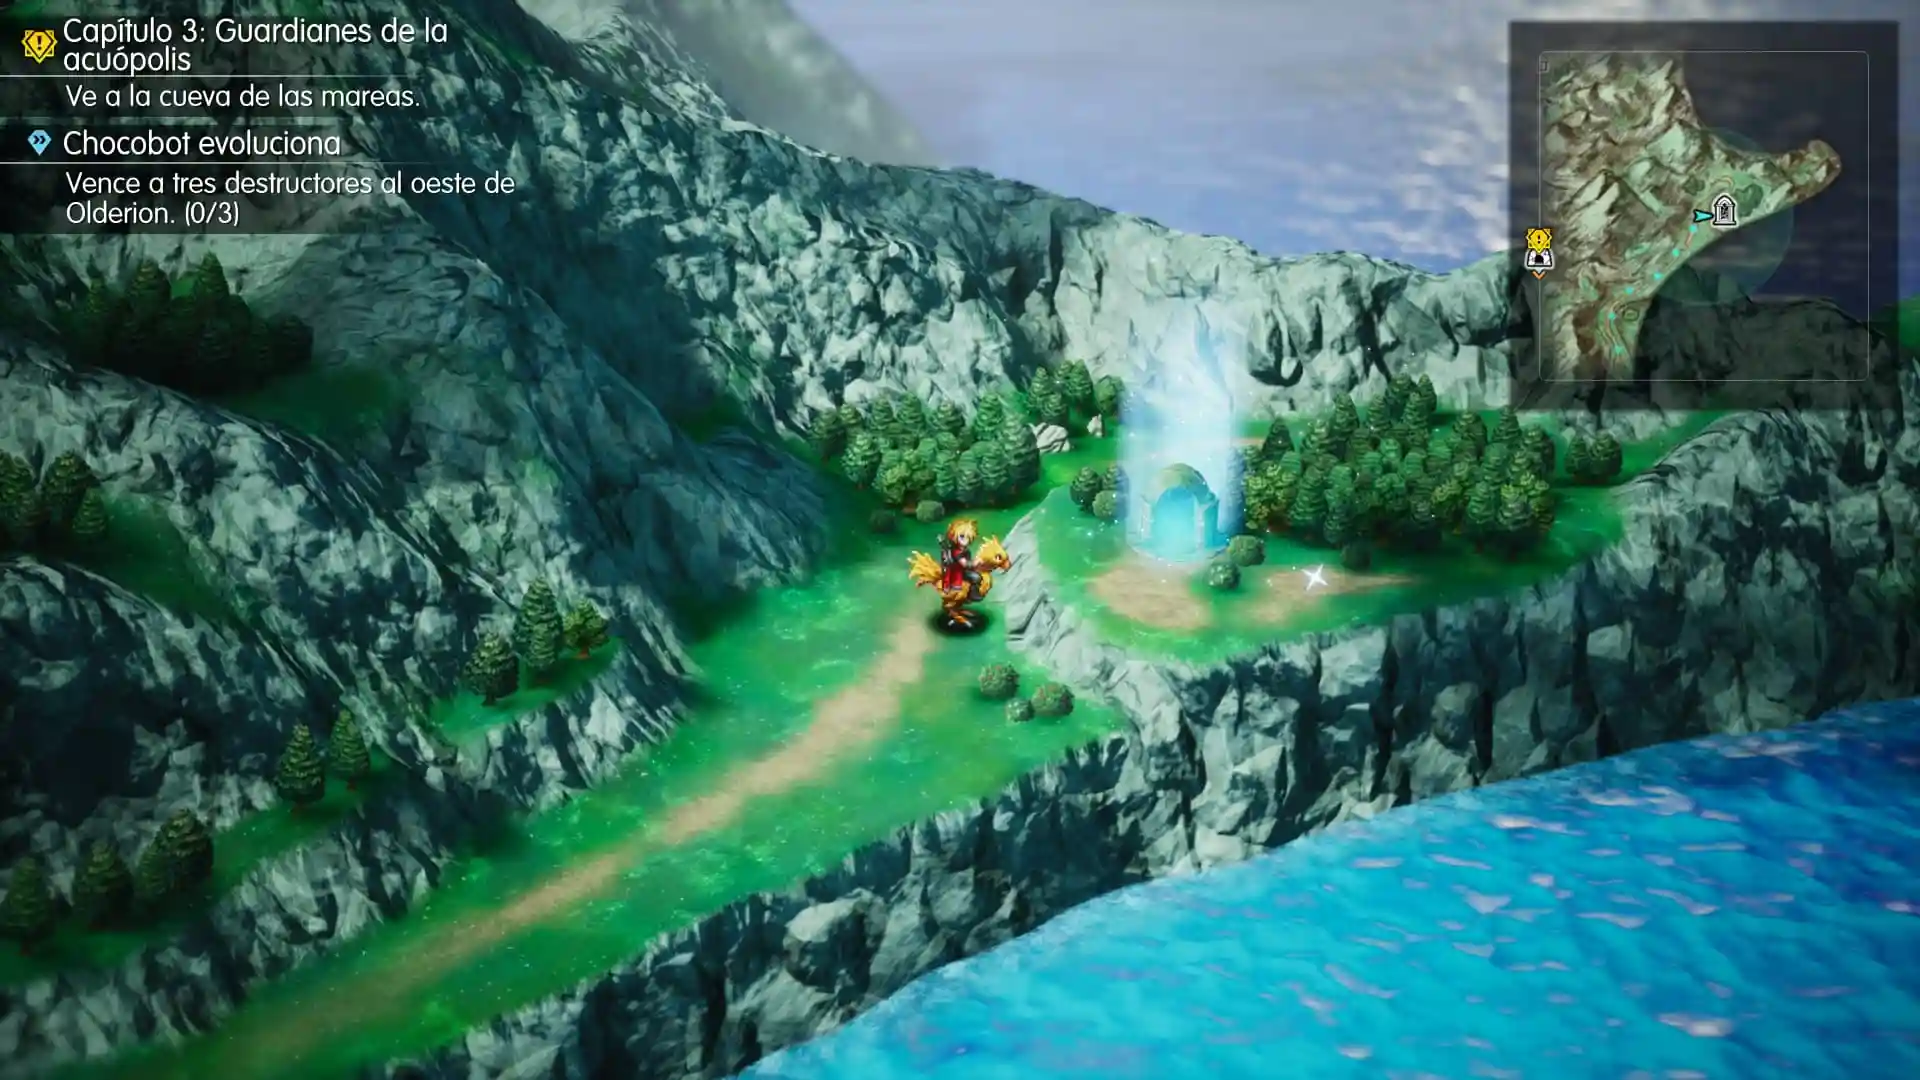
Near the sanctum, you’ll find a glowing pickup spot containing a Shuriken. Collect it, then enter and examine the crystal to speak with Squall, from Final Fantasy VIII.
1. “Alone.”
2. “Enlist the aid of allies.”
3. “Not care what they have become.”
When the conversation ends, we’ll receive Squall’s Vision. Equip it so you can start developing its abilities during the battles in the next dungeon. Return to the main road and continue to the Cave of Waters.
Entering the Cave of Waters
Retrace your steps and enter the Cave of Waters, northeast of Olderion. During the opening scenes, Nichol will join the party.
Nichol excels at support abilitiesthat can boost several allies at once. One of his most useful abilities increases the damage we deal while enemies are staggered.
The cave is filled with canals, little boats, and mechanisms that raise and lower the water level. We’ll make our way through in order, collecting the treasure chests before heading toward the Water Maiden.
First Rooms: Raise the Water and Take the Boat
In the first room, you’ll find a save point. Take the path on the right. The left-hand route will be useful when we return later.
In the next area, you’ll find one of the water-level control mechanisms. Activate it to raise the water, board the boat, and ride across to the dock on the other side.
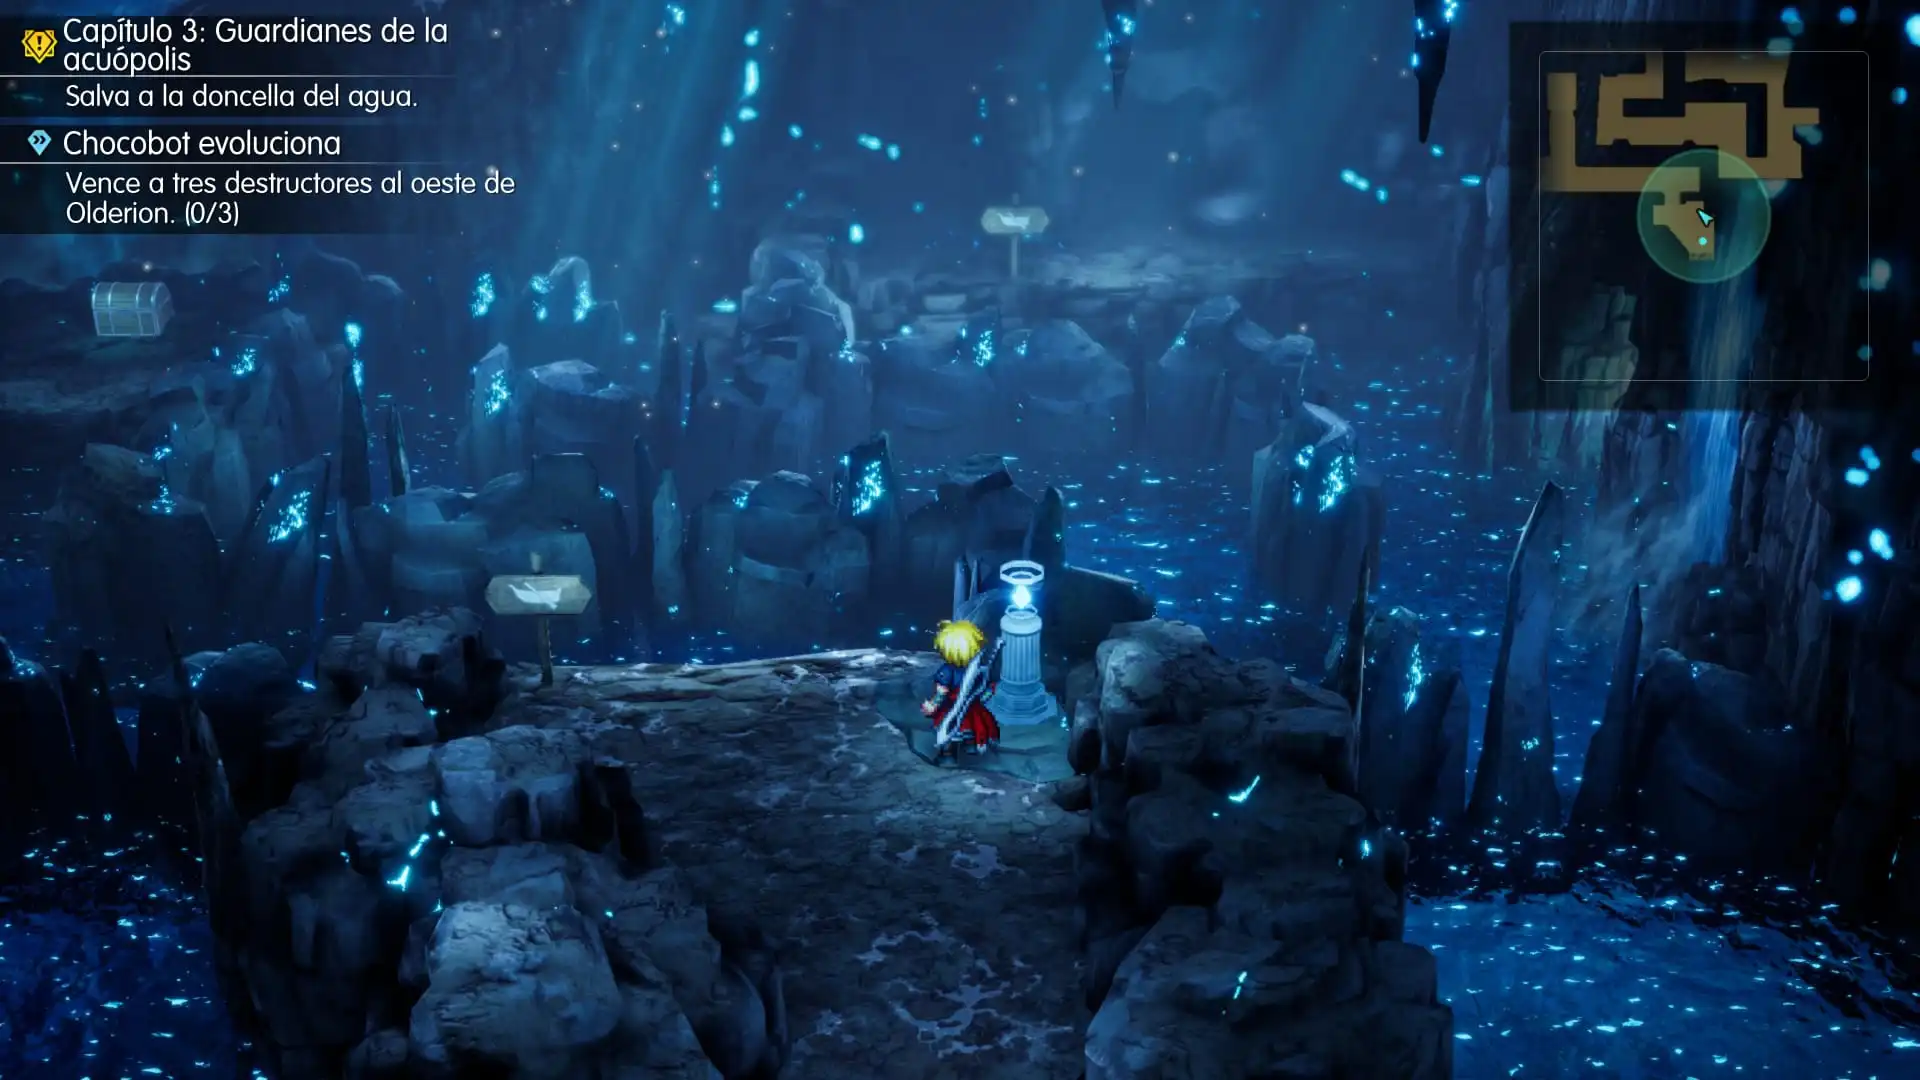
On the way to the first Tablet Shard, open the chest along the route. It contains a Magicite Shard.
Before reaching the shard, look for a hidden path on the right. Follow it to a chest containing Total Calisthenics, a weapon for Nichol. Then return to the main route.
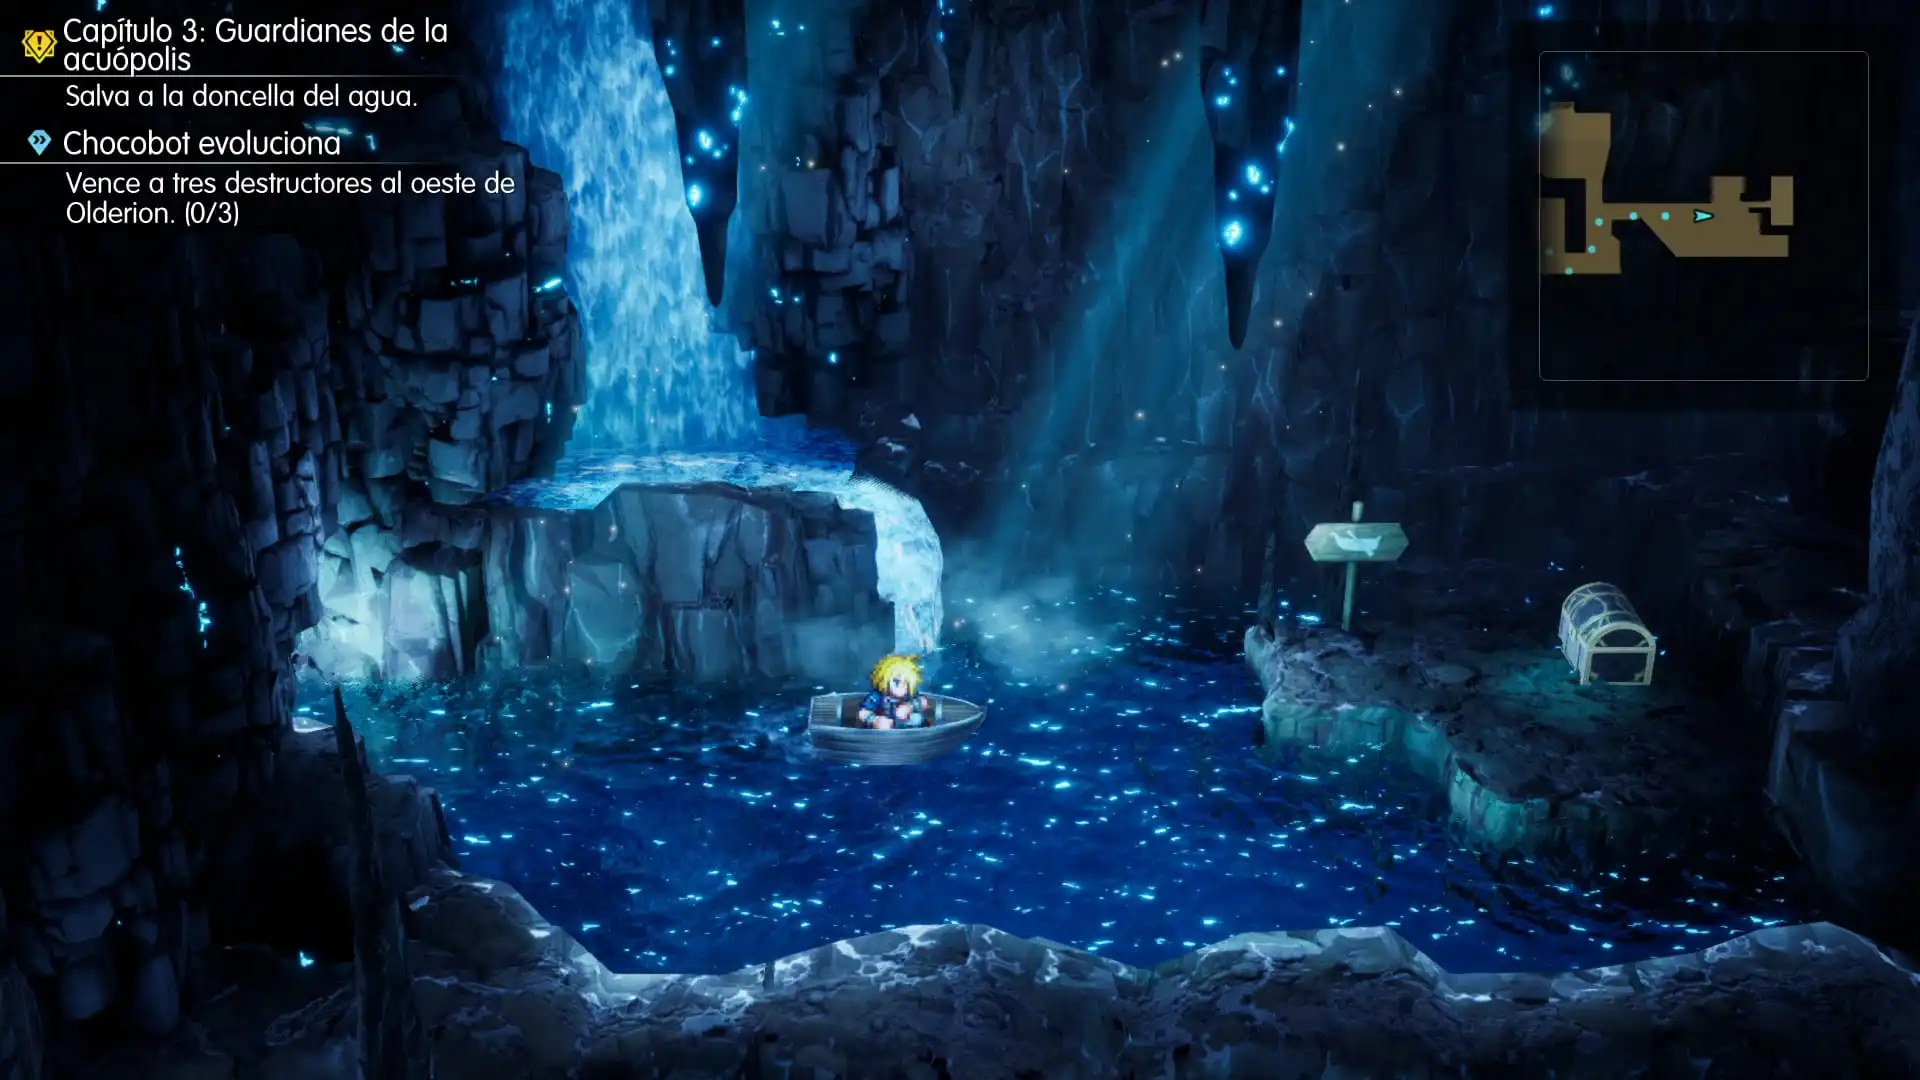
Now head toward the disembarkation area. To the left of the dock, you’ll find the cave’s first Tablet Shard. Pick it up before moving into the next area.
Second Boat Area: Chests and a Fork in the Path
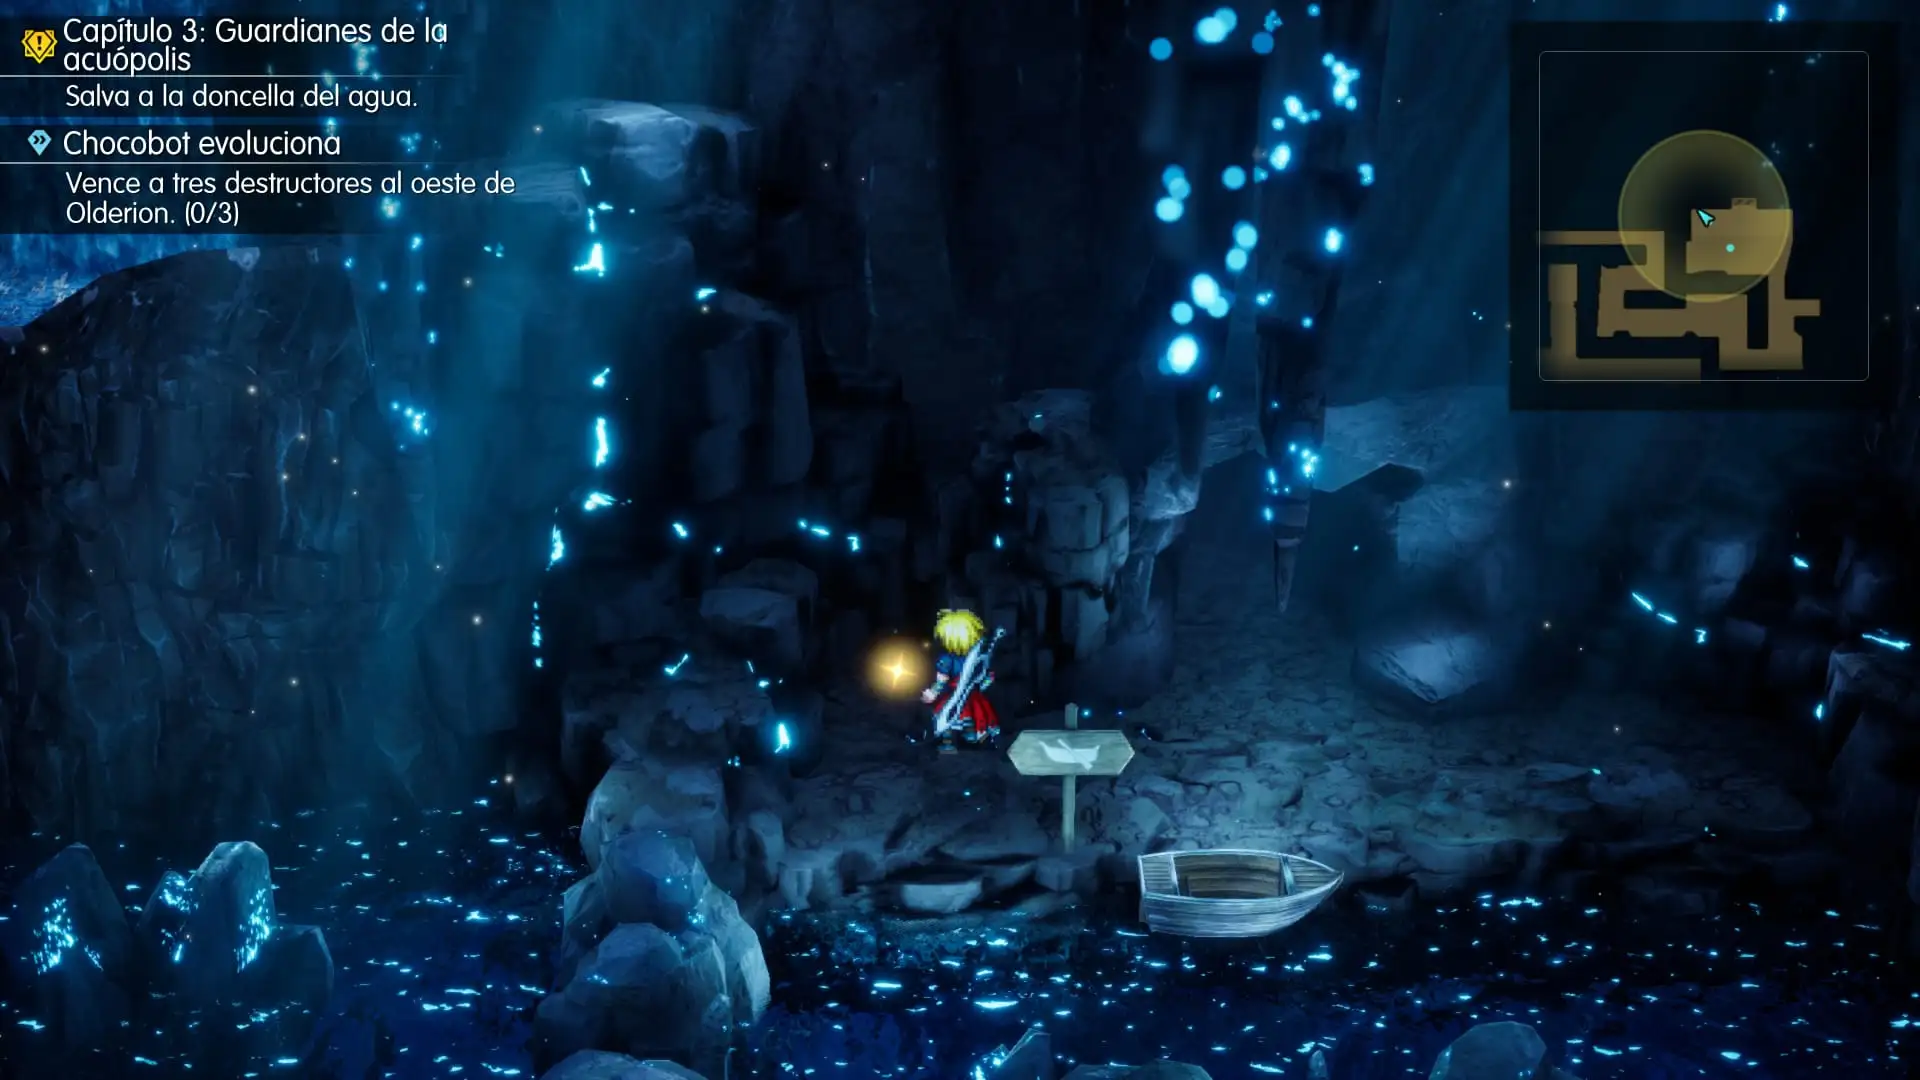
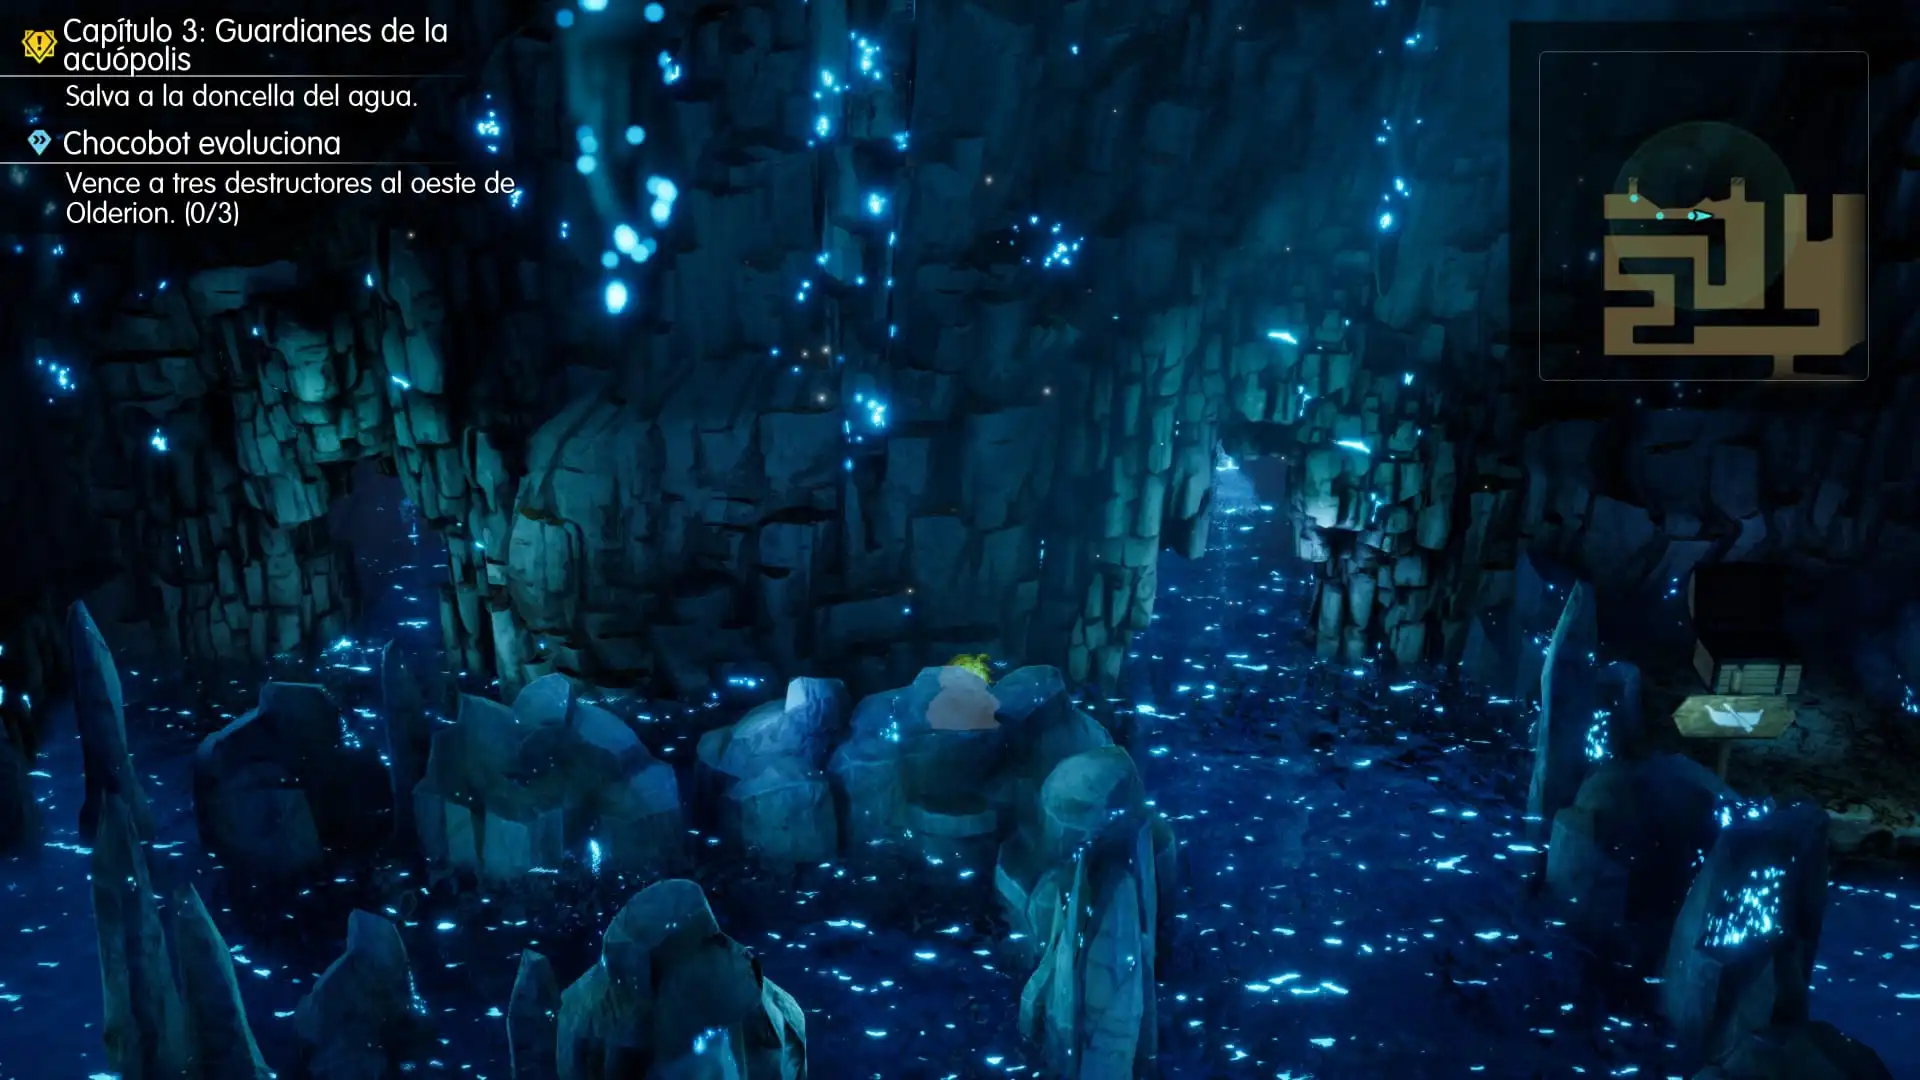
When you reach the second mechanism, activate it to raise the water level and board the boat. As soon as you get on, look straight ahead: there’s a chest containing a Shuriken. Collect it before sailing farther into the cave.
Continue until you reach a section with two exits. Take the left exit first and open the chest containing an Ice Scroll I. Then return to the fork and take the right exit to continue.
How to Get Ninja Gear and the Second Tablet Shard
In the next room, head for the mechanism in the upper-left corner and activate it to lower the water level. You can now reach the previously inaccessible chest. Open it to get Ninja Gear.
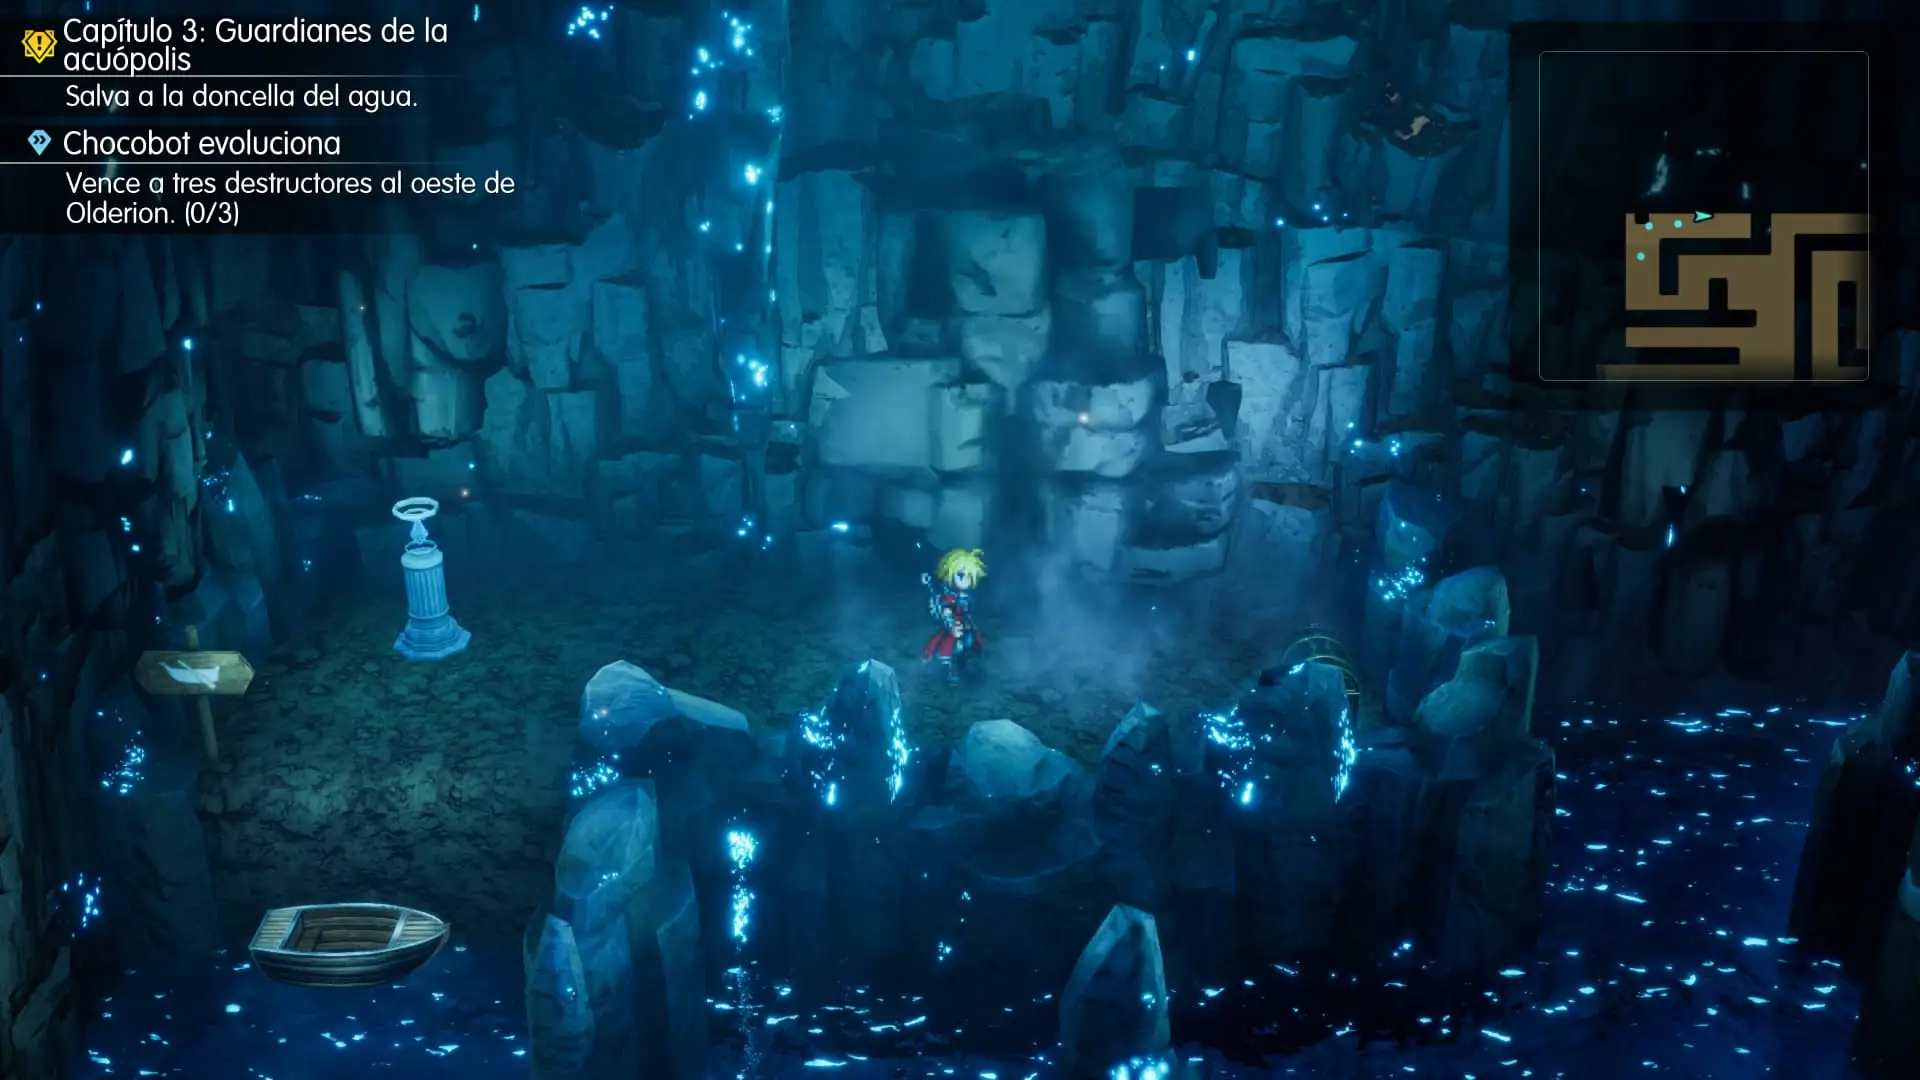
Return to the mechanism and raise the water level again. From here, head directly southwestto reach the next Tablet Shard.
Farther on, you’ll reach a room with a waterfall, a ladder, and another save point. Go to the base of the waterfall and pick up the sparkle on the ground: this is the second Tablet Shard available during our first visit.
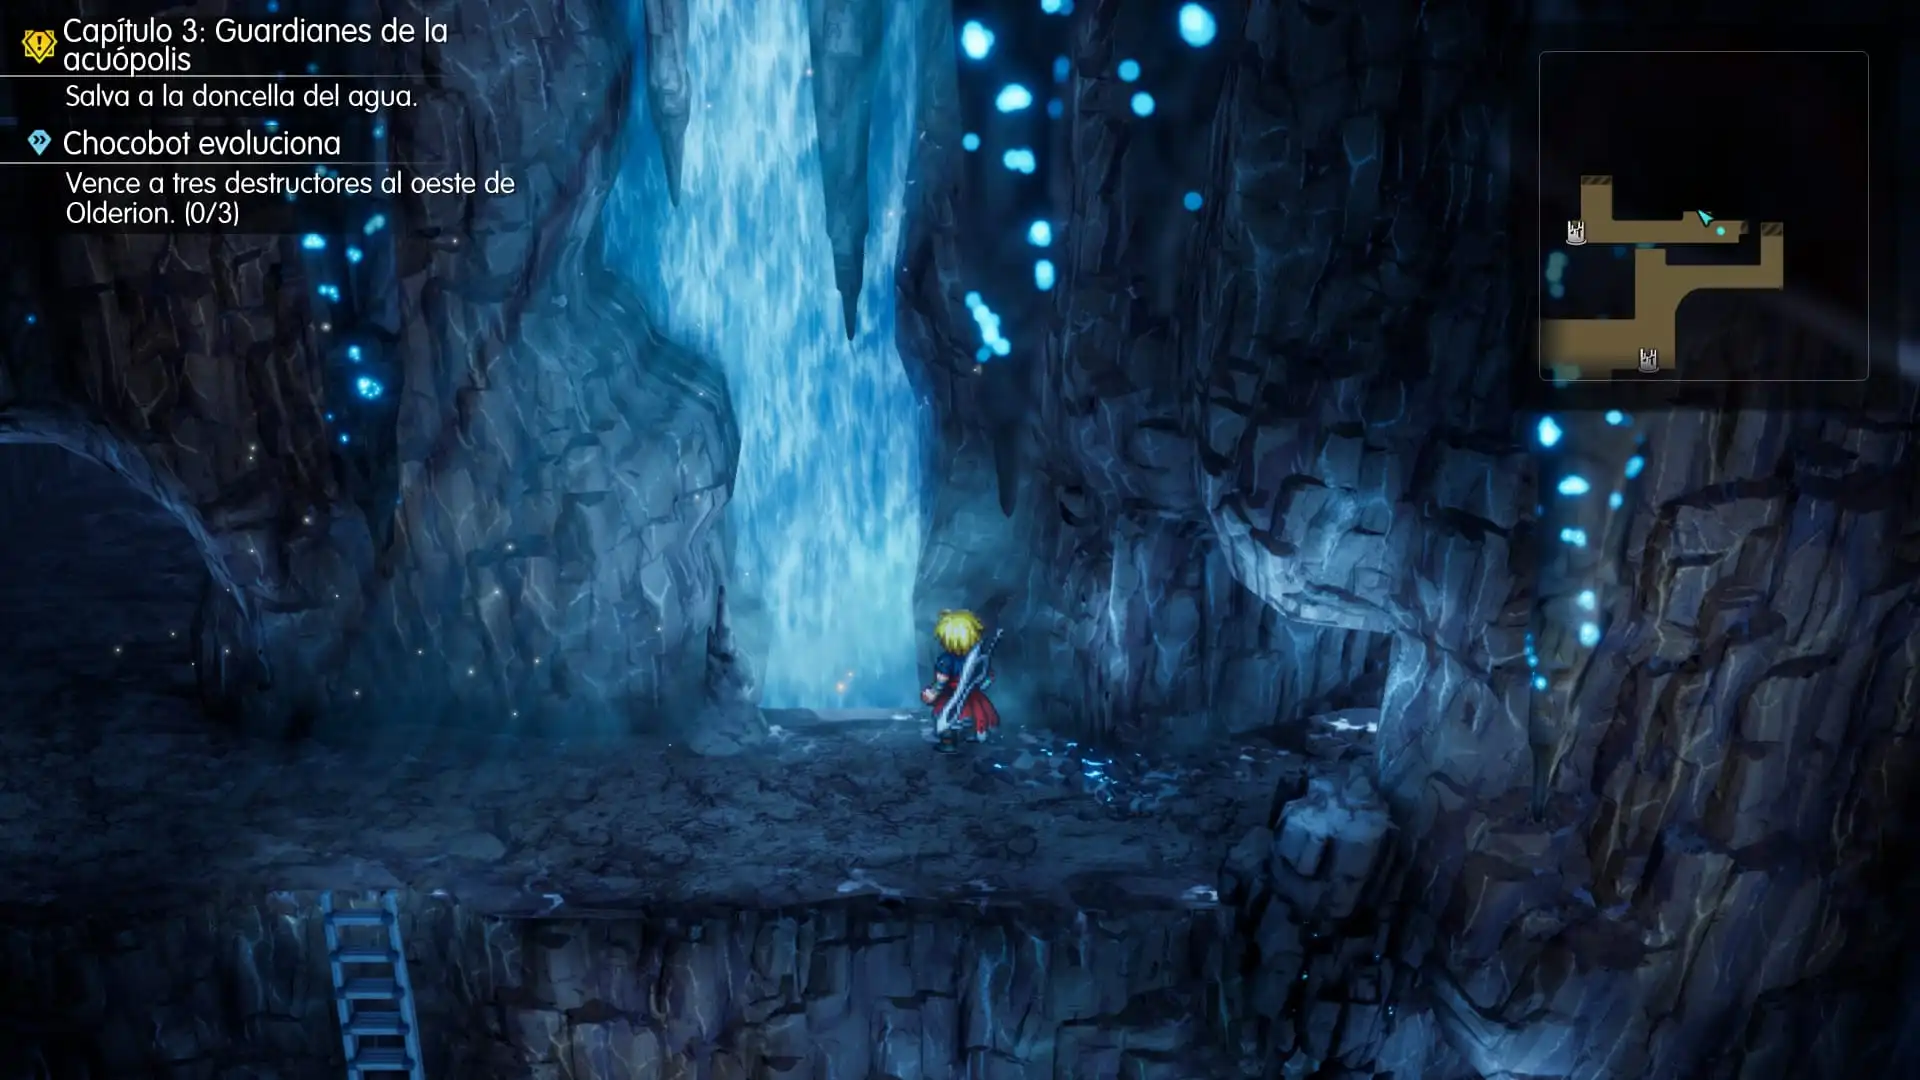
The Cave of Waters has a third Tablet Shard that we’ll be able to reach later, when the story takes us back along the route to Lake Dorr.
Open the Shortcut and Prepare for the Boss
The route eventually brings us to an elevated part of the first room. You’ll find a ladder we can lower to open a shortcut back to the save point near the entrance.
Lower it, save your game, check your Visions, and restore everyone’s HP and MP. Prepare Ice, Lightning, and Wind attacks, because we’ll need all three elements in the same fight.
How to Beat Wave Lopros in the Cave of Waters
At the end of the cave, we’ll face a huge monster accompanied by two smaller enemies. This battle can get nasty if we focus on the boss from the very first turn.
Take Out the Two Smaller Enemies First
Use Lightning attacks against the blue enemy and Wind attacks against the other. The aim is to eliminate both quickly so they can’t interfere with the boss fight.
Wave Lopros can use its companions to strengthen itself, so it’s best to deal with them as soon as possible and watch out if it summons more.
Stagger Wave Lopros with Ice
With the smaller enemies out of the way, concentrate on the main boss. Use Lasswell’s Ice magic and your equipped abilities to bring down its stagger gauge.
With Nichol, use his support abilities to boost the party’s damage. Once the boss is staggered, unleash your strongest attacks and any Resonances you have available.
Keep the Party’s HP Up
The boss can use Water attacks that hit several party members, so keep a close eye on anyone with lower magic defense. Have Fina heal whenever several members of the party are running low on HP.
If more smaller enemies appear, deal with them before returning to the boss. Keeping the snappers under control, using Nichol’s support abilities, and attacking with Ice will make the battle much more manageable.
Rescuing the Water Maiden and Returning to Olderion
After the battle, we’ll rescue Luka, Nichol’s younger sister and the Water Maiden. We’ll learn more about what is happening to Olderion’s canals and the threat facing the Water Crystal.
Now it’s time to return to Olderion. We’ll accompany Luka as she attempts to purify the city’s waters. After that, we’ll visit Old Town and, later, Lake Dorr.

Medios amigos

Un medio de videojuegos dedicado a los RPGs.