


We’ve reached the final chapter of Final Fantasy Resonance! After everything that happened in the Wandering Lands, it’s time to explore the Crystal Tower. There are still treasure chests, Tablet Shards and several major battles standing between us and the conclusion of the story.
In this walkthrough, we’ll climb the tower step by step, collecting all eleven treasure chests and three Tablet Shards. We’ll also explain the invisible walkway puzzle, how to defeat Behemoth, Sol, Dark Bahamut and Chaotic Darkness, and everything you should check before the point of no return.
Spoiler warning: the second half of this guide covers the final bosses and ending events. If you’re only looking for collectibles, stop reading when you reach the point-of-no-return section.
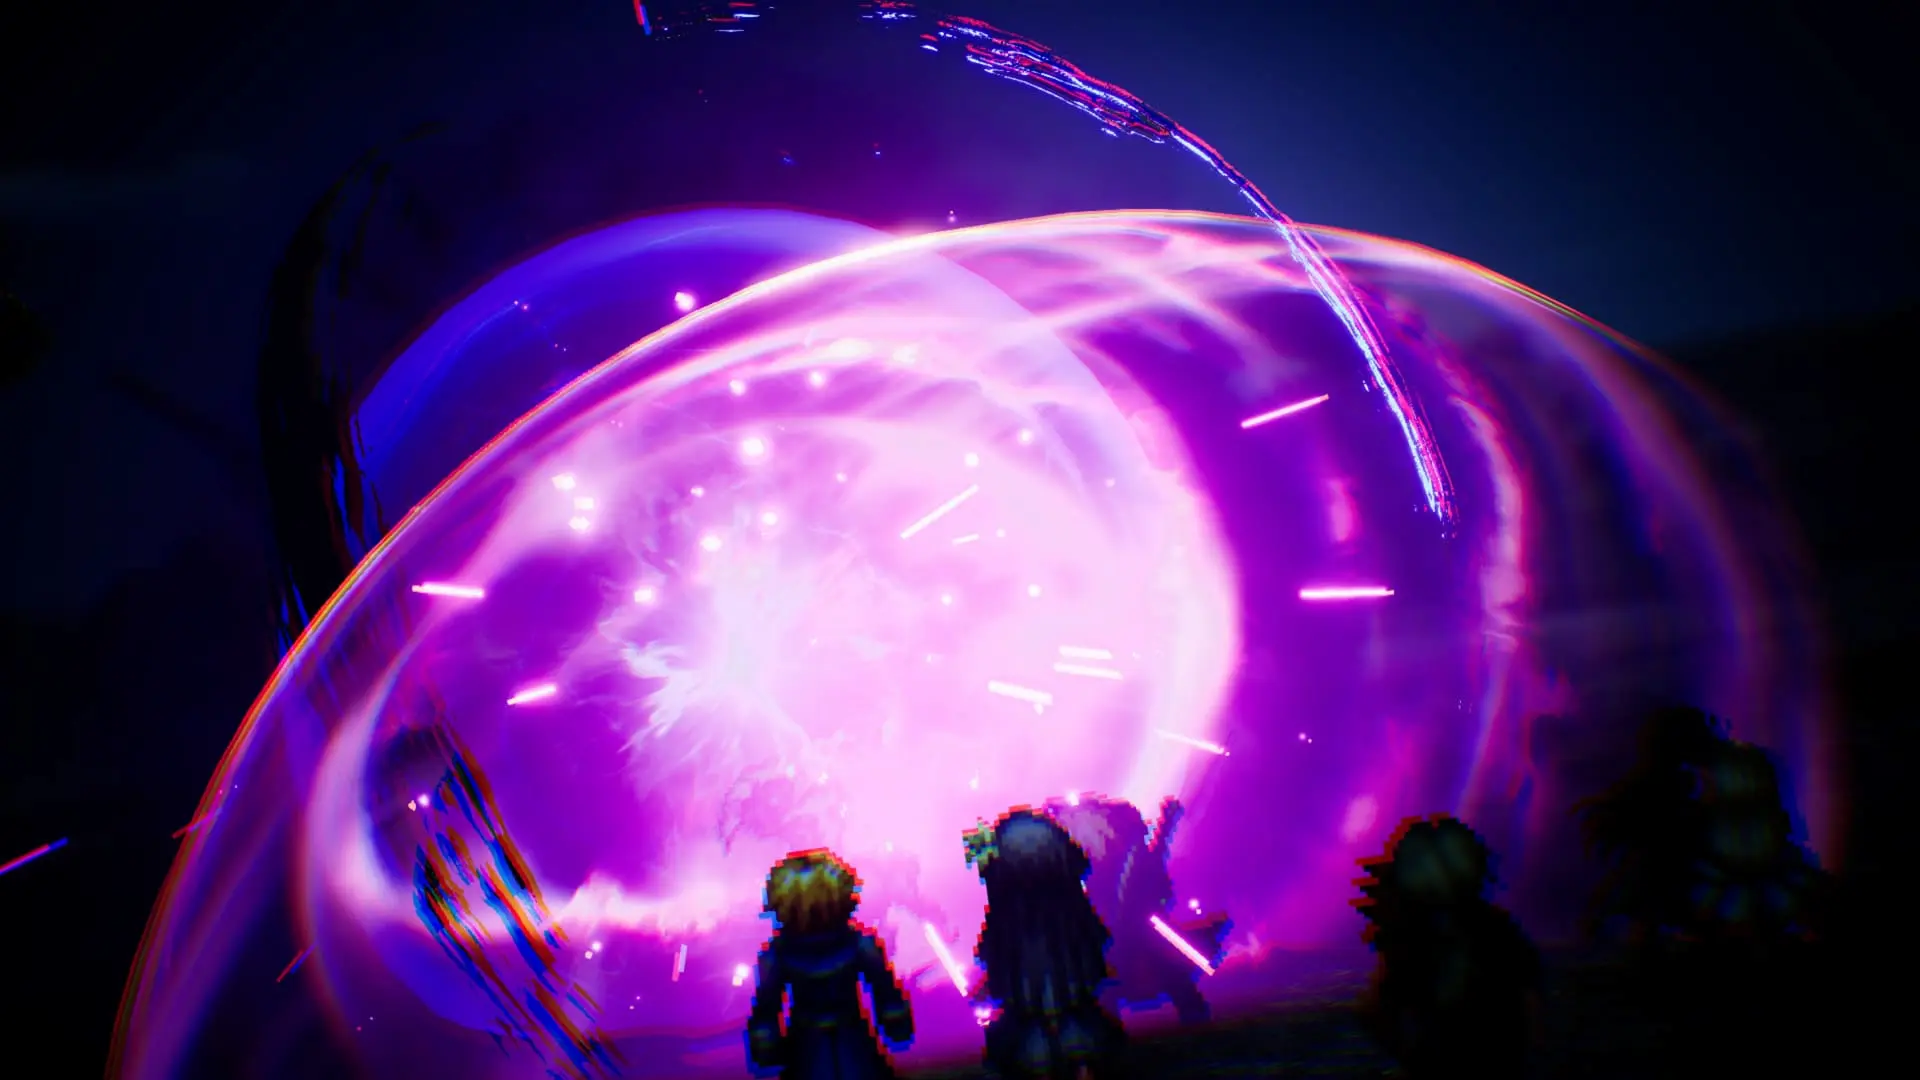
Before Entering the Crystal Tower
Once we’ve finished Chapter 7: Reckoning, we’ll be free to travel with the airship again. Even though our main objective points towards the tower, we don’t have to enter it straight away. If you still have side quests, Visions or equipment upgrades to work on, now is a good opportunity.
Check the airship’s Active Time Chats too. At this stage, “Shiden” and “A Timeless Reunion” may become available. If a new conversation appears, watch it before moving on.
“A New Leaf” Side Quest: Raegen and Rain
Speak to Raegen on the airship deck to start “A New Leaf”. This quest is worth completing, as it rewards us with an item and a permanent stat boost for Rain.
First, travel to Grandshelt and speak to the king. Then go to Mitra and talk to the person marked by the quest. Afterwards, head to the far end of Waterfall Way and watch the scene there.
Finally, return to the airship deck and talk to Raegen again. We’ll receive the Knight’s Medallion, and Rain’s stats will increase. Other Active Time Chats may unlock during these trips, so don’t forget to check the menu.
How to Reach the Crystal Tower
Board the airship and fly to the Crystal Tower, our next story destination. We can’t land directly at the summit, so we’ll need to enter the tower and climb through its interior.
During the story scenes, Sakura takes care of the energy blocking the entrance. There’s no key to find or switch to activate: just follow the story and we’ll gain access. Chapter 8: Beyond Hope then begins, with the objective “Go to the top of the tower”.
Enemies in this area are around level 50 or higher. If your party is a little underleveled, stock up on healing items and bring Light, Wind and Dark abilities. They’ll be especially useful against the bosses ahead.
First Rooms: Treasure Chests and Tablet Shards
The tower has several floors filled with staircases, walkways and portals. The main story route is fairly straightforward, but we’re going to explore the side paths so we don’t leave any treasure behind.
First Tablet Shard
Continue until the first fork and take the path on the right. At the end you’ll find the sparkle marking the first Crystal Tower Tablet Shard.
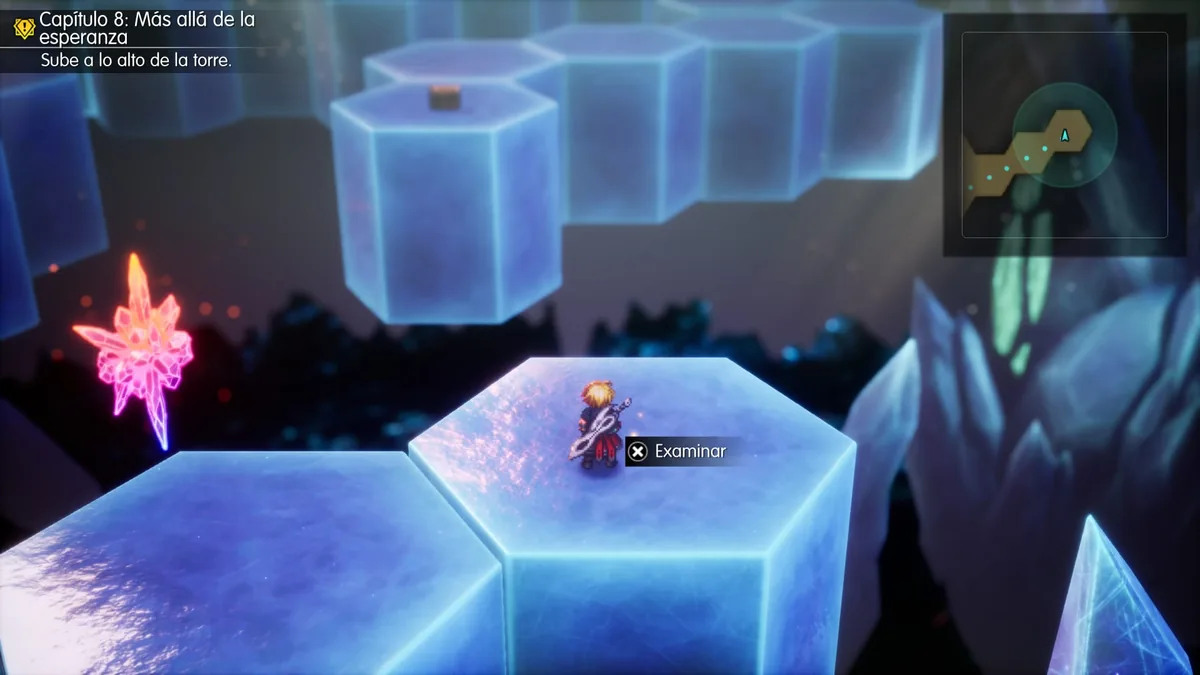
Pick it up and return to the fork to look for the next one.
Second Tablet Shard
Farther ahead, we’ll reach an area with several paths. Head left and find the narrow walkway heading north. Follow it until you reach a small turning on the right.
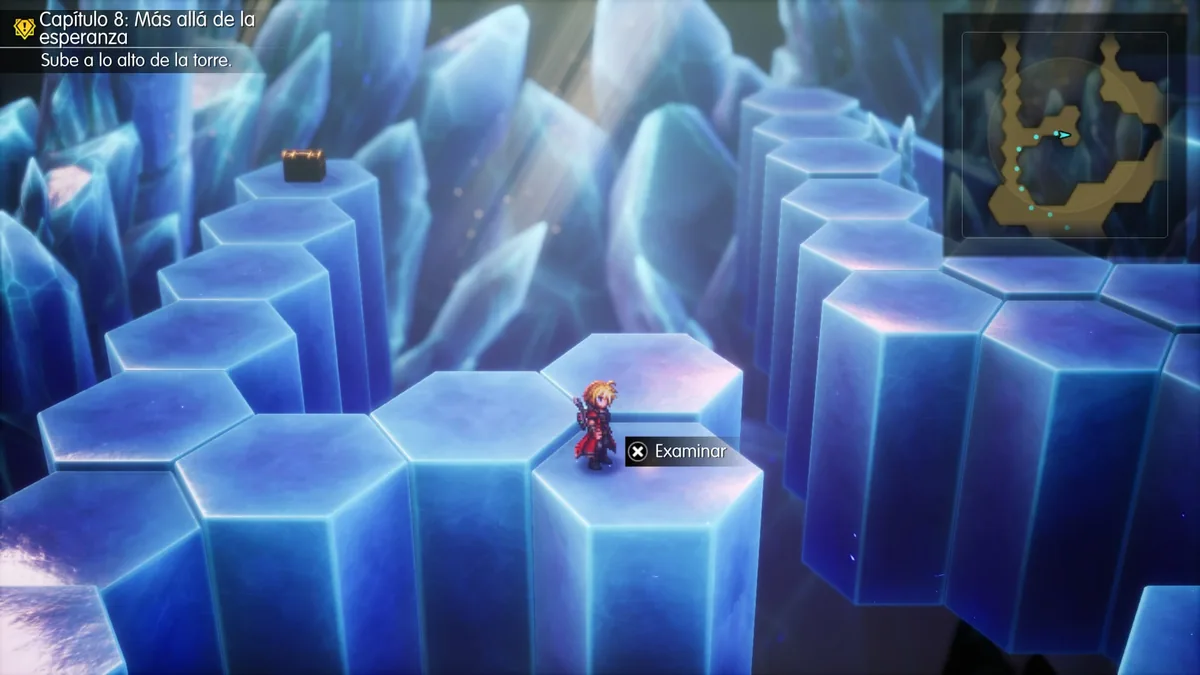
You’ll find the sparkle of the second Tablet Shard here. Pick it up, because this spot will also serve as our reference point for two nearby chests.
Pilebunker and Two Chef’s Knives: Paths from the Second Shard
Pilebunker: from the spot where we collected the second shard, go north. At the end of the path you’ll find the chest containing the Pilebunker.
Two Chef’s Knives: return to the second shard and follow the path east. At the fork, turn south to find a chest containing Chef’s Knife ×2.
With both chests open, head back to the main route. We’ve collected the shards from this early section and can continue exploring the tower.
Apocalypse and the Battle Against Dante
After leaving the first shards behind, we’ll continue climbing and see more scenes involving enemies. Before the next encounters, there’s another detour we should check for Apocalypse.
How to Get Apocalypse
As you move through this section of the tower, look for a ramp descending towards the north. Instead of continuing upwards, head down and follow the path to the very end. There you’ll find a chest containing Apocalypse.
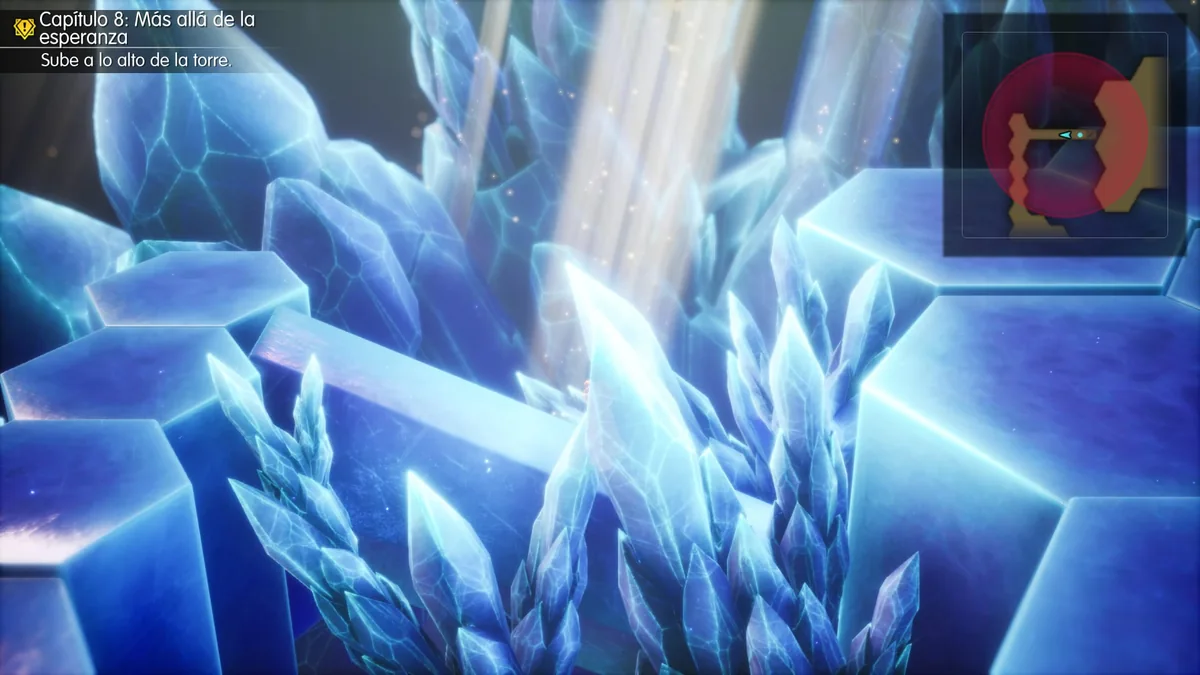
There’s also a Pearly Pot in this area. If you want to finish the encounter, use an Elixir on the pot itself. You don’t need to do this to advance the story.
Once you’re done exploring this detour, follow the main path to the portal leading to the next battle.
Battle Against Dante
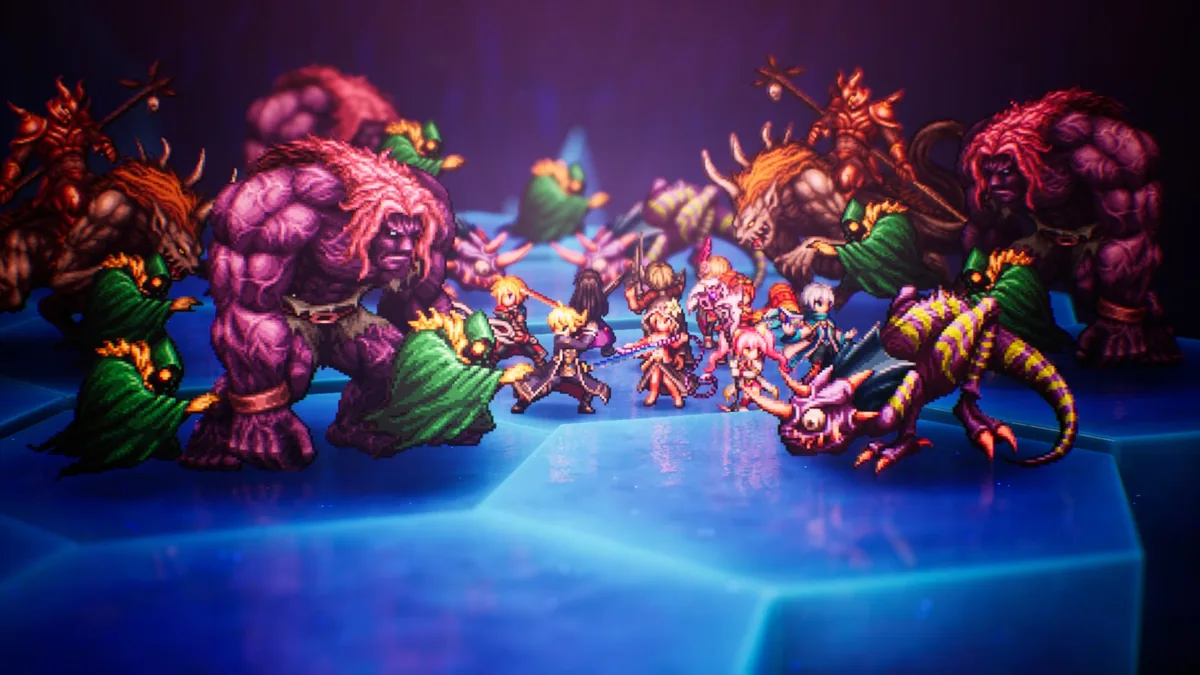
When we pass through the portal, we’ll fight Dante, a level 50 enemy accompanied by Specters. Dante is weak to Earth and Light, so Lid and Fina are good choices for dealing damage and building up his stagger gauge.
I recommend taking out the Specters first with Ice or Light so they won’t get in our way. Then focus on Dante and keep everyone healed, as he has some dangerous attacks. Once he’s defeated, we’ll be able to continue up the stairs.
The Staircases: Laevateinn, Megalixir and Ancient Katana
Left Staircase: Laevateinn and Megalixir
When you reach the two staircases, take the left one first. Follow its path to the end to collect Laevateinn and a Megalixir.
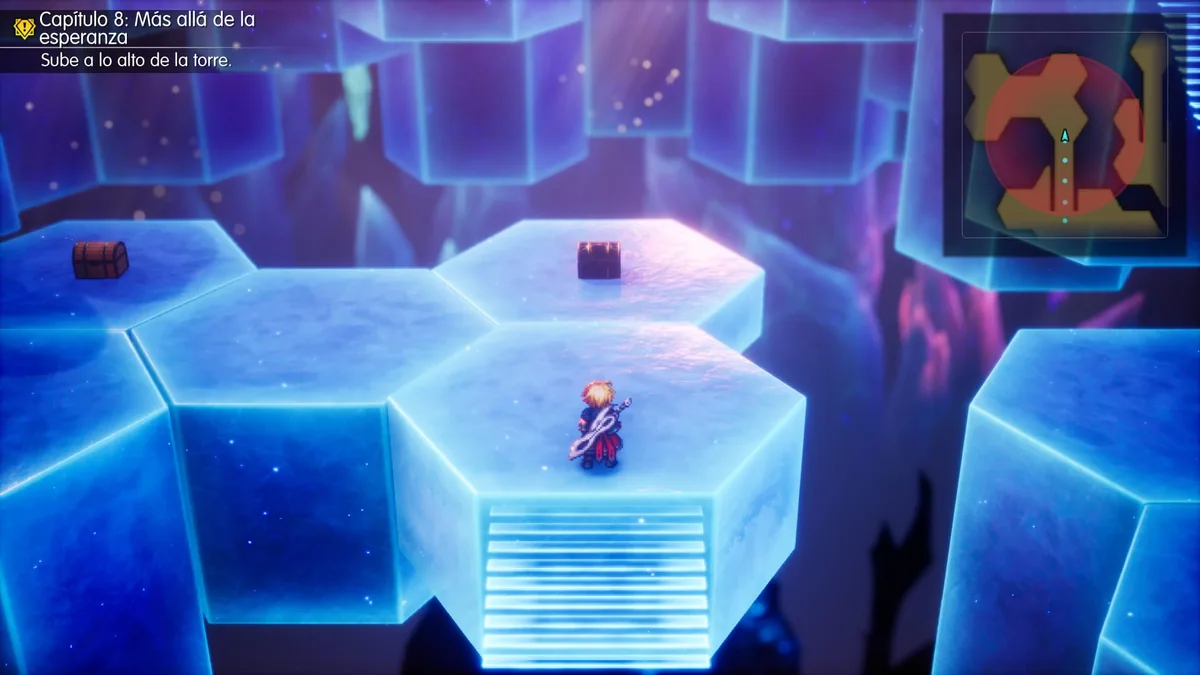
Then return to the staircases and take the right route to keep climbing.
Right Staircase and the Path to the Ancient Katana
Climb the right staircase and continue until the next save point. There’s also a hard-to-spot path heading farther up in this section, so pay attention to the walkable area as you go.
Near the save point, you’ll find a chest containing the Ancient Katana. Pick it up, as it’s one of the weapons we’ll be able to upgrade later on.
Airship Access and the “Tranquility” Conversation
Near this part of the tower there’s a spot where we can call the airship. This is especially handy if you want to leave, buy supplies or finish anything you’ve missed. We’ll be able to return here without having to repeat the whole climb.
The “Tranquility” Active Time Chat also becomes available in this section. Watch it if you’re trying to see all the story conversations.
Once you’re ready, take the north exit and continue. One of the toughest bosses in the dungeon is waiting ahead.
Boss: Behemoth — Level 52
As we move forward, we’ll encounter Behemoth, a monster with roughly 320,000 HP and incredibly high defenses. If it seems as though our attacks are doing practically no damage at first, don’t worry: this battle has a special mechanic.
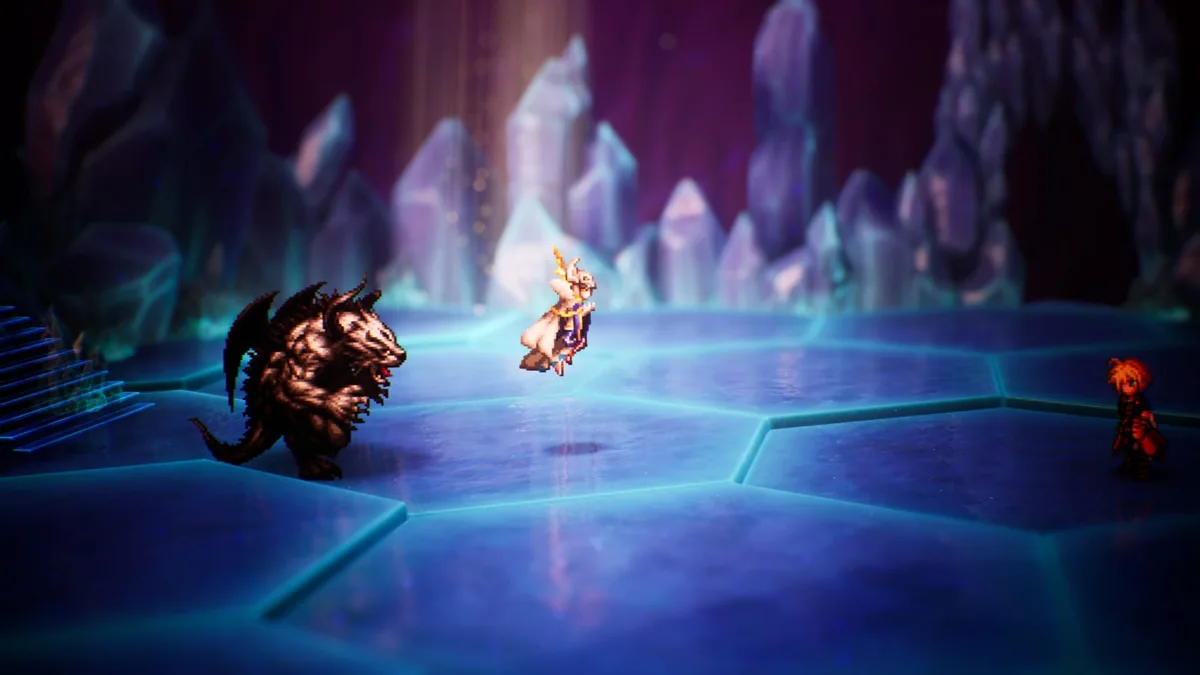
How to Defeat Behemoth
First, we have to wait. During the fight, Lux and Alluvion intervene to help us. Until those story events have played out, we won’t be able to damage and stagger Behemoth normally, so use those early turns to keep everyone alive and prepare the abilities you’ll need.
Once Behemoth becomes vulnerable, focus on its two weaknesses: Wind and Light. Jake can help with his Wind abilities, including Demolisher Rush, while Fina can use Luminant Cannon. Sakura is another good option if you’ve equipped Light-based abilities.
Be careful: Behemoth can act twice per turn. If you’re using Nichol, use Slowga when needed and keep Shellga active to reduce magical damage. If anyone is paralyzed, remove it with Esuna.
Its most dangerous attack is Meteor, which can strike the entire party multiple times. Once staggering becomes possible, try to break its gauge before it uses its strongest attacks. If you can’t manage it in time, make sure everyone has enough HP to survive.
After the fight, restore your HP and MP and keep climbing the tower. We’re about to reach an area where the path isn’t visible at first.
Crystal Tower Puzzle: How to Cross the Invisible Paths
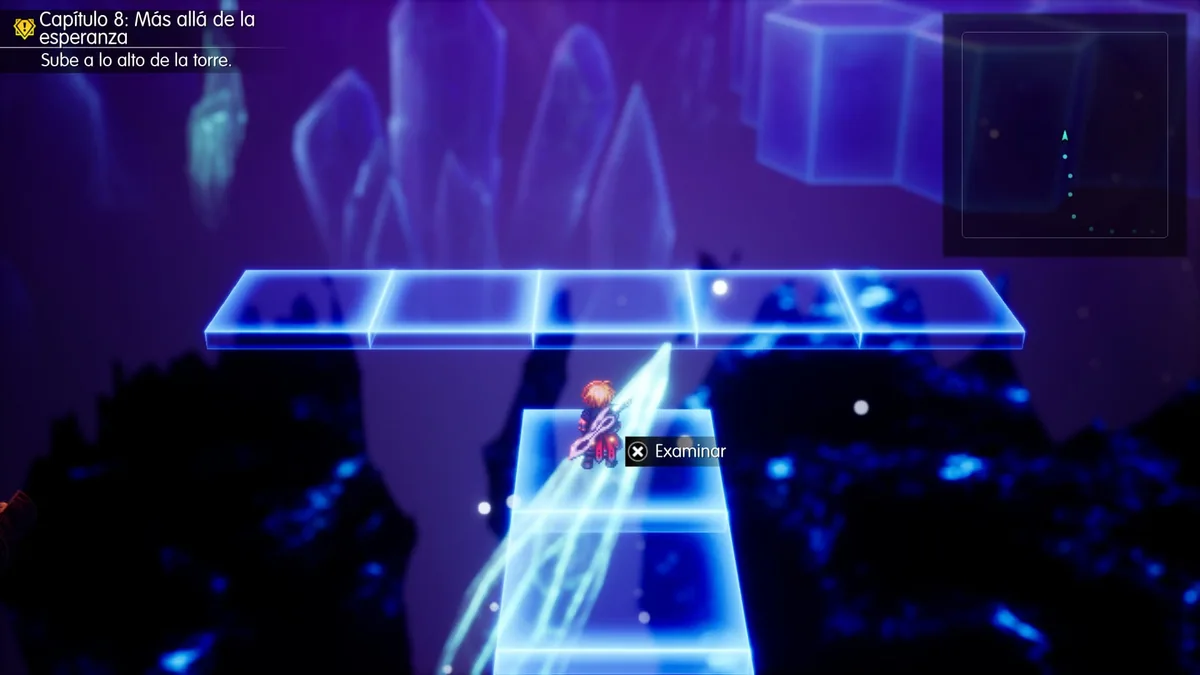
After defeating Behemoth and continuing upwards, we’ll reach an area with several cross-shaped platforms separated by gaps. It may look as if there’s no way forward, but the crystal tiles appear beneath our feet as we walk.
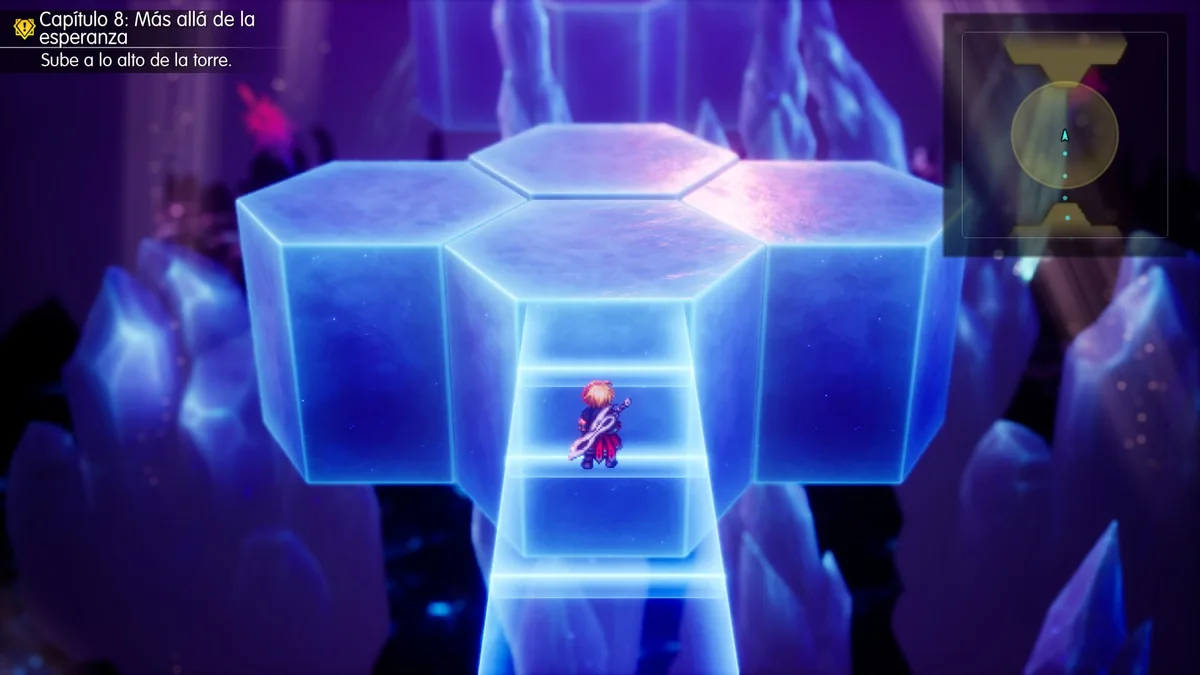
There’s no switch or special mechanism to activate. We simply need to step on the correct tiles. To make the directions easy to follow, we’ll call north the direction straight ahead from the entrance and count each tile as one step.
From the First Cross to the Upper Cross
1. Stand at the northern edge of the first cross and move 5 tiles north to the central cross.
2. From the central cross, walk 3 north, 2 west, 2 north, 2 east and 1 north. This brings us to the upper cross.
Before heading towards the exit, let’s explore the side paths. There are several useful items here that are easy to miss.
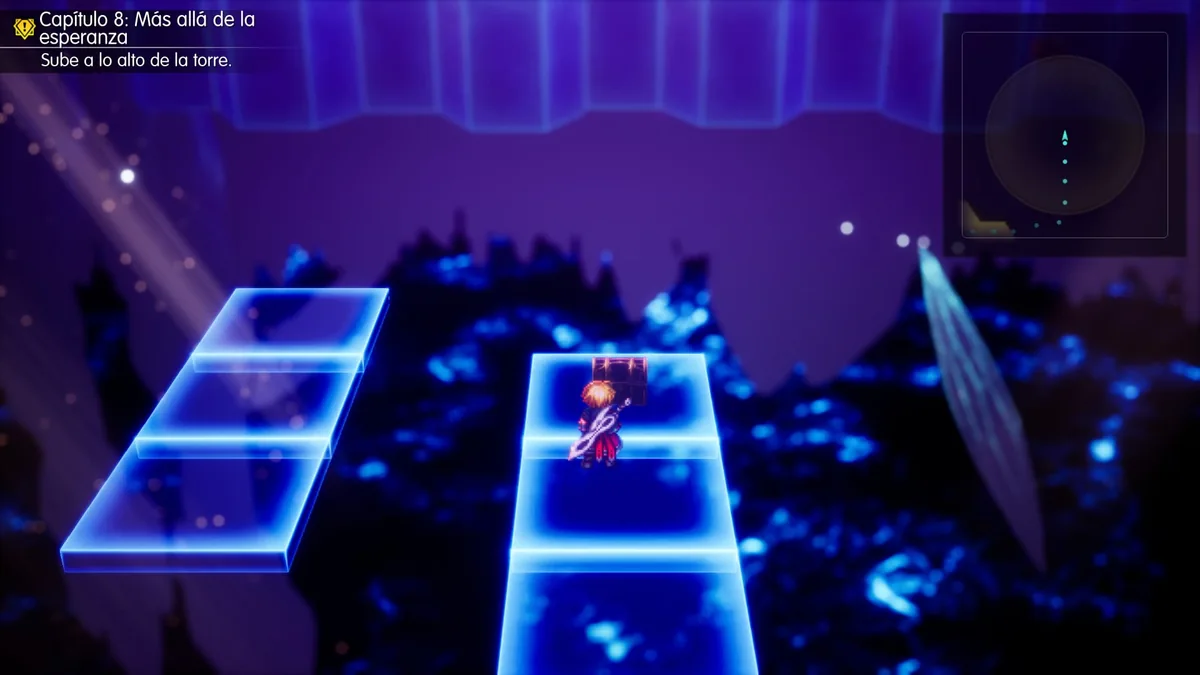
Hidden Chest: Book of Eibon
From the eastern edge of the upper cross, walk 3 tiles east and 5 north. At the end you’ll find the chest containing the Book of Eibon.
Once you’ve collected it, retrace your steps to the upper cross.
Third Tablet Shard
Leave the upper cross to the north and walk 2 tiles north to reach a fork. Take the path west: move 5 tiles west and 4 north.
At the end, we’ll find the third Crystal Tower Tablet Shard. Pick it up and return to the fork.
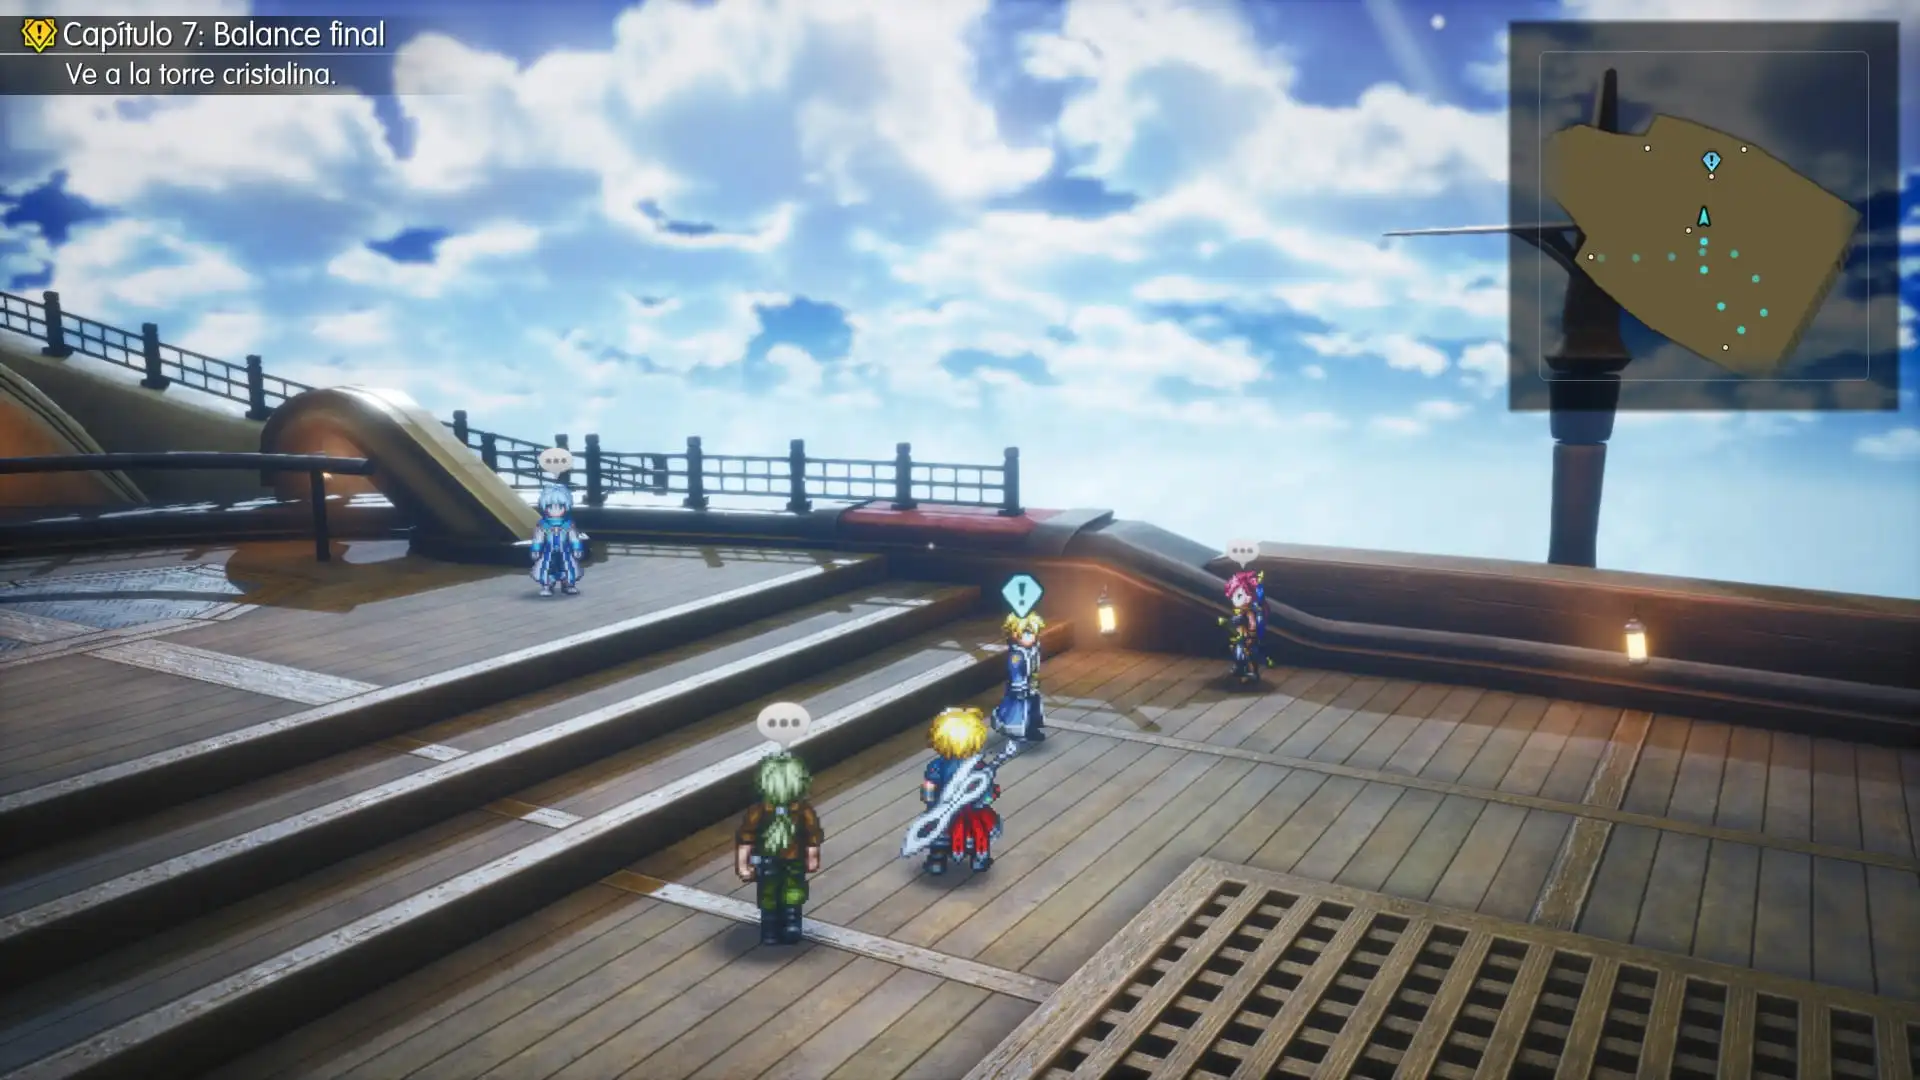
How to Get the Hastur Long Barrel
Back at the fork, continue along the main route: walk 3 tiles east and start heading north. On the fourth tile of the six-tile northbound section, you’ll find another branching path.
Take it and move 7 tiles east and 5 north. This leads to the chest containing the Hastur Long Barrel. Afterwards, return to the main path and finish the 6 tiles heading north.
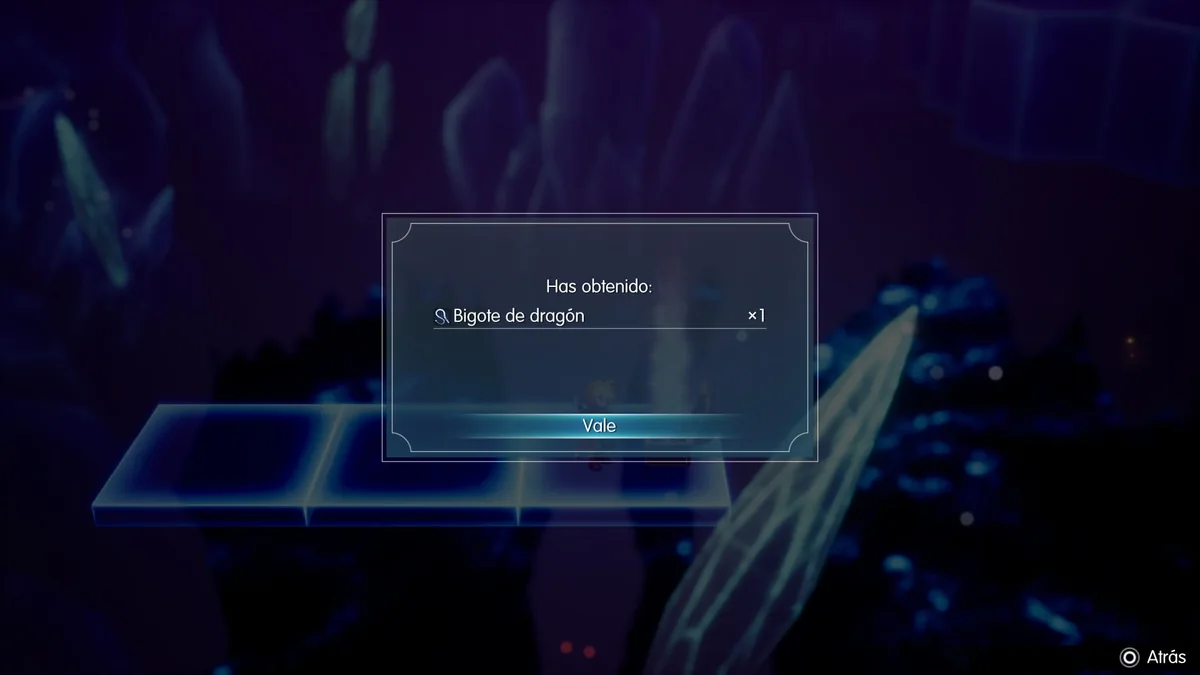
Hidden Chest: Dragon Whisker
Now follow the path that turns west for 17 tiles. Before leaving this section, take another detour: 3 tiles south and 6 east.
We’ll find the chest containing the Dragon Whisker. Once you’ve opened it, retrace your steps to the end of the 17-tile westbound section.
Final Route Out of the Puzzle
From the end of the 17 tiles west, walk 4 tiles north.
Then go 14 east and finally 3 north.
That brings us to the large upper chamber, where we can resume the story.
Before leaving, make sure you’ve collected the Book of Eibon, the third Tablet Shard, the Hastur Long Barrel and the Dragon Whisker.
Final Rooms: Faerie Bow and Magicite Cryst
After crossing the invisible paths, keep climbing the walkways. A few scenes will play as we approach the area before the final save point.
Before continuing, check the chests here to obtain the Faerie Bow and a Magicite Cryst.
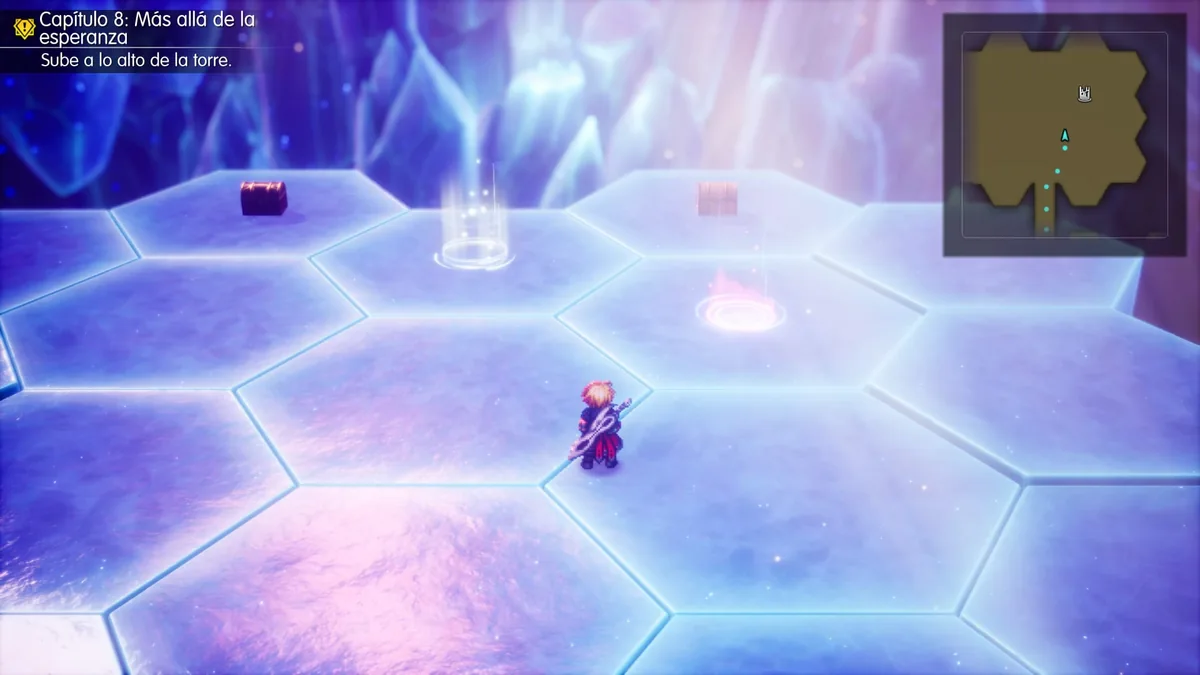
On the right, before the final save point, there’s also a place where we can call the airship. If you need to leave to finish side quests, buy supplies or prepare your equipment, take advantage of it. You’ll be able to return to this section of the tower.
All Eleven Crystal Tower Treasure Chests
If you’ve followed all the side paths, these are the rewards you should have picked up. Use this checklist to see whether anything is missing before entering the final section.
Lower floors: Ancient Katana, Megalixir, Laevateinn, Pilebunker and Chef’s Knife ×2.
Other routes through the tower: Apocalypse, Faerie Bow and Magicite Cryst.
Invisible-platform area: Book of Eibon, Hastur Long Barrel and Dragon Whisker.
That’s eleven treasure chests in total. The Book of Eibon and Dragon Whisker are on invisible paths that don’t appear on the map.
Point of No Return: What to Do Before Continuing
When we reach the last teleporter, the game warns us that we’re approaching the point of no return. If we accept, the final sequence begins and we won’t be able to leave freely until it’s over.
Colosseum, Sephiroth and Other Optional Activities
Colosseum: if you have unfinished battles, you can still head back. Don’t forget Titan, whose Vision we can obtain at the Colosseum. These challenges aren’t required to finish the story, but this is a good time to check whether you’ve missed anything.
Sephiroth’s Vision: if you don’t have it yet, fly the airship towards the whirlpool in the sea north of Grandshelt. We’ll have to defeat Sephiroth there to obtain his Vision. It’s a demanding optional battle, so prepare carefully.
Before using the teleporter, save in a separate slot, buy anything you need from the moogle and check the party’s healing supplies and MP.
I also recommend equipping every character properly, including your reserves. Later on, we’ll have a battle in which characters rotate in and out of the party. And make sure Rain is prepared too, because he’ll have to fight alone at the very end.
Boss: Sol — Level 52
The next major encounter is against Sol, a level 52 boss with around 210,000 HP. We need to be careful about the actions we take during this battle, because another dangerous enemy will appear.
Sol is weak to Dark. We can use Sakura and Archwitch Fina to deal damage and build up stagger. Keep someone available to heal too, as this fight can quickly become difficult.
Watch Out for Buffs and Ultima
Sol can react when too many party members have active buffs. Don’t waste turns stacking unnecessary enhancements. Use the ones that matter most and spend your remaining actions attacking.
He can also cast Ultima and increase the number of actions his side takes. If you see him preparing a dangerous attack, try to stagger him before he uses it.
Dark Bahamut: How to Defeat It
During the fight, Sol can summon Dark Bahamut, which has around 200,000 HP and is weak to Light. Watch its countdown carefully: once it reaches zero, Dark Bahamut uses Megaflare, which can deal massive damage to everyone.
My advice is to use Dark against Sol and Light against Dark Bahamut. Fina can help build up Bahamut’s stagger gauge with Luminant Cannon. If the countdown is about to run out, focus on interrupting it before Megaflare goes off.
Be careful when Sol gets low on HP, as he may take more actions and put us under serious pressure. Keep the party healed and don’t burn through all your recovery items too early.
When Sol is defeated, the next scenes will play. Afterwards, climb the spiral staircase to reach the final confrontation.
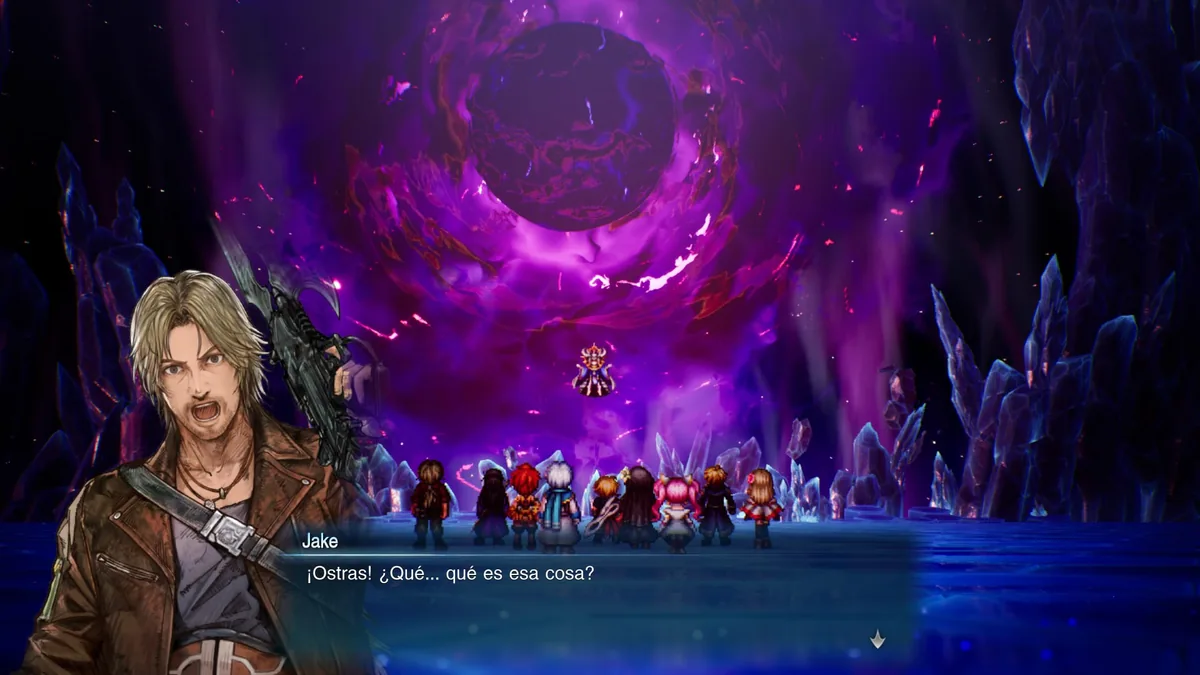
Final Boss: Chaotic Darkness — First Form
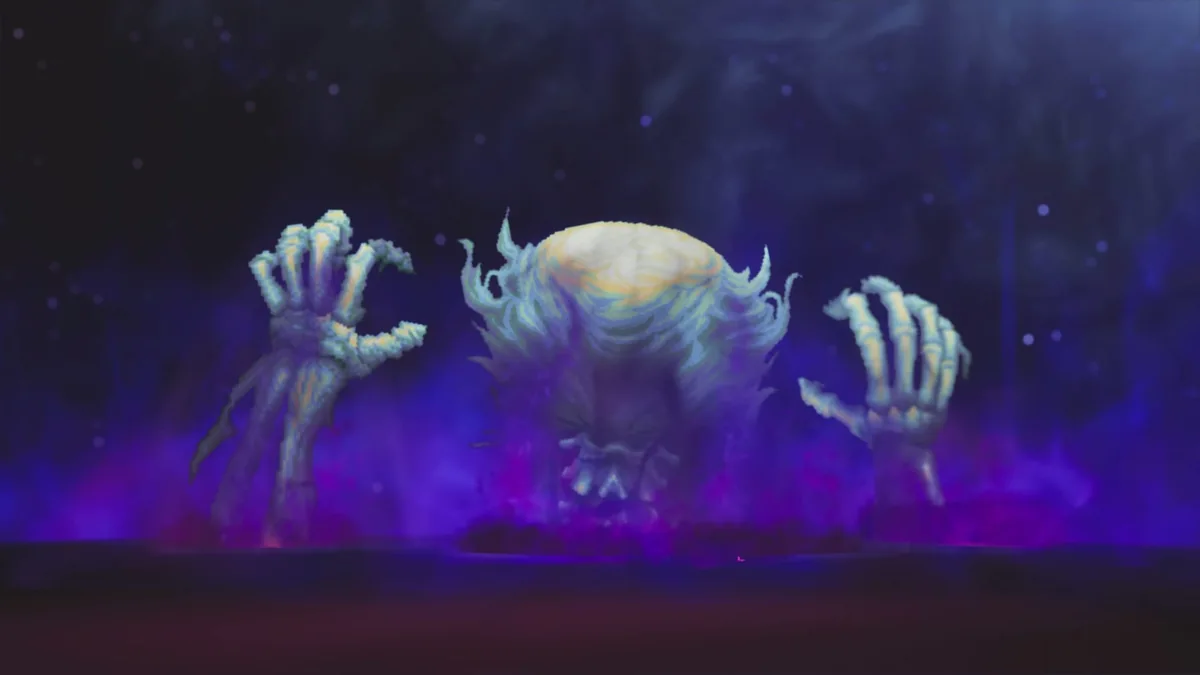
Now it’s time to face Chaotic Darkness, level 55. In its first form, it has around 180,000 HP and is accompanied by two enemies: the Left Hand and Right Hand, with approximately 60,000 HP each.
Don’t focus your attacks on the main body straight away. We need to remove the hands first, because while both are alive Chaotic Darkness can use Ray of Apocalypse. The Left Hand can also resurrect the Right Hand.
Defeat the Left Hand First, Then the Right
Start with the Left Hand, which is weak to Wind. Use Jake’s abilities to damage and stagger it. Once it falls, turn to the Right Hand, which is weak to Earth. Lid will be especially useful here.
If a party member becomes paralyzed or suffers another status effect, use Esuna. Always keep someone available for healing, and don’t neglect your HP while dealing with both hands.
How to Damage Chaotic Darkness
Once we’ve defeated the hands, we can focus on the main body. It’s weak to Light, so use Fina and Sakura with abilities such as Luminant Cannon and Luminant Glim.
As soon as we stagger Chaotic Darkness, unleash your strongest attacks and any Limit Bursts you have ready. But don’t assume the fight is over when its HP reaches zero: there’s still another phase.
Chaotic Darkness: Second Form and Last Resonance
In the second phase, Chaotic Darkness has around 320,000 HP. It remains weak to Light and is immune to Dark. Several other enemies linked to the seven deadly sins will also appear.
The biggest new mechanic is Last Resonance. We’ll need to use it carefully so we don’t lose access to our most useful party members at the wrong moment.
How Last Resonance Works
1. Your character performs an extremely powerful attack against the enemy.
2. The Resonance of their equipped Vision then activates.
3. That character leaves the battle and a reserve party member takes their place.
That’s why we shouldn’t use it without planning. If Fina is our healer and she leaves the battlefield, we could end up without reliable healing if the incoming character can’t restore the party’s HP.
It’s best used when the enemy is staggered or when we deliberately want to switch characters. Just make sure the next party setup will still have everything needed to survive.
The Seven Deadly Sins: Elemental Weaknesses
Several enemies with different weaknesses appear during this phase. To avoid wasting turns testing elements, here’s what you need to know:
The Keen of Fury: Earth. Lid is a strong choice. Try to defeat it early, because Chaotic Darkness can consume it to restore HP and become stronger.
The Leer of Envy: Ice and Light. Use Lasswell or Fina.
The Stagnant Sloth: Lightning. It has very high physical defense, so spells are your best option.
The Swooping Greed: Wind. Make good use of Jake’s abilities.
The Patronizing Pride: Fire and Dark. Rain or Archwitch Fina can help.
The Unsatiable Gluttony: Water. Nichol is a good choice. Be careful: it can swallow a character, preventing them from acting for a while.
The Hollow Intimacy: Earth. Use Lid again.
We don’t need to rebuild our entire party for every enemy. Instead, use the Visions and abilities of the characters currently available. Remember that Last Resonance will gradually bring our reserve members into the fight.
Stop Chaotic Darkness from Consuming Fury
When The Keen of Fury appears, try to defeat it before focusing all your damage on Chaotic Darkness. If the boss consumes it, it will recover HP and become more powerful, making this already long fight even tougher.
We also need to watch out for Dark Abyss, which can leave the party with almost no HP and inflict status effects. Keep a party-wide heal ready, especially before its most dangerous turns.
Once we’ve defeated this second form, the final scenes begin. But there’s still one last fight ahead.
Last Battle: Rain Against Sol
After everything that happens with Chaotic Darkness, we’ll see more scenes involving Archwitch Fina, Fina and the Earth Crystal, along with the events during the escape from the tower.
However, one final encounter remains: Rain must face Sol alone in a level 55 battle. This time we can’t rely on the rest of our party, which is why it was so important to equip Rain properly before crossing the point of no return.
Use his strongest abilities and his Limit Burst whenever it’s available. There’s no need to save resources for more bosses now: focus on winning this last duel.
After that, enjoy the final scenes and the credits. We’ve officially completed all eight chapters of Final Fantasy Resonance!
What to Do After Finishing Final Fantasy Resonance
Even after finishing the story, we can keep playing and complete any optional content we’ve missed. That includes Dragon’s Maw, the Colosseum, ancient weapons and optional bosses.
Dragon’s Maw: Where to Find It and What You Can Get
Dragon’s Maw is an optional dungeon at the southern tip of the Kingdom of Pharm. Once you have access to this region, fly to the far south of the continent and look for the cave entrance beside the mountains. The cave connects to a small wooded island on the other side. You can’t land there directly with the airship, so you’ll have to cross Dragon’s Maw to reach it.
However, I wouldn’t recommend going in unprepared. Although the recommended level is 55, some enemies are far stronger, and worst of all, you can’t flee from battles here. Bring healing items, MP recovery supplies and your best Visions. We don’t have to clear this dungeon to finish the story, so it’s perfectly fine to return when our party is stronger.
Both Dragon’s Maw Bosses
One of our first obstacles is Intangir (level 52), which appears near the entrance. It’s weak to Earth, Light and Dark. Be careful when it falls asleep: don’t wake it with physical attacks, or it’ll retaliate with Meteor. We can use those turns to attack with magic and build up stagger instead.
Farther ahead is the Rogue Magitek Weapon (level 63), another tough opponent. It’s weak to Water and Lightning. It can act up to three times per turn, but afterwards it overheats and misses a turn. Use that window to heal, stagger it and unleash your strongest attacks.
All Treasure Chests, the Tablet Shard and the Farming Island
Tablet Shard: there’s one near the end of the dungeon, after the Rogue Magitek Weapon fight. You can find its exact location in our Tablet Shard locations guide.
All seven chests: Magicite Cryst, Masamune, Analysis Hammer, Excalibur, Chef’s Knife ×3, Sniper’s Eye and Elixir ×2.
Once we make it through the cave, we’ll reach a wooded island that’s perfect for leveling up. You can encounter Metal Gigantuars (150,000 base EXP), Gigantuars (600 base MRP) and King Gil Snappers (28,000 base gil). We explain how to get the most out of these encounters in our EXP and MRP farming guide.
If you’re looking for another guide, head back to our complete Final Fantasy Resonance walkthrough, where we’ve collected every chapter and our other collectible guides.
See You on the Next Adventure!
And that’s the end of our Final Fantasy Resonance adventure. Eight chapters packed with battles, secrets, unforgettable characters and many hours of exploration.
But… will we ever get a Final Fantasy Resonance 2? Who knows! We’d certainly love another adventure like this one.
Until then, thank you so much for joining us on the entire journey! See you on the next adventure, fellow adventurers!


Medios amigos

Un medio de videojuegos dedicado a los RPGs.