


We’re continuing Chapter 2 of Final Fantasy Resonance: Eternal Blue! After crossing Mt. Thunderclap and recruiting Ramuh, our next stop is the Dwarven Forge, where we’ll collect the parts Lid needs for her airship. Naturally, things aren’t going to be that simple. Along the way, we’ll pick up two Tablet Shards, open several treasure chests, finish Silvia’s side quest and obtain Noctis’s Vision before heading towards Mobliz.
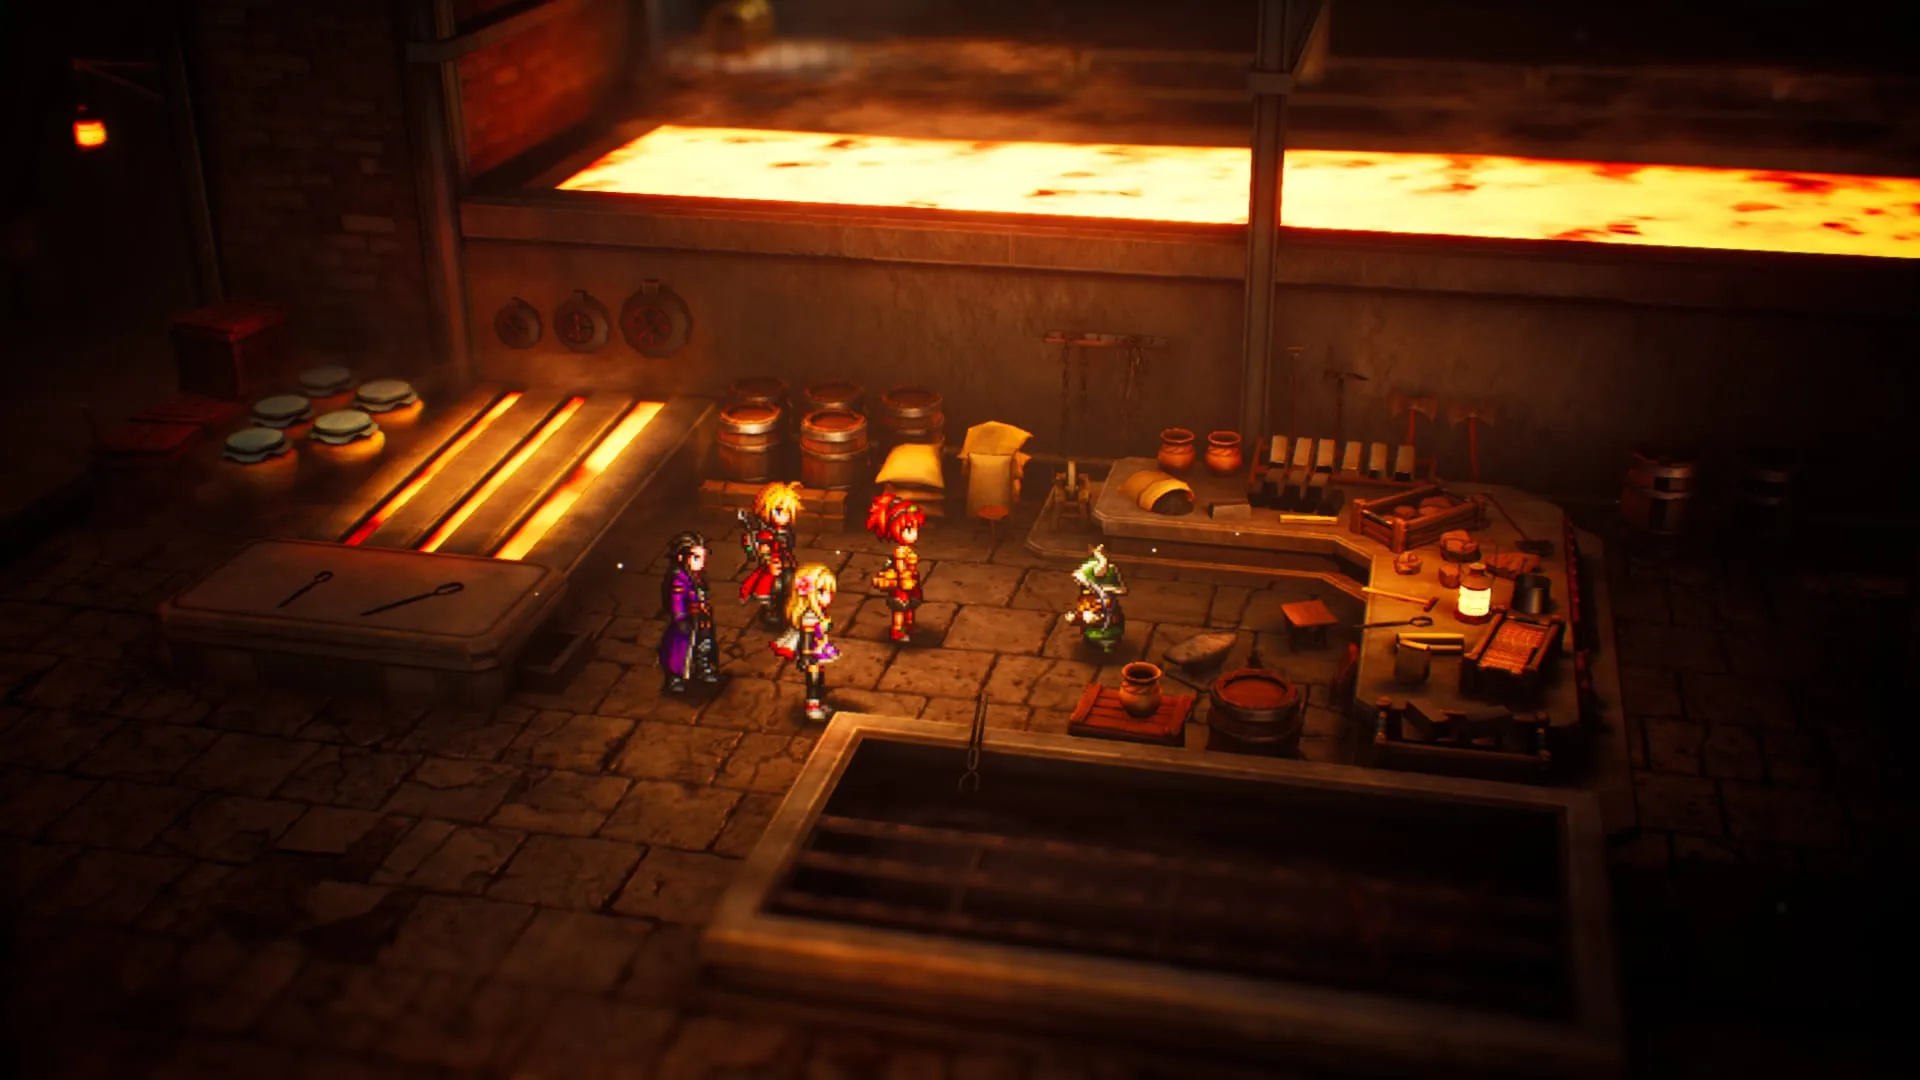
How to Reach the Dwarven Forge
If you’ve been following our walkthrough, we’ve already made it through Mt. Thunderclap and spoken to Silvia again in Dilmagia after examining the white tree.
Return to the side of the mountain where we emerged after beating the boss and follow the path southwest to reach the Dwarven Forge. Once inside, we’ll pick up the items scattered around the area before moving on with the story.
First Tablet Shard and the Elven Maven Side Quest
From the entrance, head to the elevator and ride it down. At the bottom, go southwest. Along this path you’ll find the first Tablet Shard in the forge.
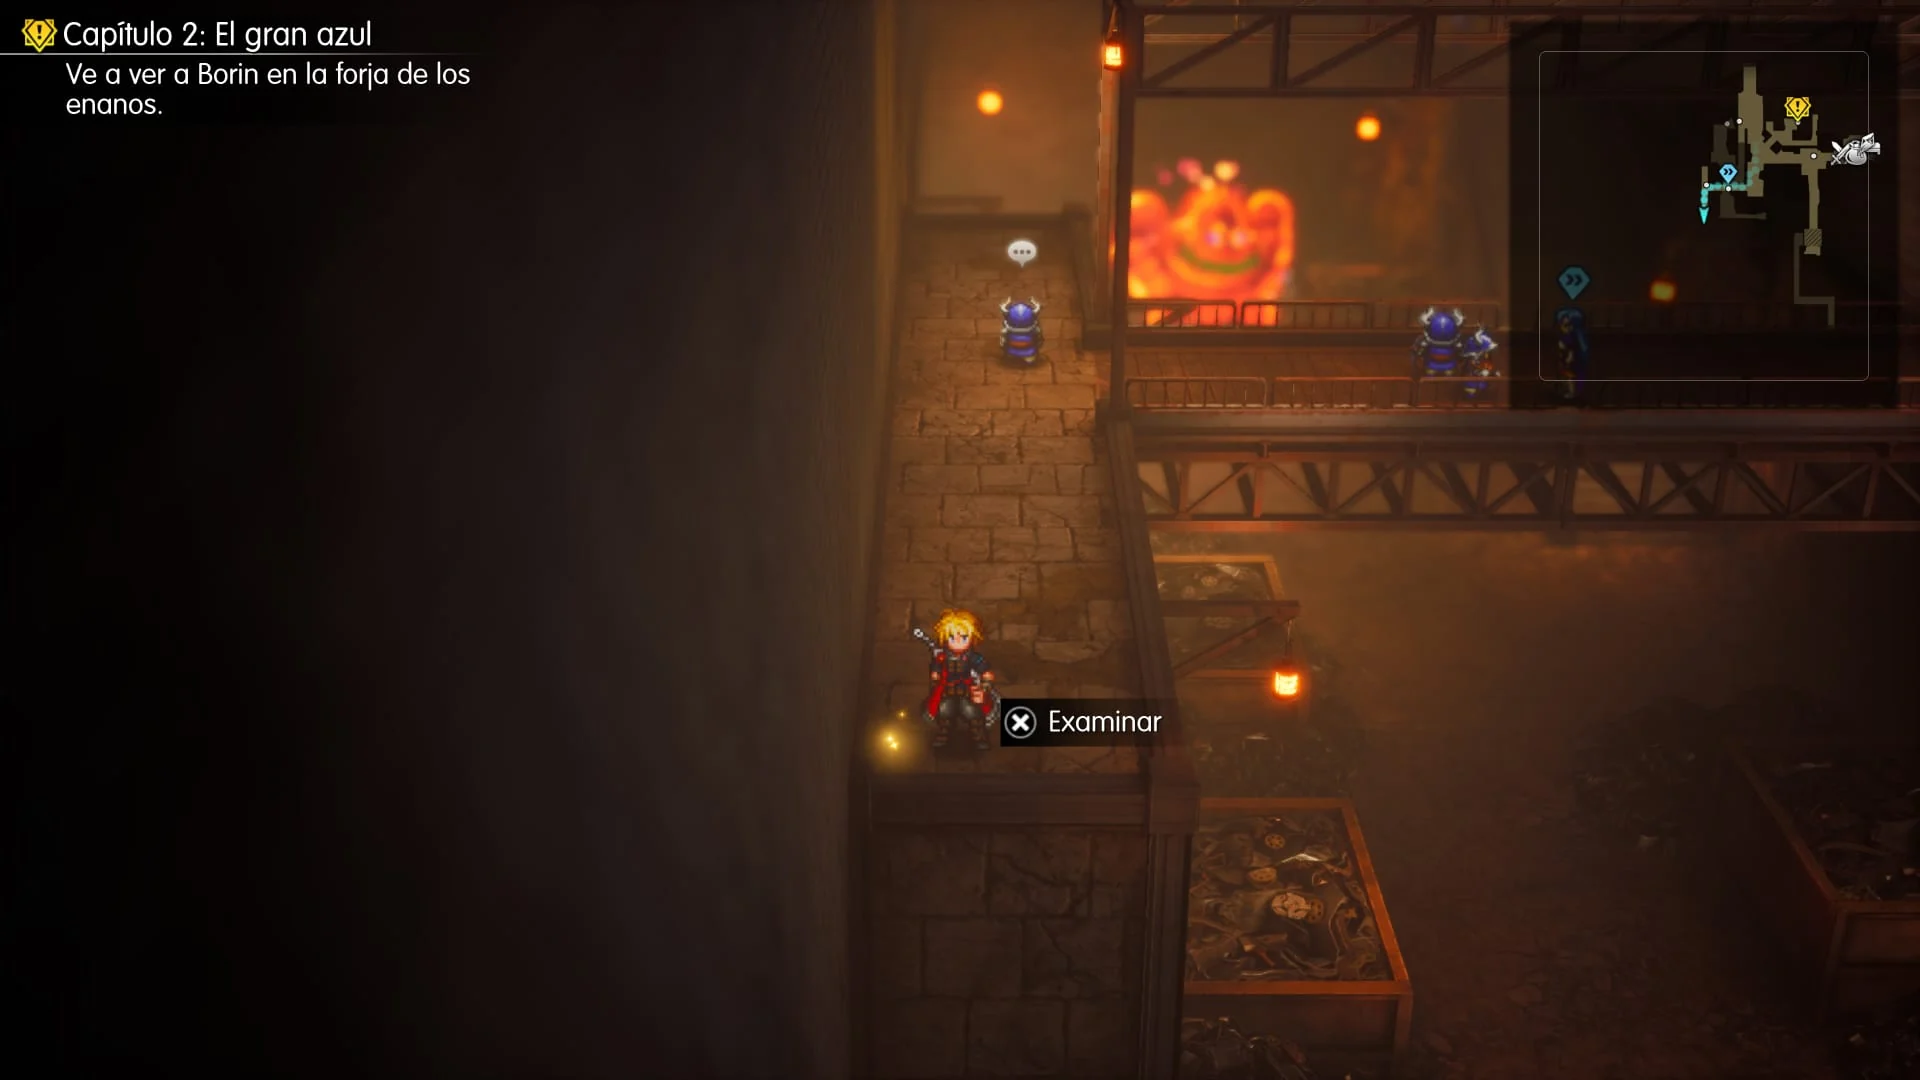
We’ll also run into Silvia, who’s busy giving one of the dwarves an earful. Speak to her to complete Elven Maven, the side quest we started in Dilmagia and continued by examining the markings on the white tree at Mt. Thunderclap.
Talk to Borin and Find the Sledgehammer
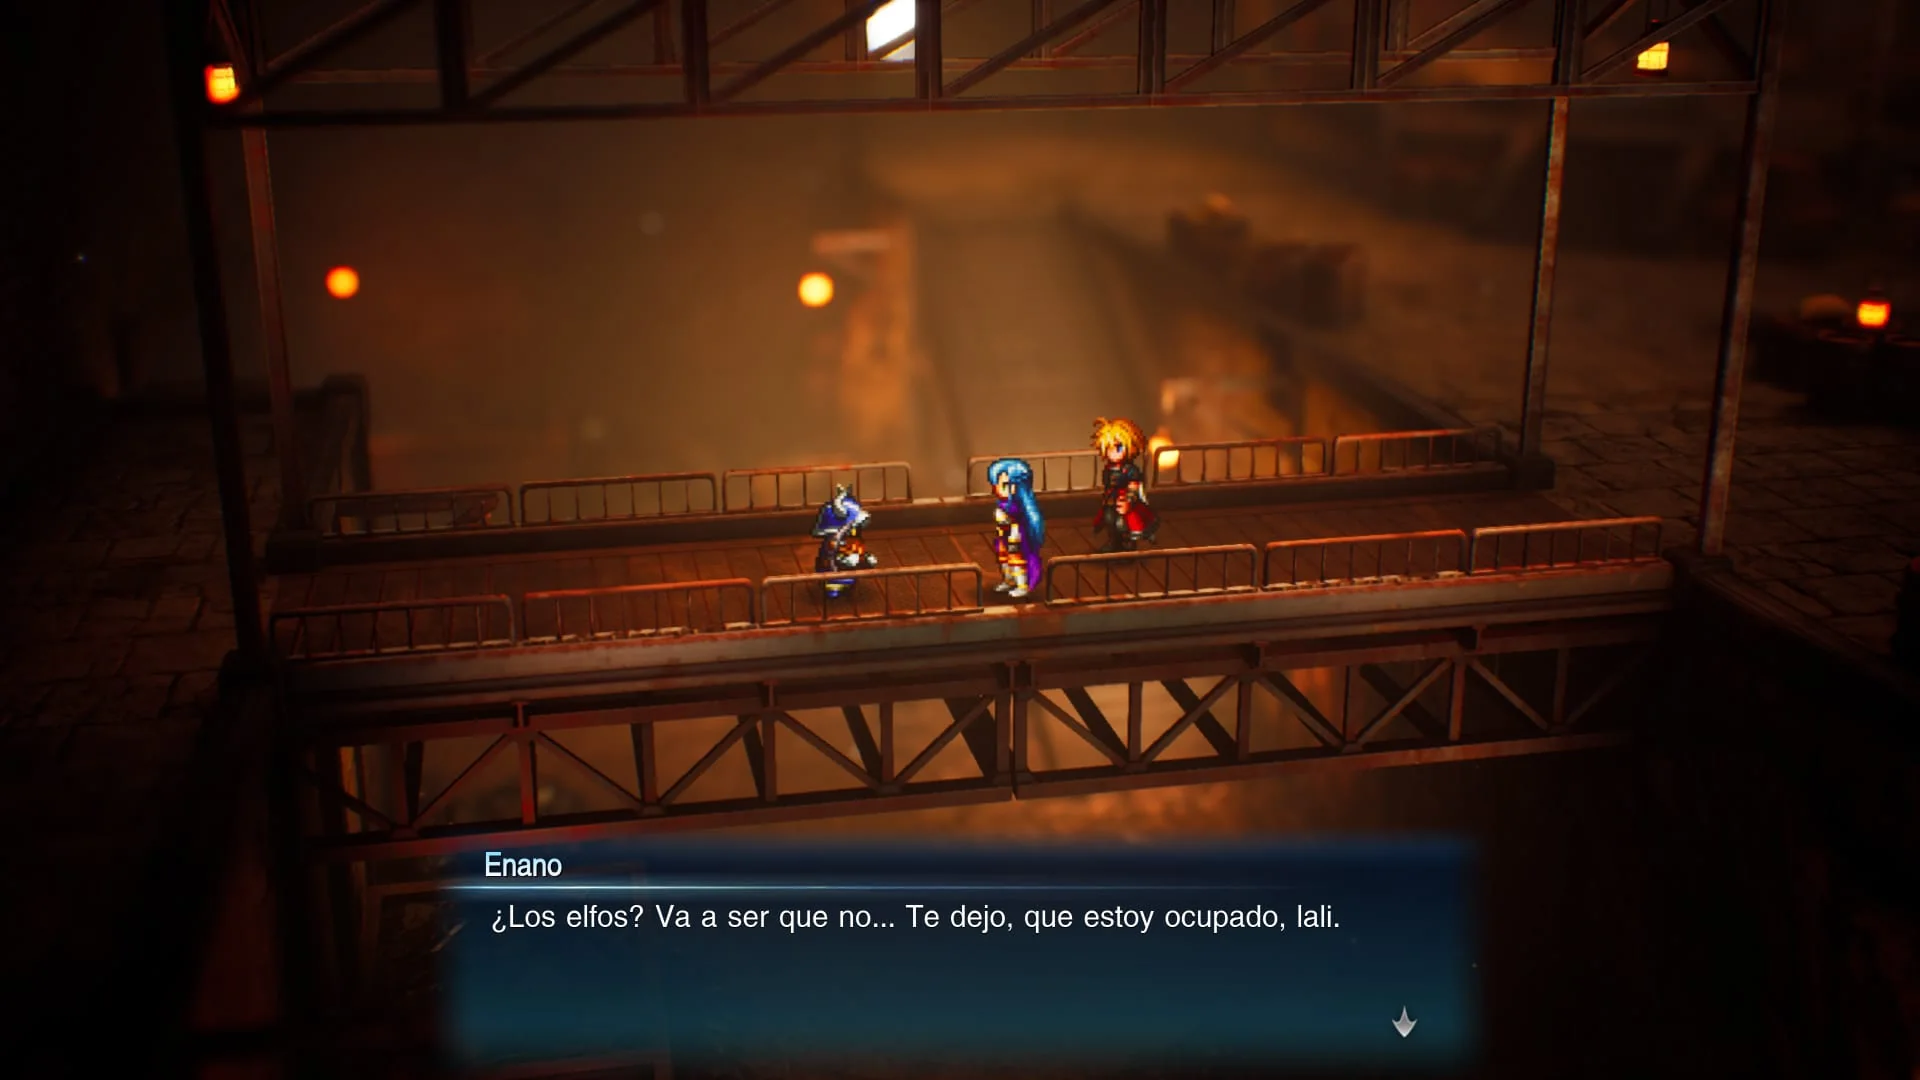
Next, find Borin and speak to him to continue the story. The parts Lid needs are almost ready, but a monster has been causing trouble in the forge, and we’ll have to deal with it.
Before heading downstairs to find the creature, let’s grab a new weapon for Lid. From the upper area where Borin is standing, head right and follow the hidden passage behind the wall. It leads to a chest containing the Sledgehammer. A new weapon for Lid!
Second Tablet Shard and the Forge’s Treasure Chests
Now let’s collect the second shard. Go down the stairs to the southwest and continue south. You’ll find the forge’s second Tablet Shard.
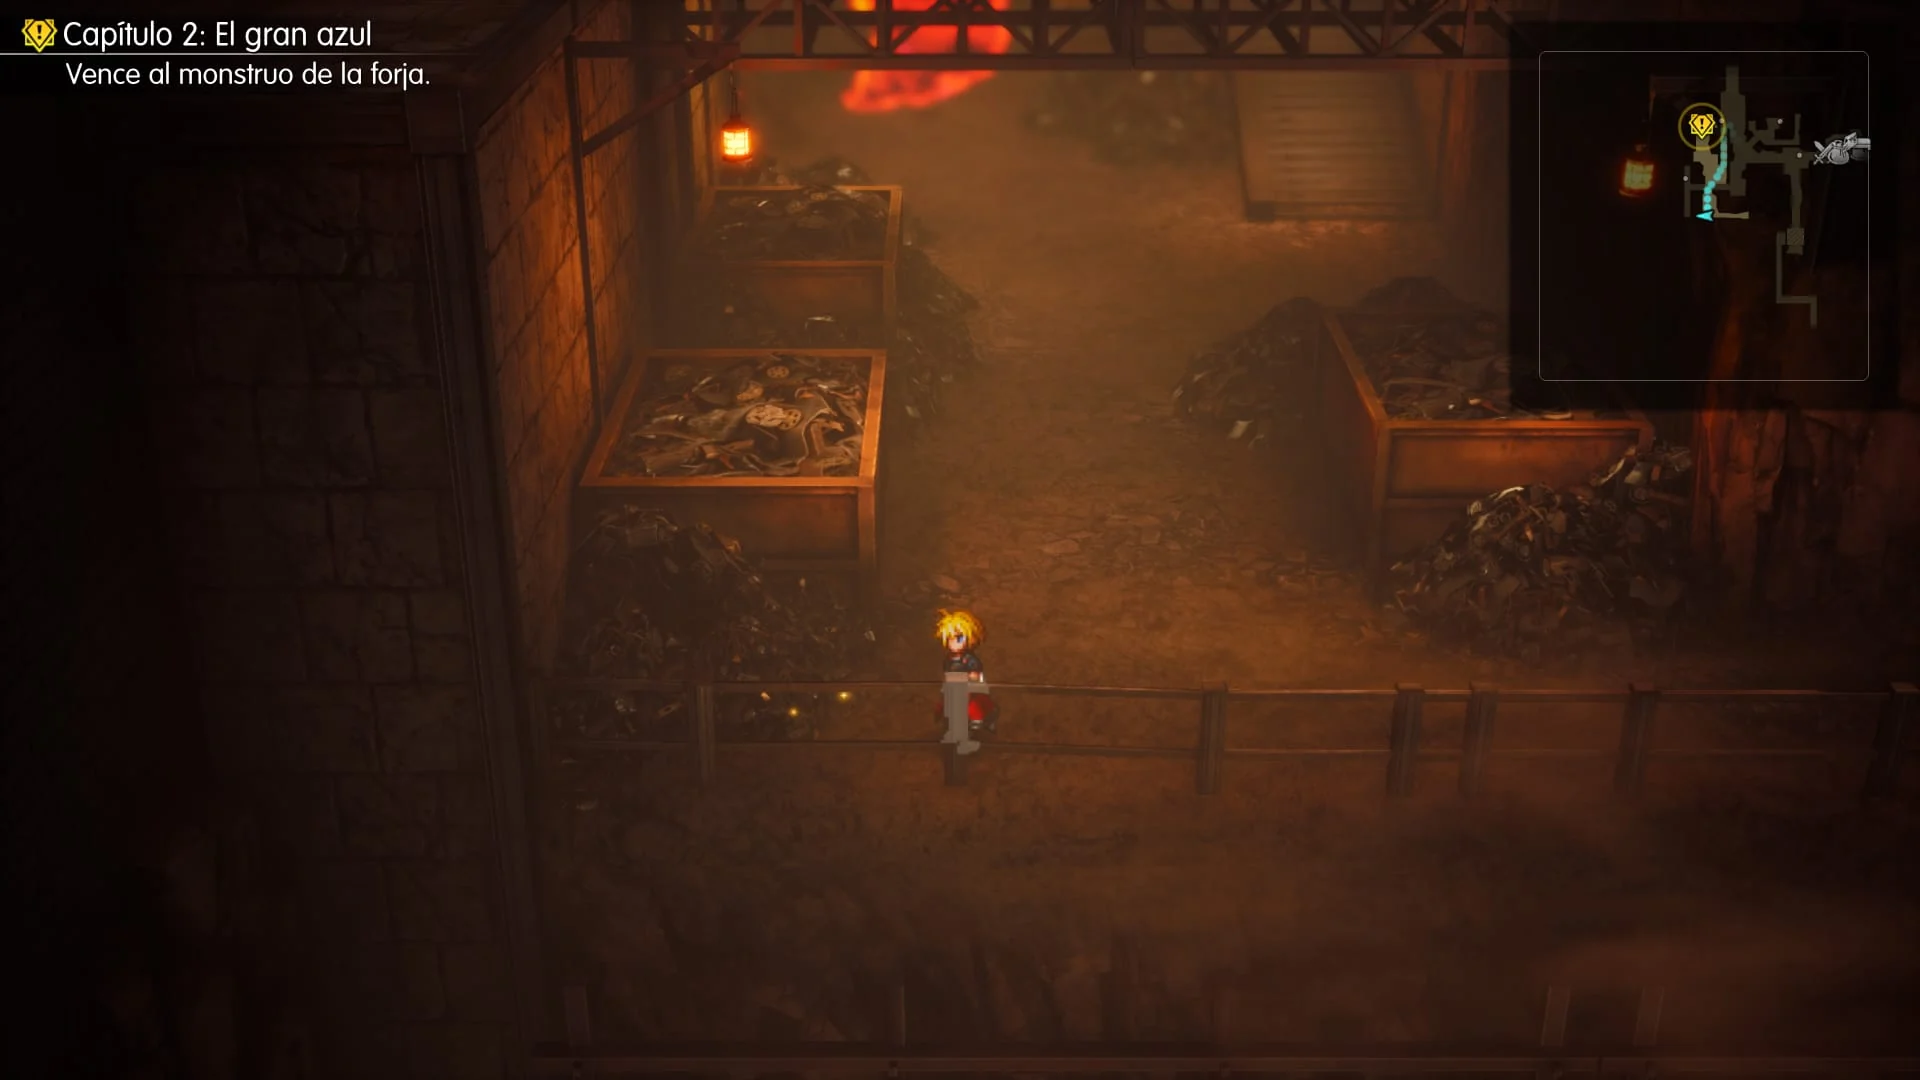
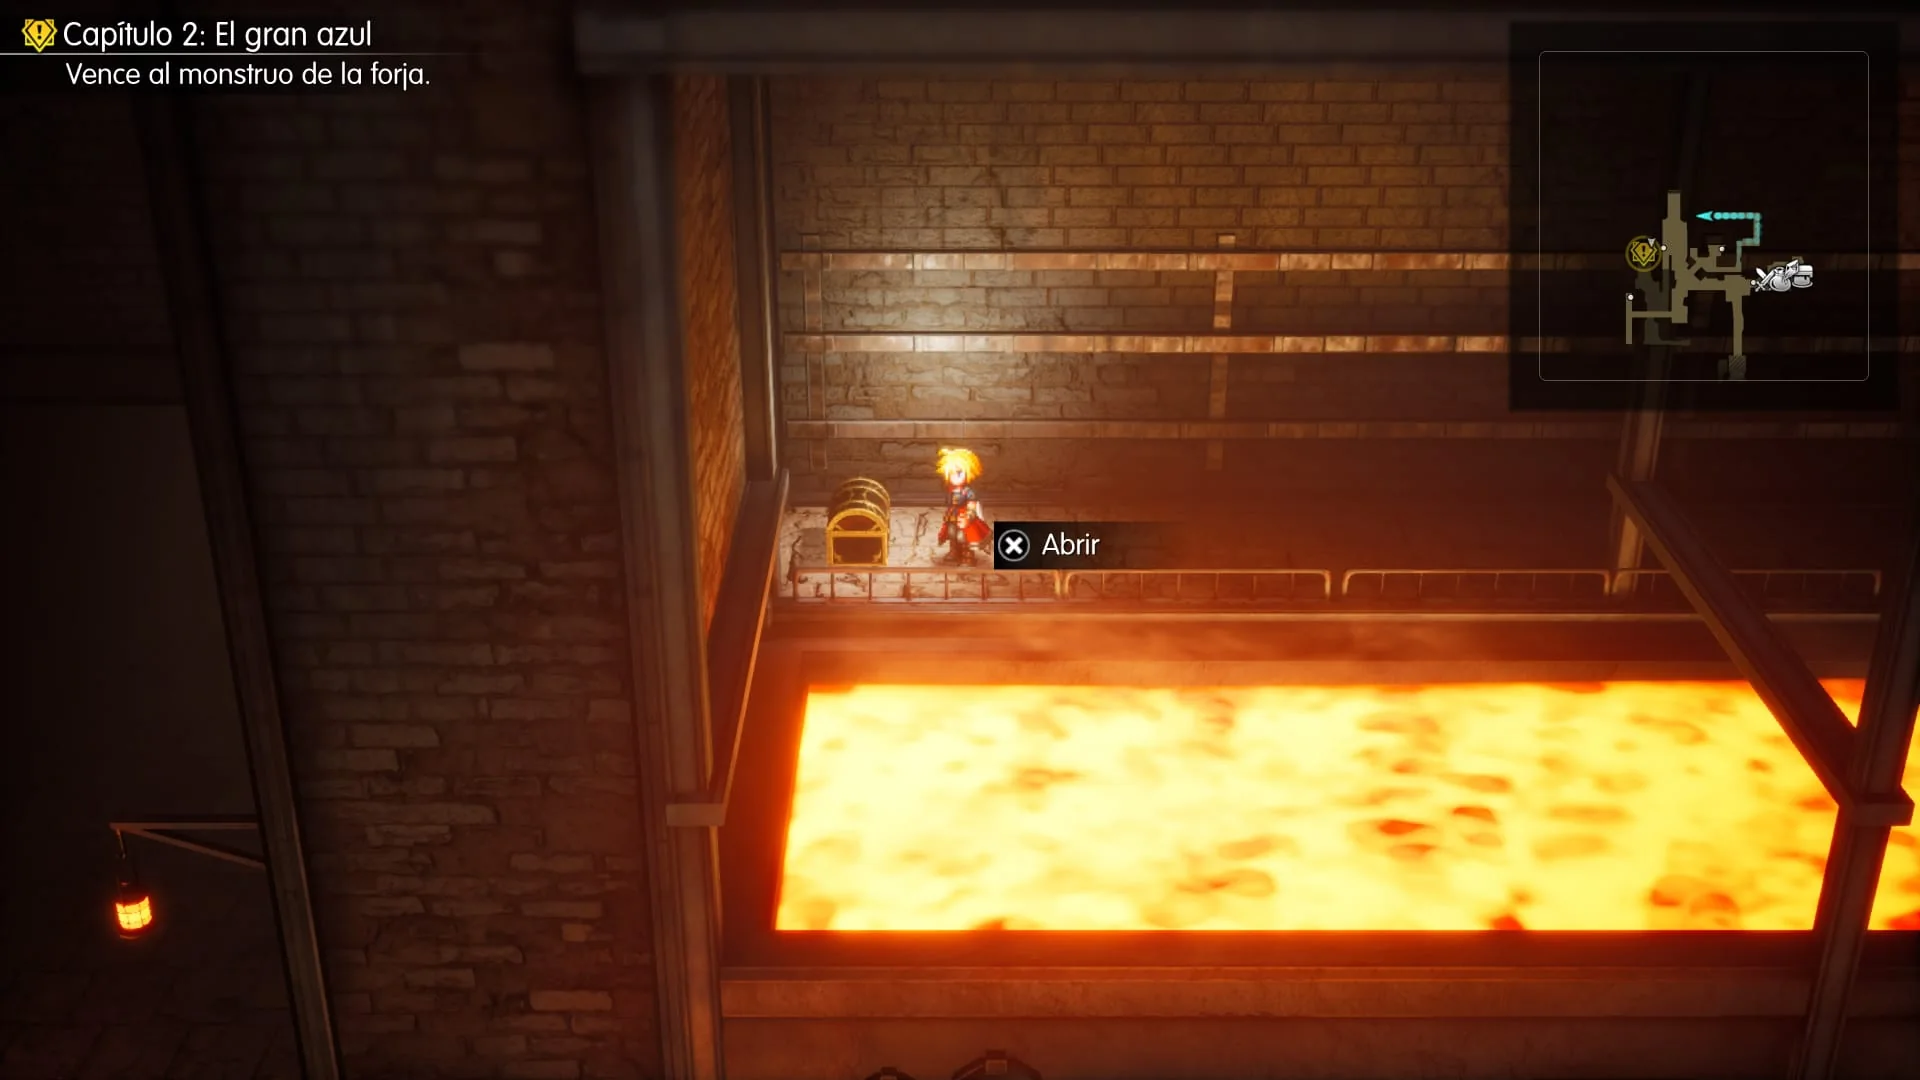
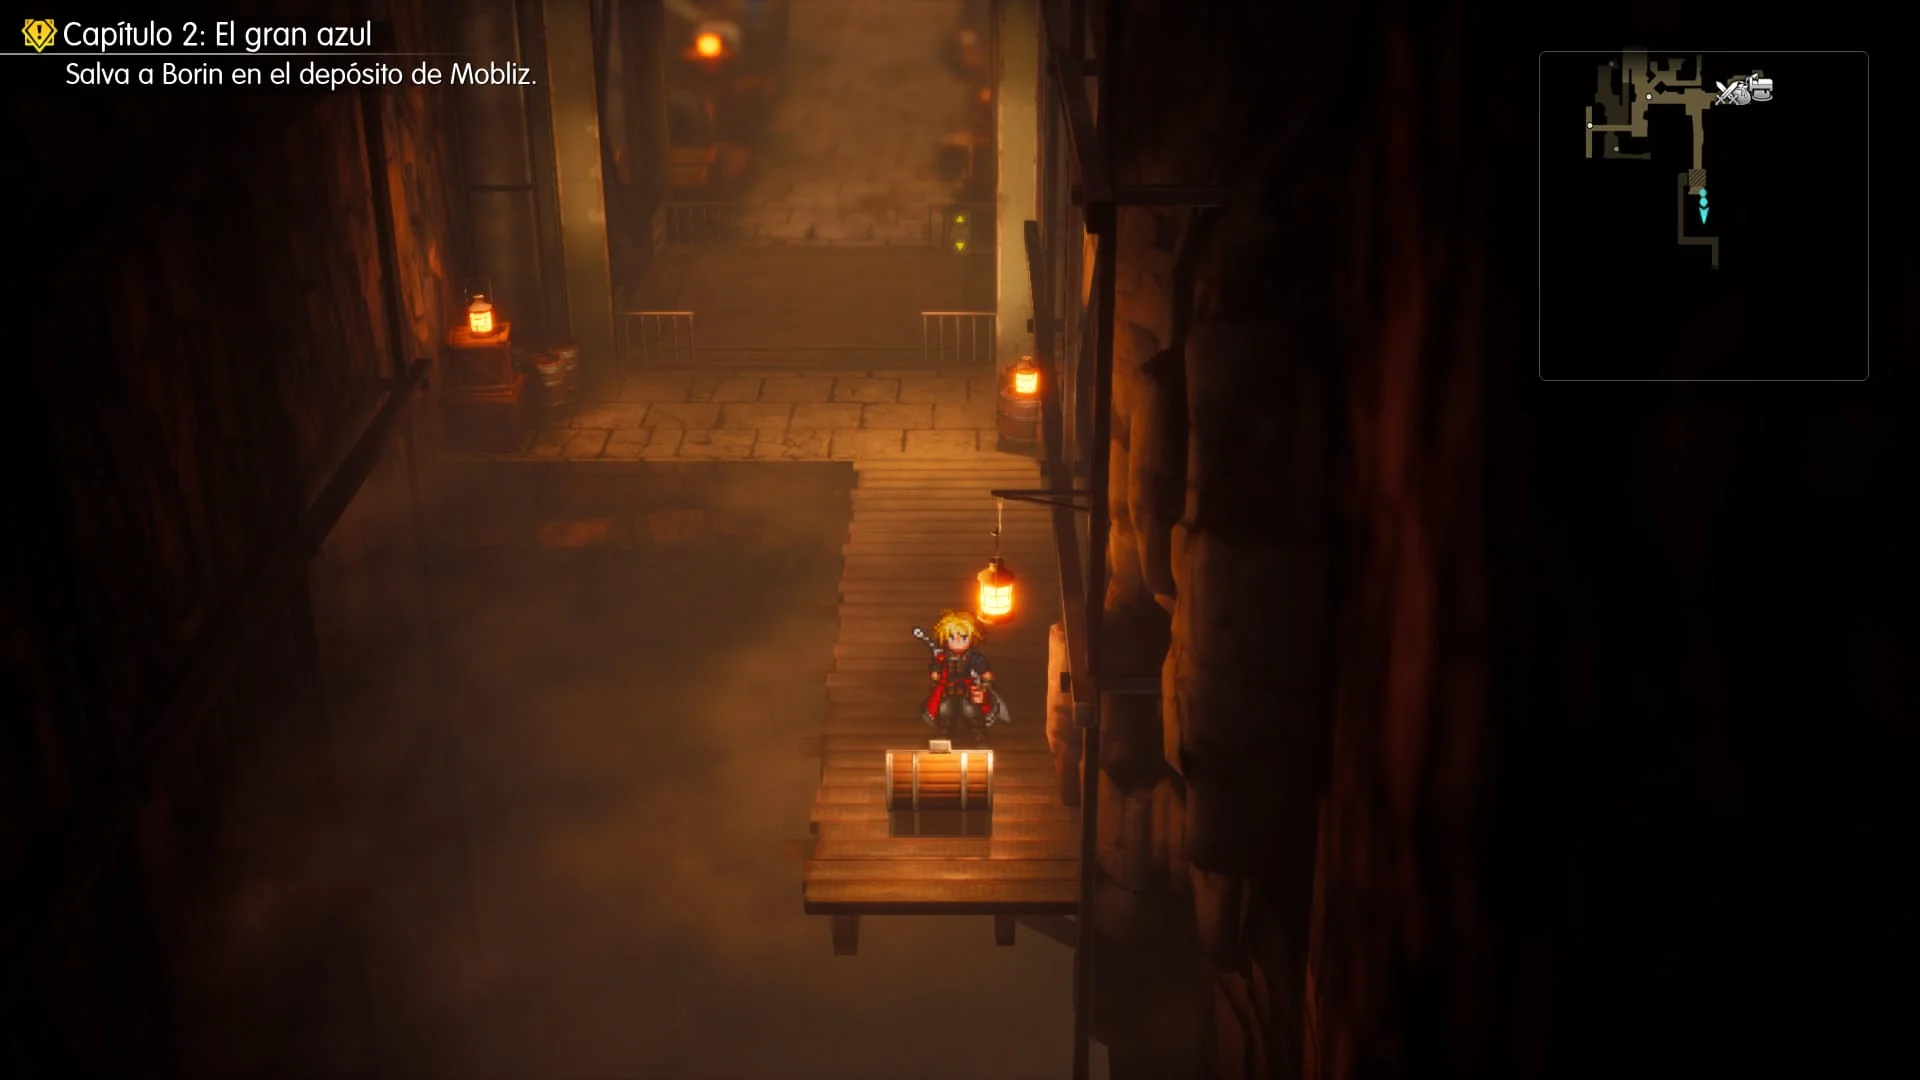
The story boss is also nearby, but collect the remaining items before interacting with it. To the right of the second shard, you’ll see a wooden bridge. Cross it to reach a chest containing a Headband.
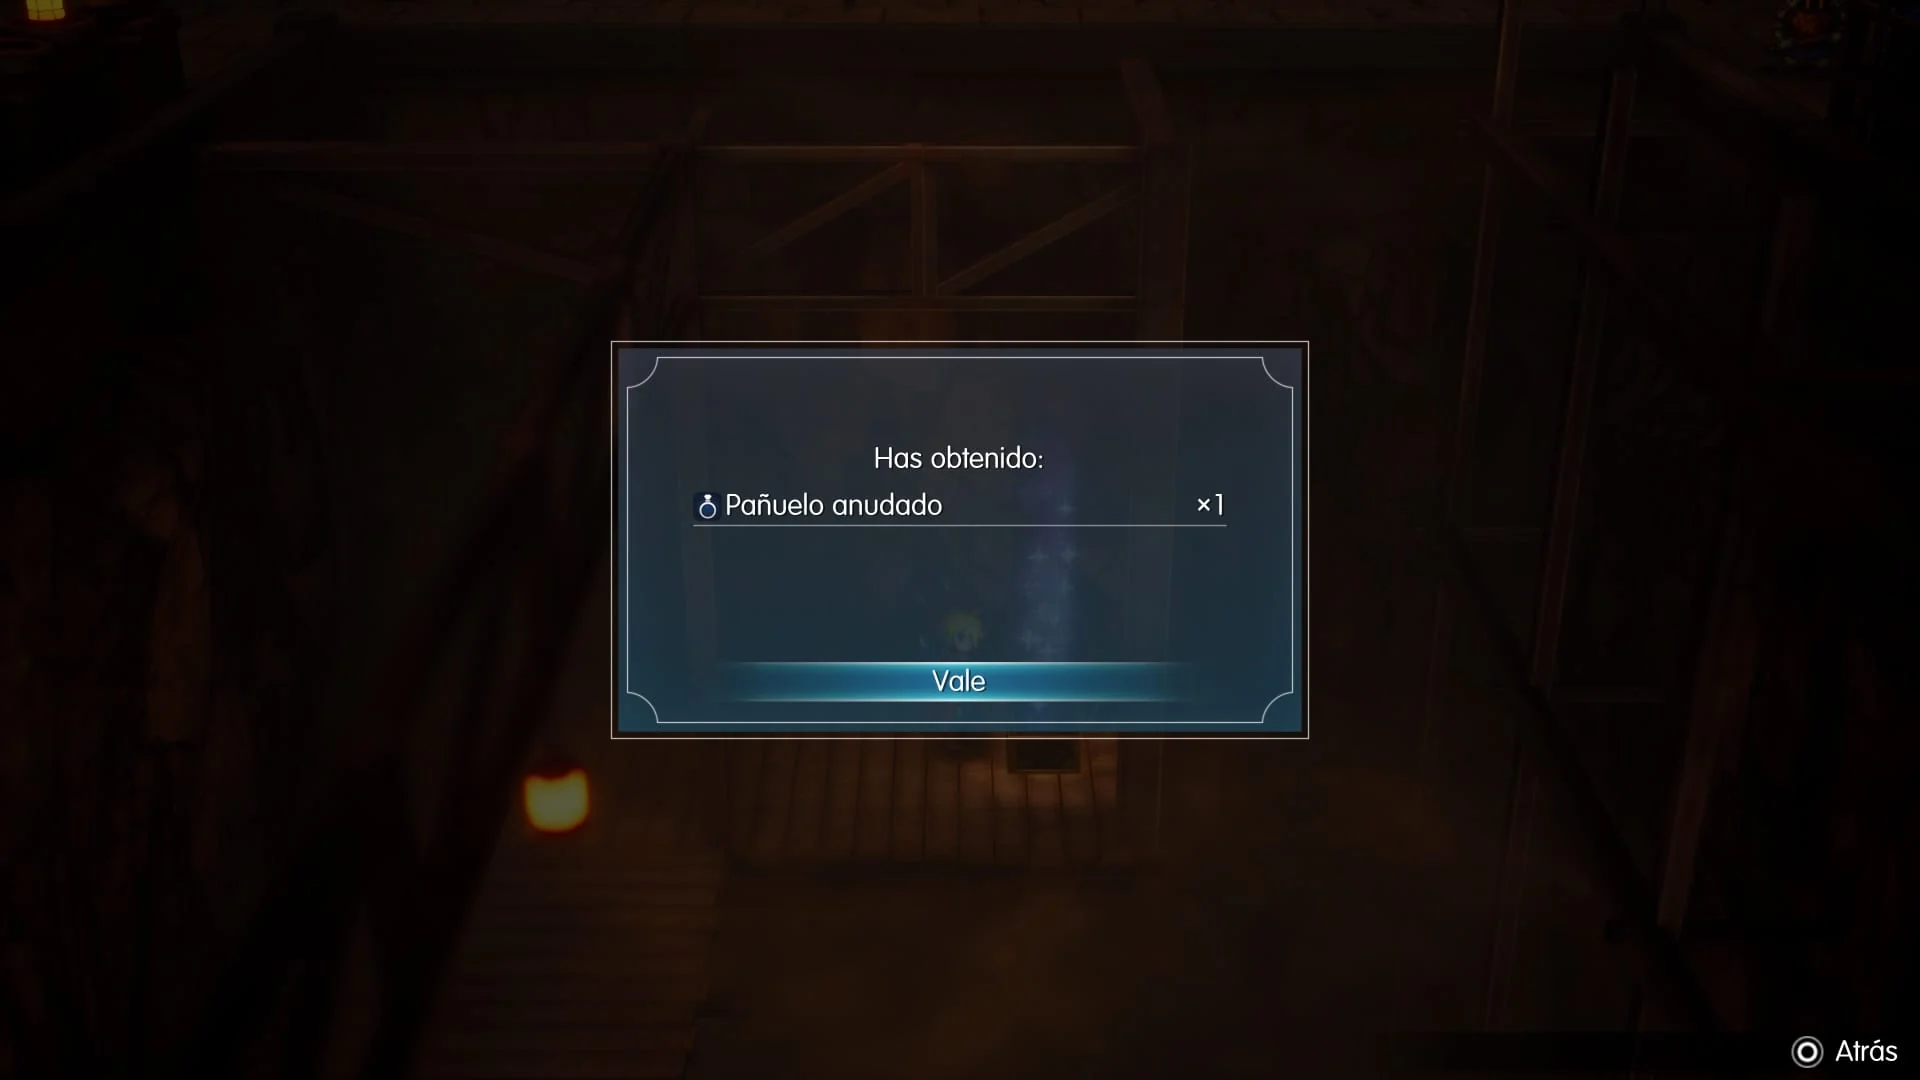
You’ll also find a Phoenix Down south of the forge’s elevator. Pick it up before taking on the boss.
How to Beat Mom Bomb
Once you’ve collected everything, return to the enormous Bomb that’s been causing trouble for the dwarves. Interact with it to begin the battle against Mom Bomb.
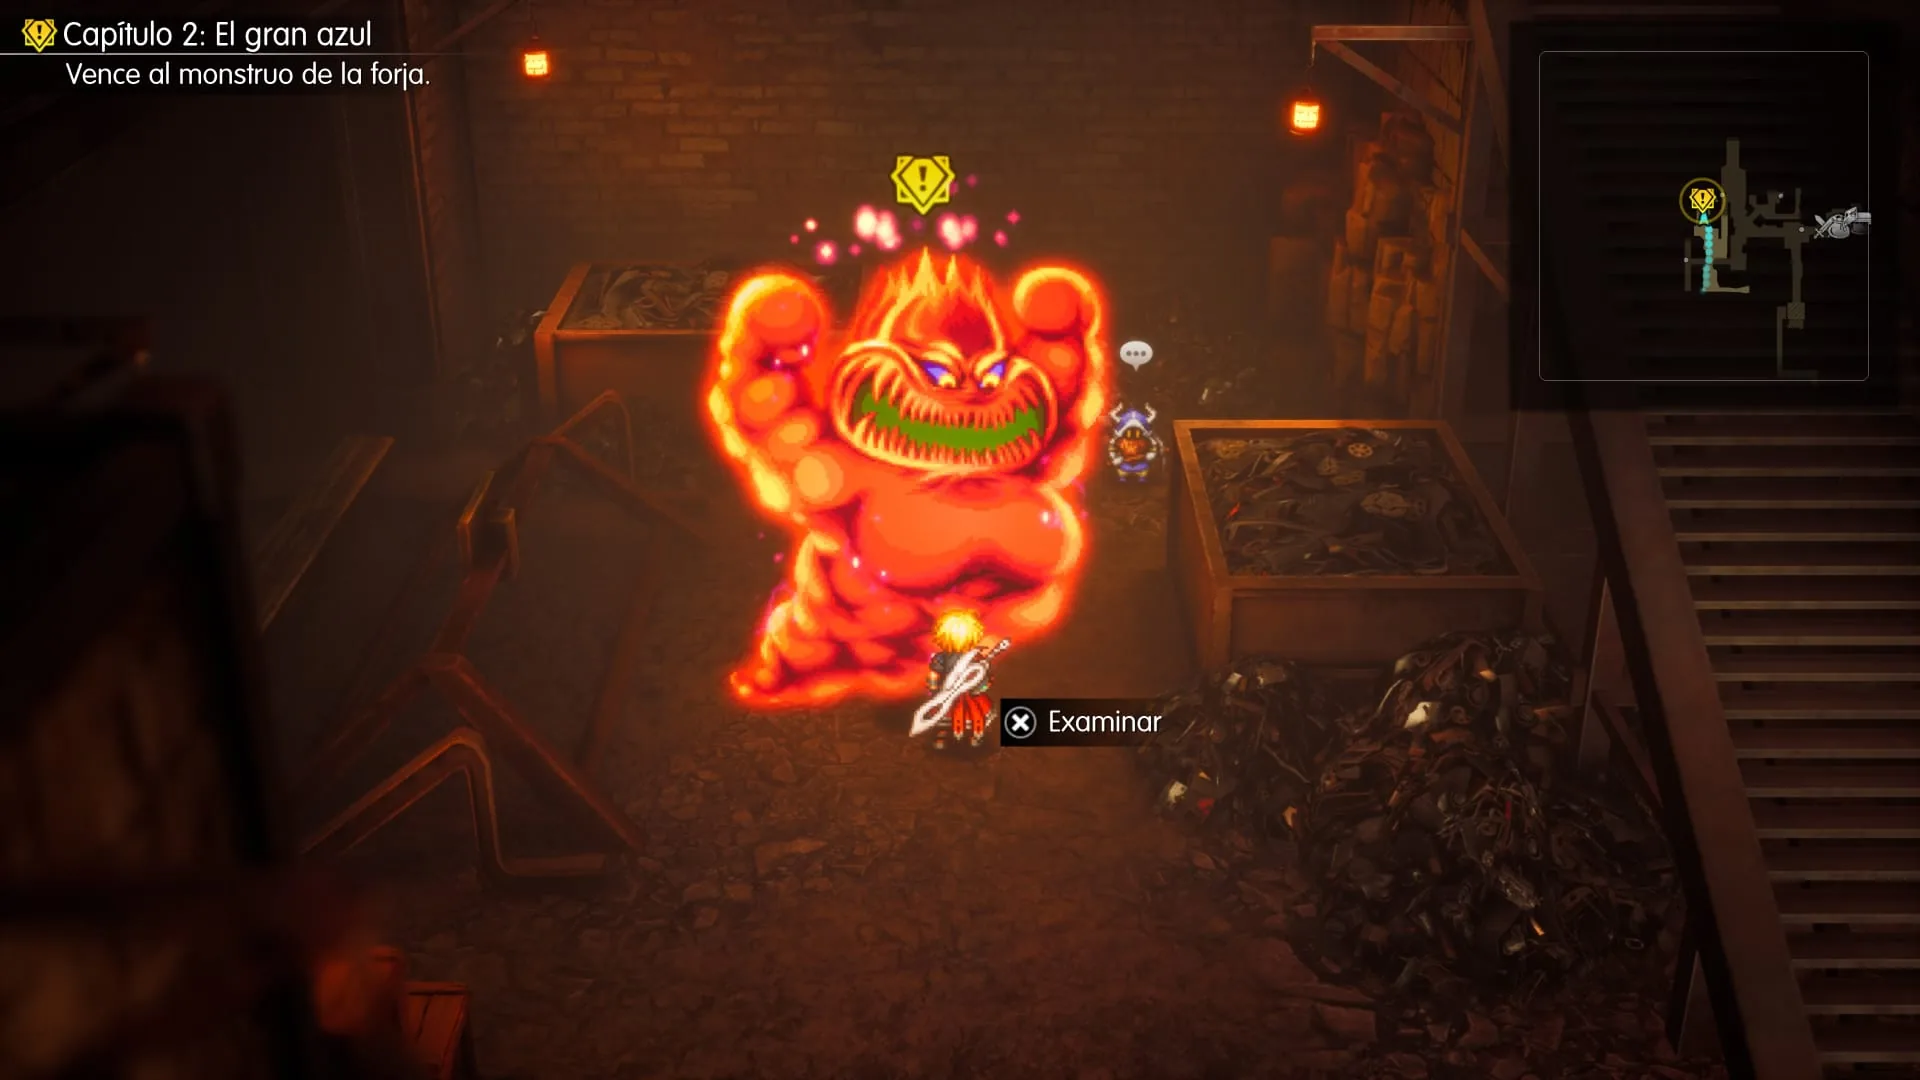
The key thing to remember is that Mom Bomb is weak to Water. We can use spells from Terra and Zidane, and Siren can also be a big help during the battle.
First Phase of the Battle
Start with Water attacks to exploit the boss’s weakness. Have Fina keep an eye on everyone’s HP, because Mom Bomb can deal a lot of damage with her Fire attacks.
Once Mom Bomb has lost enough HP, she’ll prepare to explode. Take the opportunity to heal anyone who’s struggling, because the fight isn’t over yet.
The Four Great Bombs
Afterwards, four smaller Great Bombs will appear. This is where Water spells that can hit several enemies at once really come in handy. Use any suitable abilities you’ve unlocked through Terra or Zidane, and keep healing with Fina whenever necessary.
Return to Borin
After defeating Mom Bomb, head back upstairs and talk to Borin again. Just when it looks as though we’re finally getting those airship parts, an armoured man shows up and kidnaps him.
And being that tiny apparently makes him quite easy to kidnap. (Just look at that little face!)
So now we’ll have to rescue him at Mobliz Shipyard. That’s where the story continues, but there are still a few items to collect on the world map first.
Hidden Items on the Way to Mobliz Shipyard
Leave the Dwarven Forge through the northern exit. On the world map, head south and look for a sparkling item on the ground. Pick it up to obtain a Phoenix Pinion.
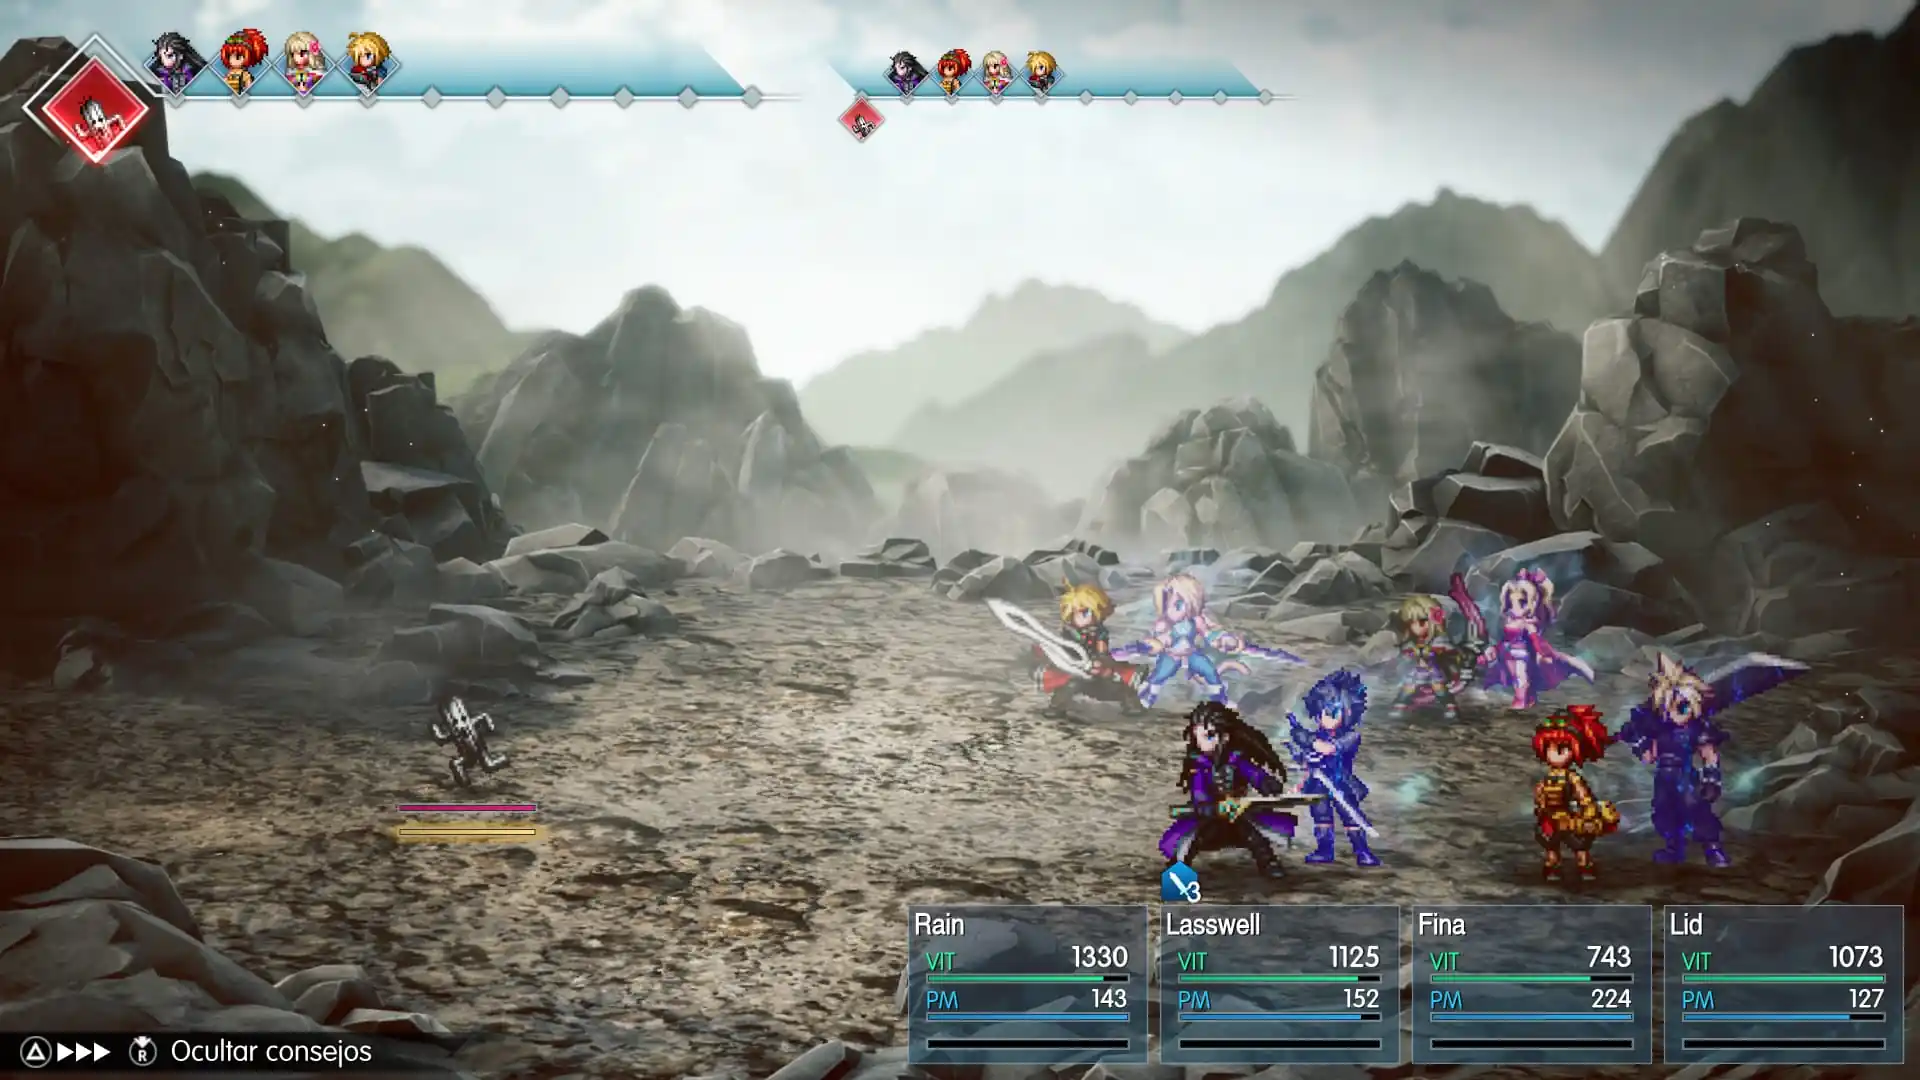
Metal Minituars
If you’re lucky, you might also encounter Metal Minituars around here. They’re incredibly difficult to hit and only vulnerable to magic, so be ready to cast spells if you run into one.
Defeating one will earn you a whopping 2,500 experience points. Not bad at all!
Mobliz Shipyard lies northwest of this area. Before going inside, let’s make one more detour to unlock a new Vision.
How to Get Noctis’s Vision
On the way to the shipyard, you’ll find a side path leading to a Sanctum of Light. Follow it and collect the item south of the sanctum: a Phoenix Down.
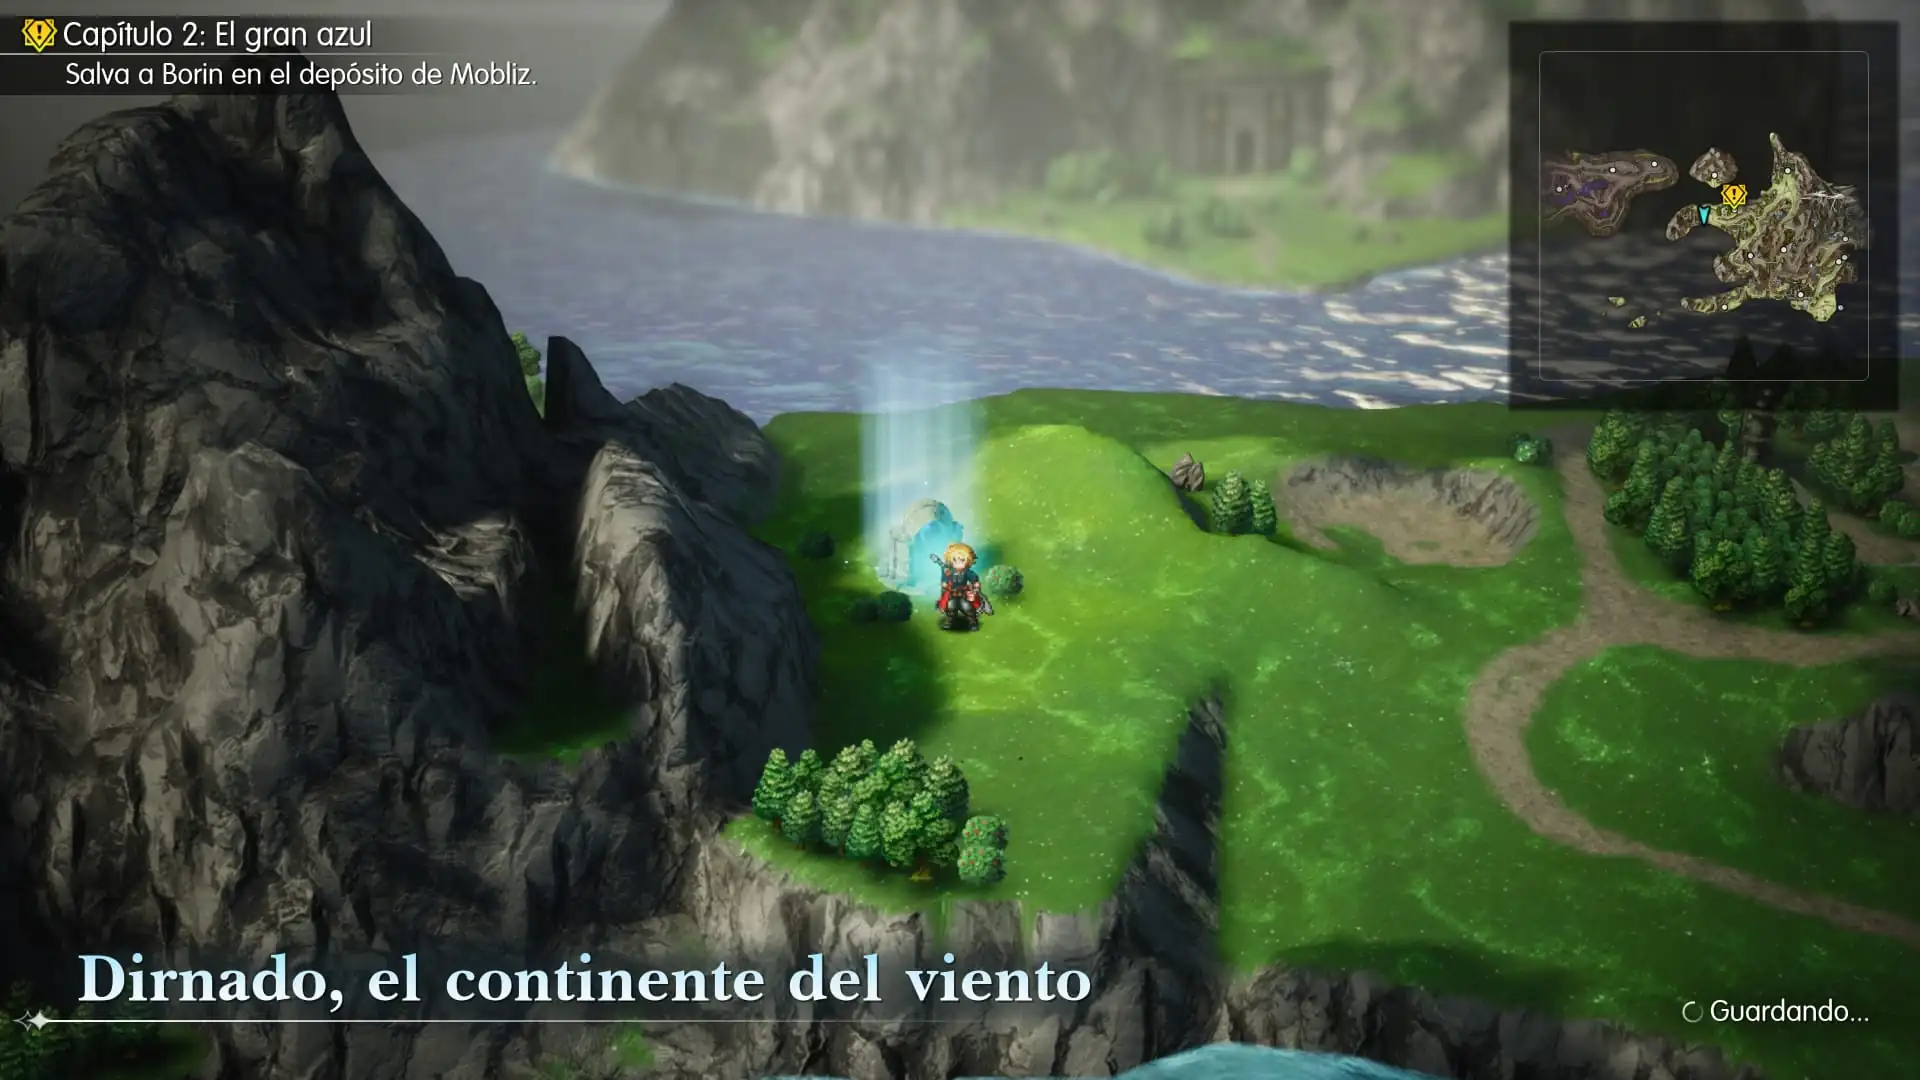
Head into the sanctum and examine the crystal. This time we’ll meet Noctis, the protagonist of Final Fantasy XV.
Answers at Noctis’s Sanctum
During the conversation, we’ll have to answer three questions. These are the choices I made during my playthrough:
- “I’d feel overwhelmed by the responsibility.”
- “I’d beg them not to leave me.”
- “How important my duty is.”
Once the conversation ends, we’ll receive Noctis’s Vision. We can equip it and try out its abilities before heading to the shipyard.
Heading to Mobliz Shipyard
Leave the sanctum and return to the world map. Now head northwest until you reach Mobliz Shipyard, where we need to find Borin.
In the next part of the walkthrough, we’ll explore the shipyard, collect its items and continue the story. We’ll also meet Roy a little later, along with a new side quest. We’ll deal with that when the time comes.

Medios amigos

Un medio de videojuegos dedicado a los RPGs.