


We’re back with Chapter 6 of Final Fantasy Resonance! After everything that happened to Fina on the Battlefield, our next destination is Gronoa, the Shuttered Land. The miasma prevents us from exploring most of the continent, so our first stop is Gaberada to find out what we can do about it.
In this guide, we’ll collect all three treasure chests in Gaberada, its Tablet Shard and the Magi-tenna, which will let us upgrade the airship’s radar. We’ll also cover the new conversations and side quests without losing sight of the main story. We’ll stop when the village elder sends us to the Research Center Ruins.
Heading to Gronoa
Board the airship and head to the northwestern part of the world map, where you’ll find the continent of Gronoa. A cutscene will play as you approach. Land on the southern peninsula and head out onto the world map.
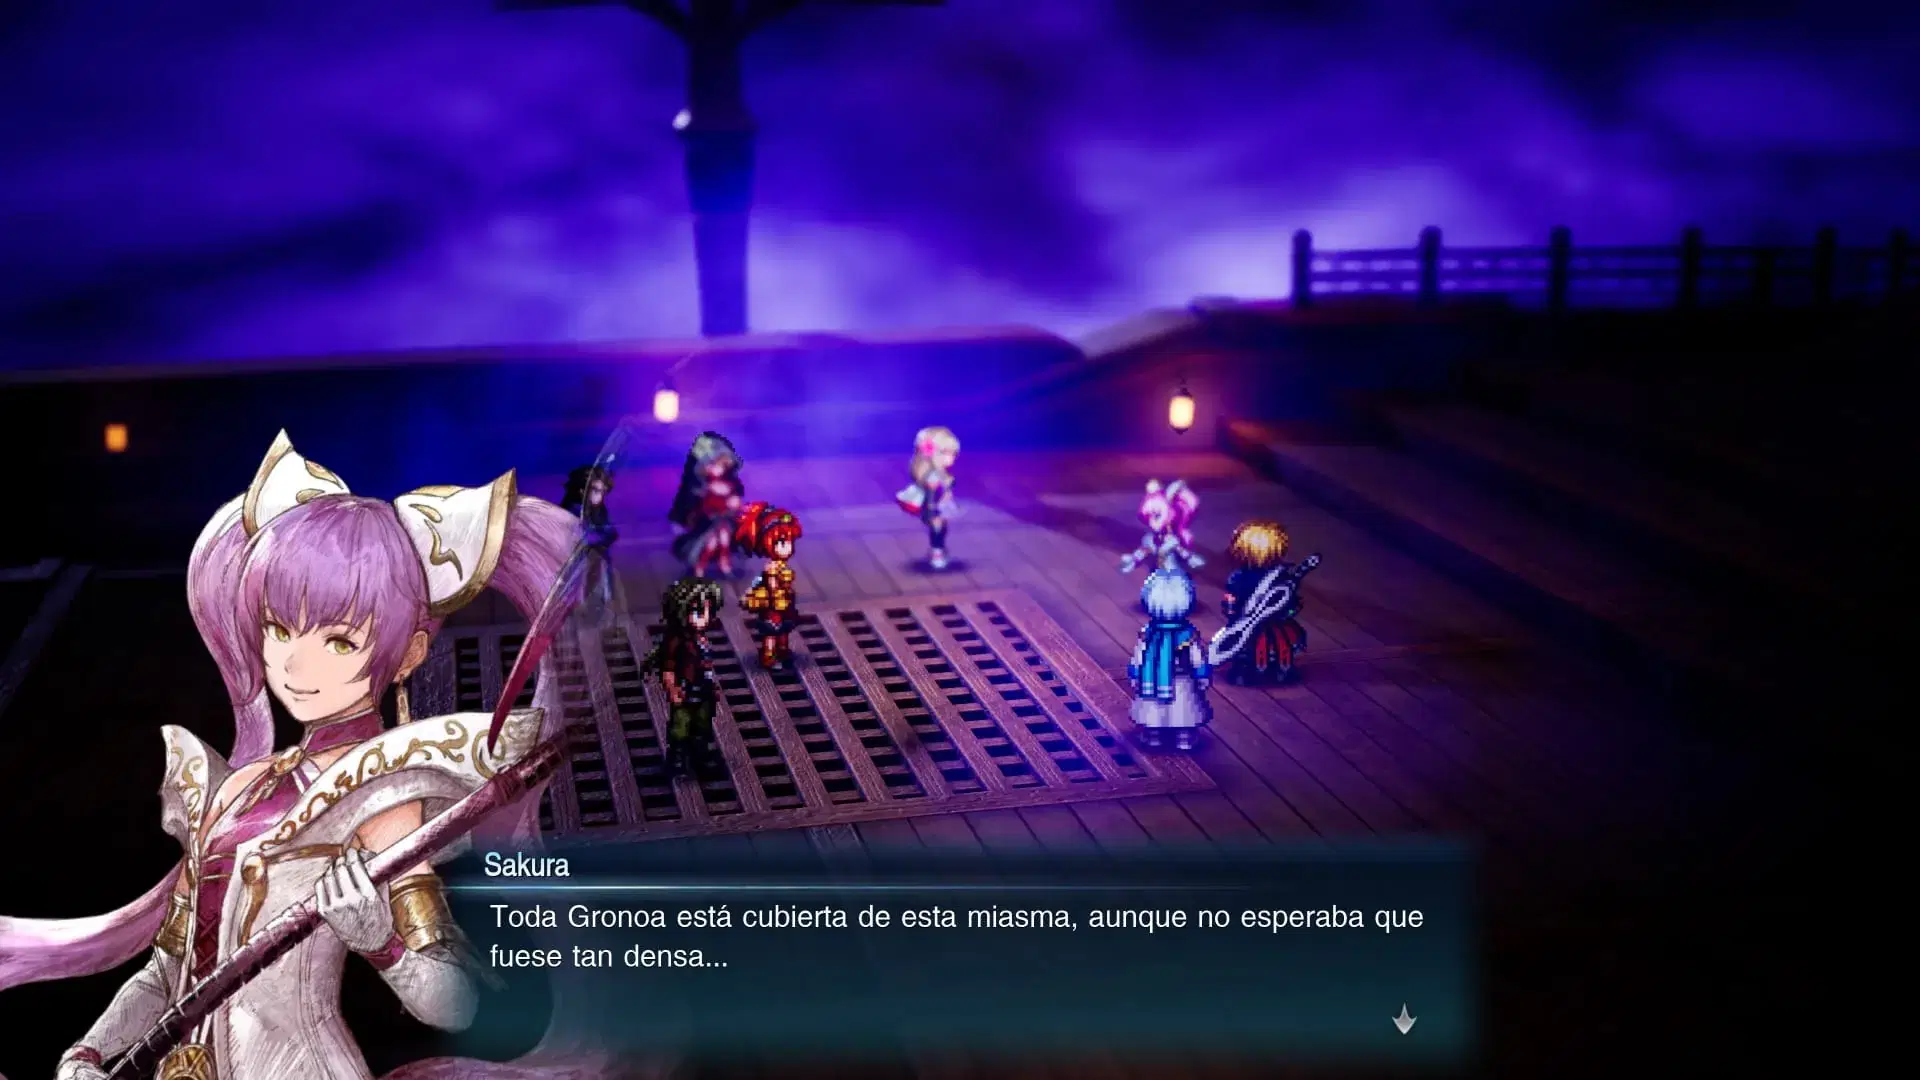
Four conversations as soon as we arrive
As soon as we enter the world map, four Active Time Chats become available. Before heading to Gaberada, open the Active Time Chat menu and watch “Thoughtful Resolve”, “My Dream Destination”, “Our Younger Brothers” and “Now Who’s the Adult?”.
Now head north along the route that’s still accessible. The miasma blocks the other paths, but for the moment all we need to do is reach Gaberada, the Undertown.
Items on the Gronoa world map
Before entering Gaberada, check the sparkling spots in the eastern area that we can currently explore. We’ll find three Mist Hi-Potions and a Deafening Bow.
The enemies here are also noticeably stronger than those in the earlier areas. Some of the stalker- and worm-type enemies are weak to Water, while other enemies in Gronoa have different weaknesses, so make good use of your equipped Visions. We don’t need to stop and grind levels just to reach the town.
Gaberada: the “Vengeance” conversation and first purchases
As soon as you enter Gaberada, the “Vengeance” Active Time Chat becomes available. Watch it before continuing your exploration.
In town, you’ll find an inn, a save point and shops selling items and equipment. If you’re running low on healing supplies, pick up some X-Potions, Turbo Ethers and anything else you might need for the laboratory. There’s no need to spend all your gil, though: this first section has no mandatory boss.
Before speaking to the elder marked with the yellow story icon, let’s collect all the chests and the shard.
First chest: Phoenix Pinion
From the center of Gaberada, head southwest and follow the path to the far-left edge of the map. You’ll find a chest containing a Phoenix Pinion at the end.
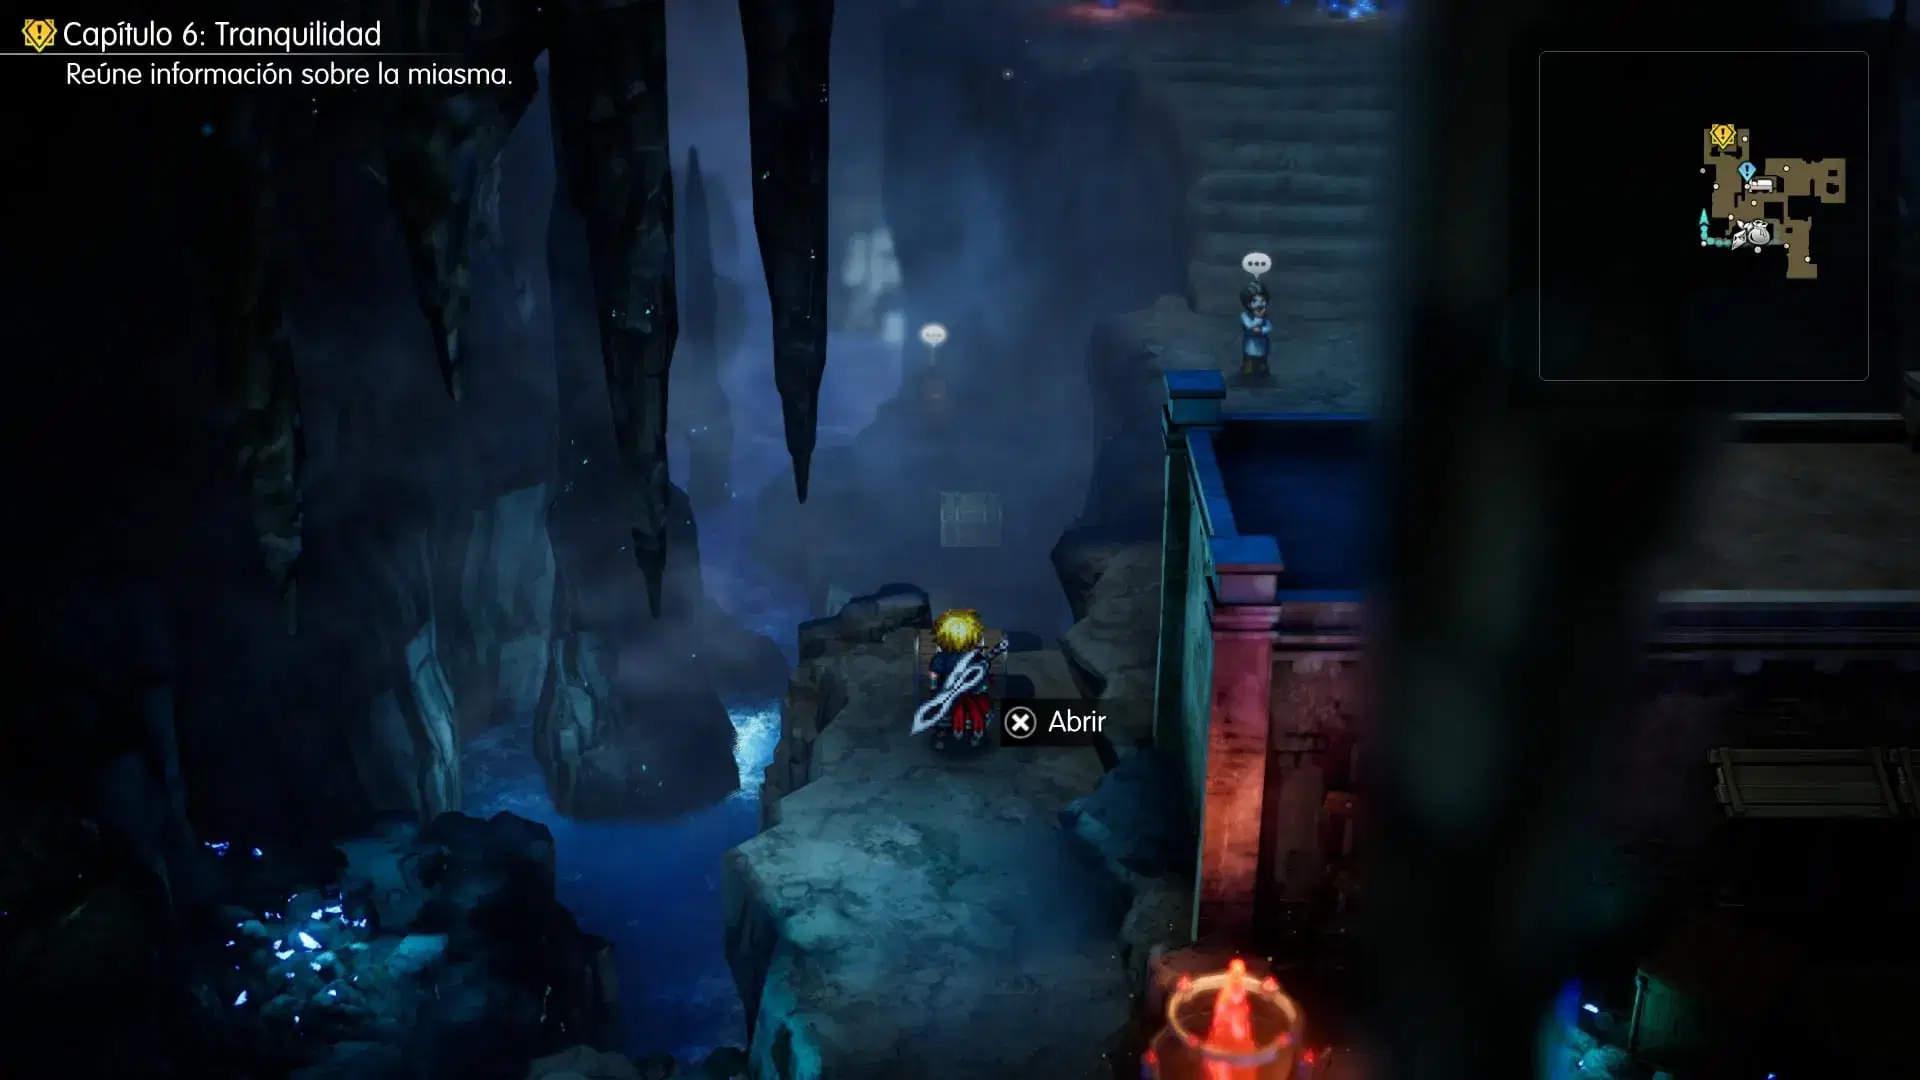
Pick it up and return towards the center of town.
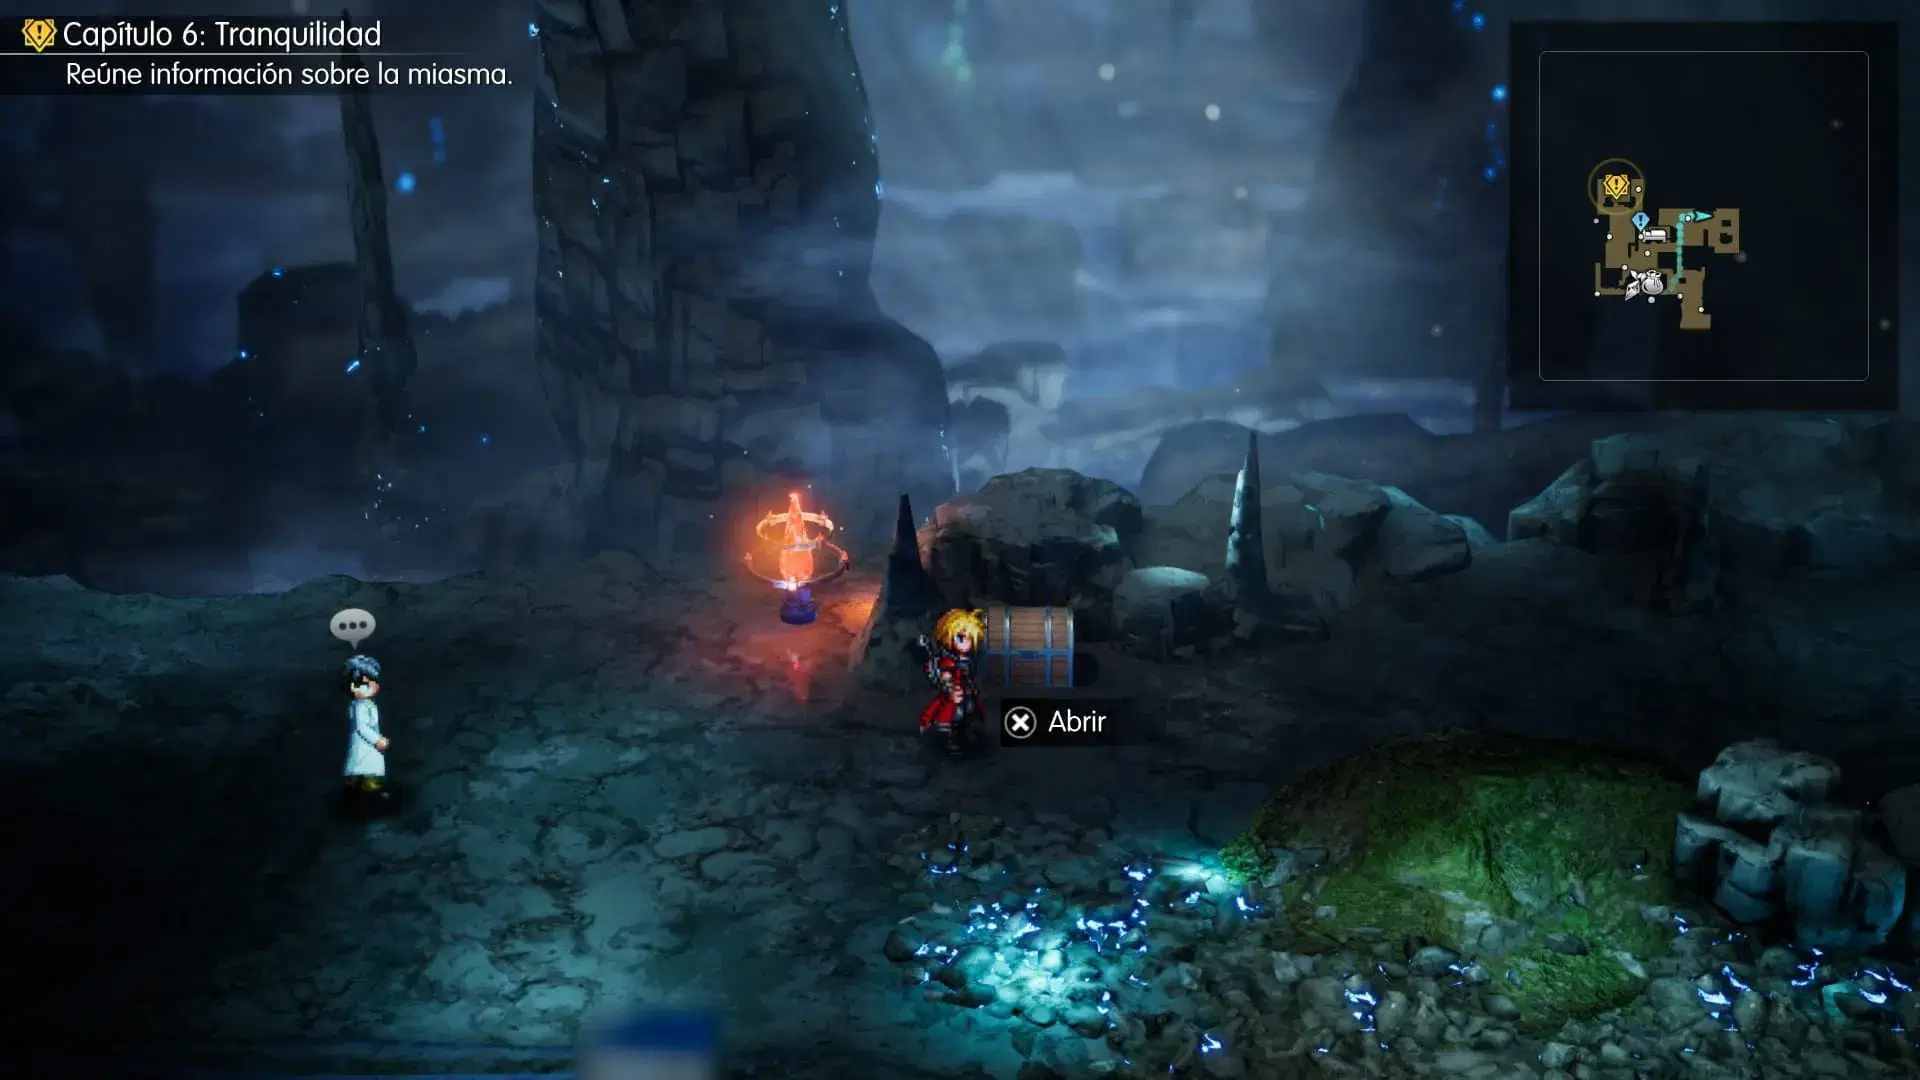
Second chest: Fuma Shuriken ×3
Now head northeast to the upper-right corner of the map. There you’ll find another chest containing three Fuma Shuriken. These are throwing weapons, so save them for a fight where they’ll come in handy.
The hidden path behind the inn
We still have one chest to find, plus a very useful item for the airship. Return to the inn and look for the stairs on the right side of the building. Go down and follow the path behind the inn, towards the left.
It’s easy to miss this passage from the main area. Follow it all the way to the end to find what we’re looking for.
Third chest: Remedy
You’ll find Gaberada’s third chest along this hidden path. It contains a Remedy.
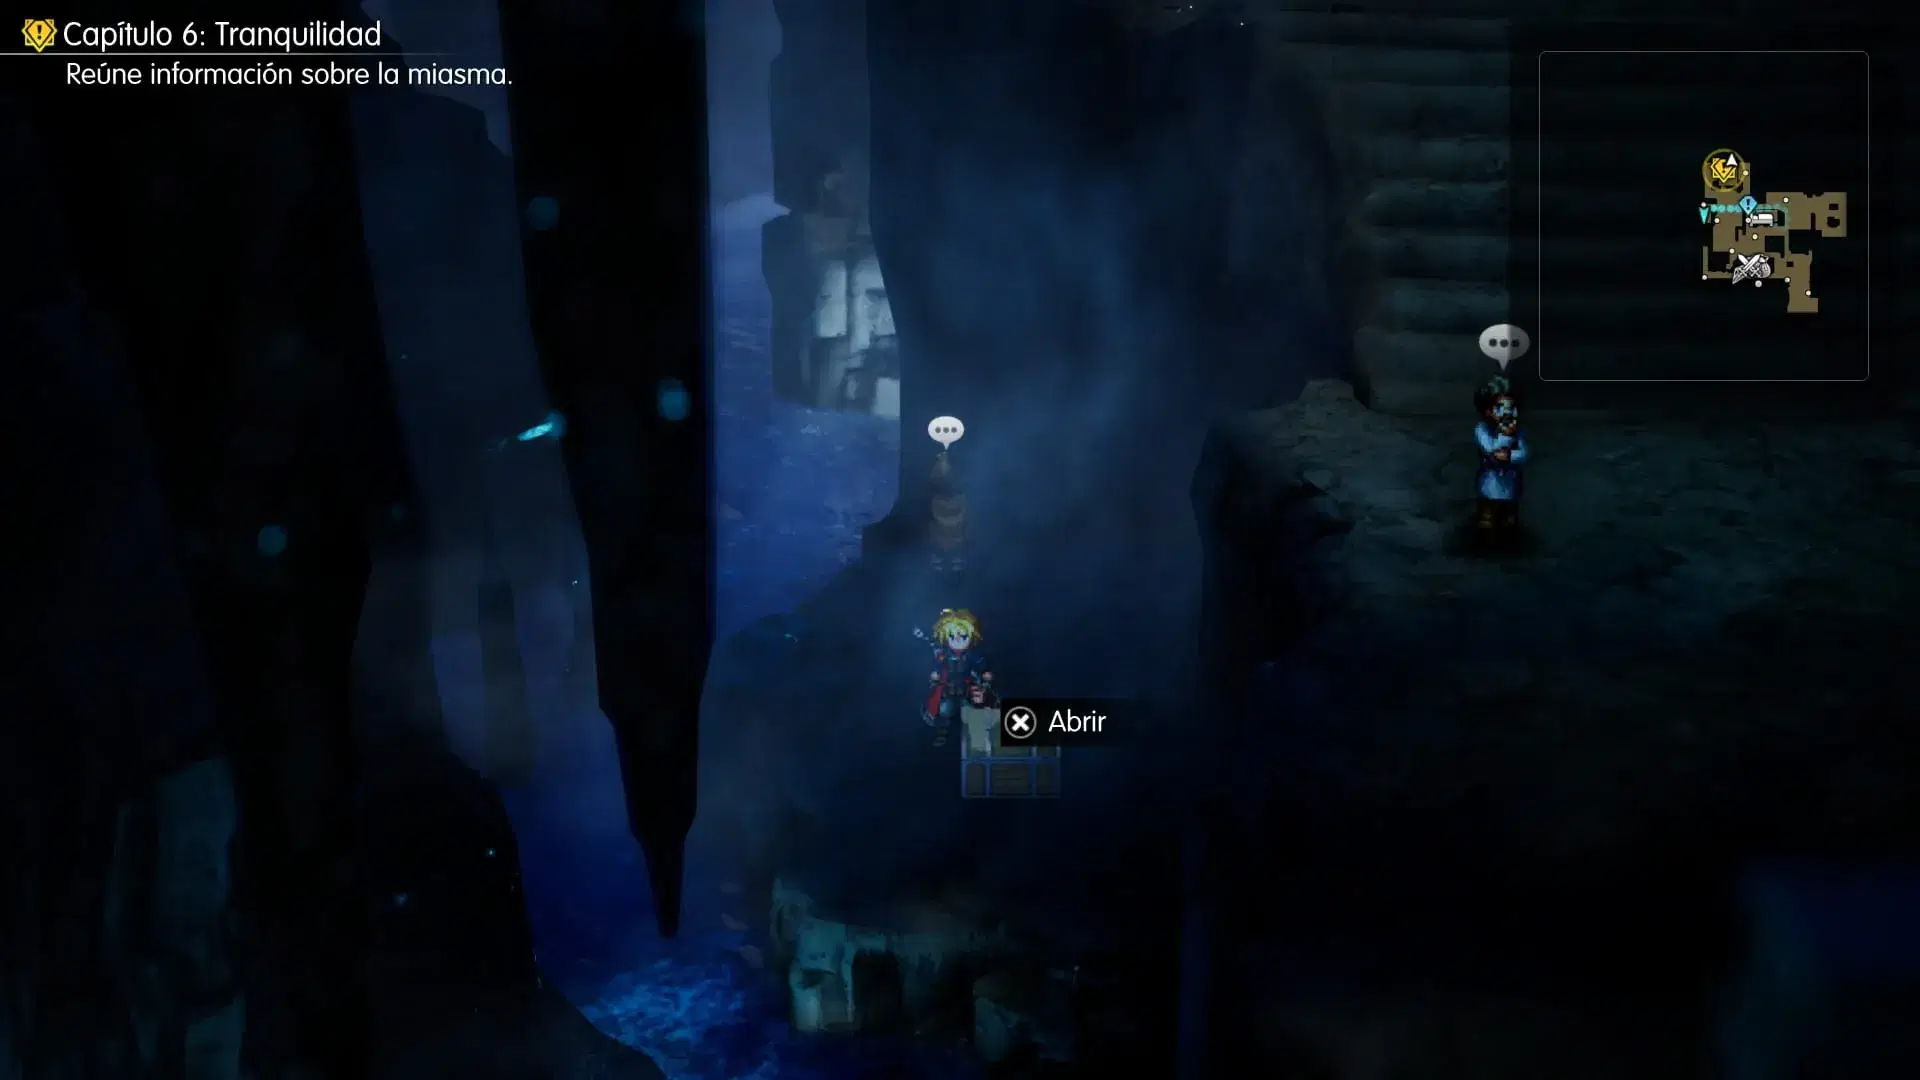
Get the Magi-tenna and upgrade the radar
There’s also a man hiding along this same path. Speak to him and he’ll give us the Magi-tenna.
Resting at an inn: Jake’s event
Staying at an inn can also trigger an event with Jake, leading to the “Token Legacy” side quest. Once you’ve completed it, return to Zoldaad and inspect the notice board at the Zoldaad Imperial Hotel to begin another quest, “Errand’s End”. You can find both in our side quests guide.
Gaberada Tablet Shard location
Go to the northwestern part of Gaberada and look for the house in the upper-left corner of the map. Before going inside, walk around its right-hand side and examine the sparkle on the ground. That’s where you’ll find the Tablet Shard.
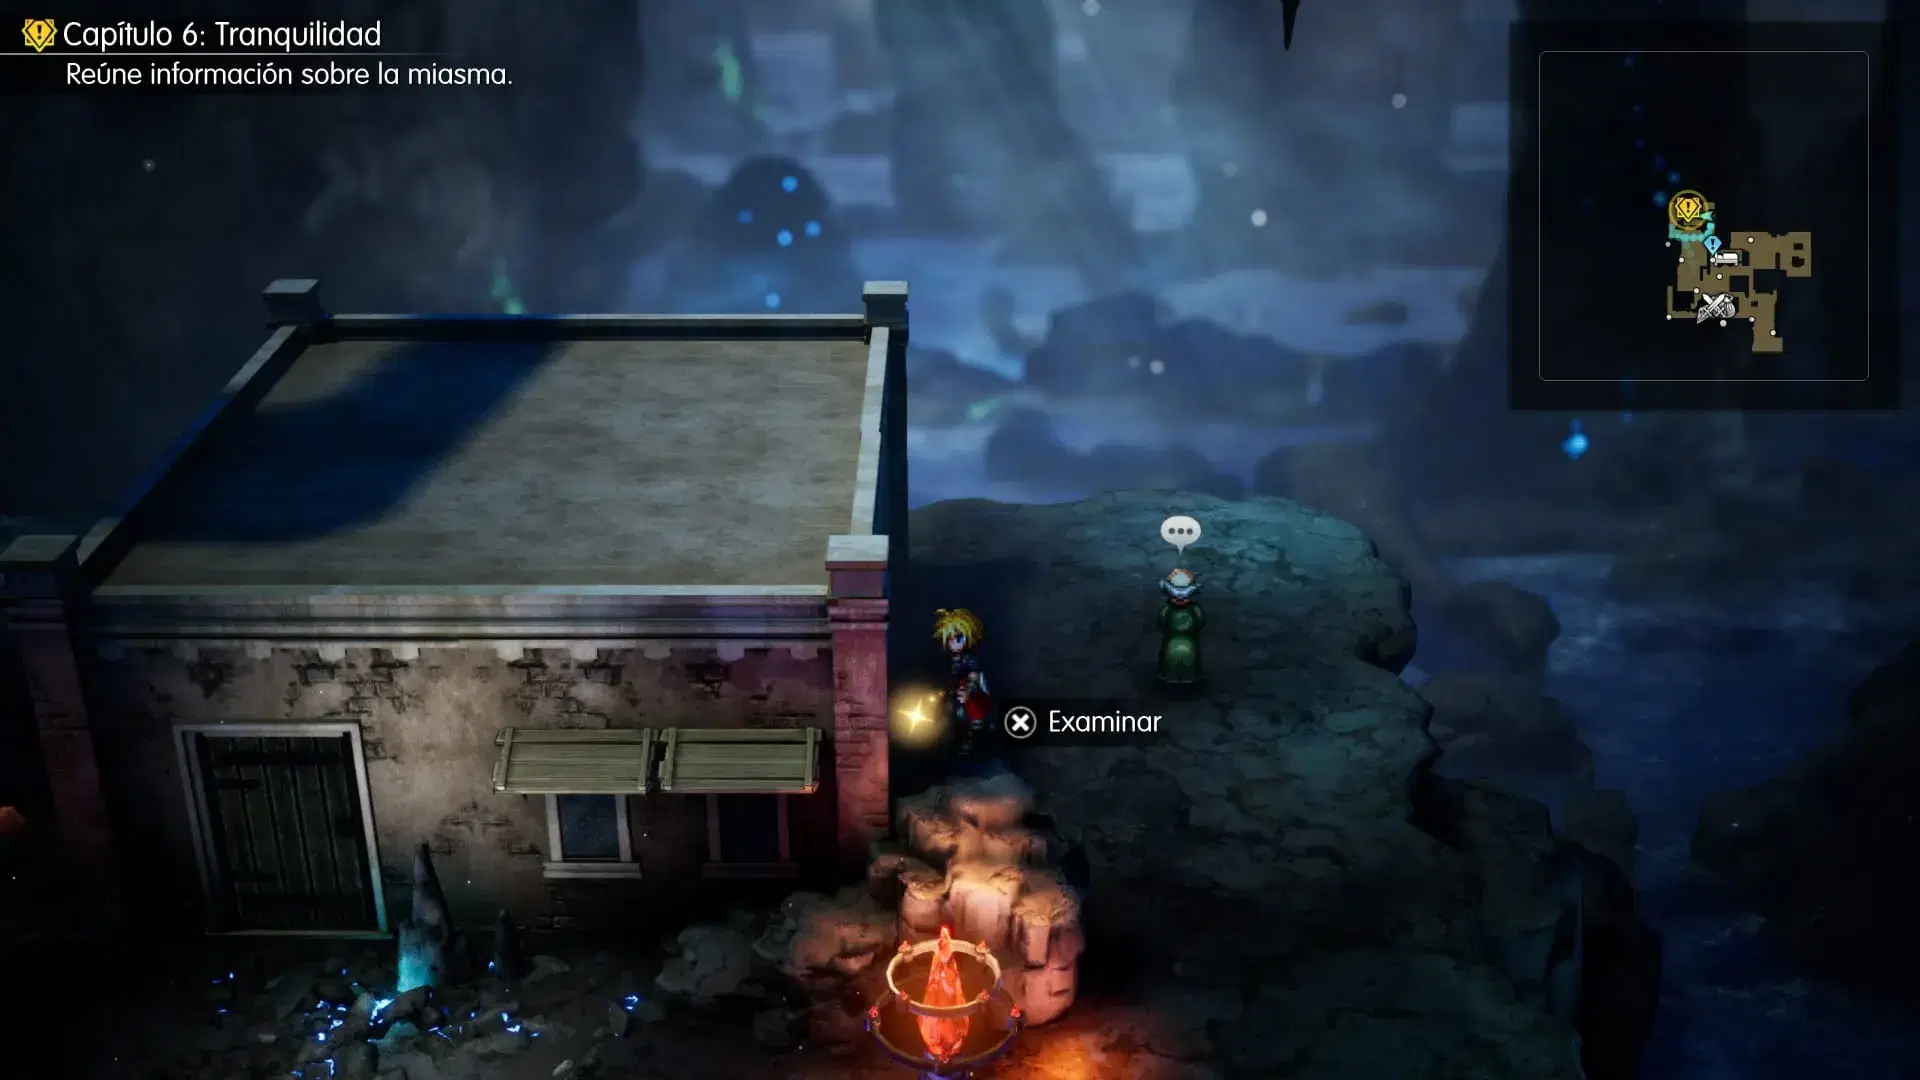
It’s the only Tablet Shard in town. In the next guide, we’ll collect another three inside the Research Center Ruins.
New side quests in Gaberada and Mysidia
In Gaberada, we can pick up the “Reunion” side quest. It’s connected to another quest at the Dwarven Forge, so if it hasn’t appeared yet, check which side quests you still need to finish there.
You can also read Gaberada’s notice board. It mentions a merchant ship travelling between different locations and selling Adamantite.
Speak to the elder to learn how to cross the miasma
Now we can continue the story. Go back to the house in the northwest, next to where we found the Tablet Shard, and enter to speak to the elder marked by the yellow story icon.
She’ll explain why we can’t cross the miasma and what we’ll need to get past it: a White Jade Stone located inside the Research Center Ruins.
After leaving Gaberada, we can also return to Mysidia to start the “Shimmering Reflections” and “Mysidia, Ever Blooming” side quests. If you’d like to complete them, you’ll find the full walkthrough in our side quests guide.
In Grandshelt, we can begin “Last Respite”, Archwitch Fina’s side quest. The “Sakura’s Dislikes” Active Time Chat also becomes available in town. After finishing the quest and leaving Grandshelt, another conversation appears: “Her Roundabout Ways”.
On the airship deck, we can meet Gilgamesh, provided we’ve progressed far enough through his previous encounters. We’ll have to fight him, and after the battle we’ll unlock the “Battle at the Big Bridge” side quest.
If you visit the Dwarven Forge, check the “Lid Taking the Lead?” conversation if you haven’t seen it already.
In Olderion, the girl with the skipping rope will challenge us again. At 30 jumps, we’ll earn a Mist X-Potion; at 40 jumps, a Swift Badge, which increases speed by 10%; and at 60 jumps, a Magicite. That’s the final fixed reward in this minigame.
For the full steps to complete “Last Respite”, “Battle at the Big Bridge” and the other quests, see our side quests guide.
To continue the story, leave Gaberada and head east to the Research Center Ruins. We’ll leave it here for now, because the next guide covers the entire laboratory and the access cards we’ll need to get through it.

Medios amigos
Un medio de videojuegos dedicado a los RPGs.