


Welcome to Chapter 4, Banner Oath, of Final Fantasy Resonance! After everything that happened at the Water Shrine, our next destination is the Zoldaad Empire. And this trip is anything but peaceful: there is trouble on a train, we meet Jake, and eventually explore some tunnels hiding more treasure than you might expect.
In this first part, we’ll visit Mozul Station, explore the world map to obtain three new Visions, investigate the imperial capital, and collect nine Tablet Shards. We’ll also show you how to get every chest in the Underground Tunnel and Rebel Hideout. Let’s get started!
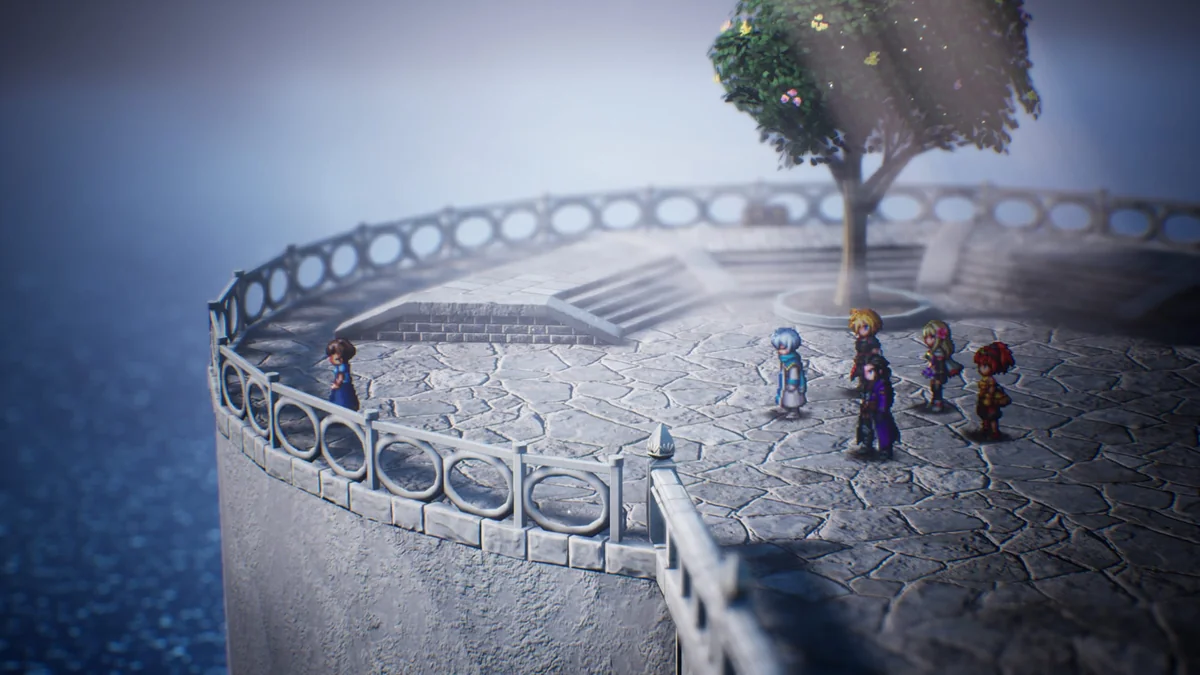
From Olderion Harbor to Zoldaad
Our previous walkthrough ended in Olderion, after defeating Alluvion and talking to Nichol. Head to the southeastern harbor and examine the docked ship. Choose to travel to Zoldaad Empire Territory to continue the story.
When we disembark, we arrive on the northern coast of an entirely new region. We need to reach the imperial capital, but first we must take the railway that crosses the continent.
Before leaving, check your party and equip a Vision with water attacks. The soldiers we will face aboard the train are weak to water, and their physical attacks can deal considerable damage.
How to Reach Mozul Station
From the landing point, head south across the world map. You will see railway tracks crossing a stone bridge. Approach the area underneath the tracks to find the entrance to Mozul Station.
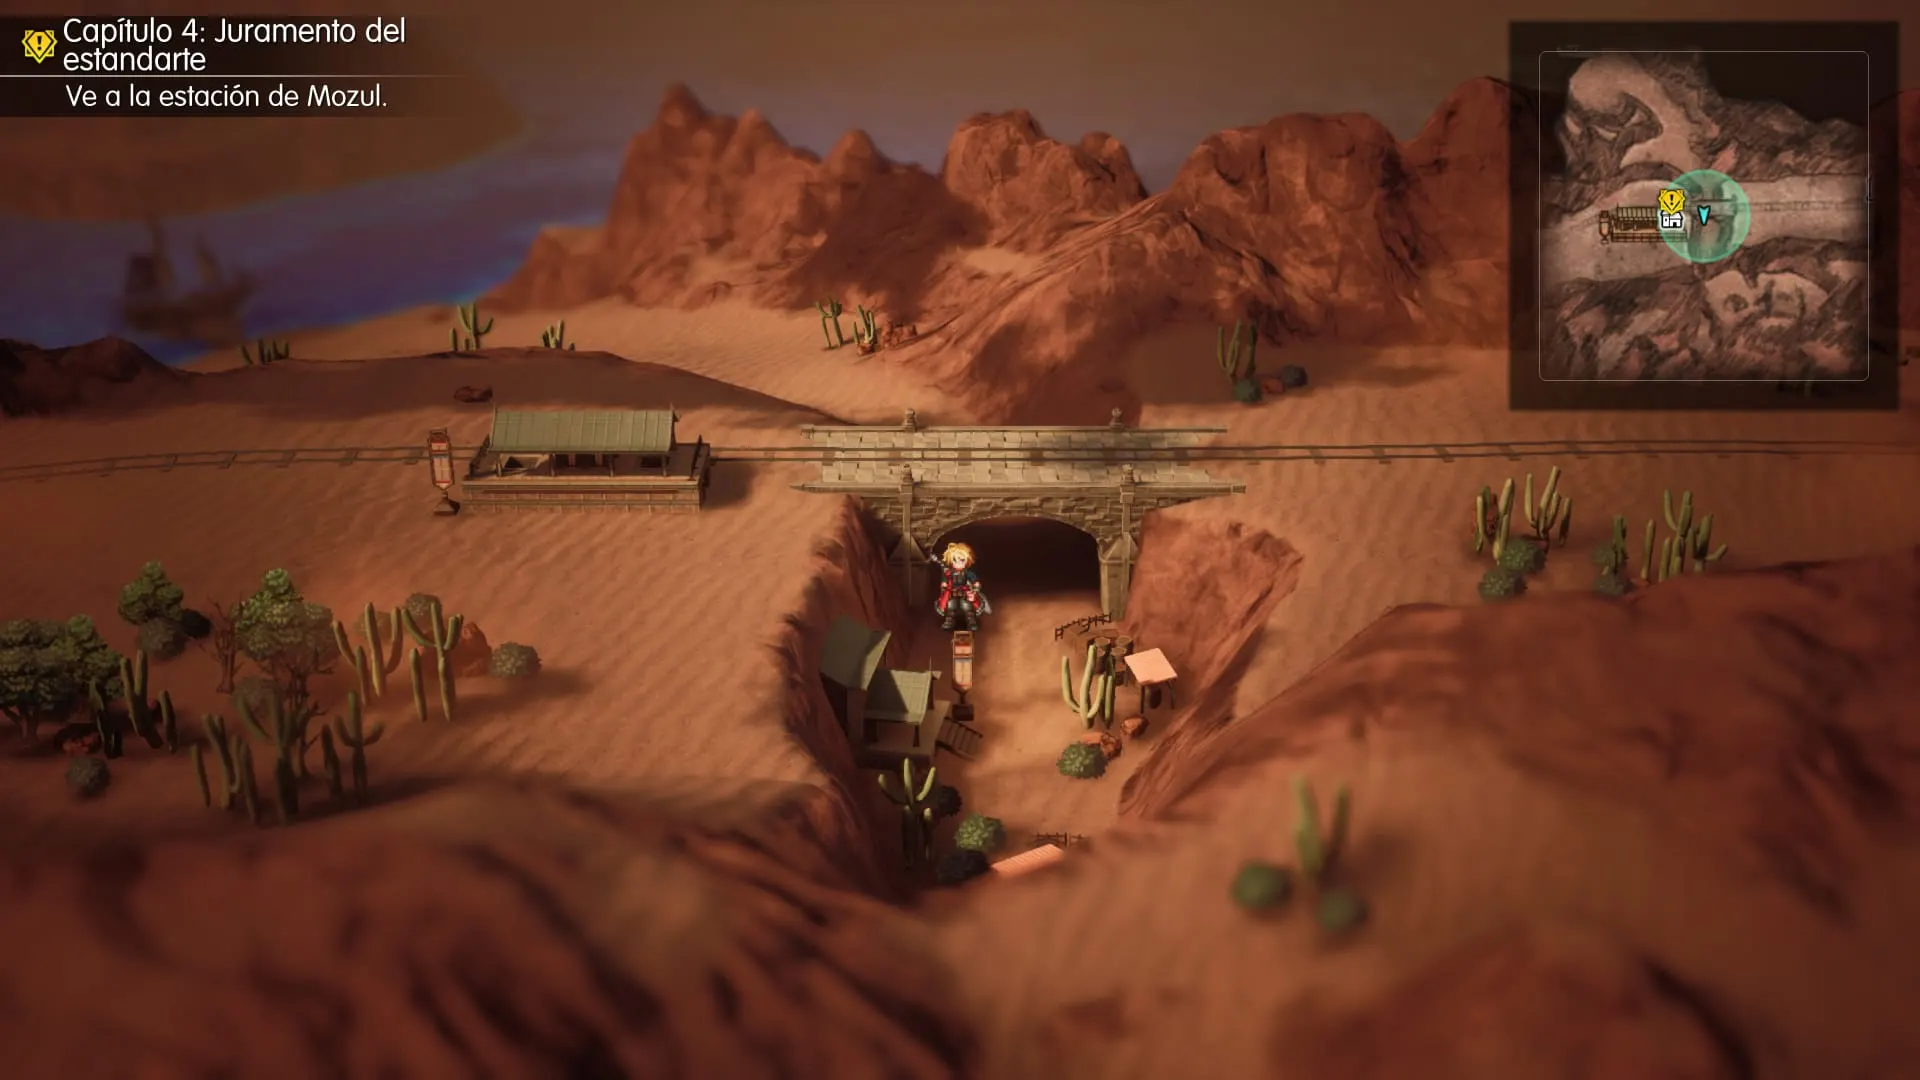
On the platform, an attendant has the yellow story marker above his head. Talk to him to board the train, but first let’s collect an important item and visit the shop.
Mozul Station Tablet Shard
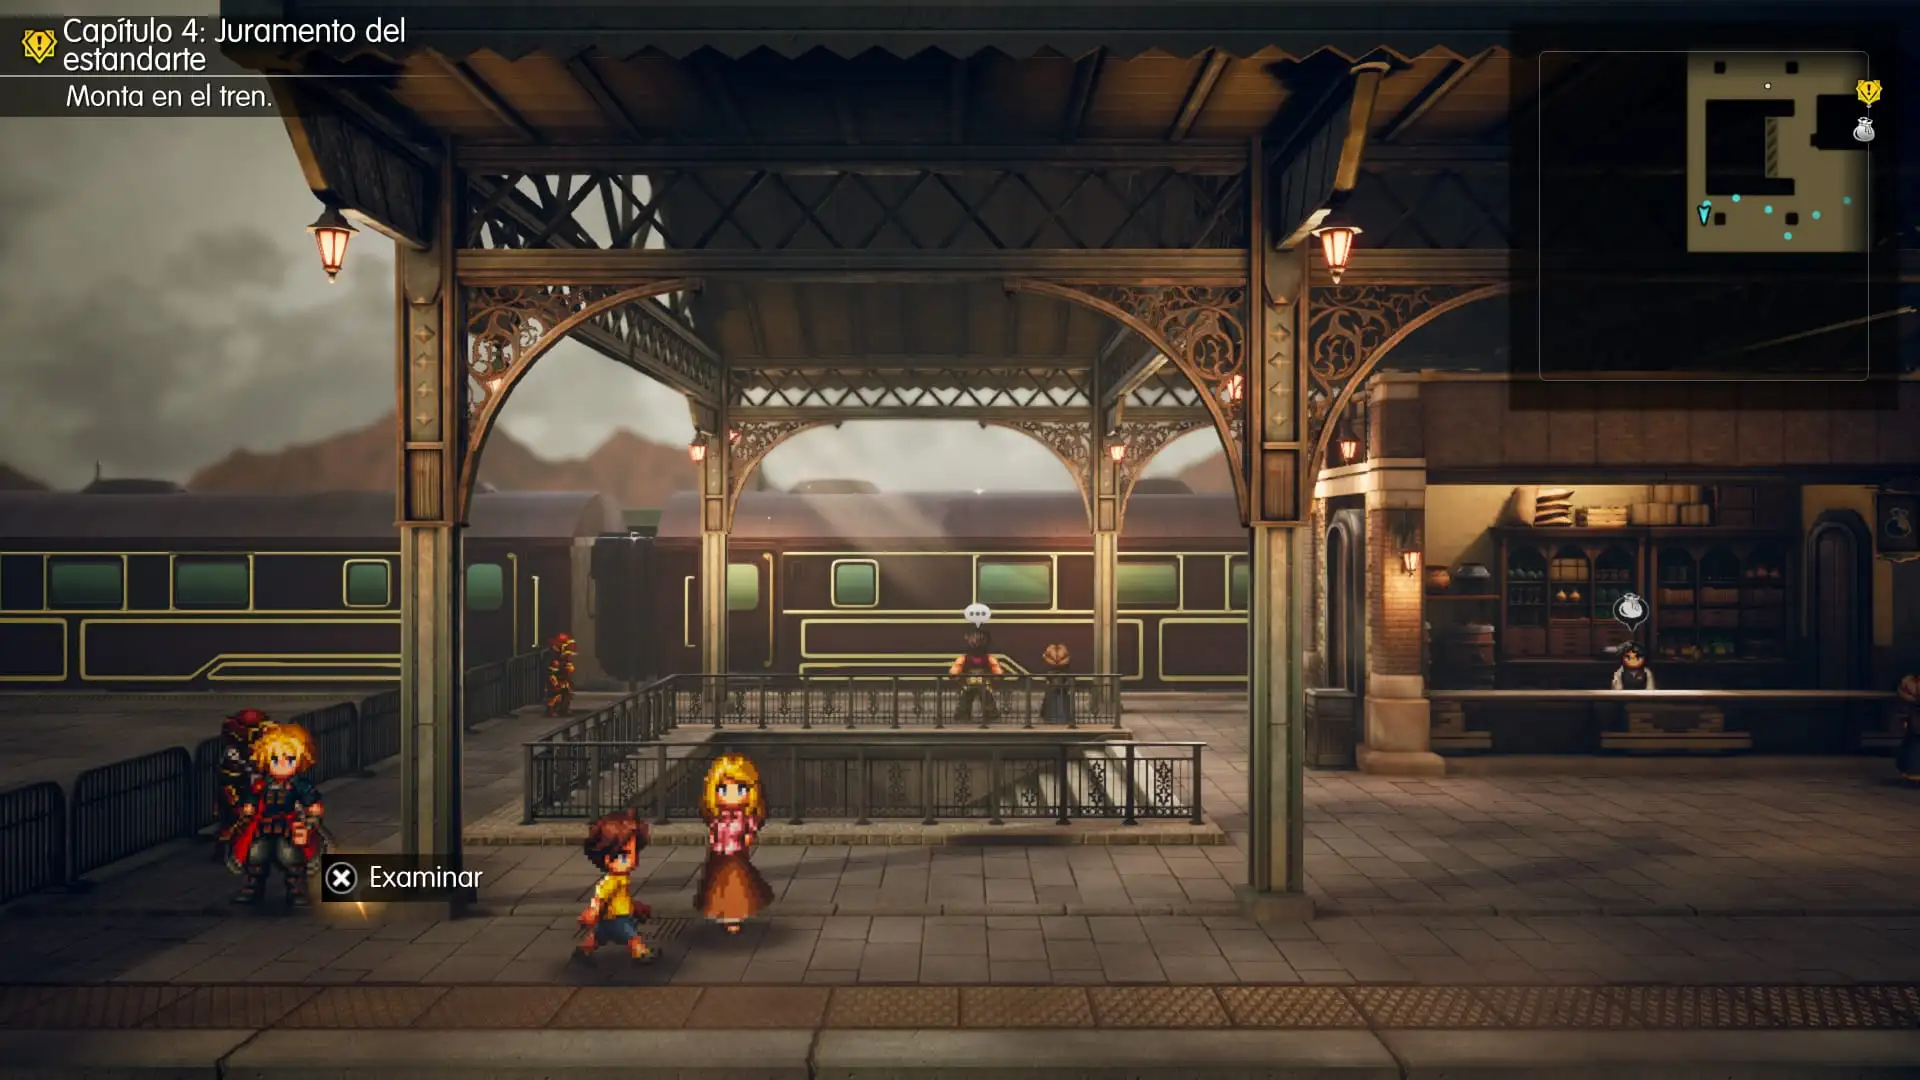
From the platform, walk to its far left, southwest end. Approach the fence along the edge and look for a sparkle on the ground. This is the first Tablet Shard in Zoldaad.
Pick it up before speaking to the attendant and leaving on the train, so you won’t need to come back later.
Buy a Turbo Ether for the Crimson Pot
A merchant stands on the right-hand side of the platform. Among their goods is a limited supply of Turbo Ethers, priced at 2,000 gil each. Buy at least one and save it: a special enemy inside the Underground Tunnel will ask for it.
You can also stock up on healing items if your HP or MP is running low. Once you’re ready, save and talk to the marked attendant beside the train to depart.
The Train and Meeting Jake
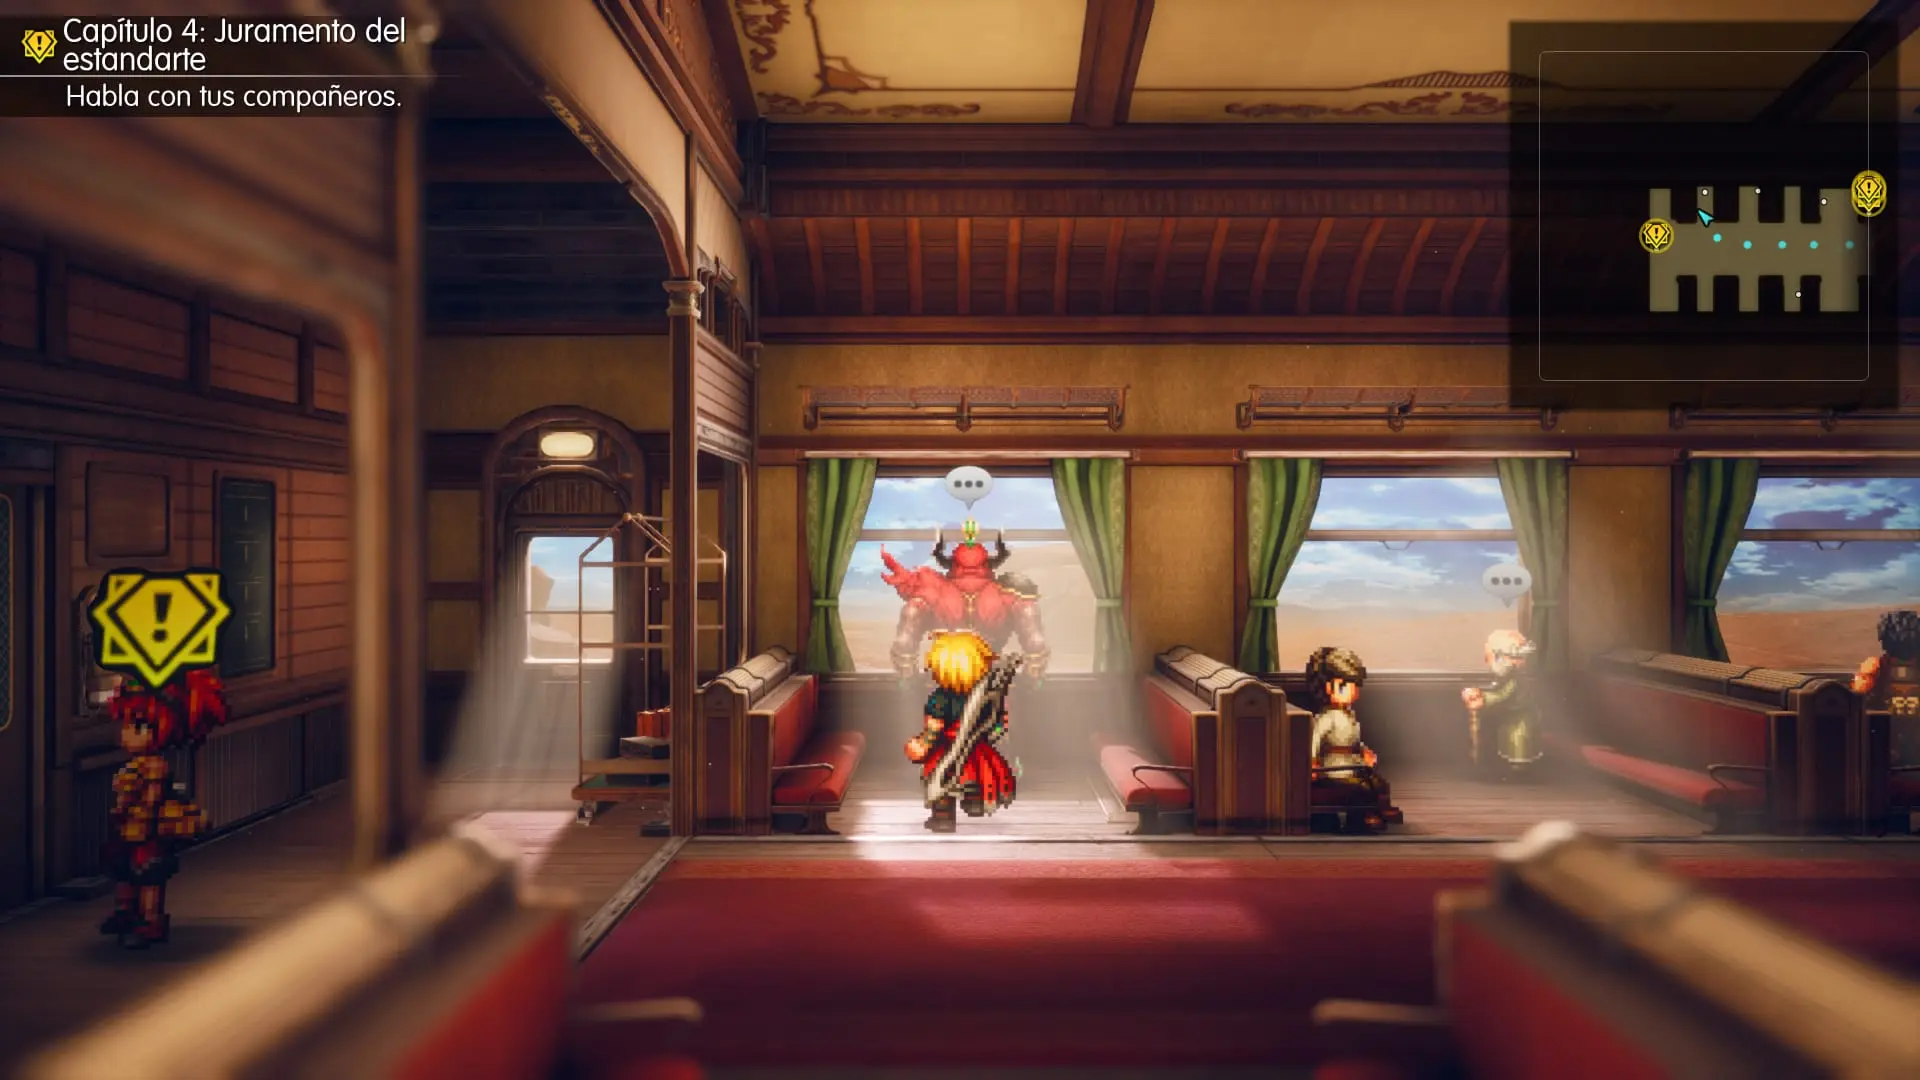
Once aboard the Timber Tracks train, walk through the carriage and speak to Lasswell, Fina, Lid, and Nichol. You can also talk to Gilgamesh, who appears on board.
After talking to all four companions, a scene introduces a man named Jake. From here, it’s time to run through the carriages as imperial soldiers begin chasing us.
How to Defeat the Imperial Soldiers on the Train
The battle doesn’t begin as a fixed encounter. As you move through the carriages, soldiers follow you, and a battle starts if they catch up. The groups consist of level-28 Zoldaad Soldiers, who are weak to water.
Use Nichol’s abilities, Vision spells, and any other water attacks you have available. Watch out for their physical blows, which can take a big chunk of HP if your party is caught unprepared.
Escaping Through the Train Carriages
Run toward the right side of the train, moving through each carriage as it becomes available. Soldiers approach from the left, so keep pushing toward the next carriage whenever you can.
If they catch you, you must fight. Keep using water attacks and maintain the party’s HP as you advance.
At the far end, a scene with Nichol plays and the party leaves the train. Once you regain control, you’ll be back on the Zoldaad world map.
Explore Zoldaad Before Entering the Capital
We can now explore a large part of the continent. Our main destination lies to the west, but first we’ll collect some new Visions, several world-map items, and another Tablet Shard.
World-map items appear as sparkles on the ground. Check the ends of paths and side routes near the stations, especially around the railway tracks and mountain passes.
How to Obtain Vision: Shantotto
From where we land after jumping off the train, head east toward the area around Mozul Station. Along this path you’ll find a sparkle containing a Hi-Potion.
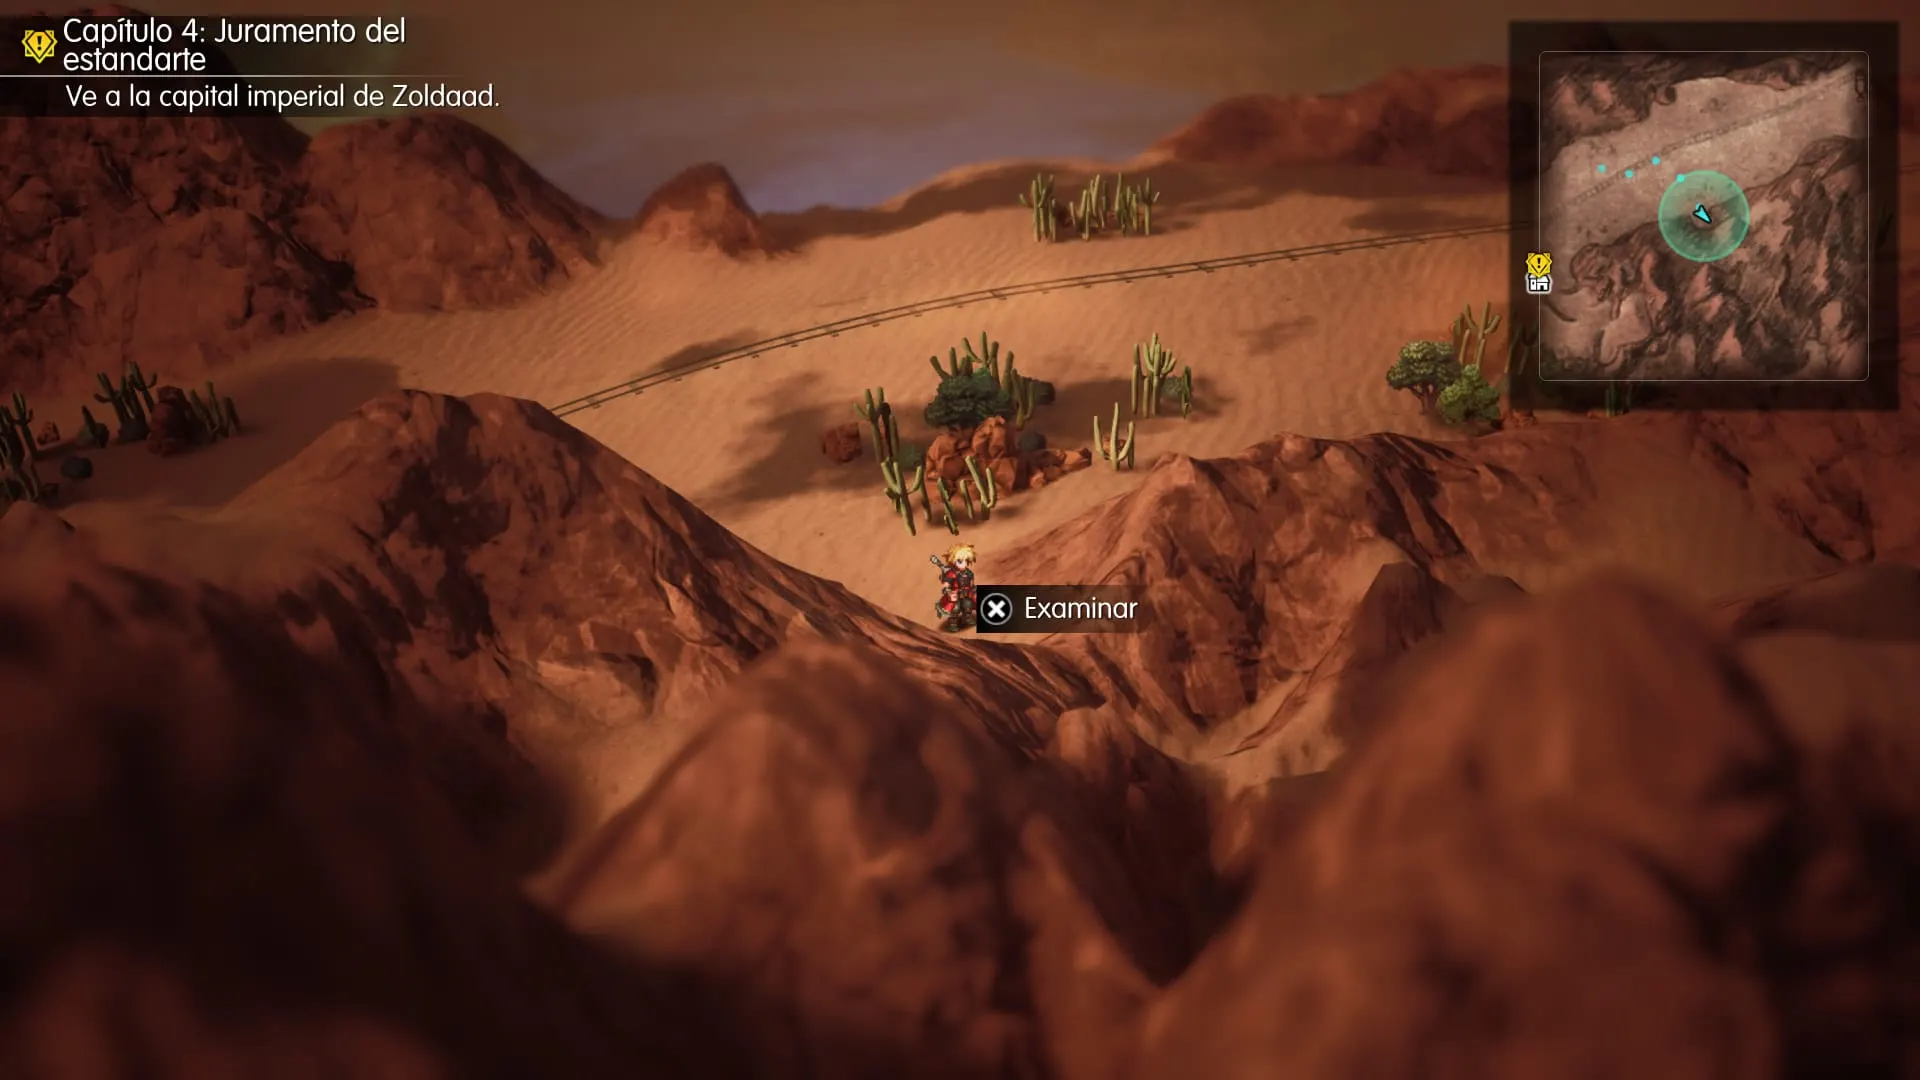
Keep heading east, passing the station, and collect the Fire Sprite Earrings beside the road. Continue exploring until you find the blue entrance to a Sanctum of Light.
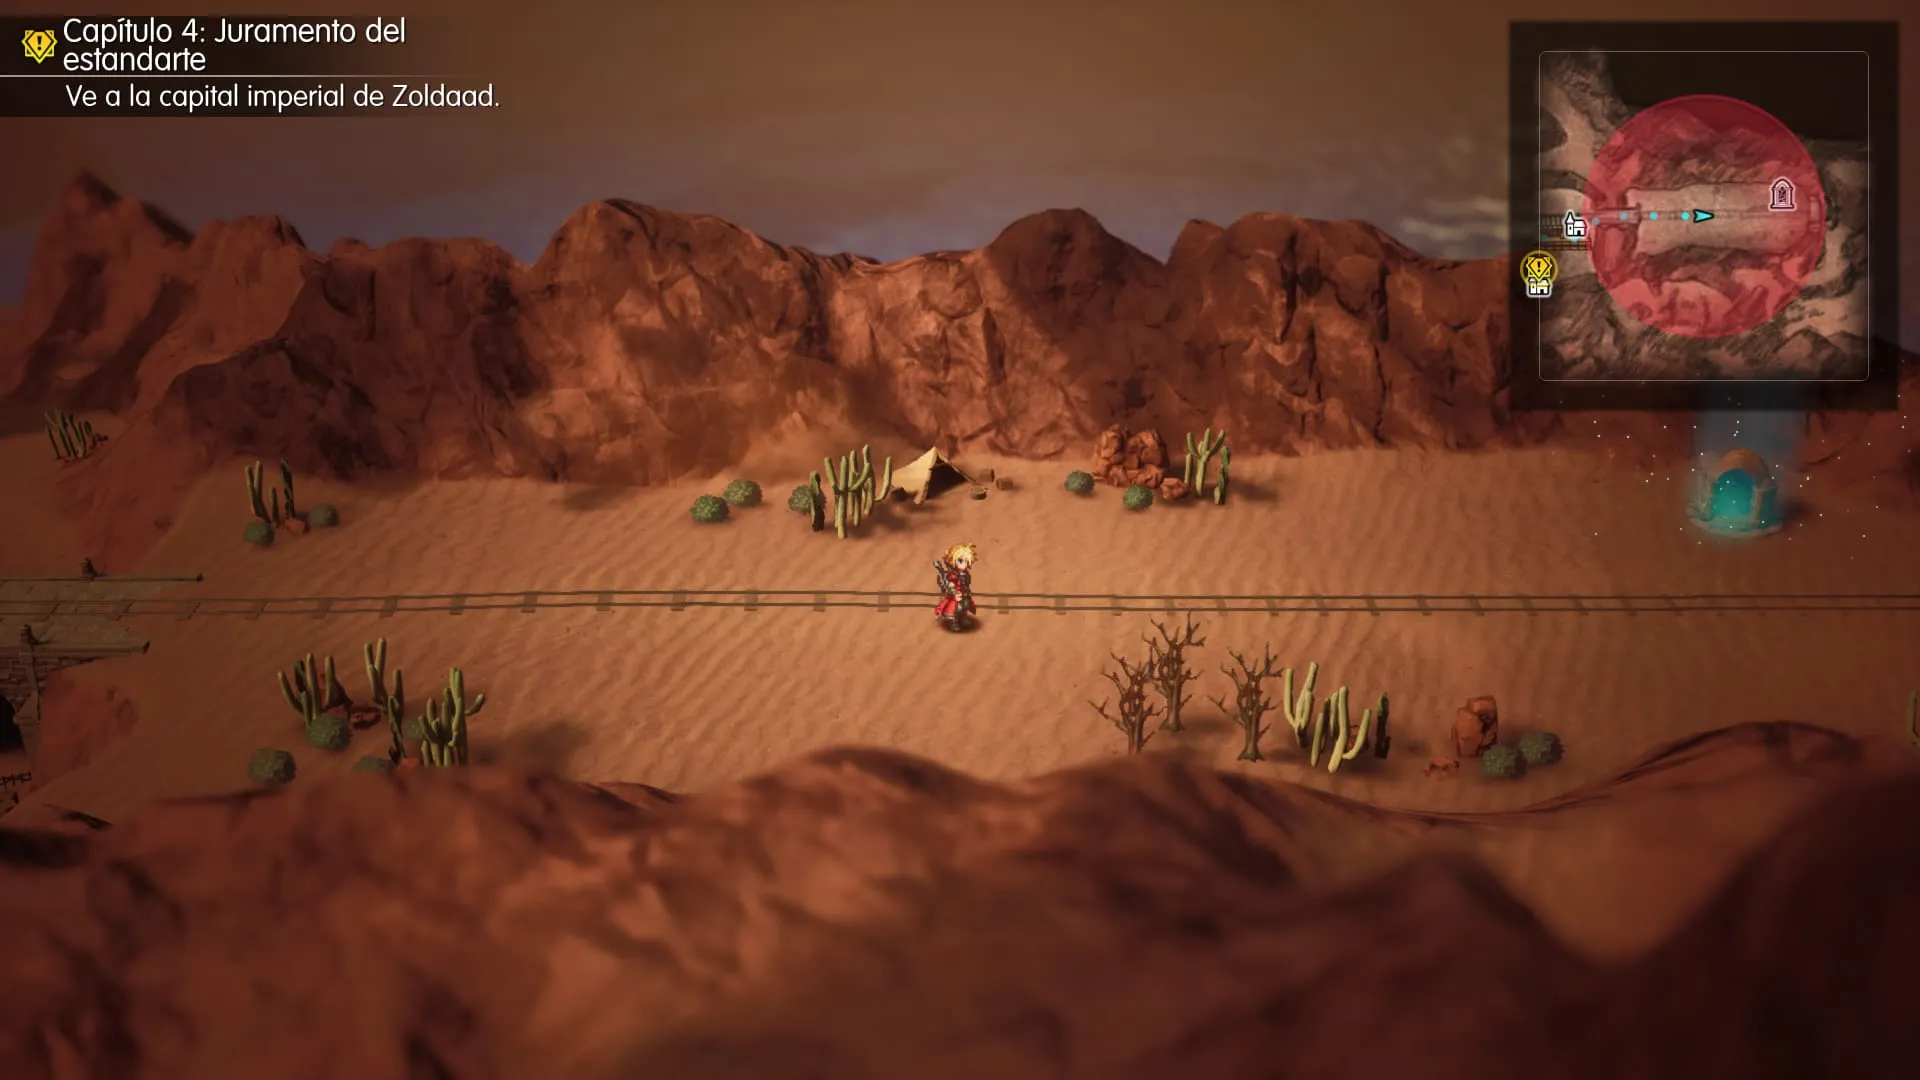
Enter and examine the crystal. You must answer three questions about Shantotto, the character from Final Fantasy XI. After answering the three questions, you’ll obtain Vision: Shantotto.
1. “Give in to curiosity and open it.”
2. “Upstage the representative then and there.”
3. “Pursue knowledge rather than power.”
Capital Station: Another Tablet Shard
Head back toward the western part of the region and follow the railway line until you reach Capital Station. You can explore the platform before continuing toward the city.
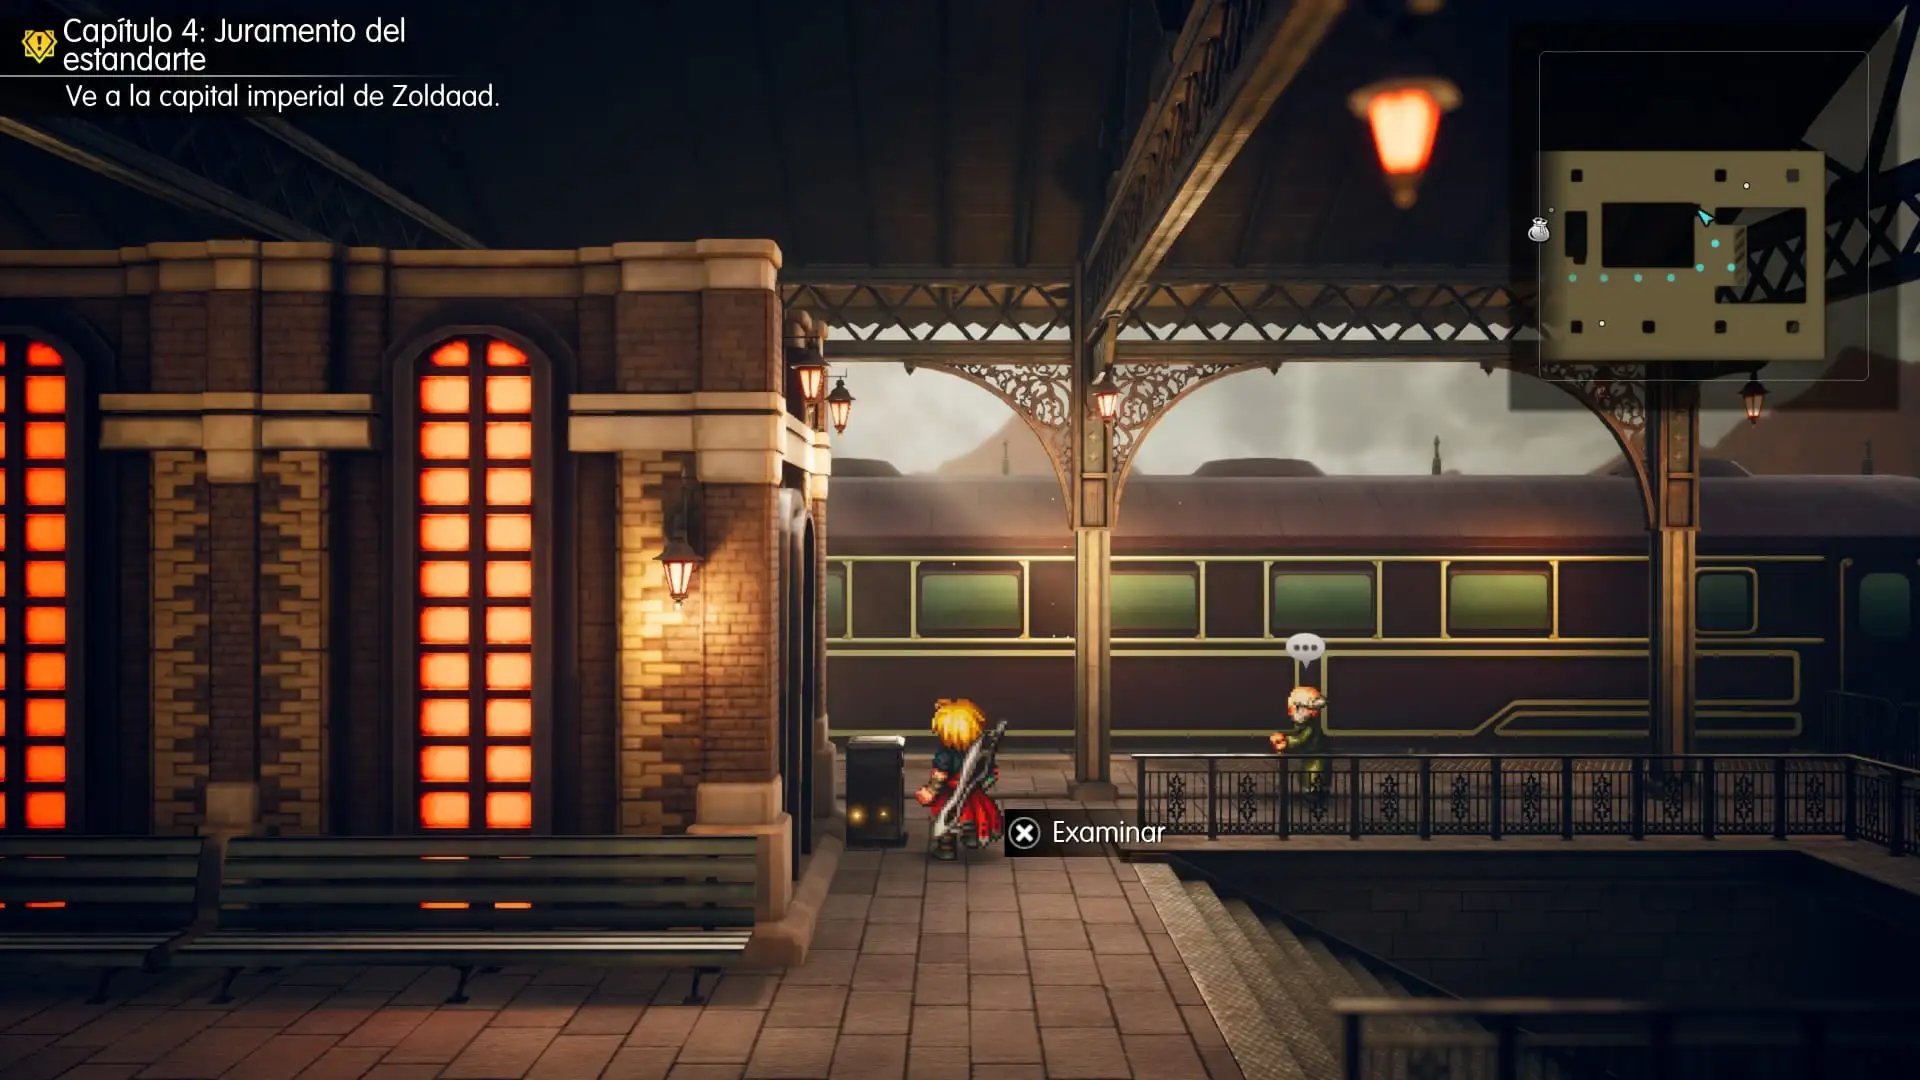
At the upper end of the platform, near the stairs on the right (east), look for a sparkle on the ground. This is the second Tablet Shard in this walkthrough.
Restock at the station shop if needed. Now let’s continue exploring the region.
How to Obtain Cecil and Y’shtola Visions
Cecil’s Sanctum
From the area around Capital Station, follow the paths leading south and east. Look for an illuminated entrance beside the mountains: another Sanctum of Light.
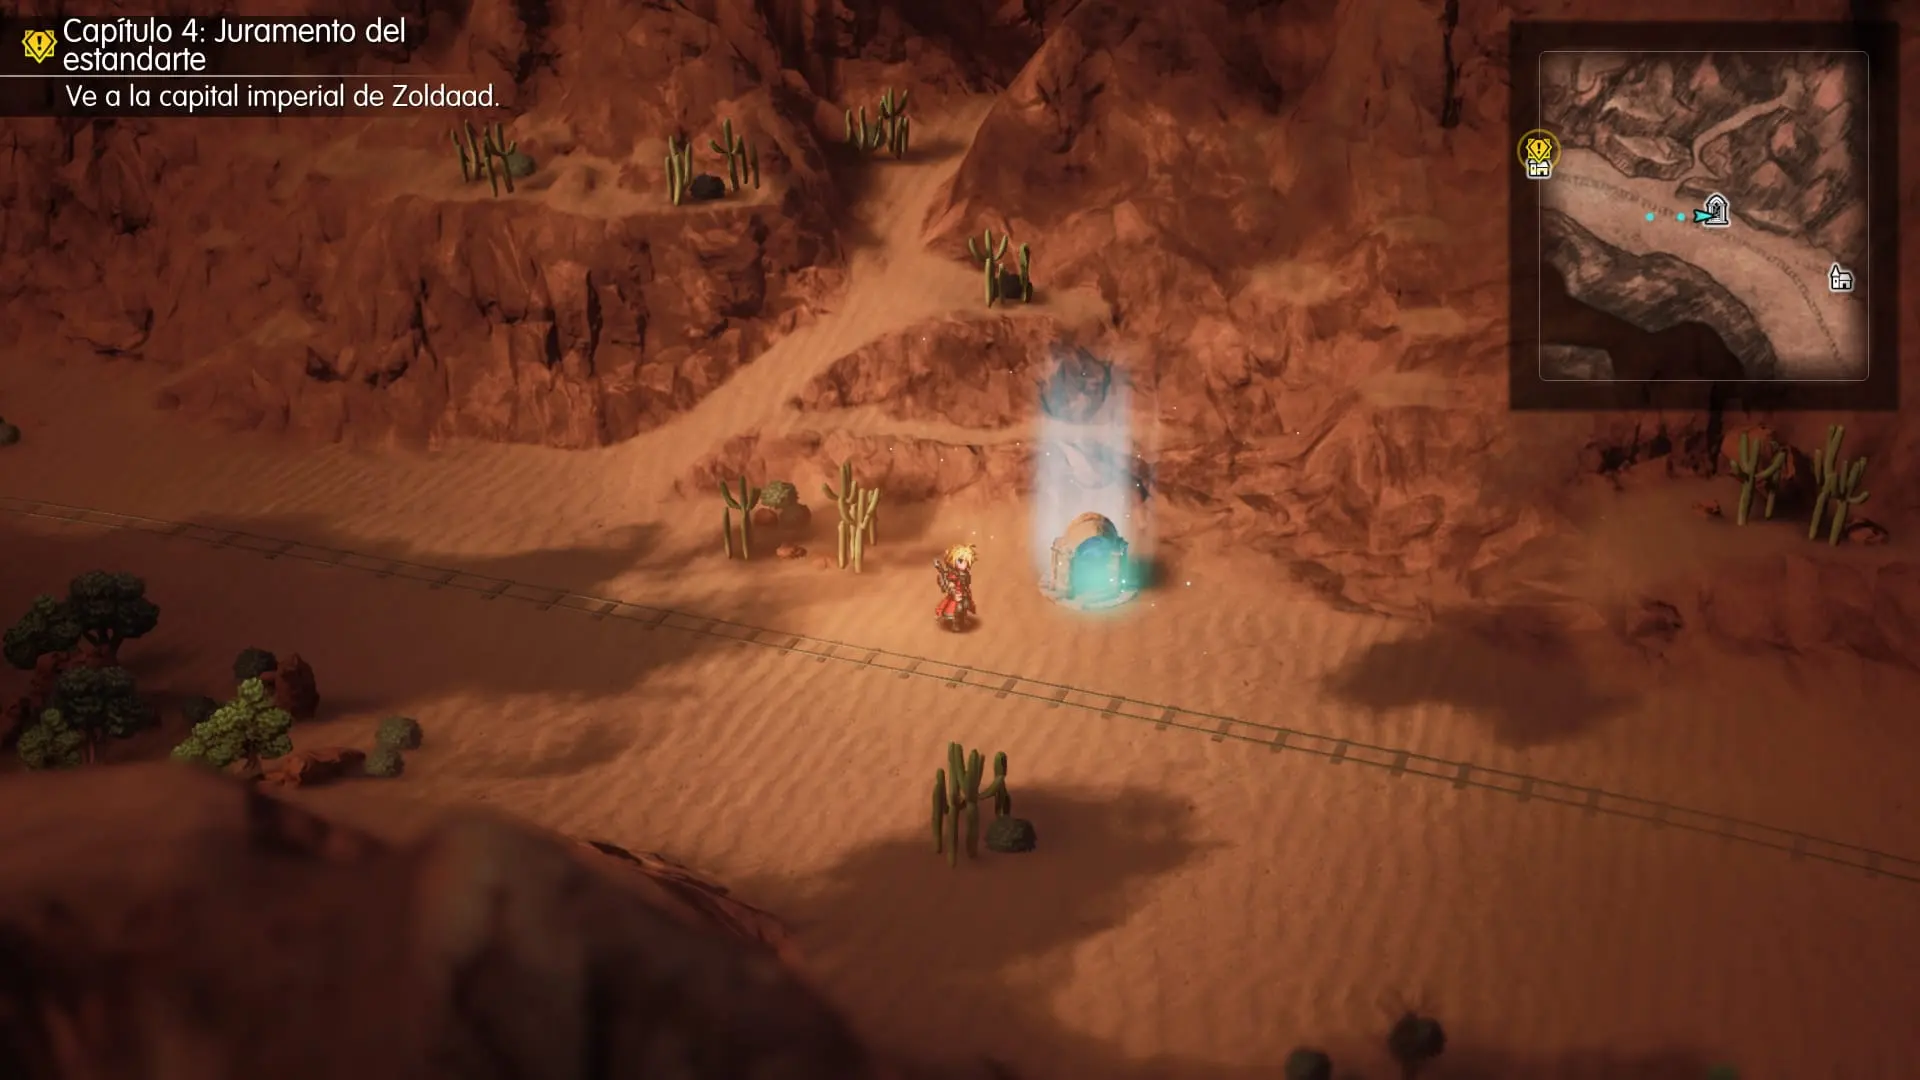
Inside, you’ll meet Cecil from Final Fantasy IV. Examine the crystal and complete the three questions to earn Vision: Cecil, which specializes in protecting allies. Additional defensive options will become increasingly useful as the battles grow tougher.
1. “Obey the king at all cost.”
2. “Do what must be done to face new challenges.”
3. “Continue to fight on behalf of the world.”
Y’shtola’s Sanctum
The third Vision is farther east in Zoldaad Territory, near the Weapons Factory. Follow the world map until you find another blue entrance in the mountainous area.
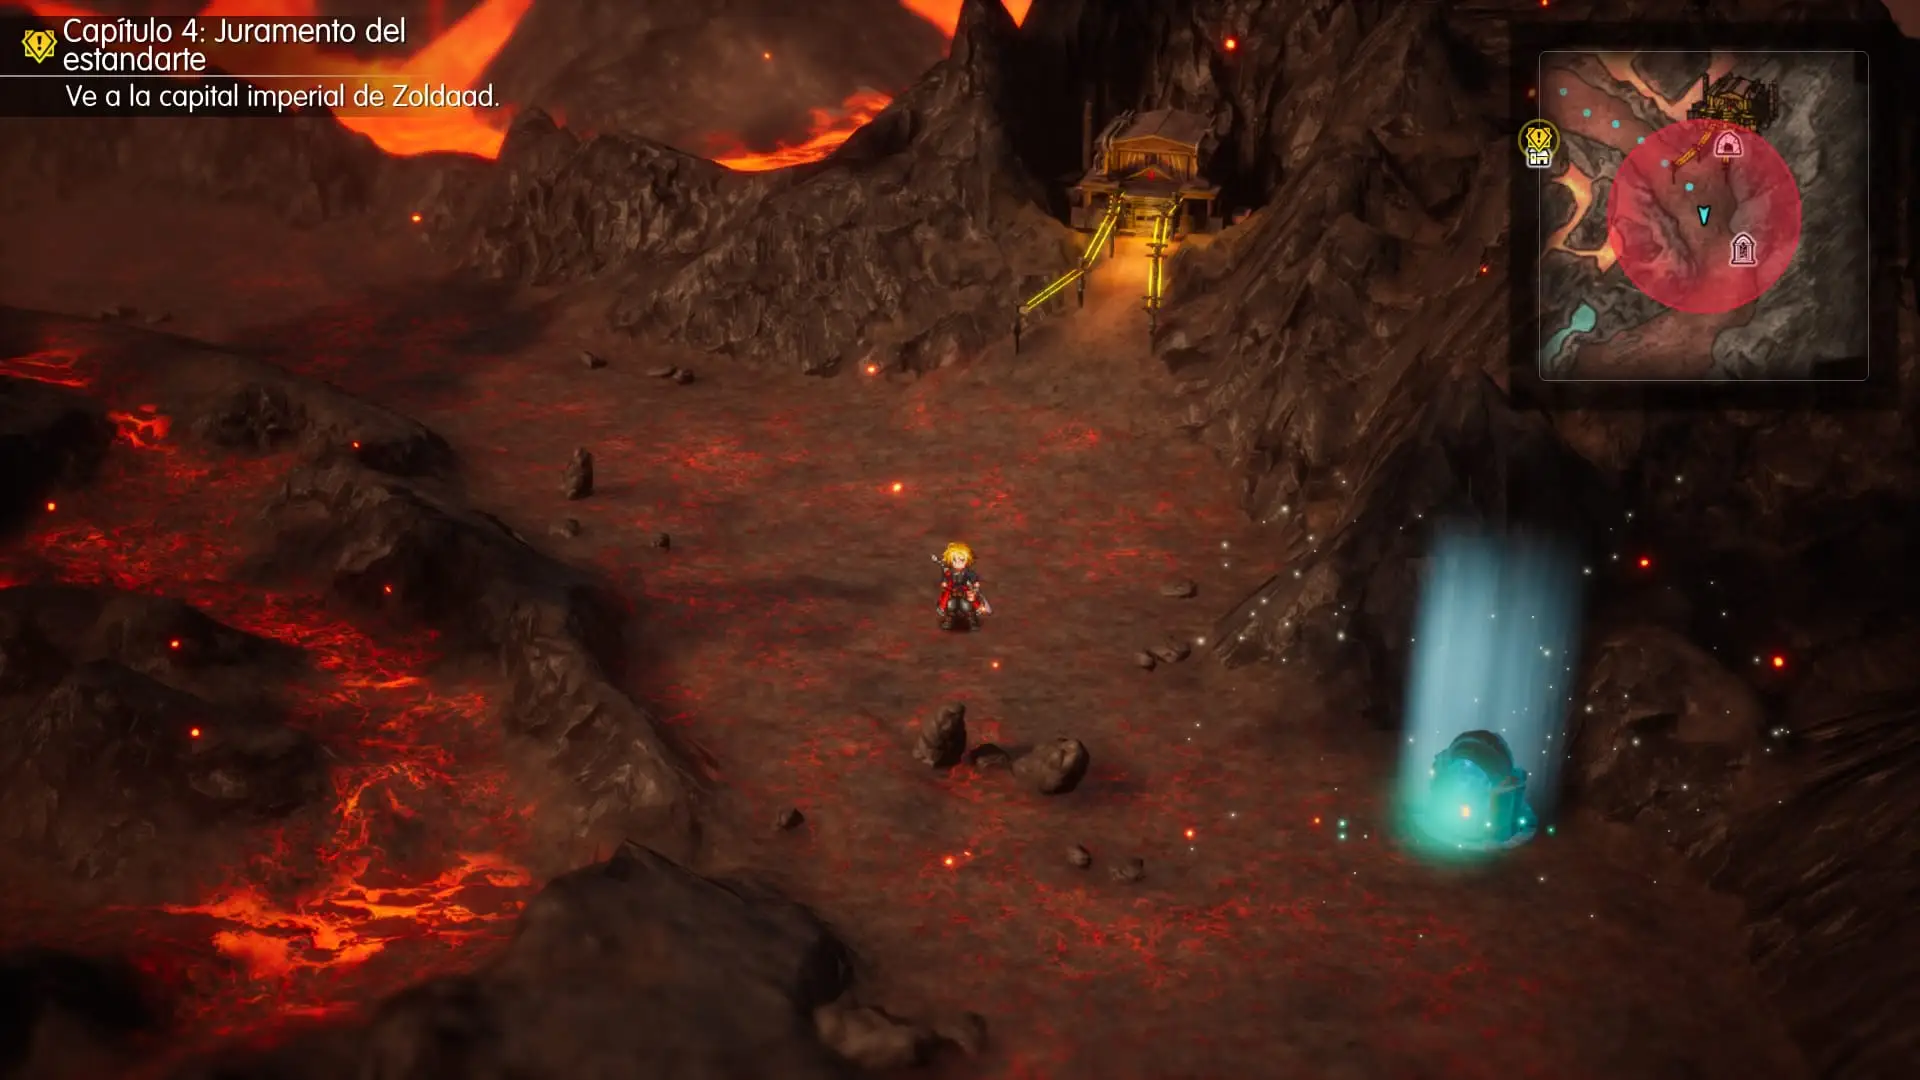
Enter and speak with Y’shtola from Final Fantasy XIV. After the questions, you’ll obtain her Vision, which provides magical abilities and party support.
1. “Recruit others to aid you in your mission.”
2. “Substitute sight with another sense.”
3. “Attempt to understand your opponents’ view.”
World-Map Items and Detours in Zoldaad
Before heading into the capital, we’ll make another circuit of the paths uncovered during our exploration. Look out for sparkles along the tracks, hills, and mountain trails.
The Western Road and the Station
Near the station, find the side path leading up the southern hill. Collect two Knives of Paralysis and return to the main route. Farther north, between the station entrances and the open area, you’ll find three Antidote Herbs.
Continue along the path heading south to collect another weapon from the ground. If you haven’t visited Cecil’s Sanctum yet, this is a good opportunity.
Around the Weapons Factory
Additional sparkles are scattered through the eastern paths. First explore the trail north of Gogmagog Cave to find the Clown Hammer. Farther east you’ll spot Shuriken, and near the end of the tracks there’s a Turbo Ether you can save for another Crimson Pot.
You can also pick up an Ether Plate in this area. Next to Pyroviper Cave, you’ll find a Healing Spring.
Nearby you’ll discover the entrances to Gogmagog Cave and Pyroviper Cave. These optional bosses are tougher than the usual enemies in this chapter. If you take them on now, prepare for some heavy hits: Gogmagog is weak to wind and light, while Pyroviper is weak to water.
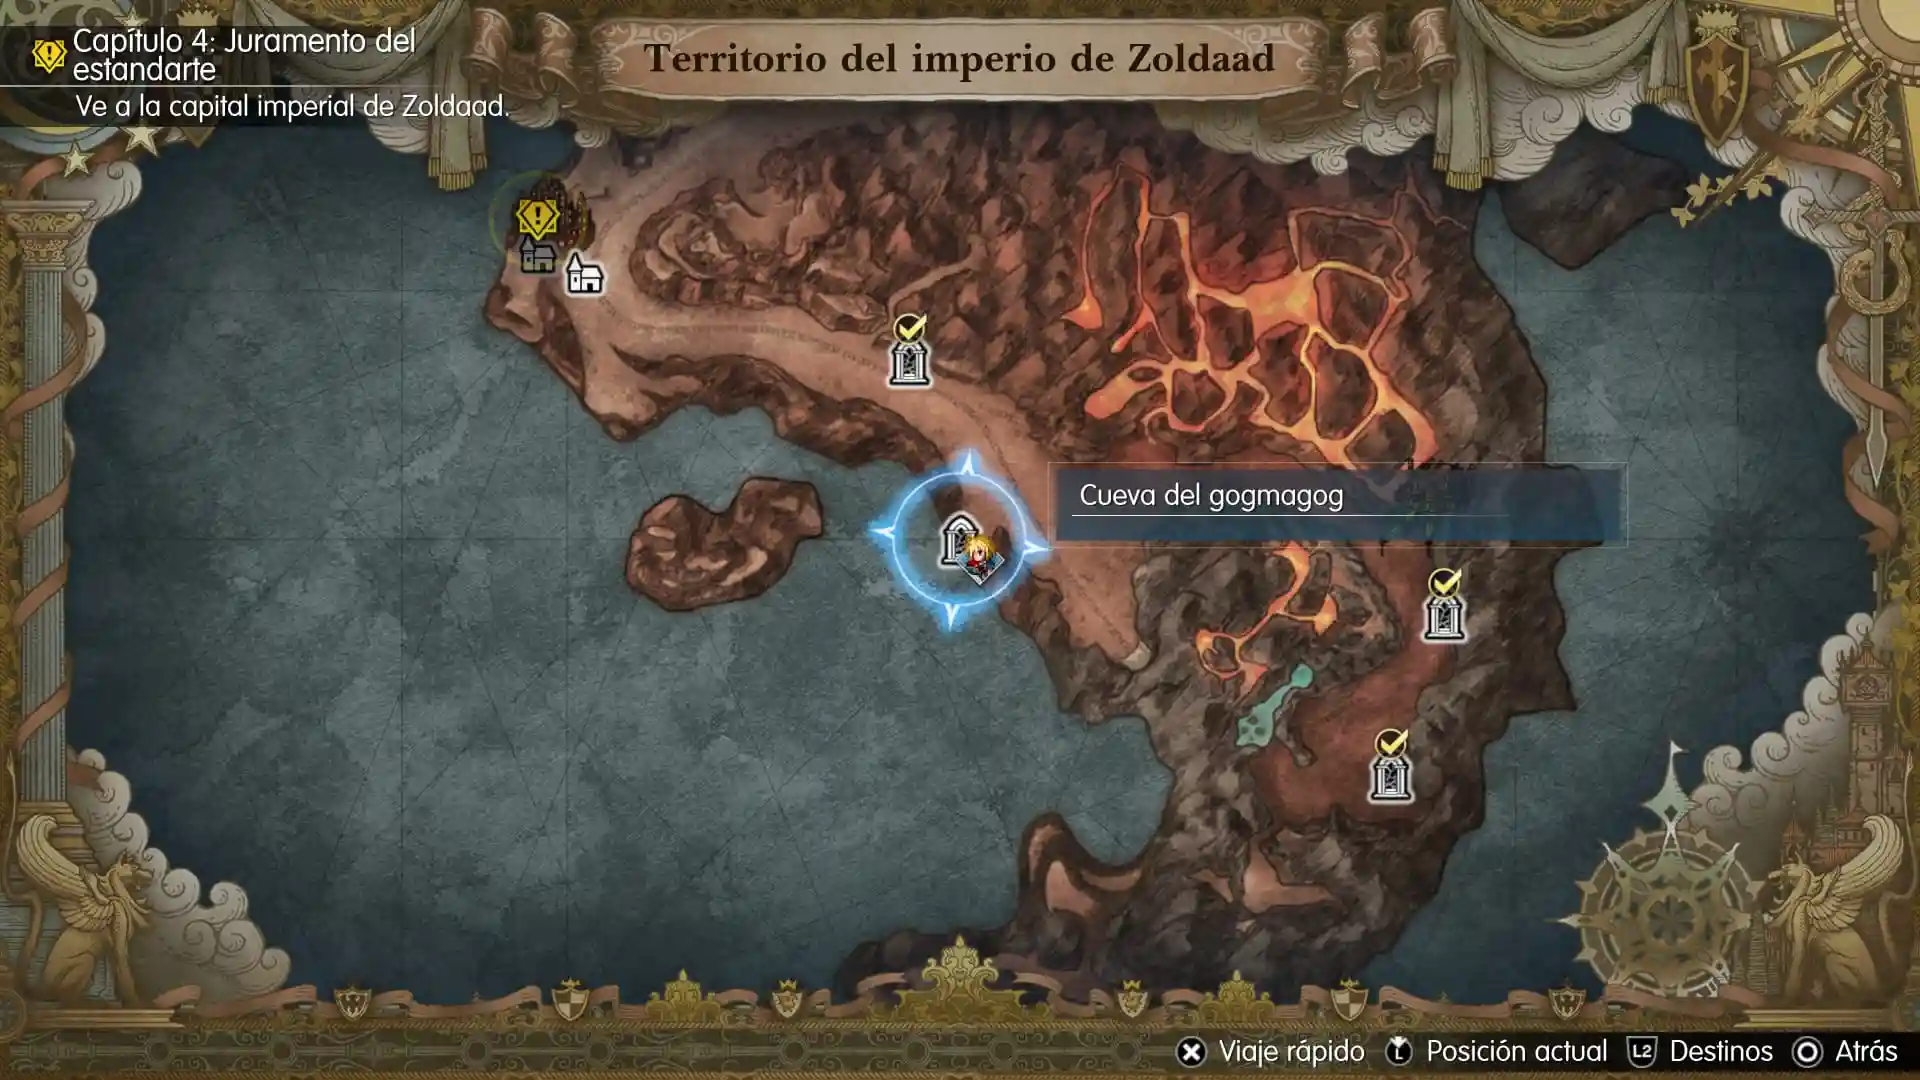
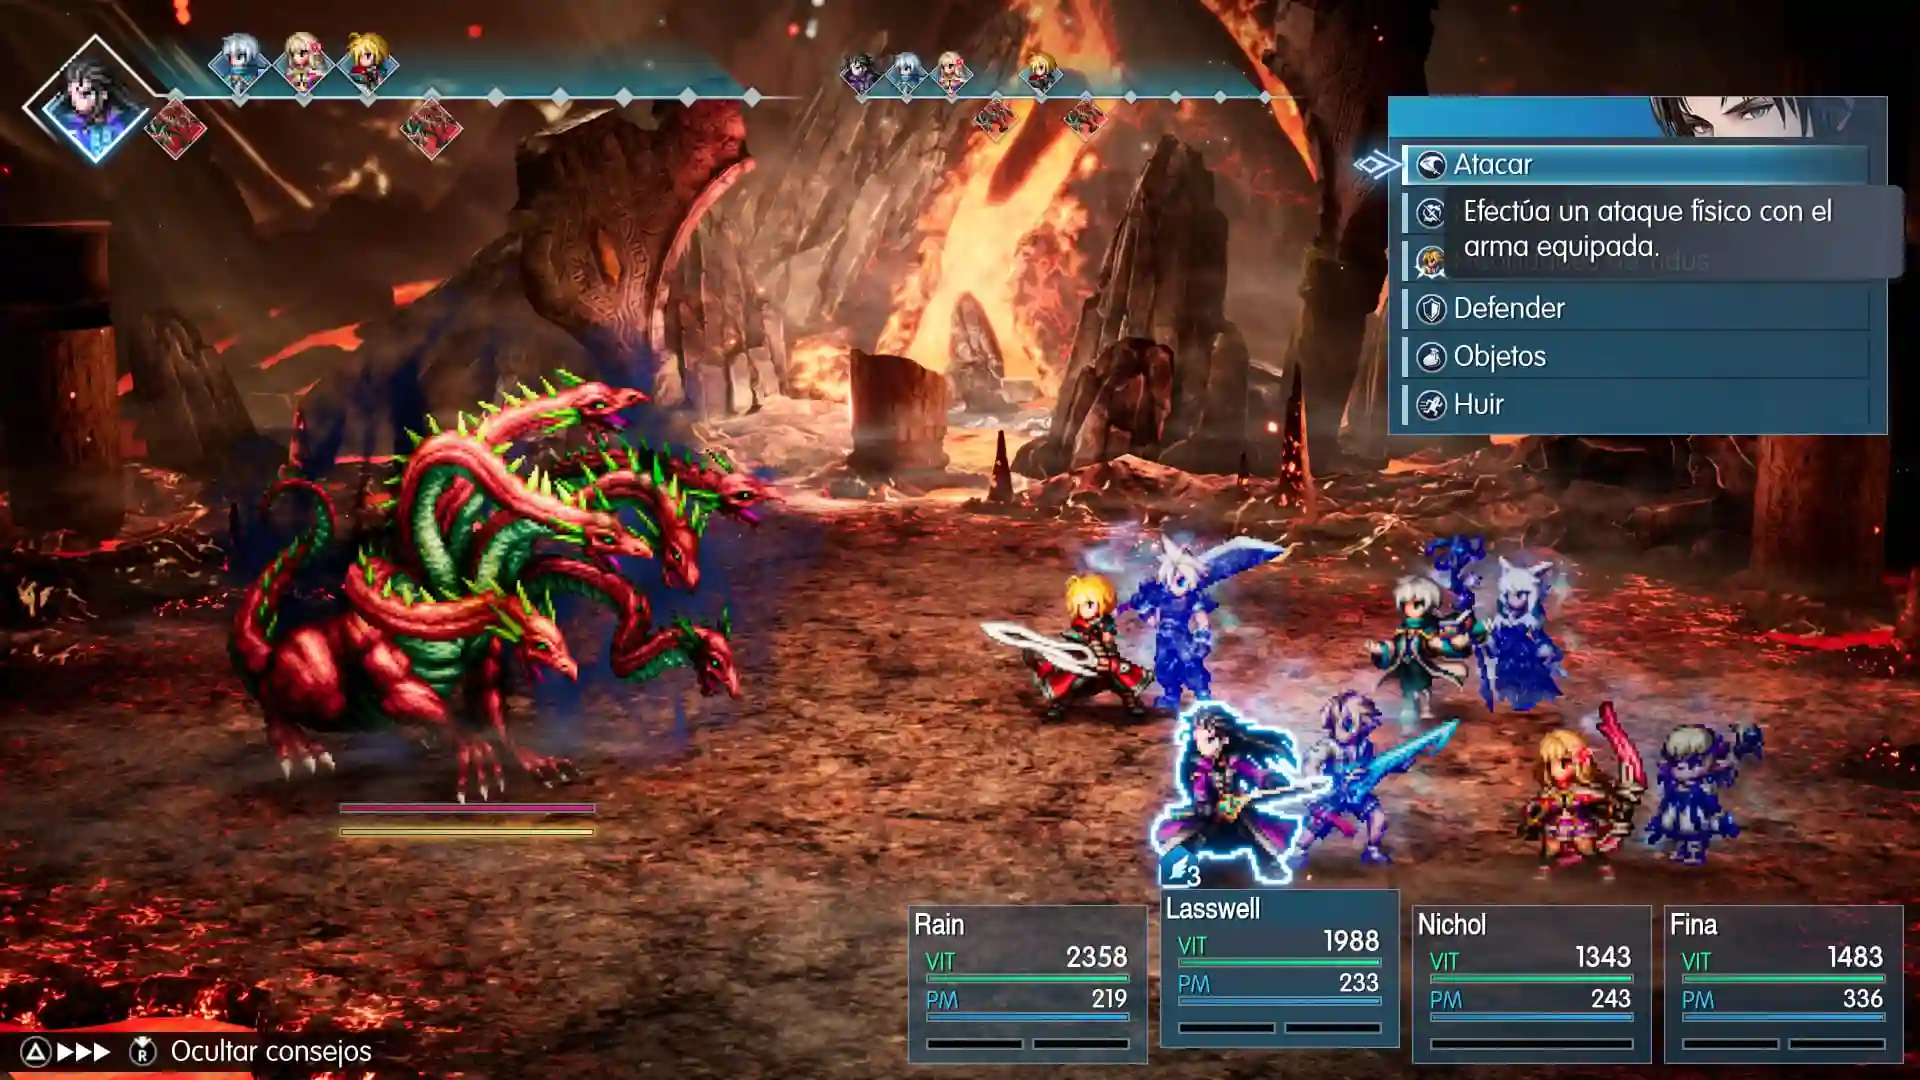
You can enter Pyroviper Cave even if you aren’t ready to fight its boss. Registering the location lets you teleport back once you’ve leveled up.
Verun’s Quest and a Good Leveling Spot
Around Verun, you’ll encounter plenty of Cactuars and Sandworms. This is a good place to level up: both are weak to water, and each encounter rewards roughly 2,200 EXP and 100 AP, making a few extra fights worthwhile before the next dungeon.
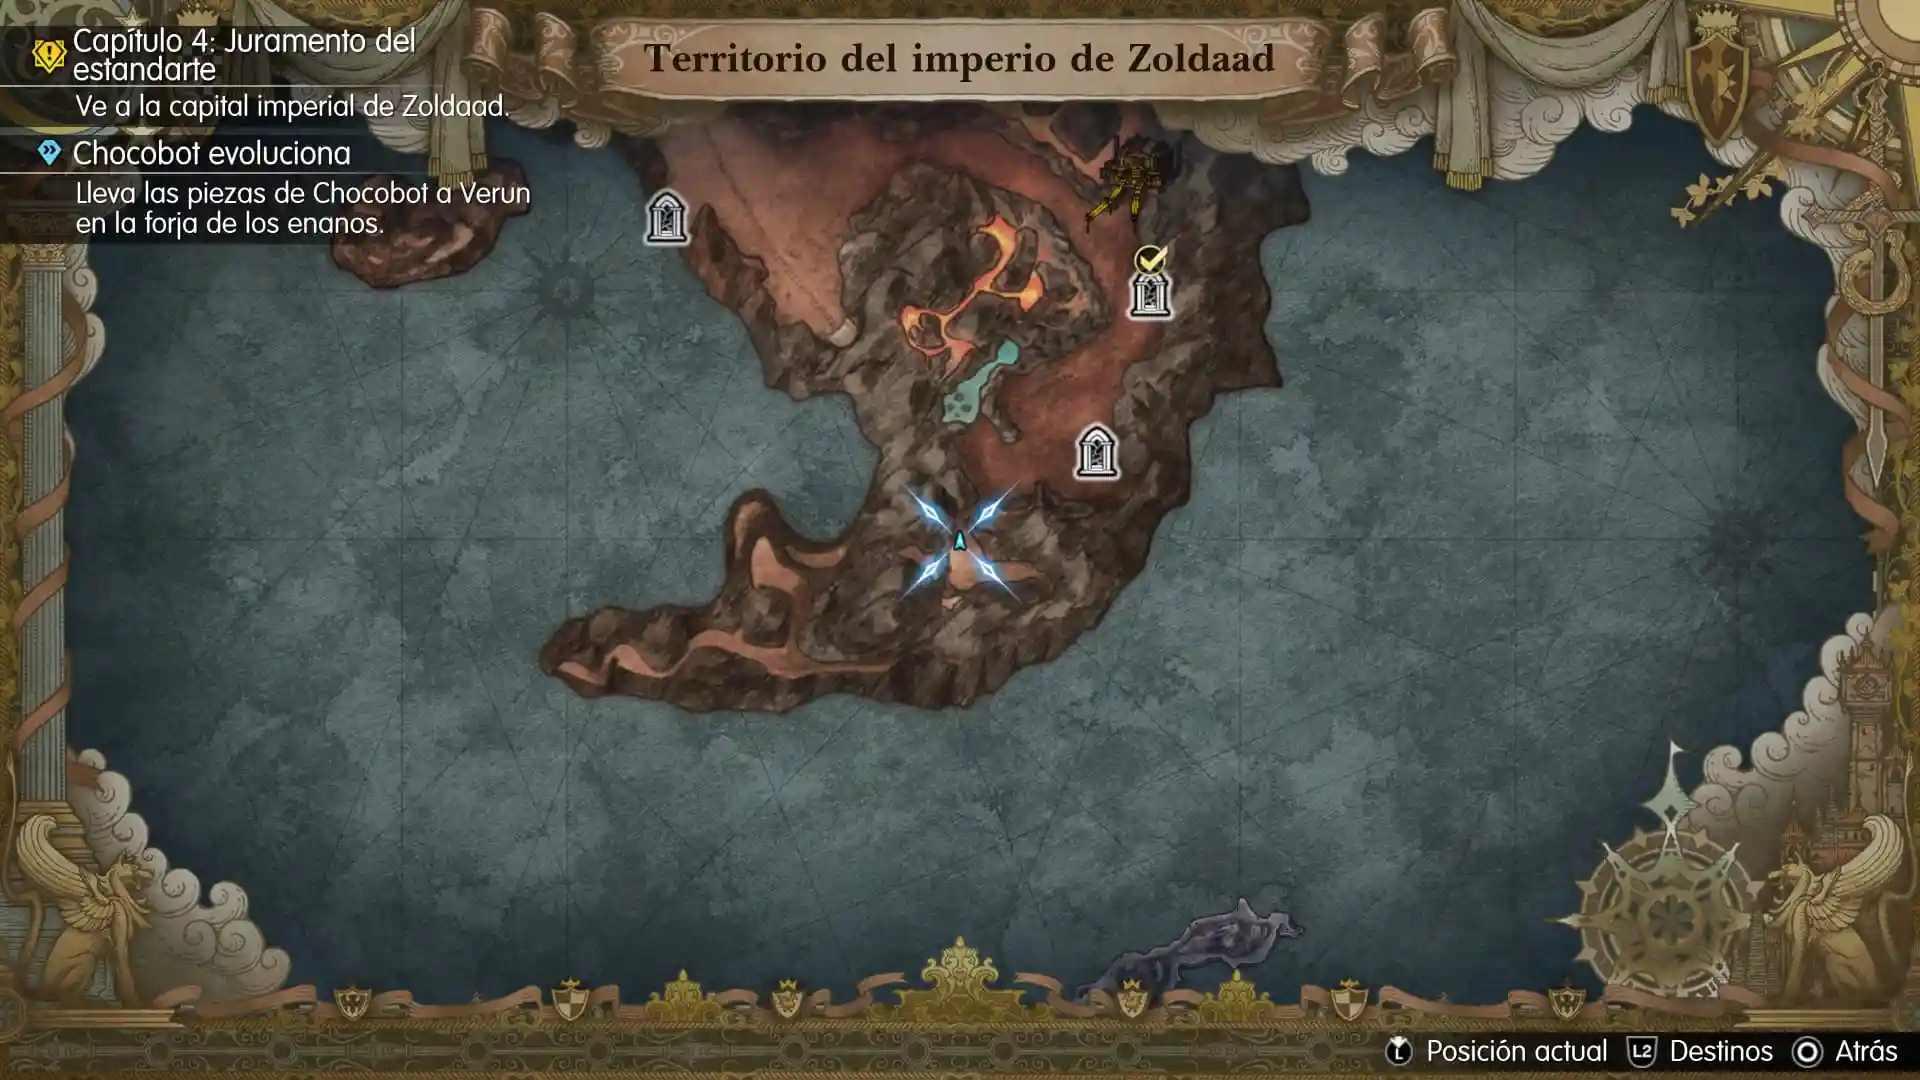
If you still have the Chocobot upgrade request accepted from Verun in an earlier chapter, defeat three Sandworms during your exploration and report back. Completing the quest rewards you with a Magicite, and Lid learns Mecha Behemoth.
Entering Zoldaad, the Imperial Capital
Once you’ve finished exploring the side paths, return to the main road and head west toward the large walled city of Zoldaad. Scenes introduce the empire’s political situation, and our heroes decide to investigate separately to learn what is happening with the Fire Crystal.
The capital is divided into districts, and you must use the streetcar to travel between them. At each stop, examine the sign and choose the district you want to visit.
The Imperial Hotel, Noticeboard, and a Hi-Potion
Before boarding the streetcar, read the noticeboard outside the inn in the Imperial Hotel district. The party will mention the Grandshelt Desert, but we’ll leave that for later.
Go inside the inn near the Imperial Hotel. Talk to the NPCs inside: one scientist mentions the local volcano and suggests an esper may be found there. Check behind the counter as well for a chest containing a Hi-Potion.
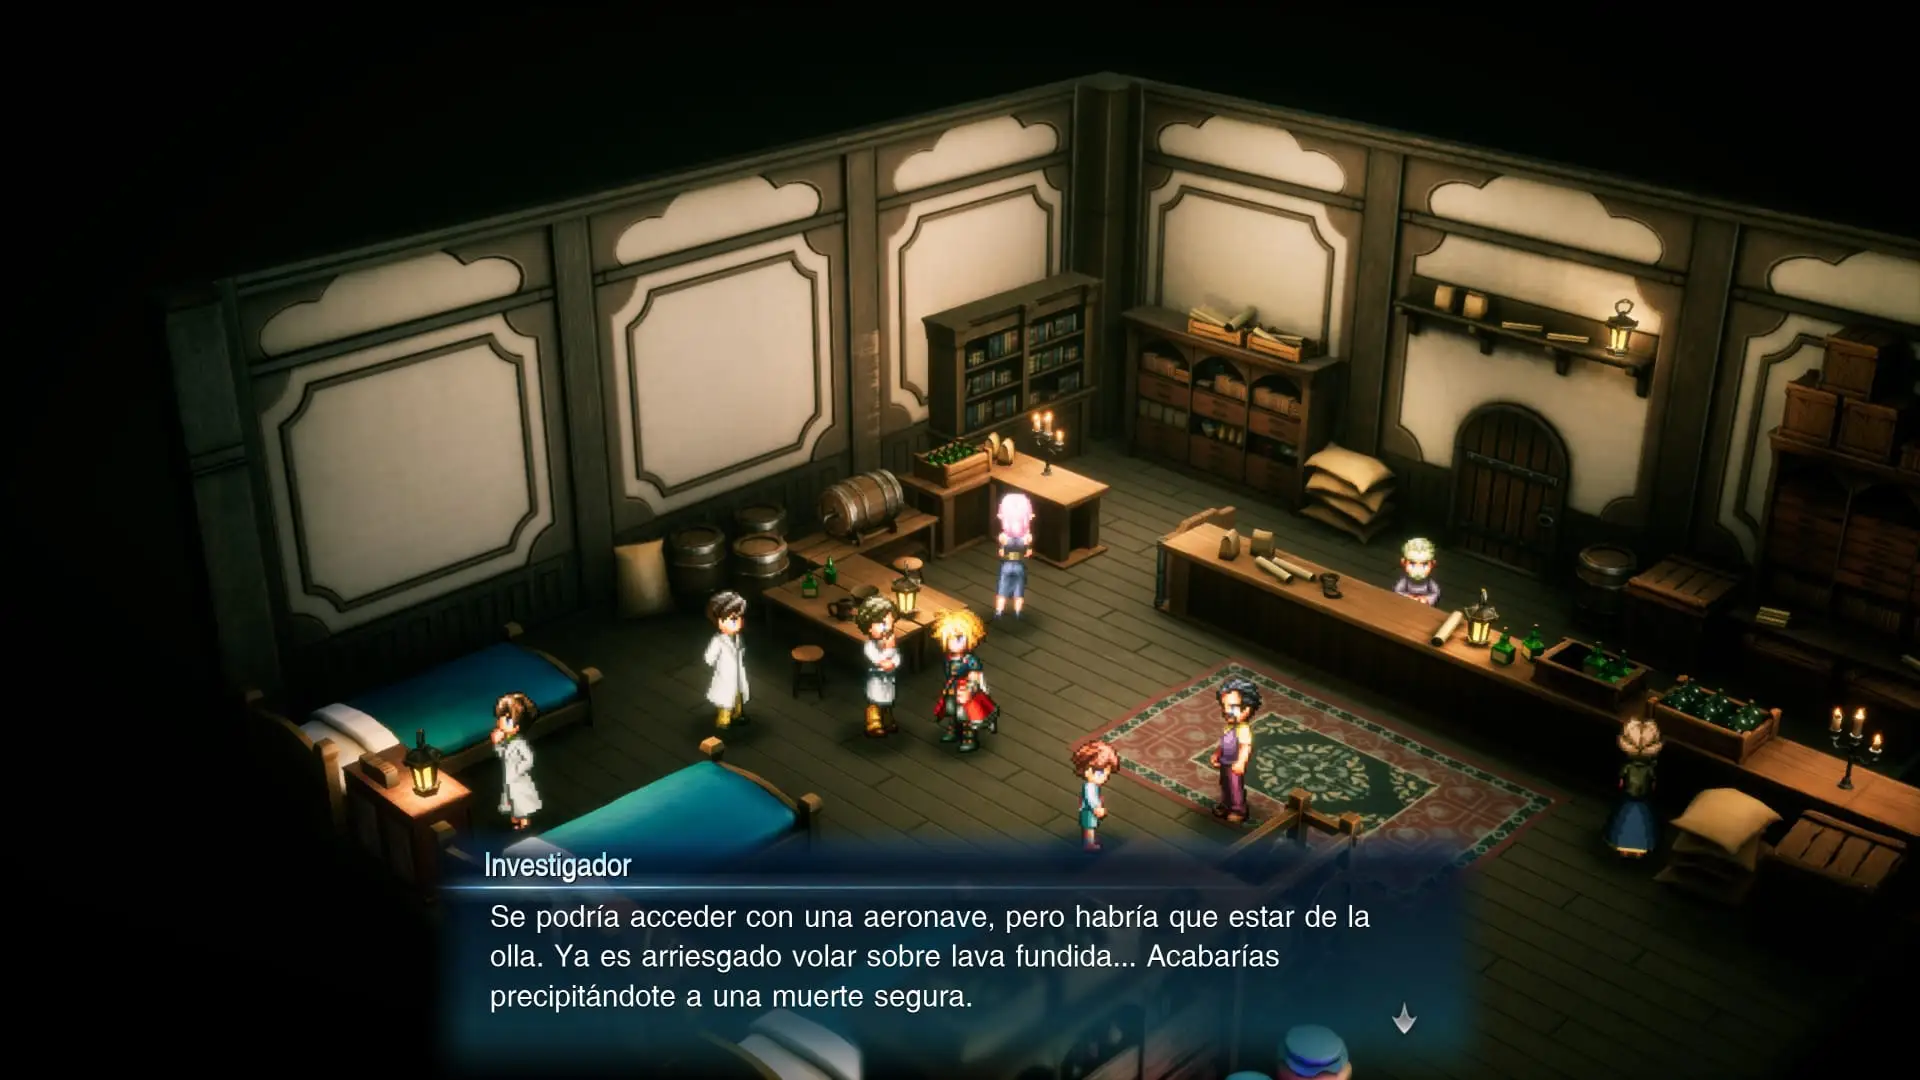
Once outside, take the streetcar to begin investigating the other districts.
Tablet Shard in the Central Plaza
Ride the streetcar to Castle Plaza. As soon as you step off, walk right (east) and look for the sparkle beside the square. This is the third Tablet Shard we’ve collected since arriving in Zoldaad.
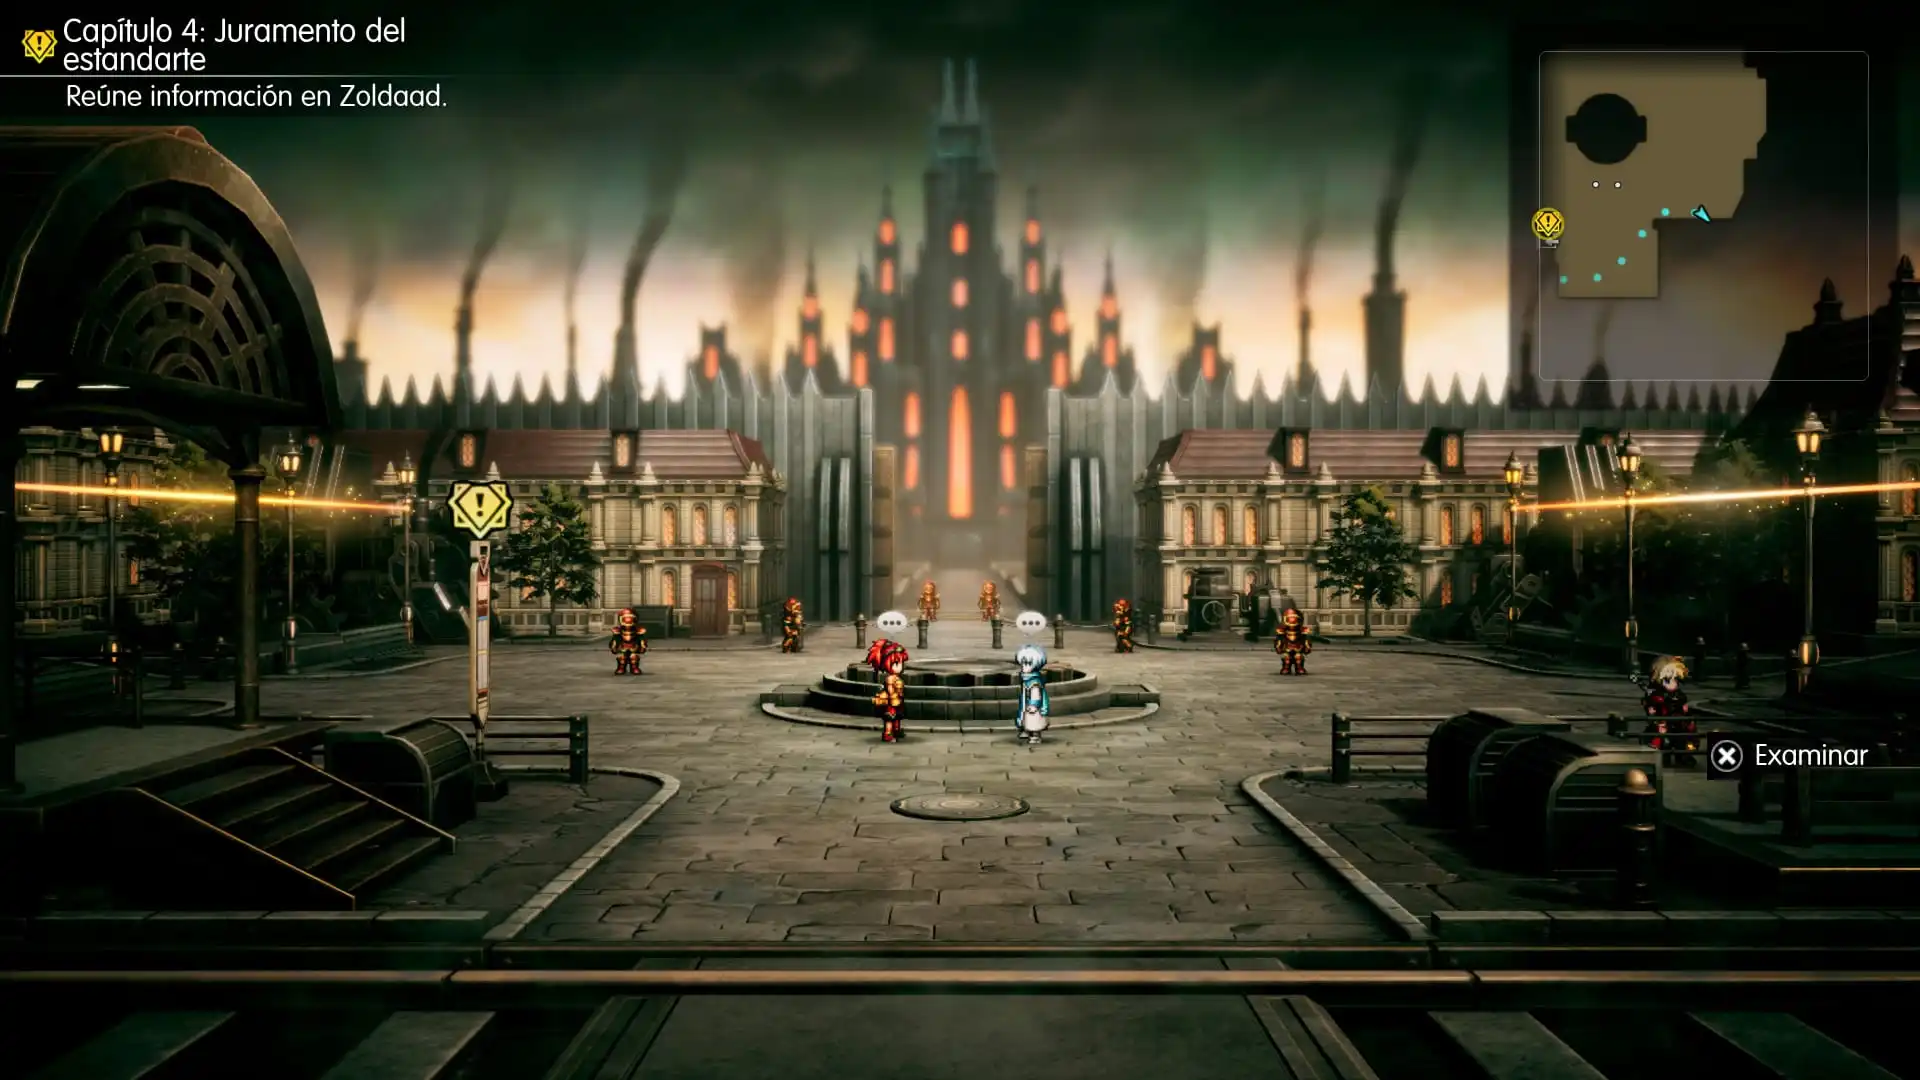
Feel free to talk to the people here, then return to the stop. The story now directs us to the commercial district.
Investigating the Commercial District
Select Commercial District on the streetcar. When you arrive, a scene shows imperial soldiers questioning a young man. Afterwards, you can explore the shops and buy weapons, armor, and supplies.
Check your party’s equipment, particularly if Rain and Lasswell haven’t received new weapons in a while. Stocking up on supplies will also help with the Underground Tunnel coming up shortly.
Once you’re done, return to the streetcar. Before visiting the slums, let’s stop at the residential district for another shard and a chest.
Residential District: Tablet Shard and Phoenix Pinion
Travel to the Residential District. From the stop, head toward the southeastern end and search the corner beside the houses. You’ll find another sparkle containing a Tablet Shard.
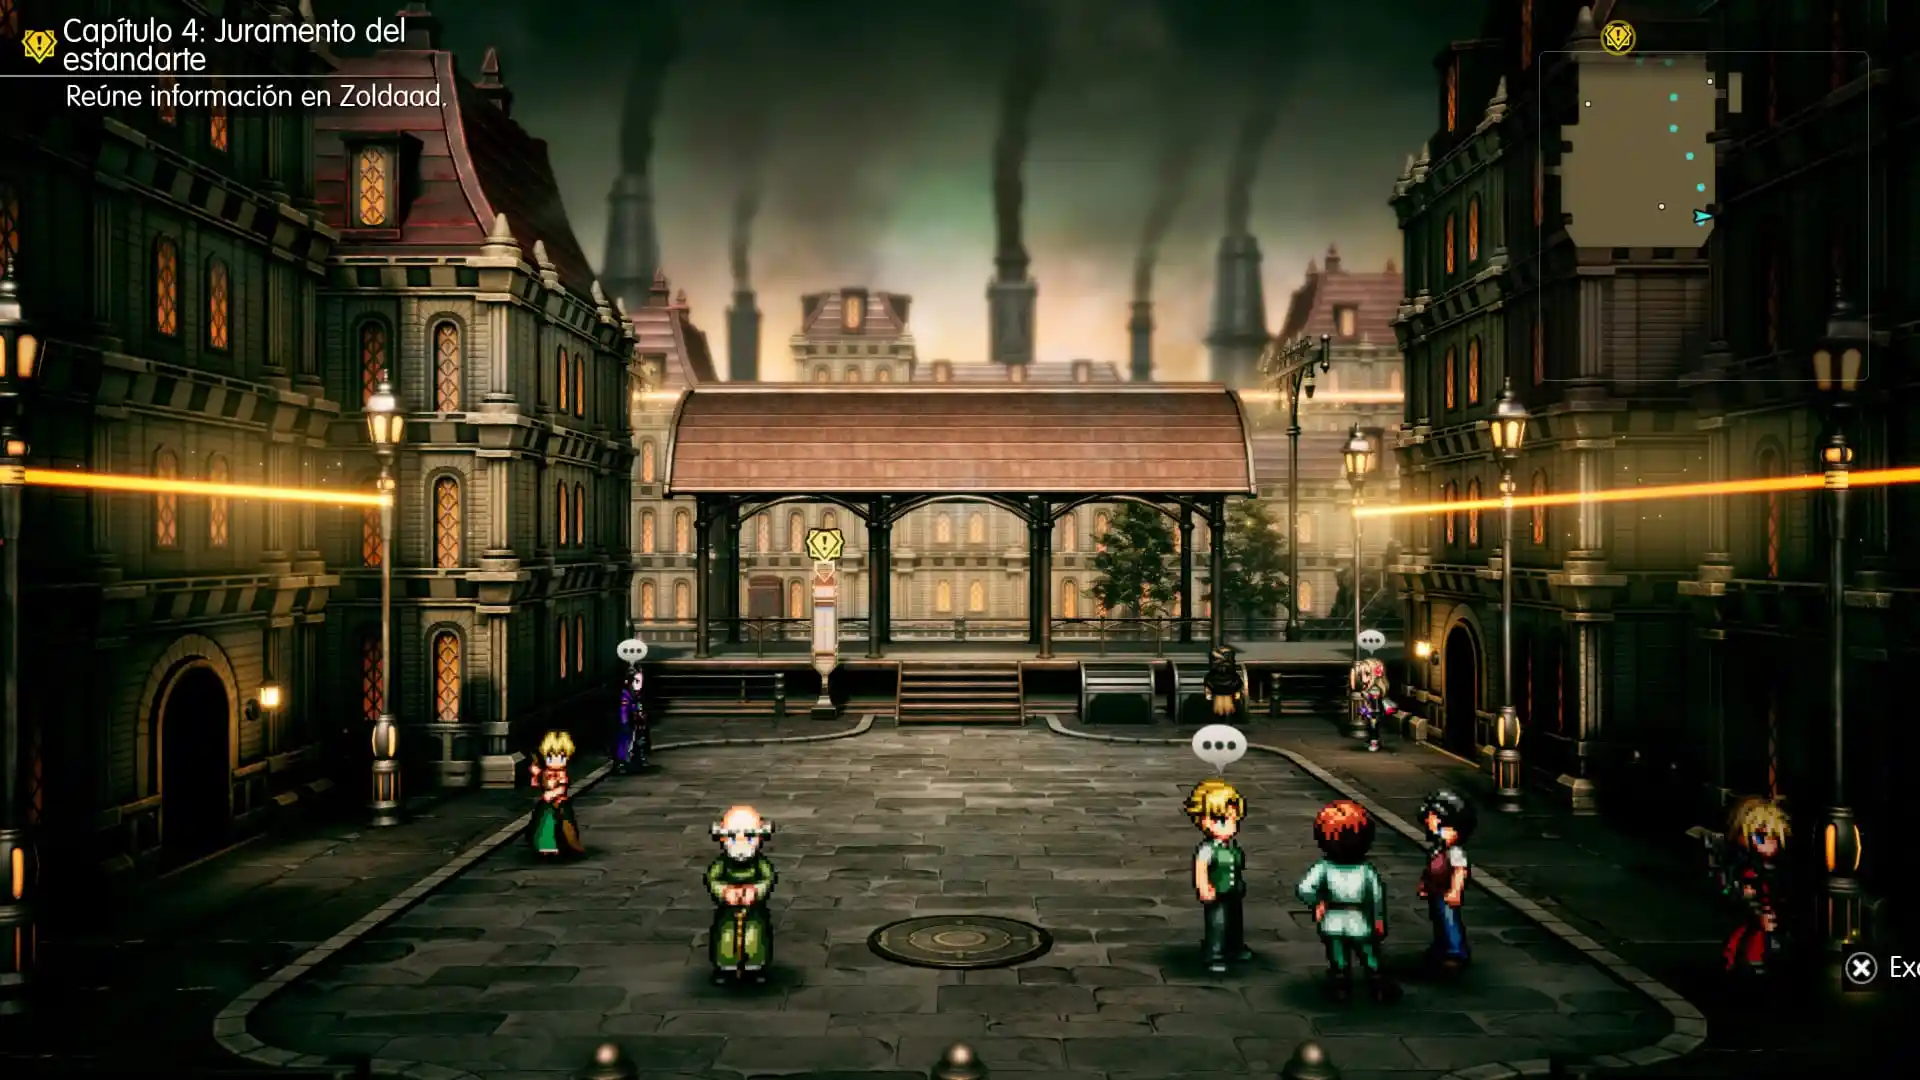
Then head back toward the western side of the district and enter one of the accessible houses. Inside is a chest containing a Phoenix Pinion.
Collect both items and ride the streetcar to the slums.
The Slums: The Final Shard in the City
When you reach the Slums, walk a few steps right (east). Near some barrels is a sparkle on the ground: the third Tablet Shard in the capital.
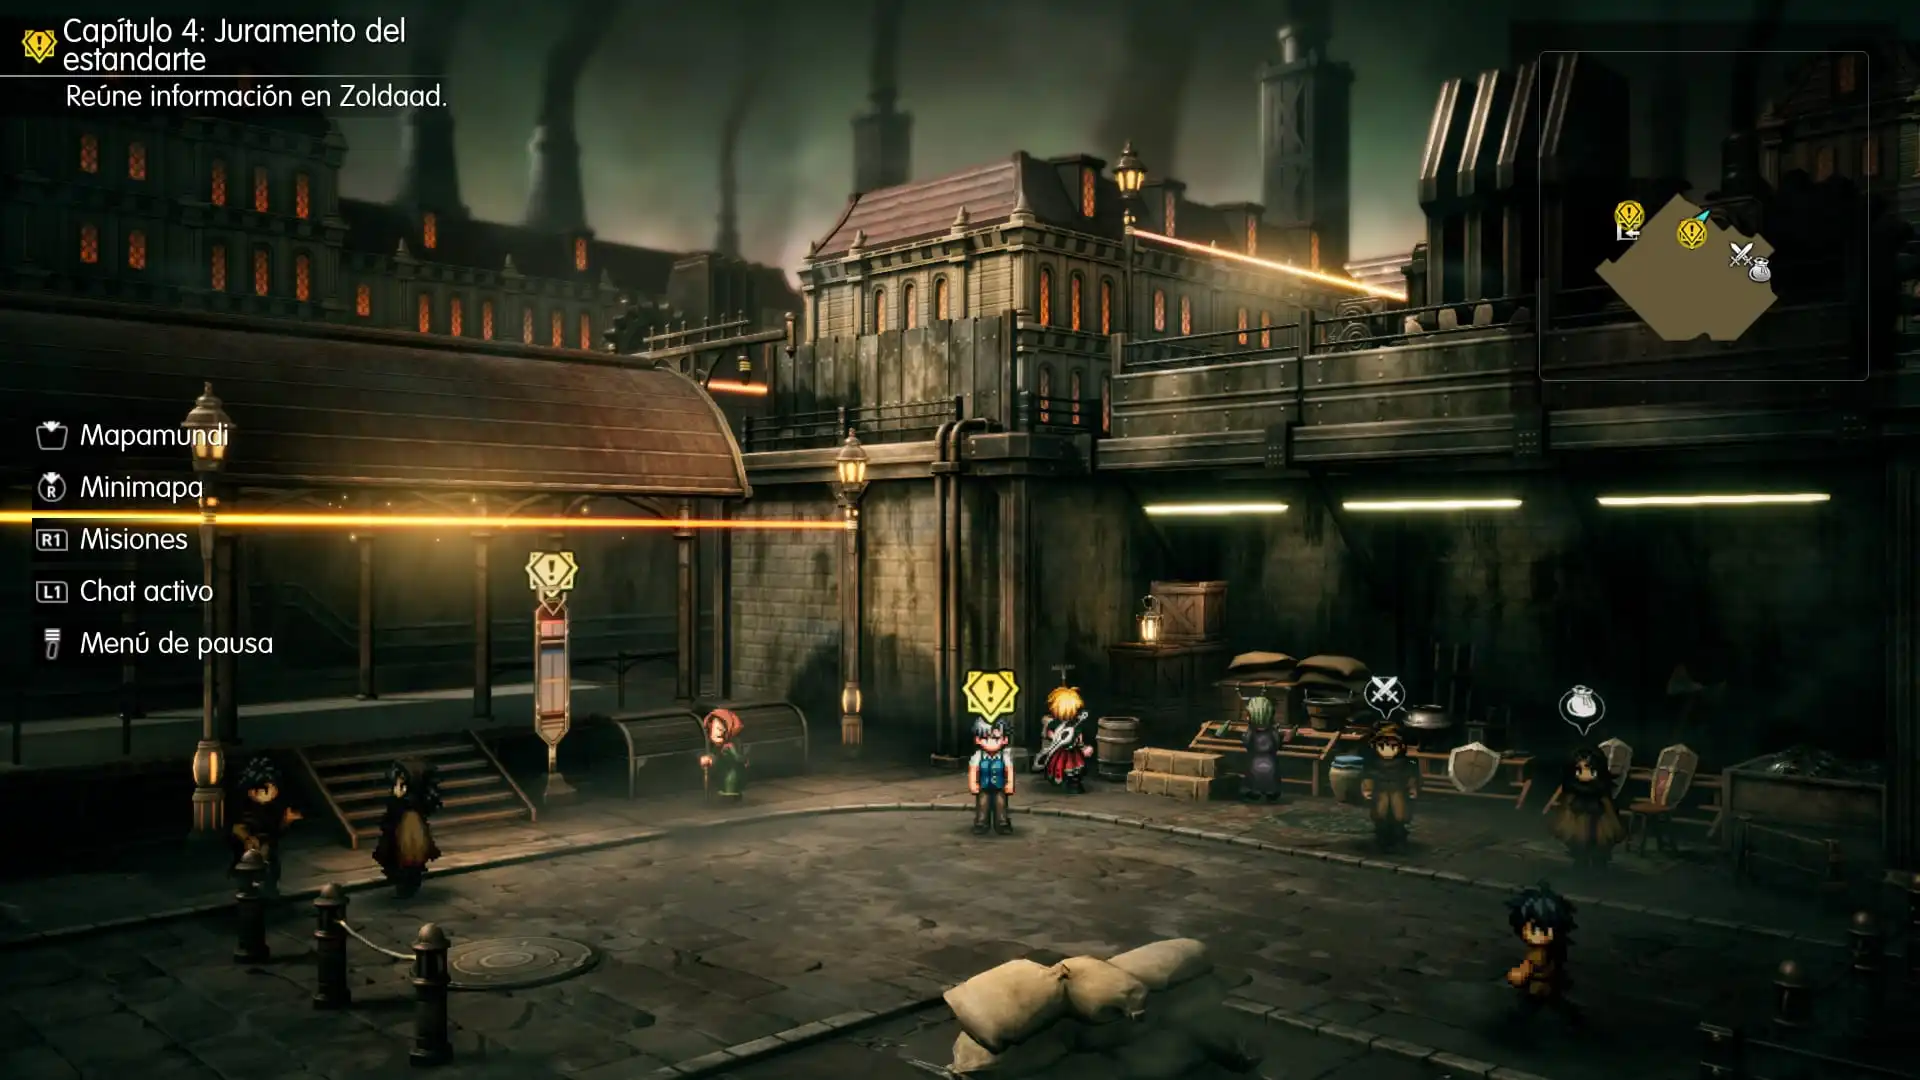
Find the man with the yellow story marker and speak to him. After the conversation, you’ll need to regroup with the party near the Imperial Hotel.
Regroup in the Alley by the Imperial Hotel
Ride the streetcar back to the Imperial Hotel. After getting off, head toward the left side of the street, where your companions are waiting. Approach the alley and talk to them to advance the story.
Imperial soldiers appear during the scene, and Jake crosses our path again. This time he offers an escape route through Zoldaad’s Underground Tunnel. Follow him into the next area.
First Chests in the Underground Tunnel
Upon entering the Underground Tunnel, follow the walkway. Along the first stretch, check the hidden path to the left to find a chest with the Lucky Bell, an accessory that increases your critical-hit chance.
Tunnel Enemies and Their Weaknesses
Several elemental enemy types appear here. Golden Lizards, Red Binders, and Wandering Beings are weak to water, while Gigatron is vulnerable to wind and light. Undead enemies are generally weak to fire and light.
Use suitable spells to stagger them, and conserve enough MP for healing as you collect the dungeon’s treasures.
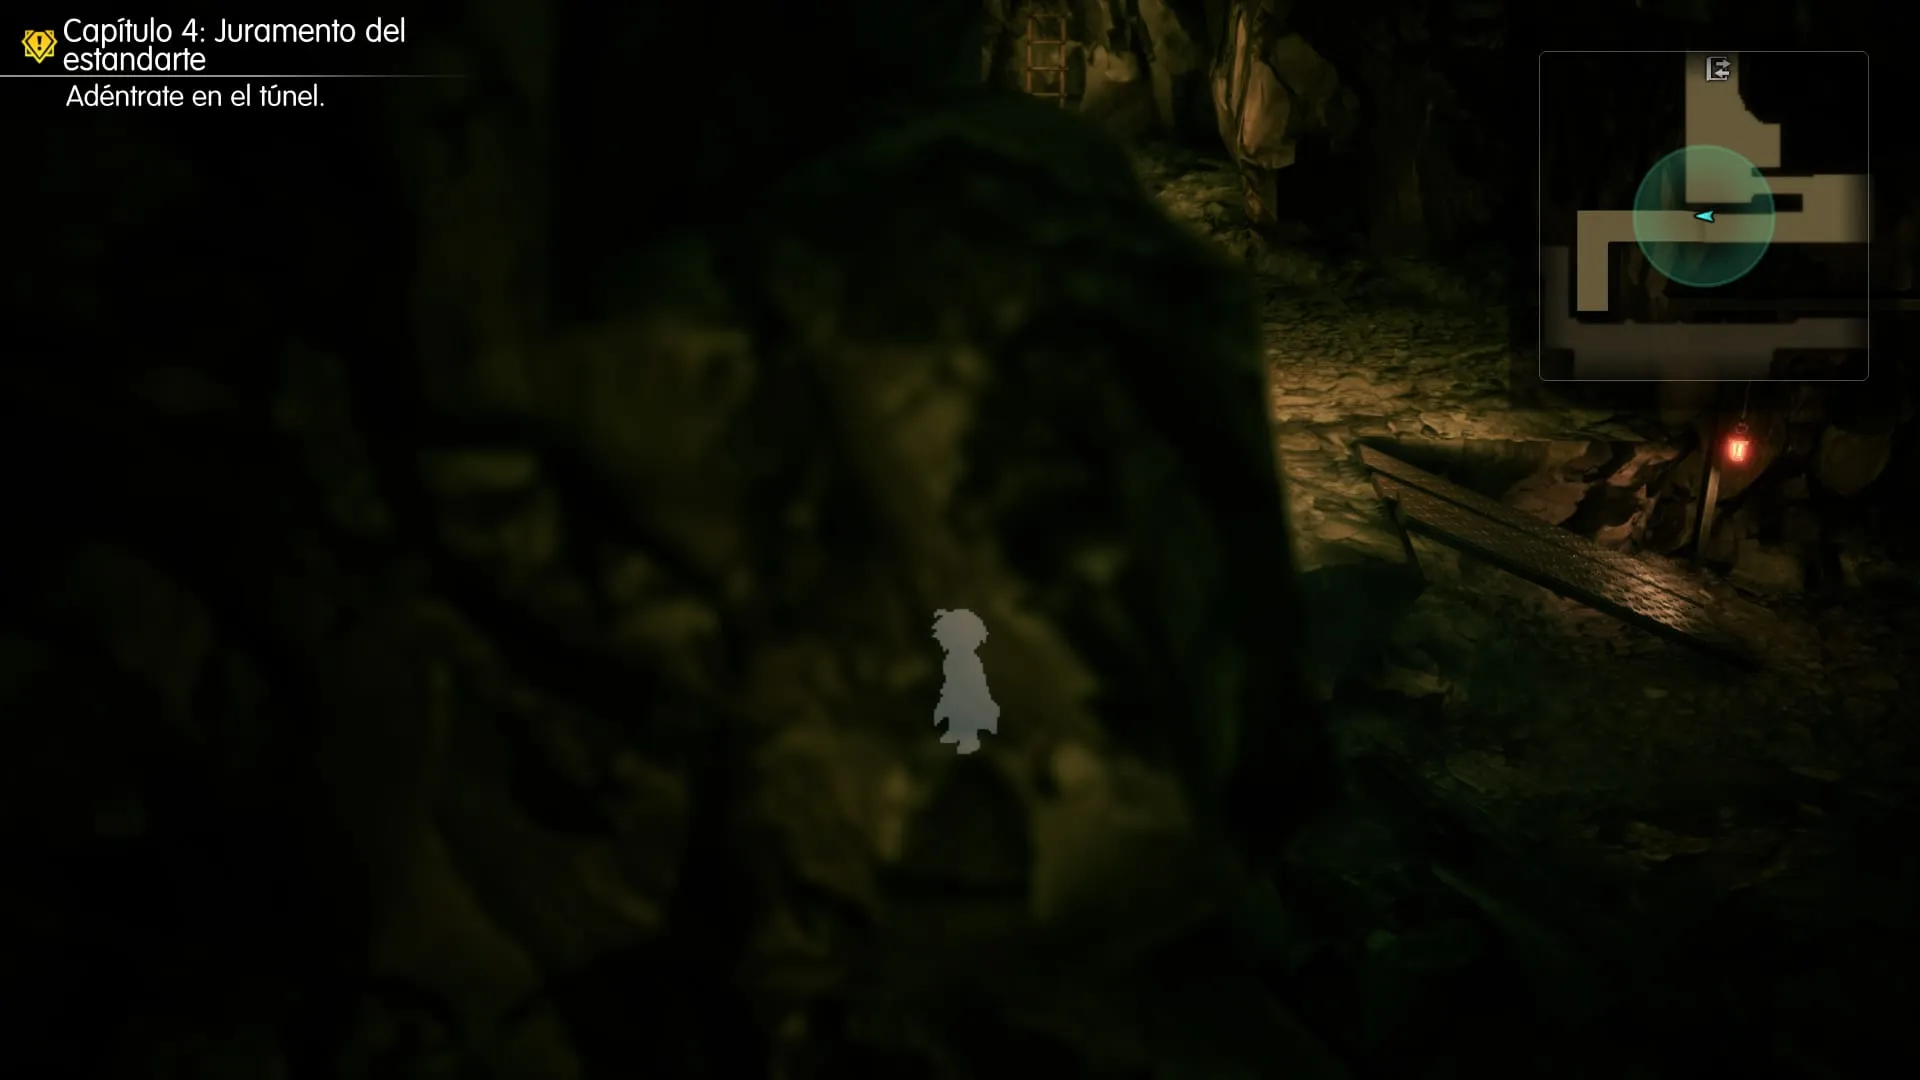
Continue along the passage heading east and descend to the lower level when you reach the stairs. One of the chests along this route contains two Ethers.
First Underground Tunnel Tablet Shard
Head east until you reach a raised metal walkway with stairs. Descend and head west.
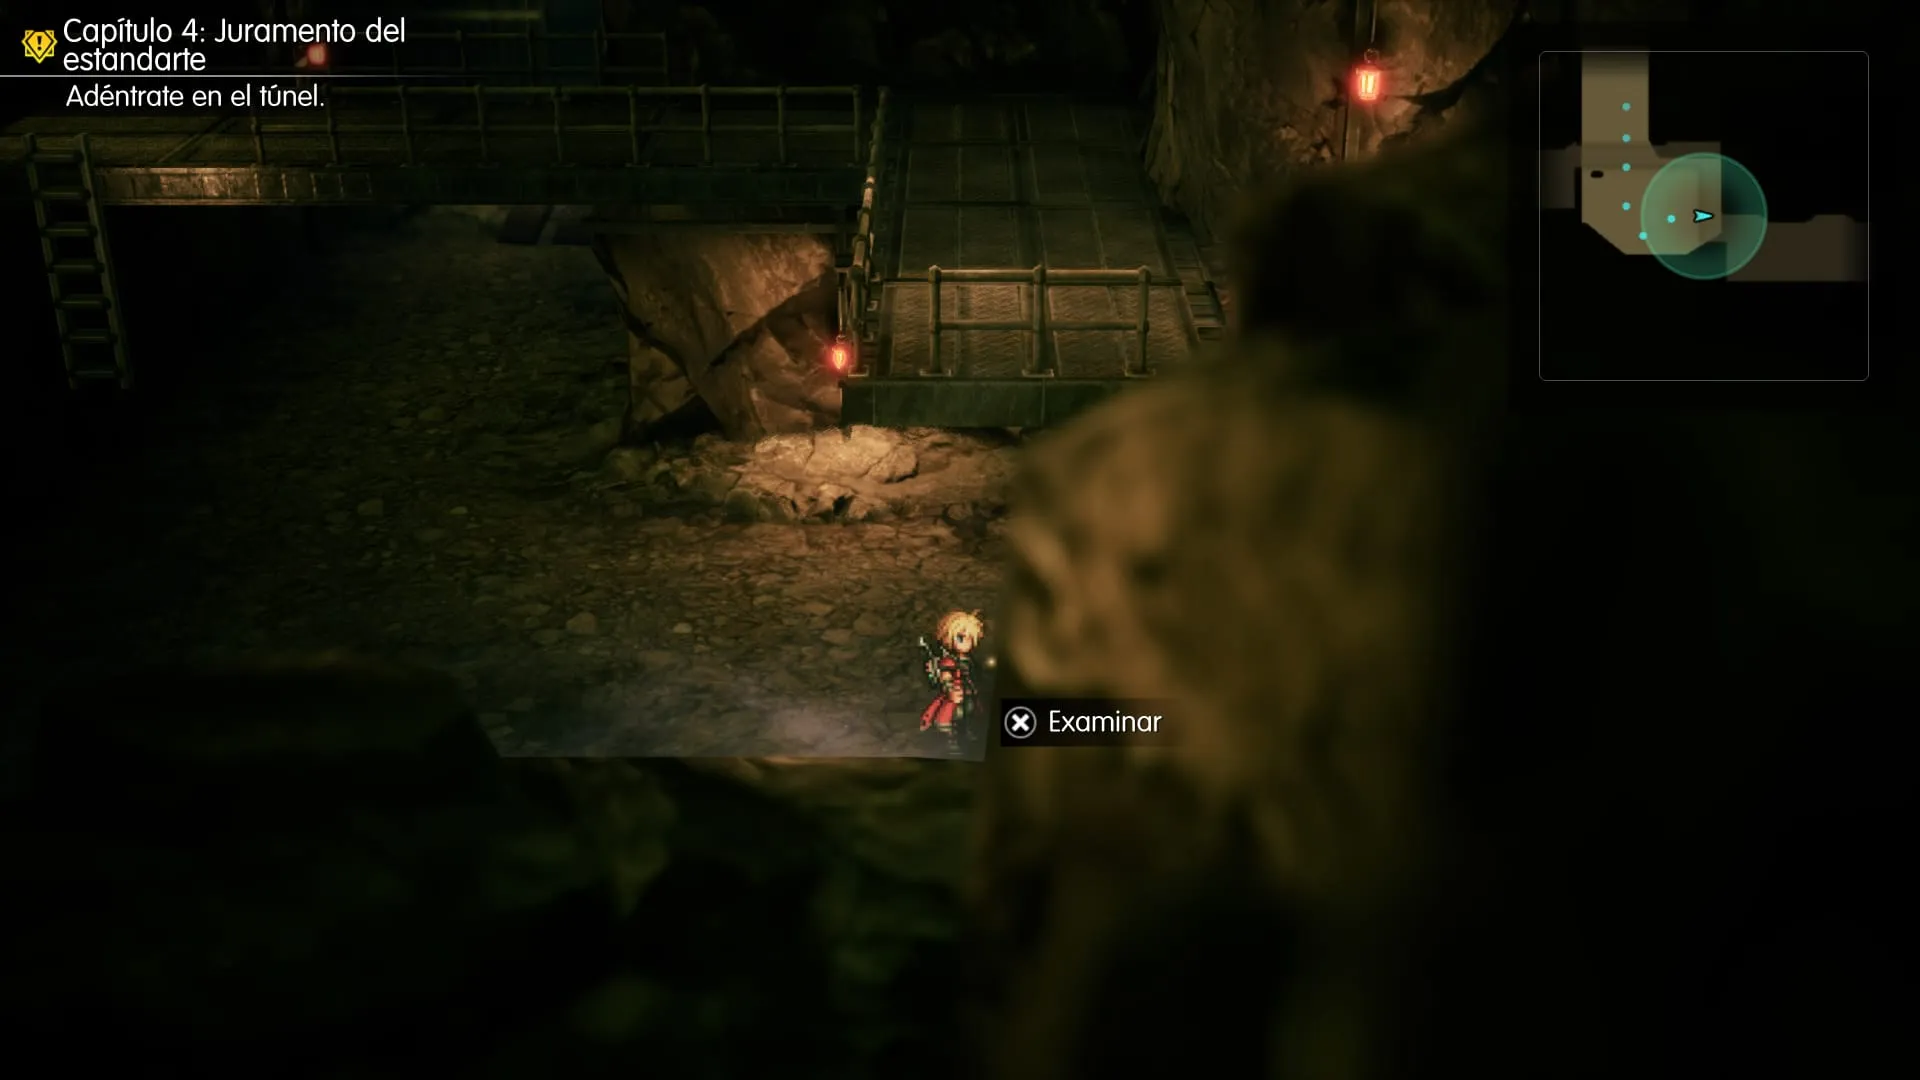
You’ll spot a small ramp leading down a little farther. Follow it to the southernmost end of the alcove to find the first Tablet Shard in the tunnel.
Then return to the stairs and continue east. There’s another, even better-hidden shard to find.
The Crimson Pot and Magicite Shard
Continue through the tunnel until you find a red pot. Examining it starts a special encounter with a Crimson Pot, similar to the ones we’ve seen in earlier dungeons.
This time it asks for a Turbo Ether. Open the item menu during battle and use it on the pot. The encounter ends, and you’ll earn points to develop your equipped Visions.
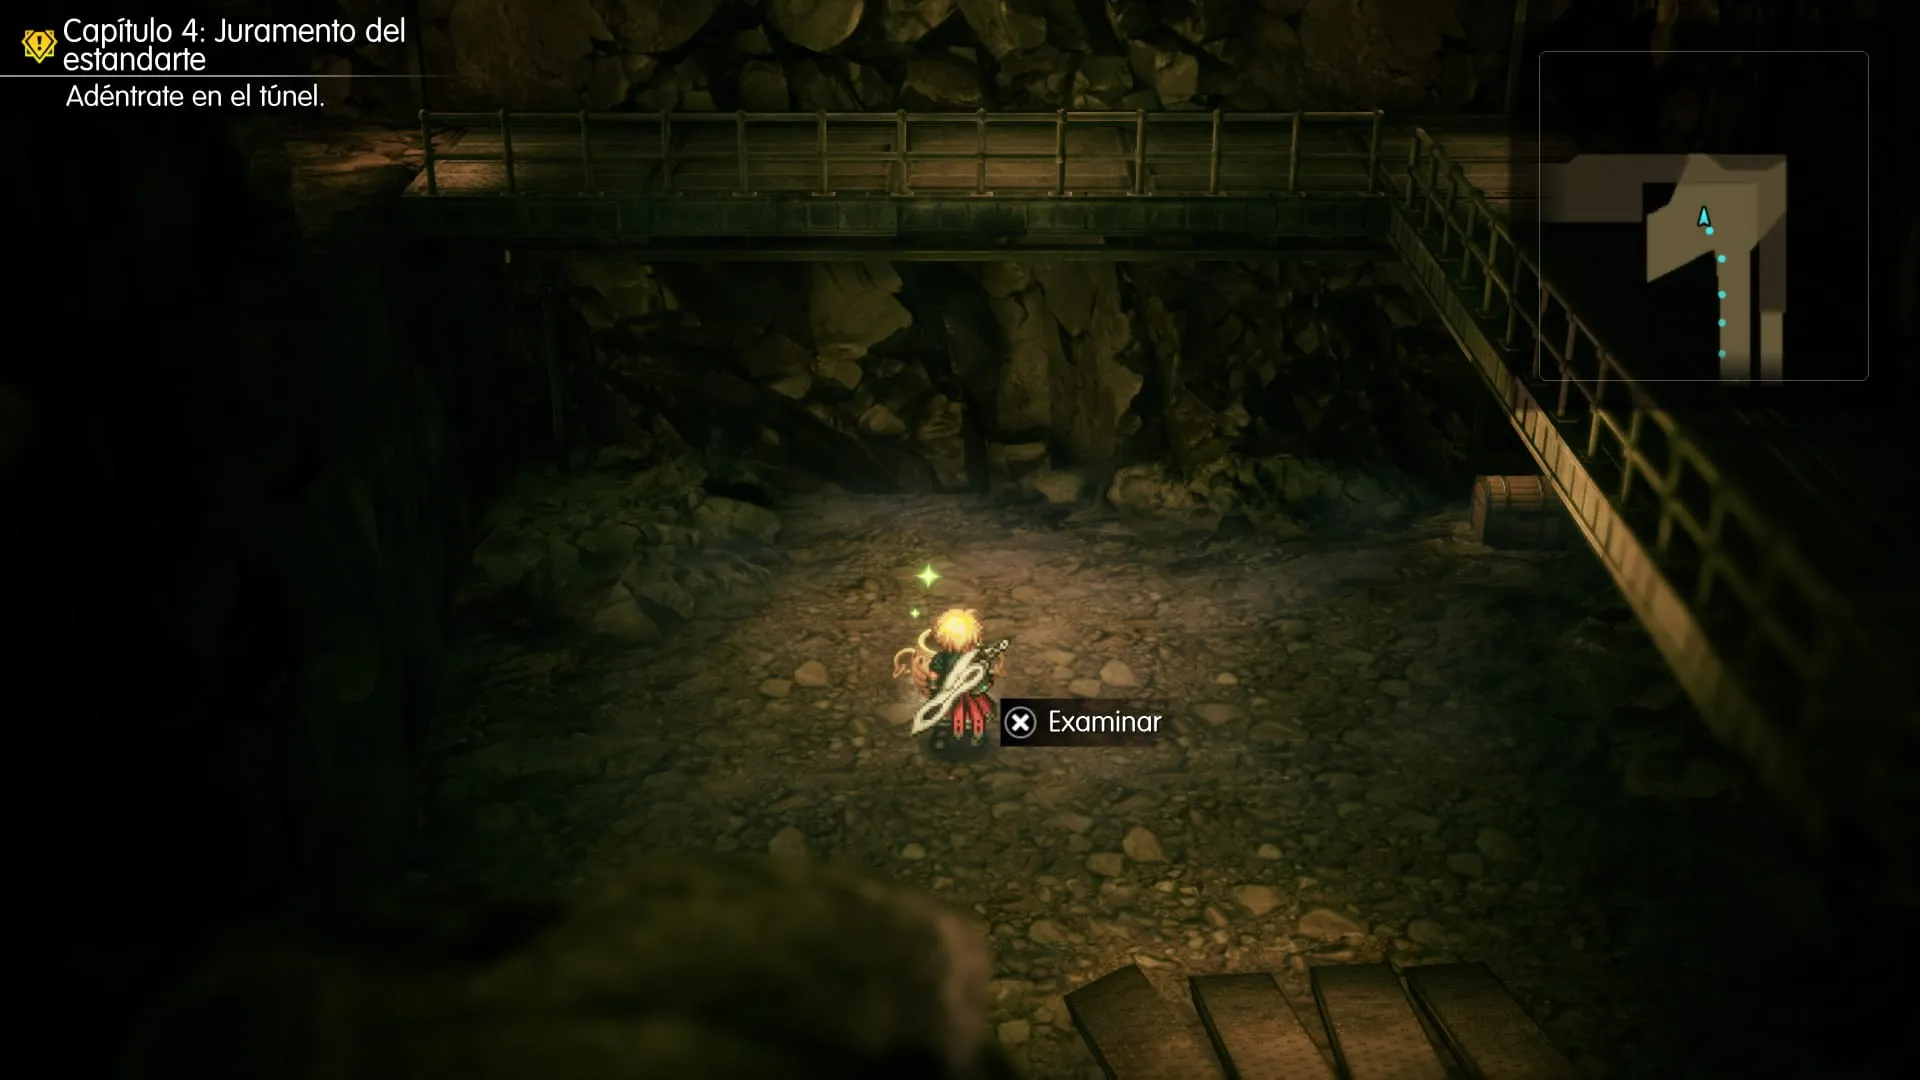
Very close to the pot, take the path leading northeast to find a chest containing a Magicite Shard.
Second Underground Tunnel Tablet Shard
From the Crimson Pot’s area, continue south until you find a metal bridge. This is one of the easiest secrets to miss.
Look for the hidden passage beneath the bridge. Follow it into a room on the right (east), where another sparkle marks the second Tablet Shard in the tunnel.
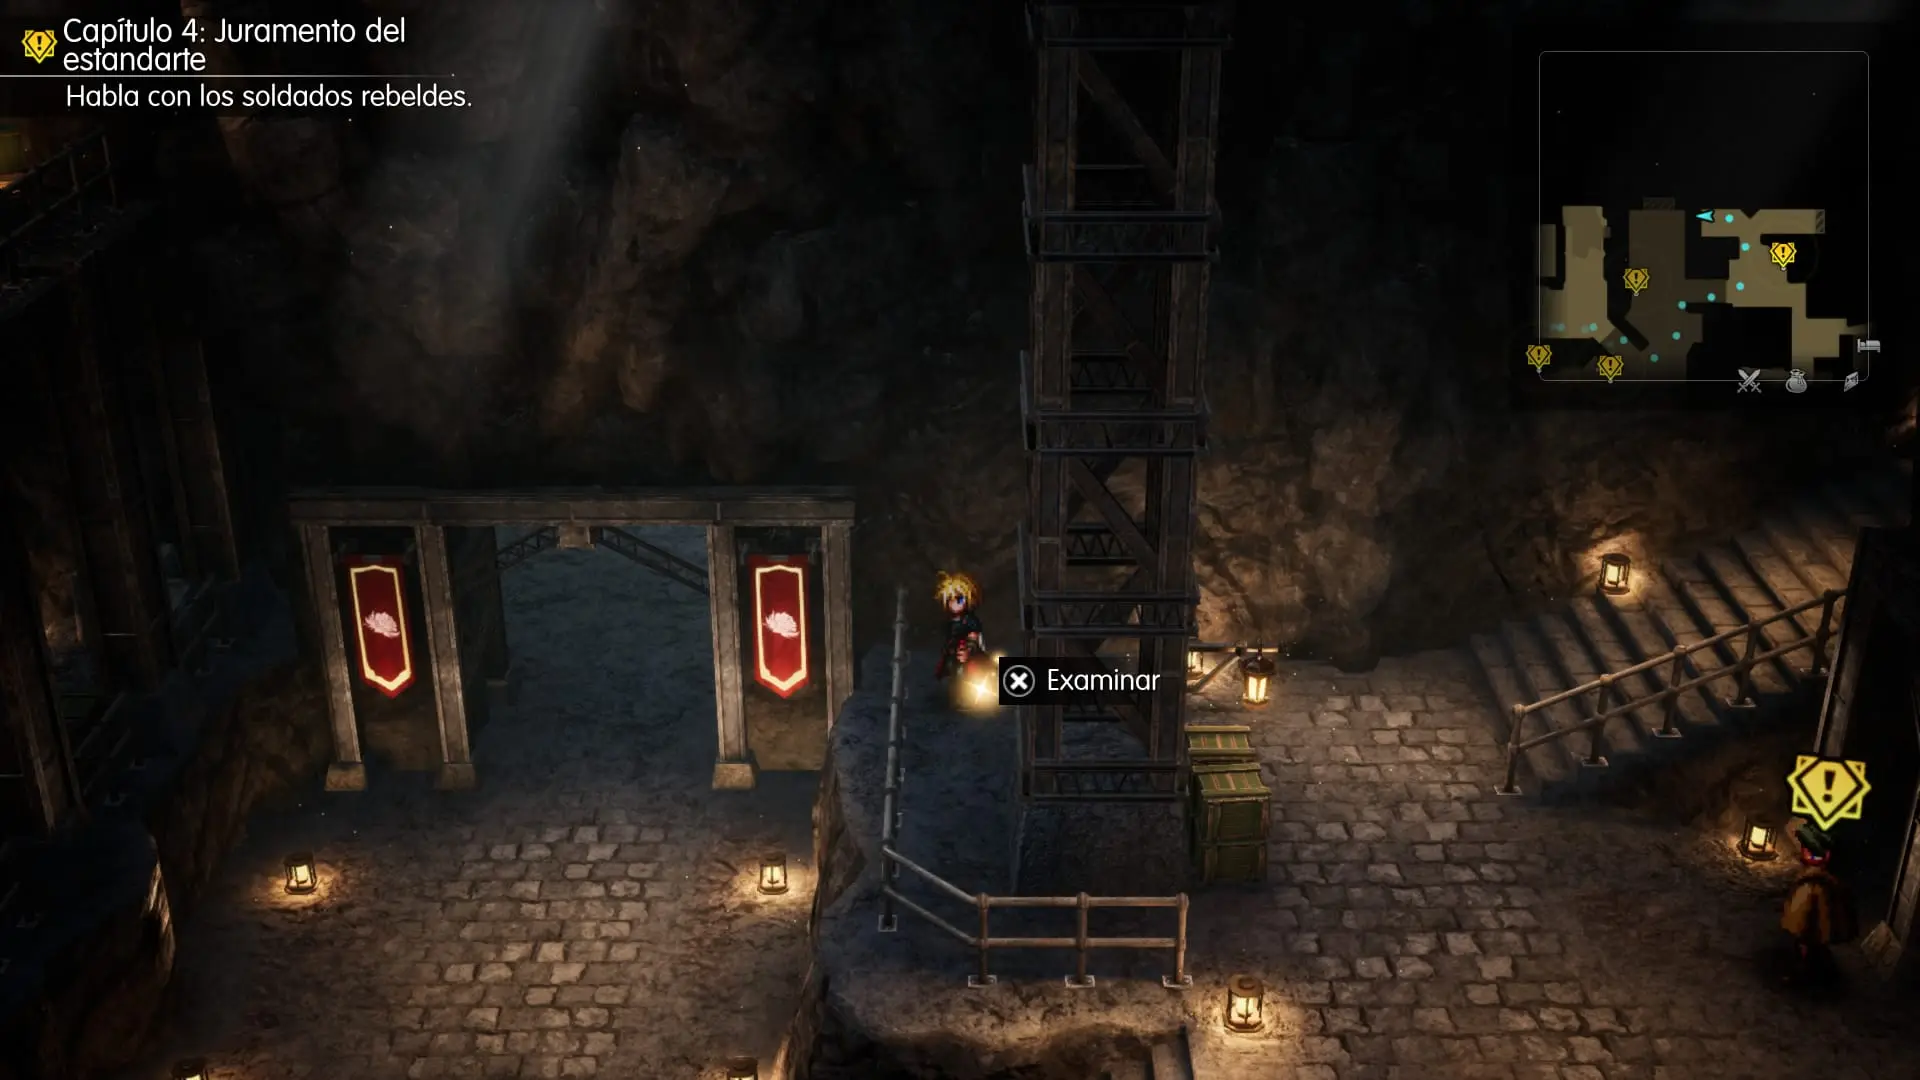
Mist Hi-Potion and the Tunnel Exit
Left of the second Tablet Shard, open the door and head west to collect the Mist Hi-Potion. Then follow the yellow story marker toward the exit.
Exploring Jake’s Rebel Hideout
Leaving the tunnel brings you to the Rebel Hideout, a concealed base for those opposing the empire. After the scenes, you can explore the area and talk to its inhabitants.
Before approaching Jake, let’s collect the items and the final two Tablet Shards in this part. Some of the hideout’s paths are difficult to see, particularly around the rocky walls and wooden structures.
Remedy in the Northern Area
From the middle of the hideout, head north. In the next room, you’ll find a chest containing a Remedy.
First Rebel Hideout Tablet Shard
Head to the northwestern corner of the hideout. A door carved into the rock has two red-and-white flags on either side: that’s Jake’s room.
From the doorway, walk a little right and look for a hidden path behind the room. Follow it toward the crates visible to the left of the door.
You’ll find a ladder there. Climb up and take a few steps southwest to collect the first Tablet Shard in the hideout.
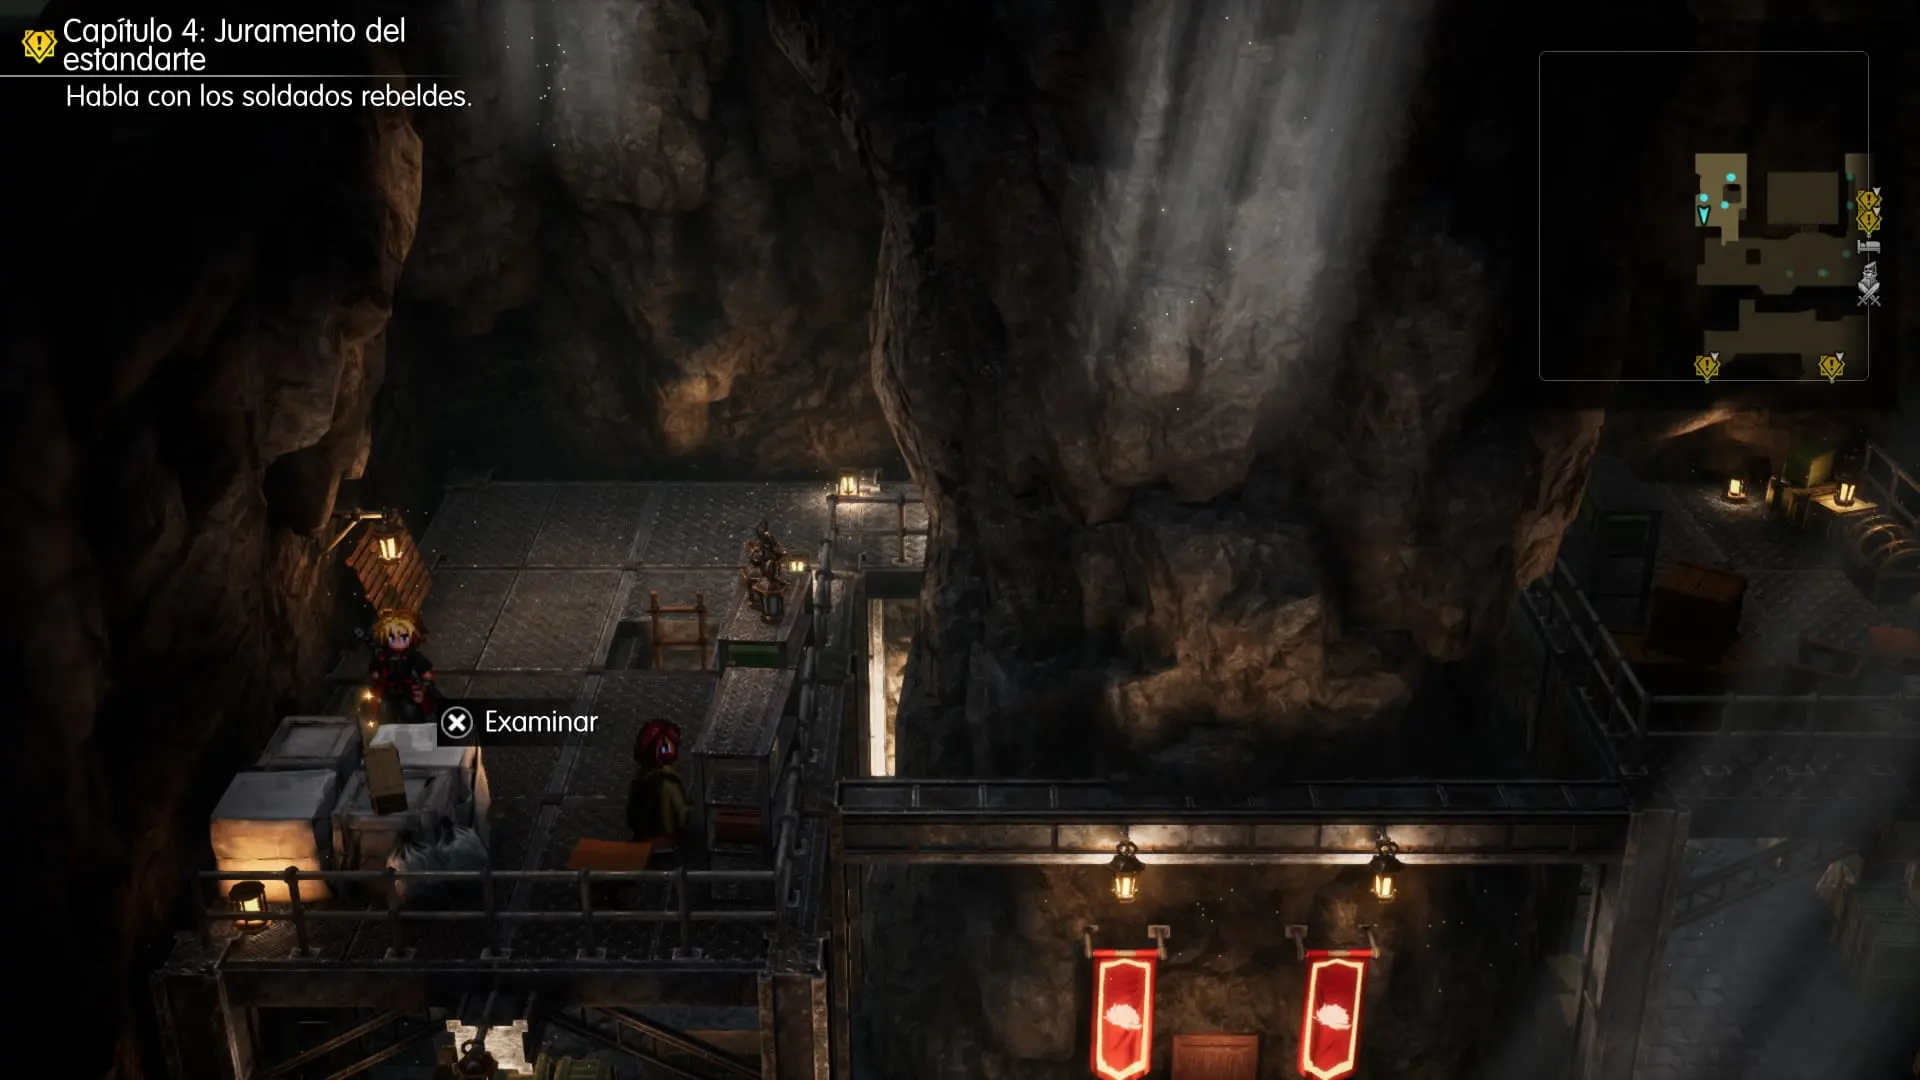
Just east of the Tablet Shard is another chest containing the Robe of Roses.
Second Tablet Shard and Phoenix Pinion in the Hideout
Now head to the northeastern area of the hideout. Find the doorway leading to the rebel meeting room and stand directly in front of it.
Climb the stairs to the right and examine the space behind the metal pillar next to the railing. This is the second Tablet Shard in the hideout.
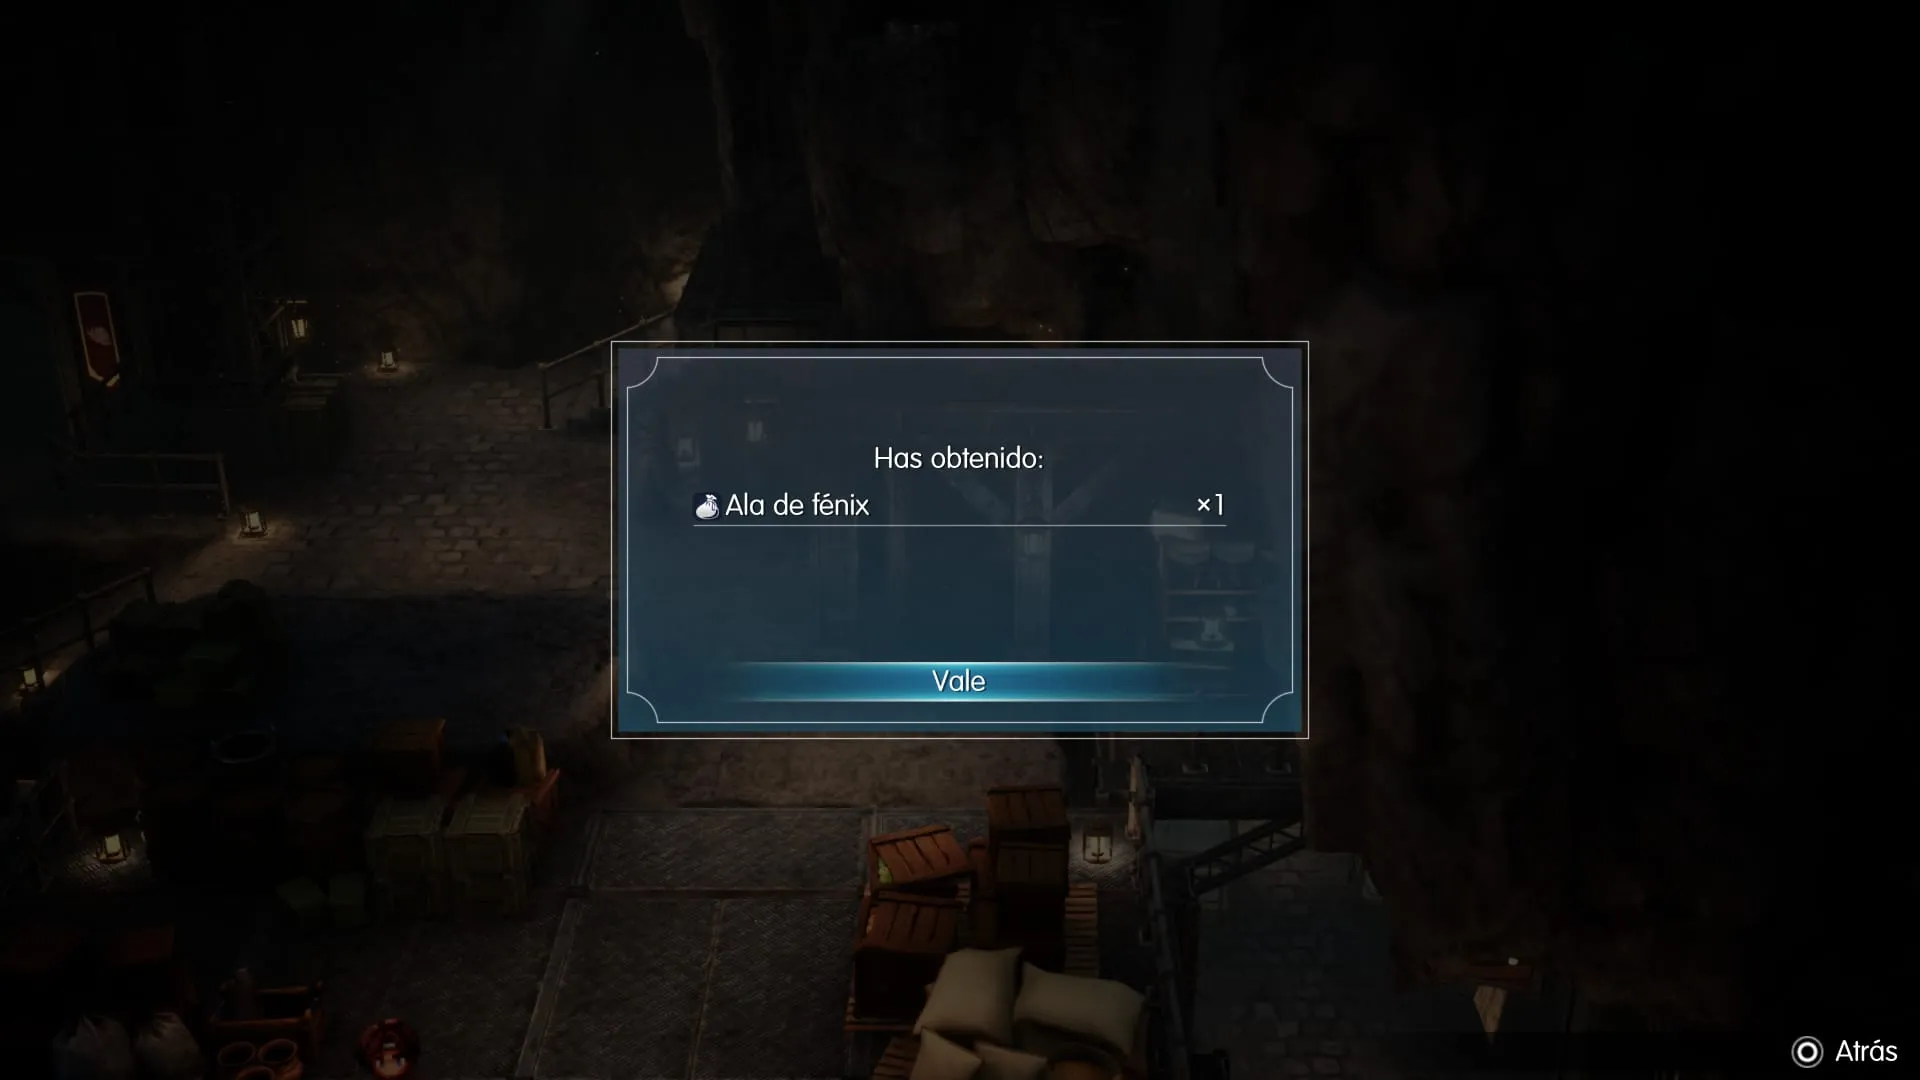
East of the second Tablet Shard, look for a shelf-like structure and a lantern. A chest there contains a Phoenix Pinion.
Speak to the Rebels and Learn Their Plans
Now talk to the resistance members with yellow story markers above their heads. They’ll explain what’s happening in Zoldaad and why the imperial army is hunting those who oppose the emperor.
During these conversations, you’ll learn that the old Fire Shrine has been replaced with a Weapons Factory powered by the crystal. We need to work with Jake to reach it and stop the empire’s plans.
Once you’ve spoken to the marked rebels, go to Jake’s room, the one with the two flags in the northwestern corner, and enter to continue the story.
Jake Joins the Party
Speak to Jake inside his room. After your conversation, he’ll join the party and become available in combat.
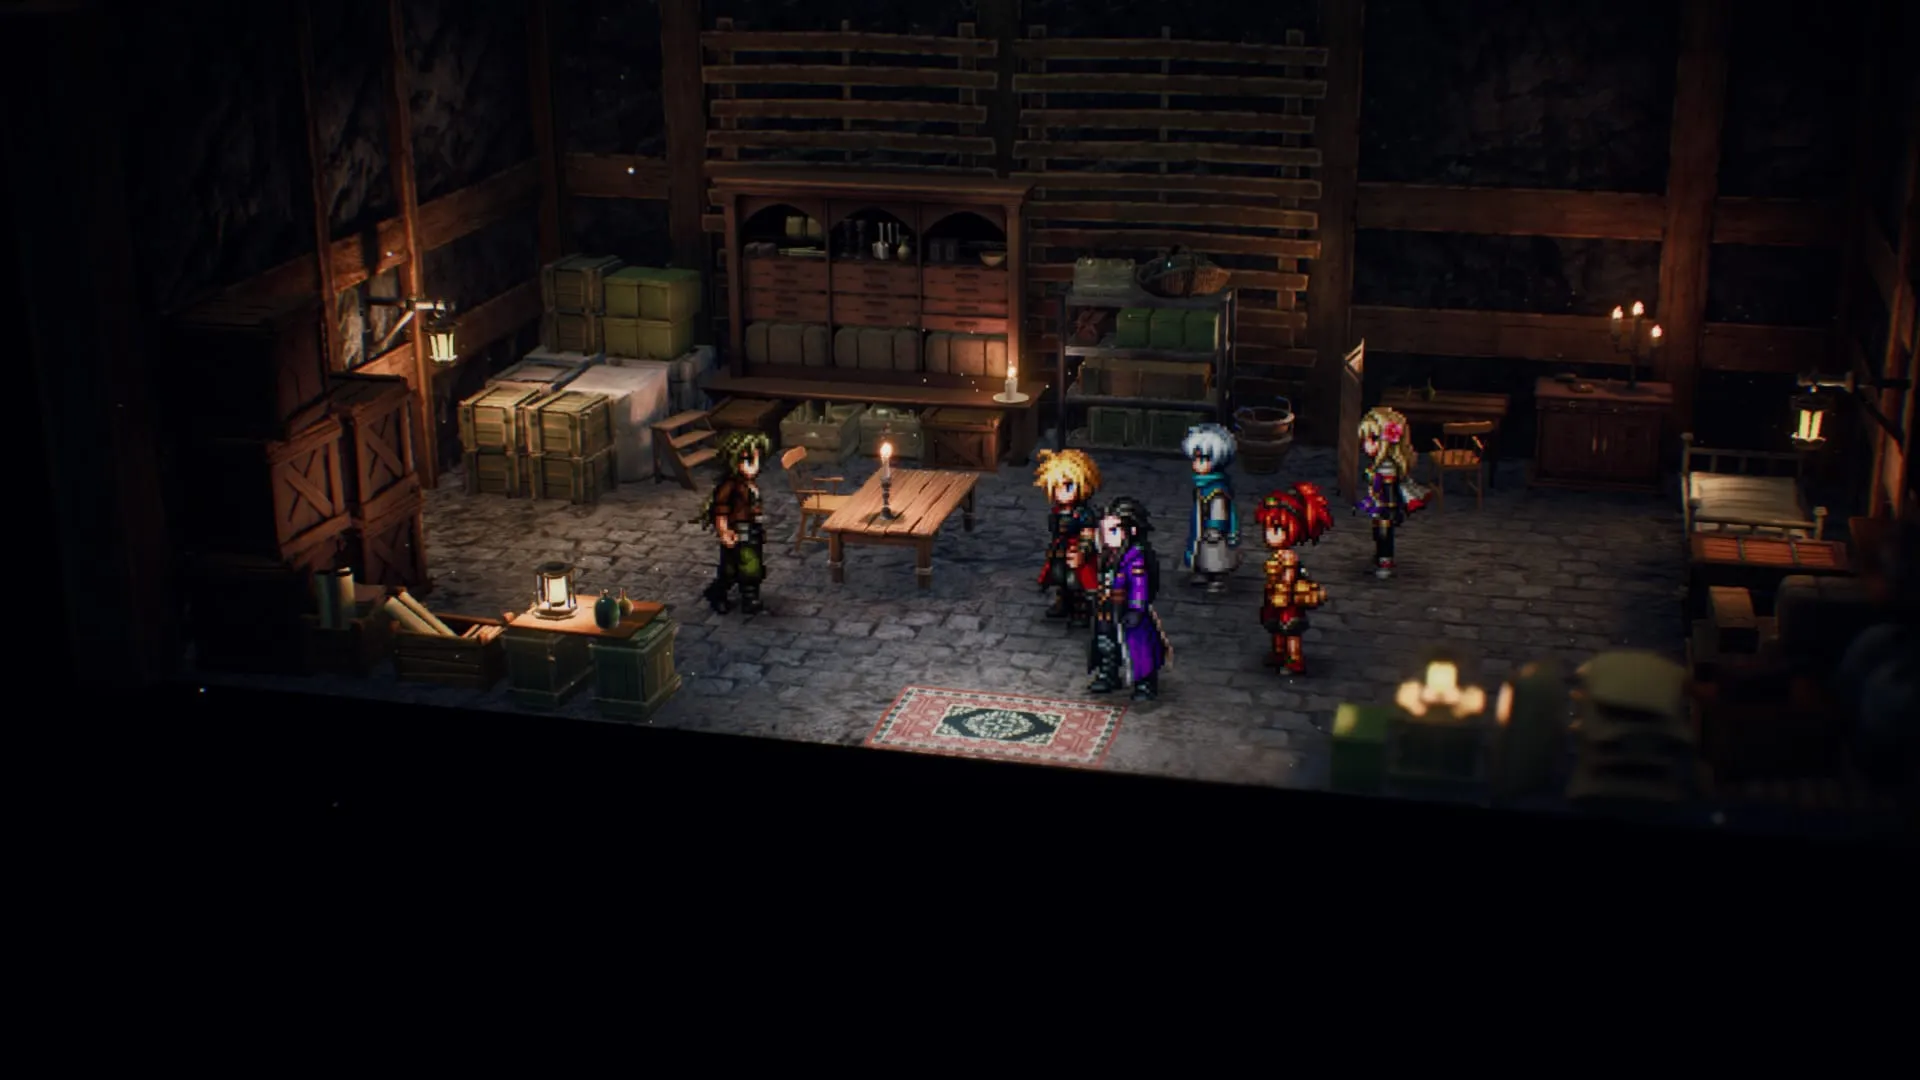
Jake focuses on physical attacks and has luck-based abilities that raise his critical-hit chance and improve certain skills. He’s a useful option for dealing extra damage when enemies are staggered.
Rest at the Inn and Prepare for the Weapons Factory
With Jake in the party, visit the Rebel Hideout shops and check everyone’s equipment. A lengthy dungeon is coming up, so restock on recovery items and review your Visions.
Next speak to the hideout innkeeper and choose to rest. Scenes play during the night, and the following morning your main objective changes: head to Zoldaad’s Weapons Factory.
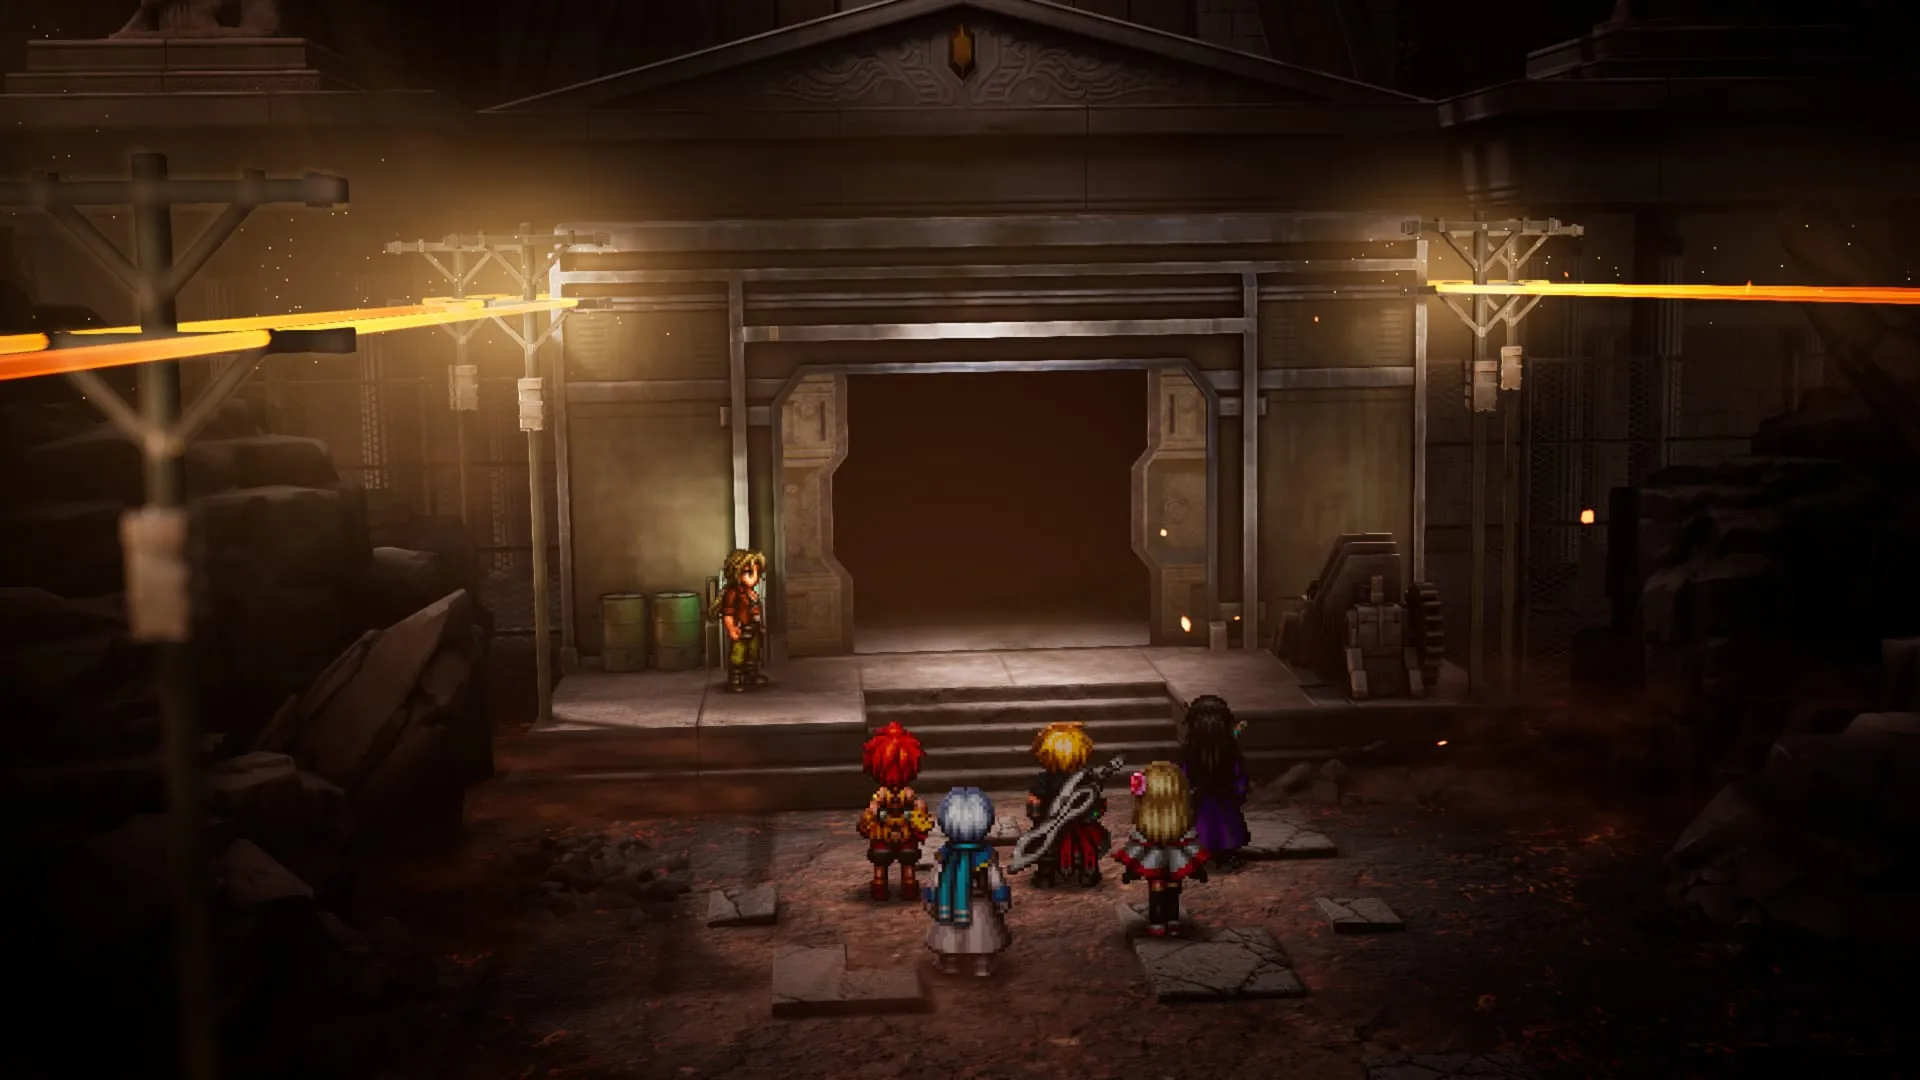
We’ll tackle the factory in the next part, where plenty of mechanisms, chests, Tablet Shards, and a formidable enemy await. As if we haven’t had enough trouble already!

Medios amigos

Un medio de videojuegos dedicado a los RPGs.