


Welcome to Chapter 5 of Final Fantasy Resonance! After the events at Zoldaad Castle, we finally have an airship and can travel the world far more freely. However, the story is taking us somewhere we can’t simply spot on the map: Mysidia.
In this first part, we’ll use the radar to locate Mysidia, meet Sakura, visit the Potion Factory and make our way to the Village of Sunioo. Along the way, we’ll collect five Tablet Shards, clear the treasure chests in both settlements, obtain the Visions from the Sanctums, recruit Victoria’s Vision and earn every reward from the moogle tag games. There’s also a boss waiting to swallow our party members whole. Quite the welcome to a new continent!
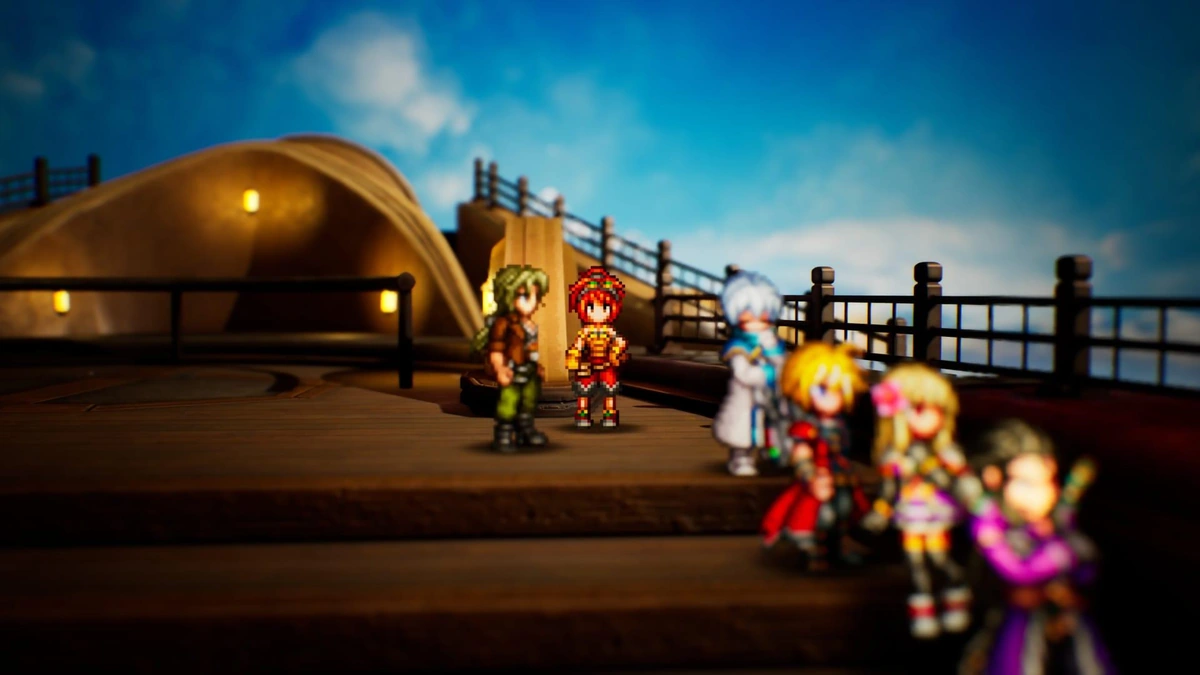
Before takeoff: conversations and side quests in Zoldaad
Before boarding the airship, head back into Zoldaad. You can trigger the Active Time Chat “A Course in Trickery” and take care of several newly available side quests.
The Call from Beyond: Camille’s Vision
Visit the residential district and start The Call from Beyond. This one is well worth completing before moving on: your rewards include Magicite and Camille’s Vision.
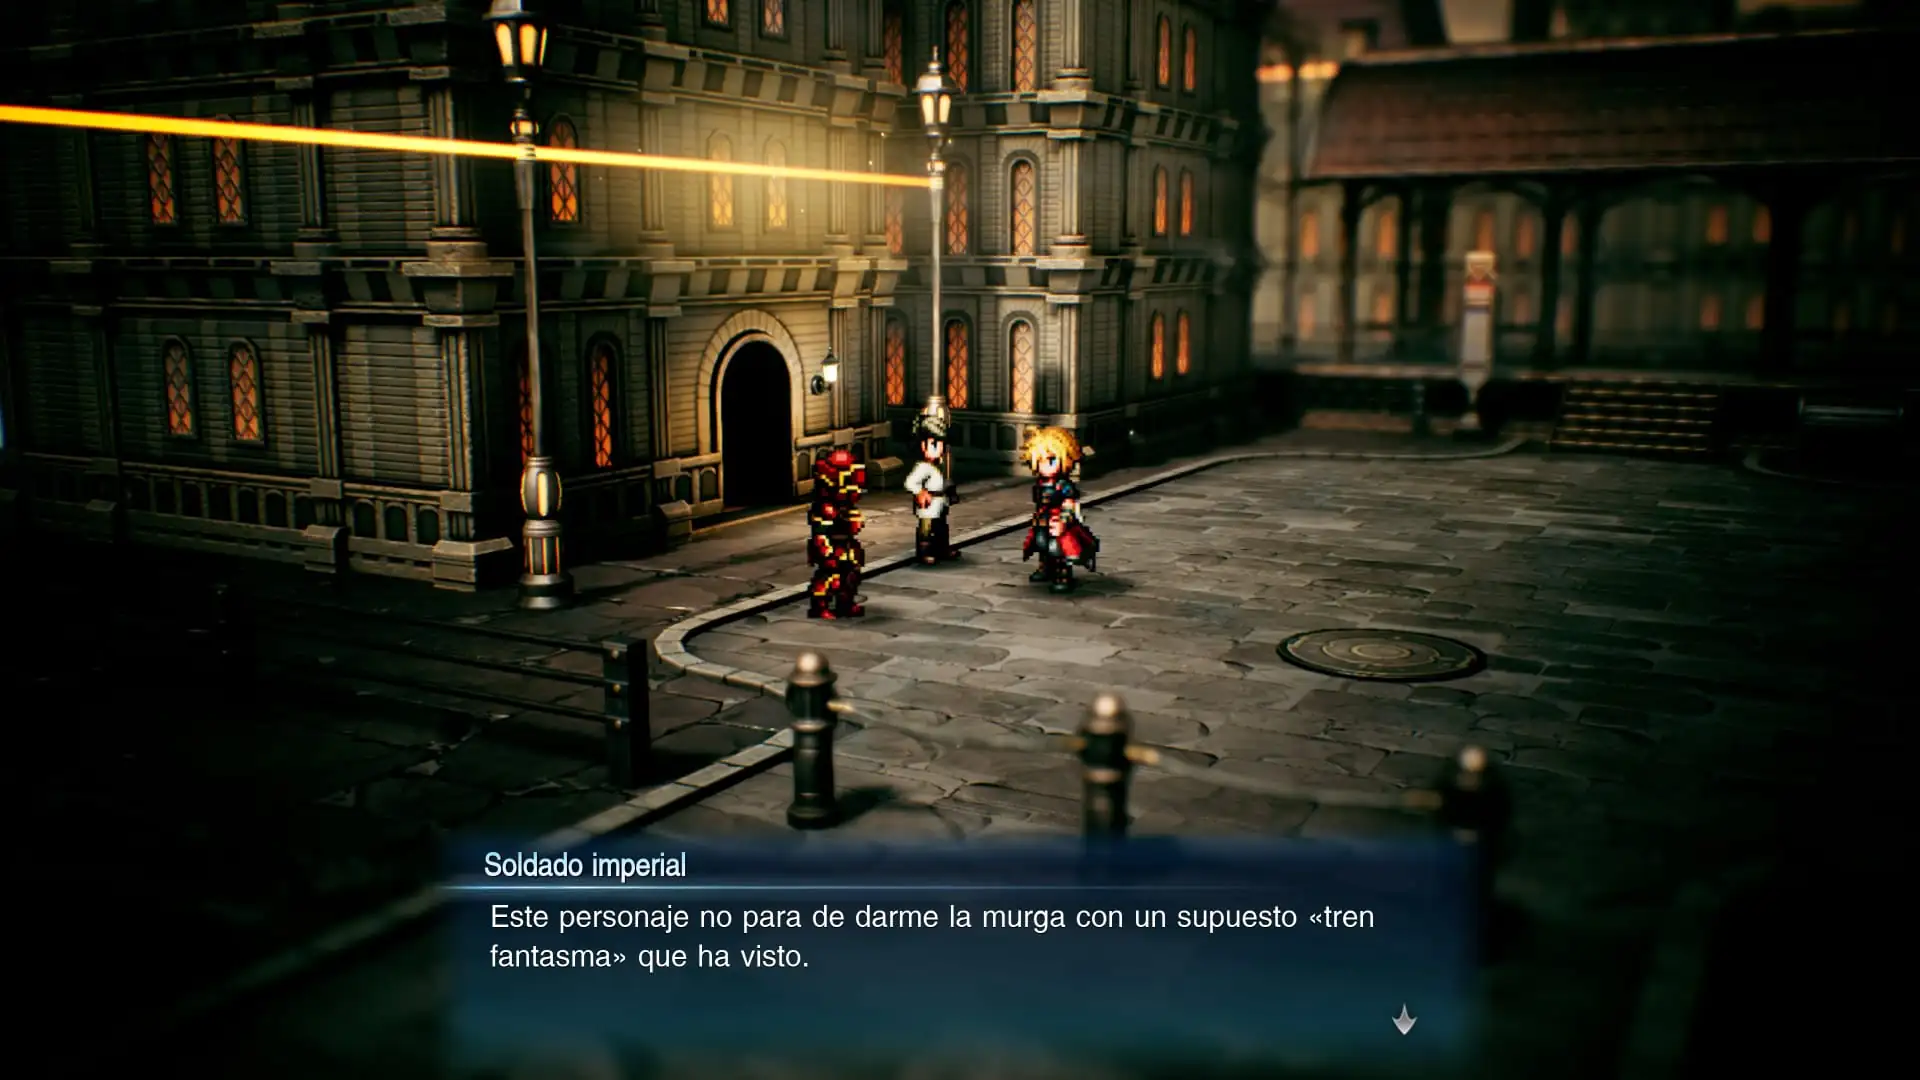
O General! My General!: Wilhelm’s Vision
Once the previous quest is complete, another side quest becomes available in Zoldaad Castle Plaza: O General! My General!. It involves several errands, but you’ll receive Wilhelm’s Vision and a Magicite Cryst for your trouble.
Rogue Rebel: Rebel Hideout
Head to the Rebel Hideout to start Rogue Rebel. First, go to the Zoldaad slums and ask around about Dario. Then check the manholes across the different areas of Zoldaad to advance the investigation. You’ll receive Magicite and the Rose Circlet.
Board the airship and head inside
After regaining control following Chapter 4, find the airship parked near Zoldaad, the Imperial Capital, and board it. We can now fly between continents and land in previously inaccessible places on the world map.
Once aboard, select the option to enter the airship’s interior. Several story scenes will play automatically: you do not need to look for yellow story markers or speak to every party member to trigger them.
Inside, there’s also a soldier who suggests visiting Felicitas when you get the chance. There’s no need to go immediately, but now is a good opportunity to handle any unfinished business.
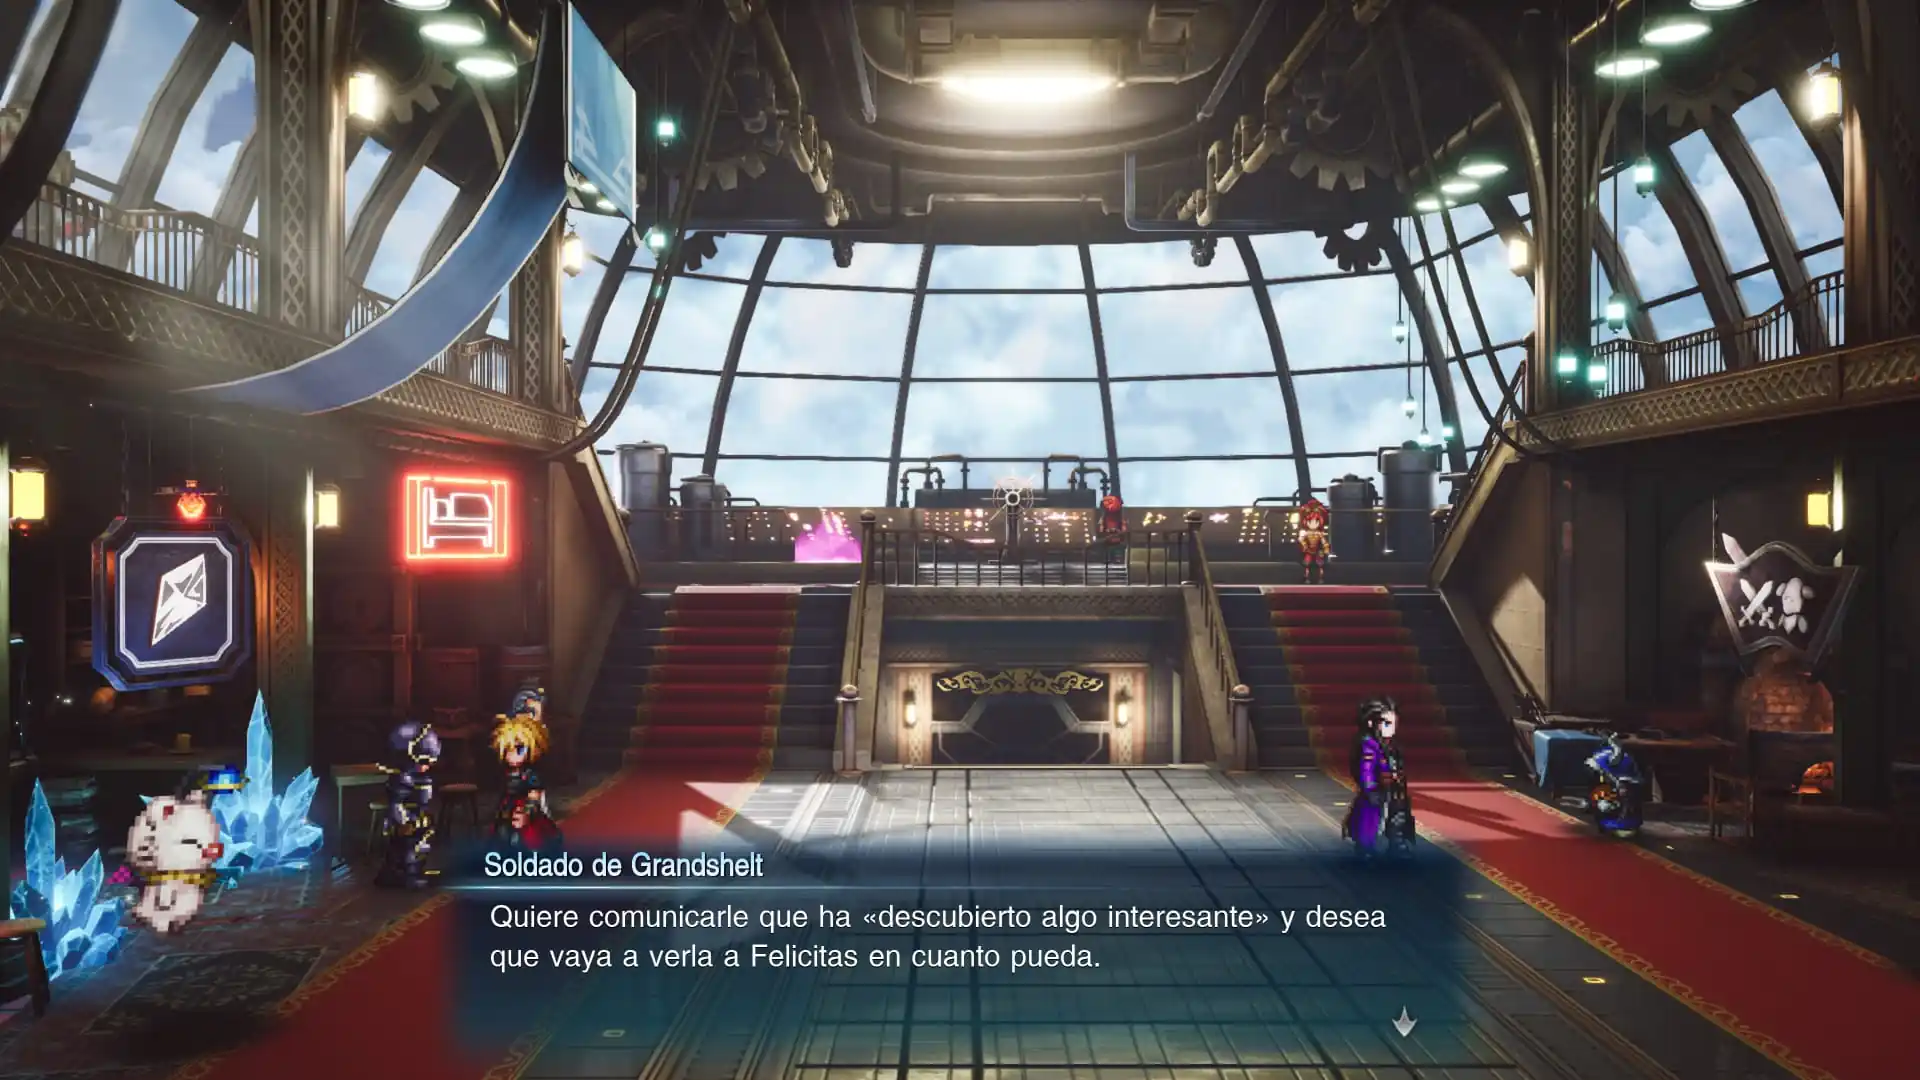
The airship contains shops and a save point. Check the latest weapons, stock up on healing items and review your equipped Visions. Wind abilities will be particularly useful in this part of the story, so make sure someone can use them before you set off for Mysidia.
Recommended detours: Dilmagia and Olderion
Dilmagia: two Visions and new conversations
In Dilmagia, the side quest Forger of Wills is now available. Completing it earns you Magicite and Aileen’s Vision. As you walk around the city, you can also trigger the Active Time Chat “A Difficult Brother”.
Head to the shipyard to unlock the Active Time Chat “Mechabo Mark II” and accept Beyond the Blue. This second quest is trickier because you’ll need to fight Typhon, who can blow party members completely out of battle. Bring Ice magic to make the fight easier.
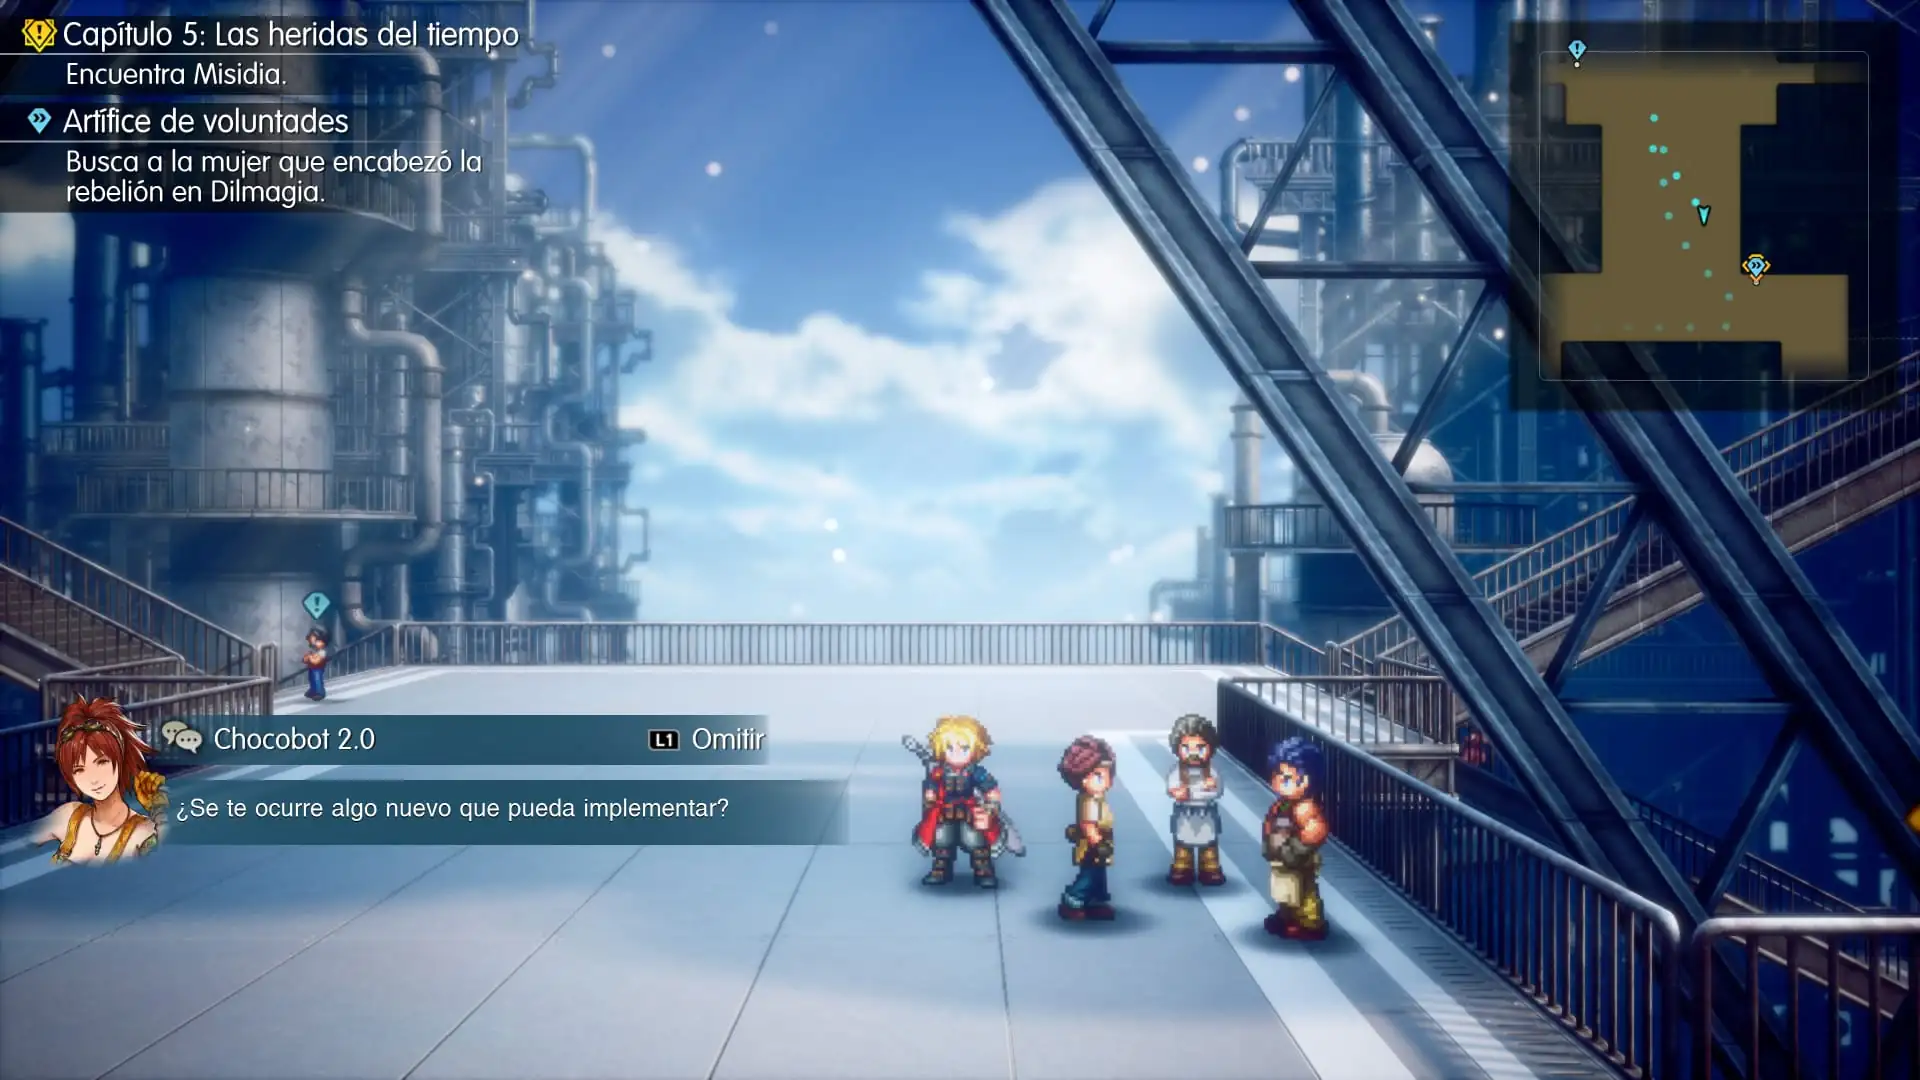
Olderion: the Perforarrocas weapon and Nichol’s Duty
In Olderion, check the plaza just before the side-quest location for a chest containing the weapon Rock Piercer. Then start Nichol’s Duty. This quest leads to Leviathan, the God of Water, and rewards us with the Leviathan Esper, an Enchanted Ring and a permanent attribute bonus for Nichol. A lovely nod for longtime fans!
Finishing the quest also unlocks the Active Time Chat “God of Water”.
How to find Mysidia using the airship radar
Return to the helm and fly towards the southwestern ocean, in the southwestern part of the world map. Mysidia is hidden, so we’ll need the airship’s Radar Pulse to locate it.
Activate the radar over the ocean. Lid will tell us how strong the signal is and, once we’re close, which direction to fly. Follow her instructions, move a short distance and scan again. Repeat until the entrance marker appears over the water.
Once you find the entrance, approach it to trigger the arrival scene for Mysidia, the Uncharted Land. Our first destination is Mysidia, the Magiapolis.
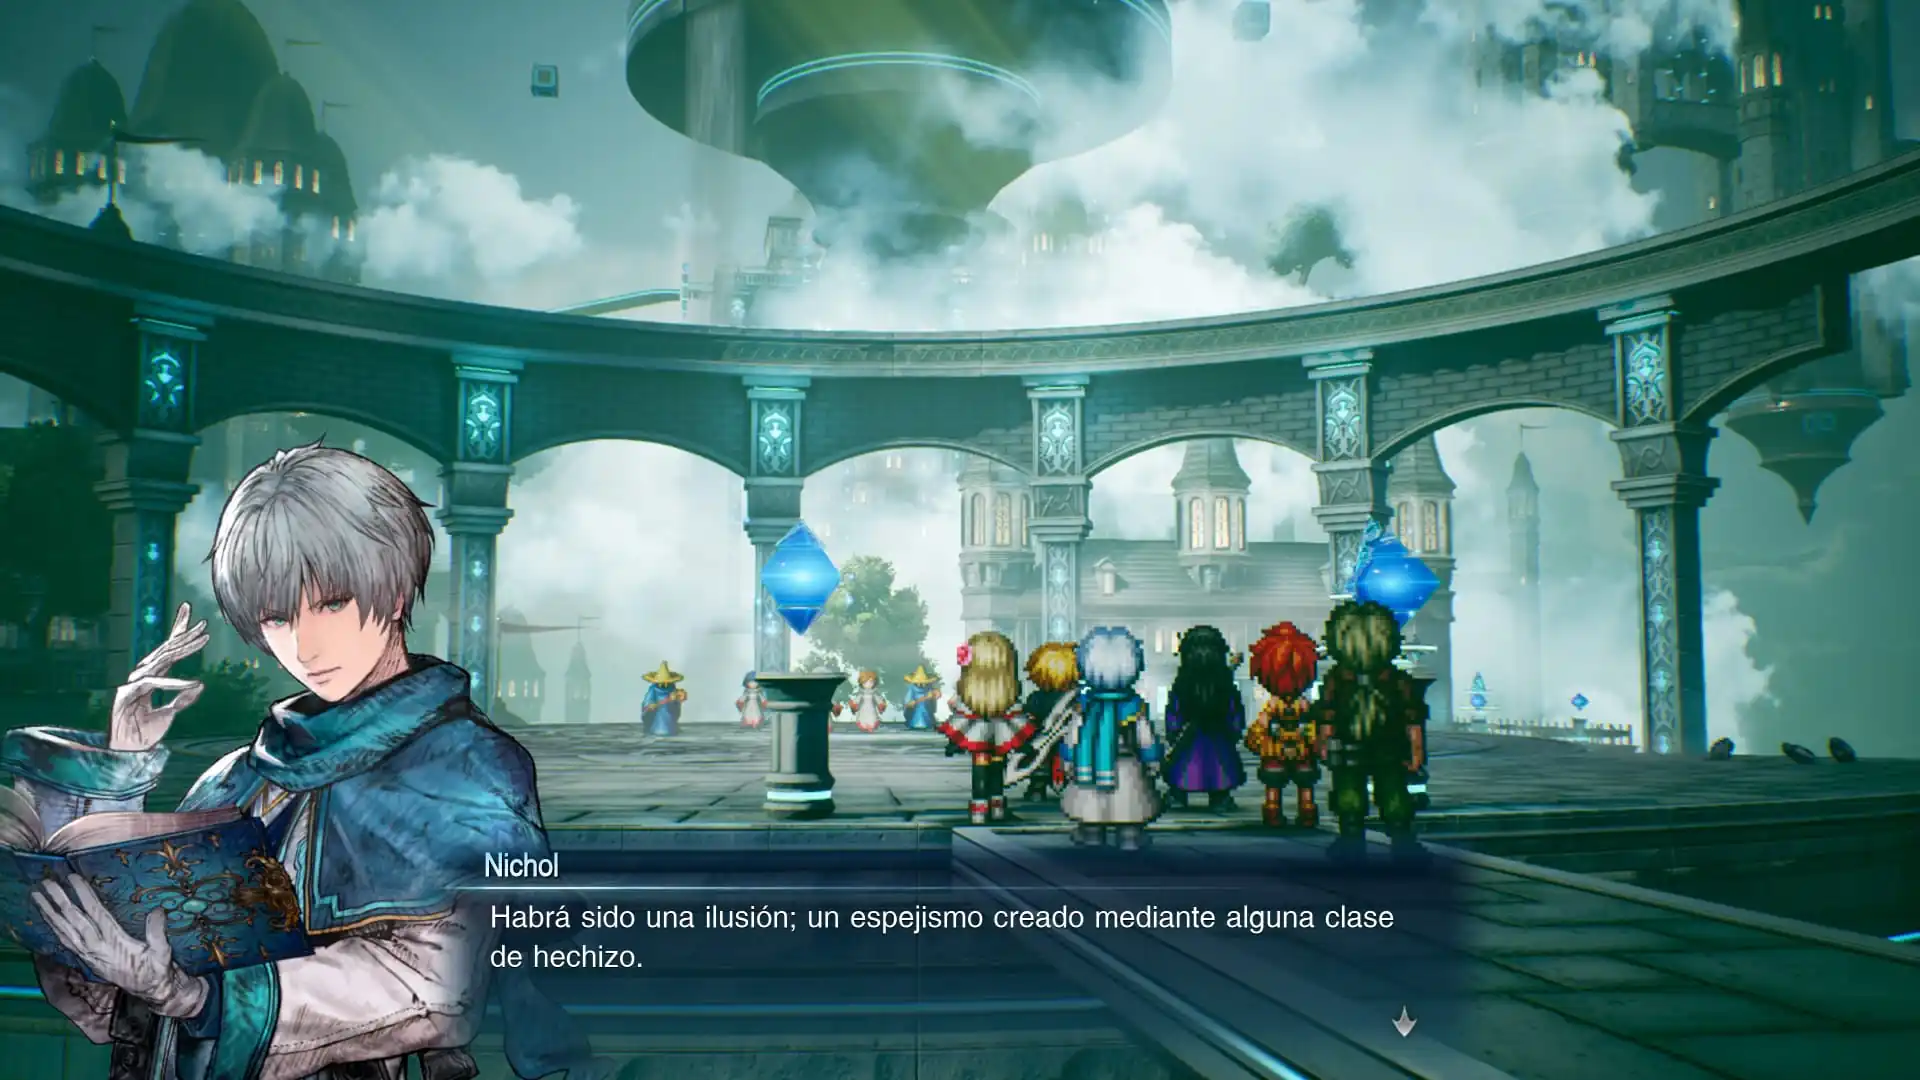
First Mysidia Tablet Shard: town entrance
After the introductory scenes, it’s time to explore. From the main entrance, go down the stairs on the right towards a teleport crystal.
Look for the corner behind the NPC standing nearby. Examine the sparkle on the ground to pick up the first Mysidia Tablet Shard.
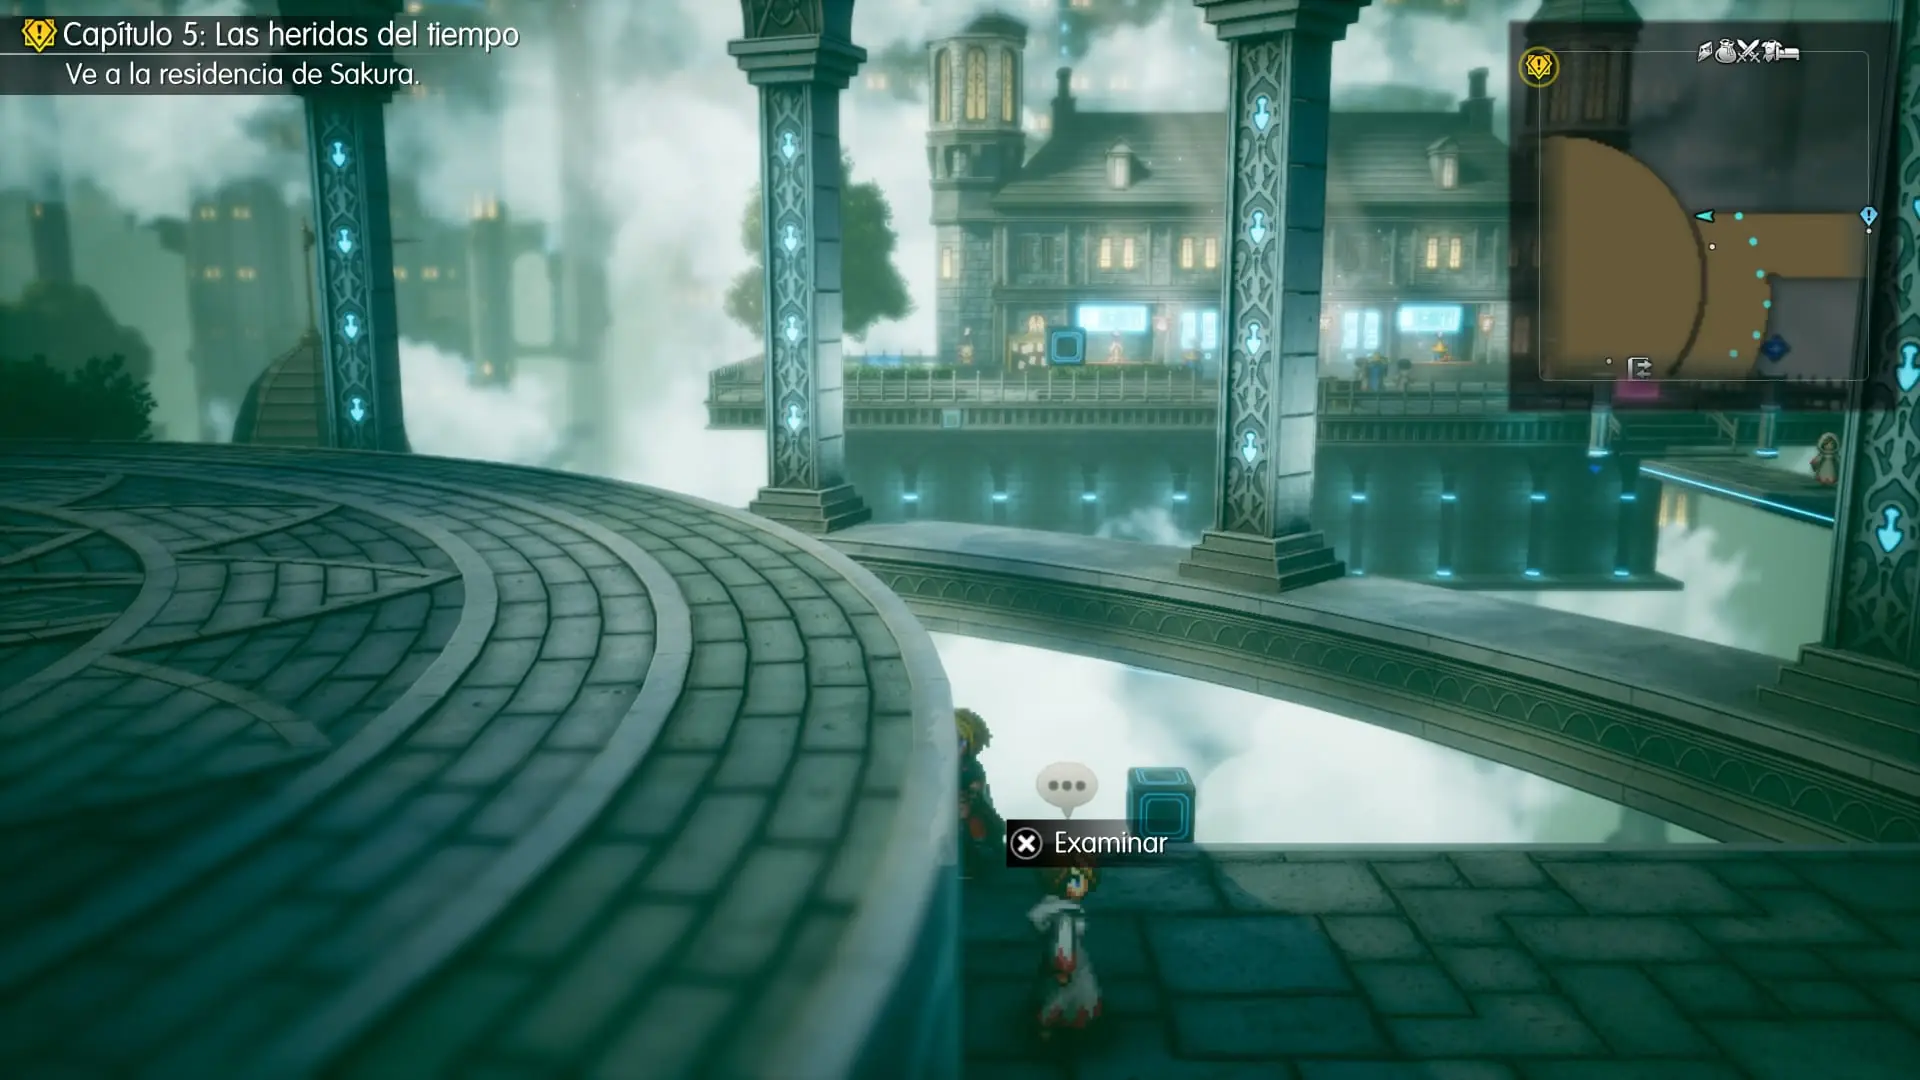
Second Tablet Shard and treasure chests near the Mysidia shops
From the entrance, continue towards the shopping area. Alternatively, take the teleport crystal straight to this part of town.
In front of the weapon shop are several wooden crates. Examine the sparkle just south of the shop, beside two crates, to get your second Tablet Shard.
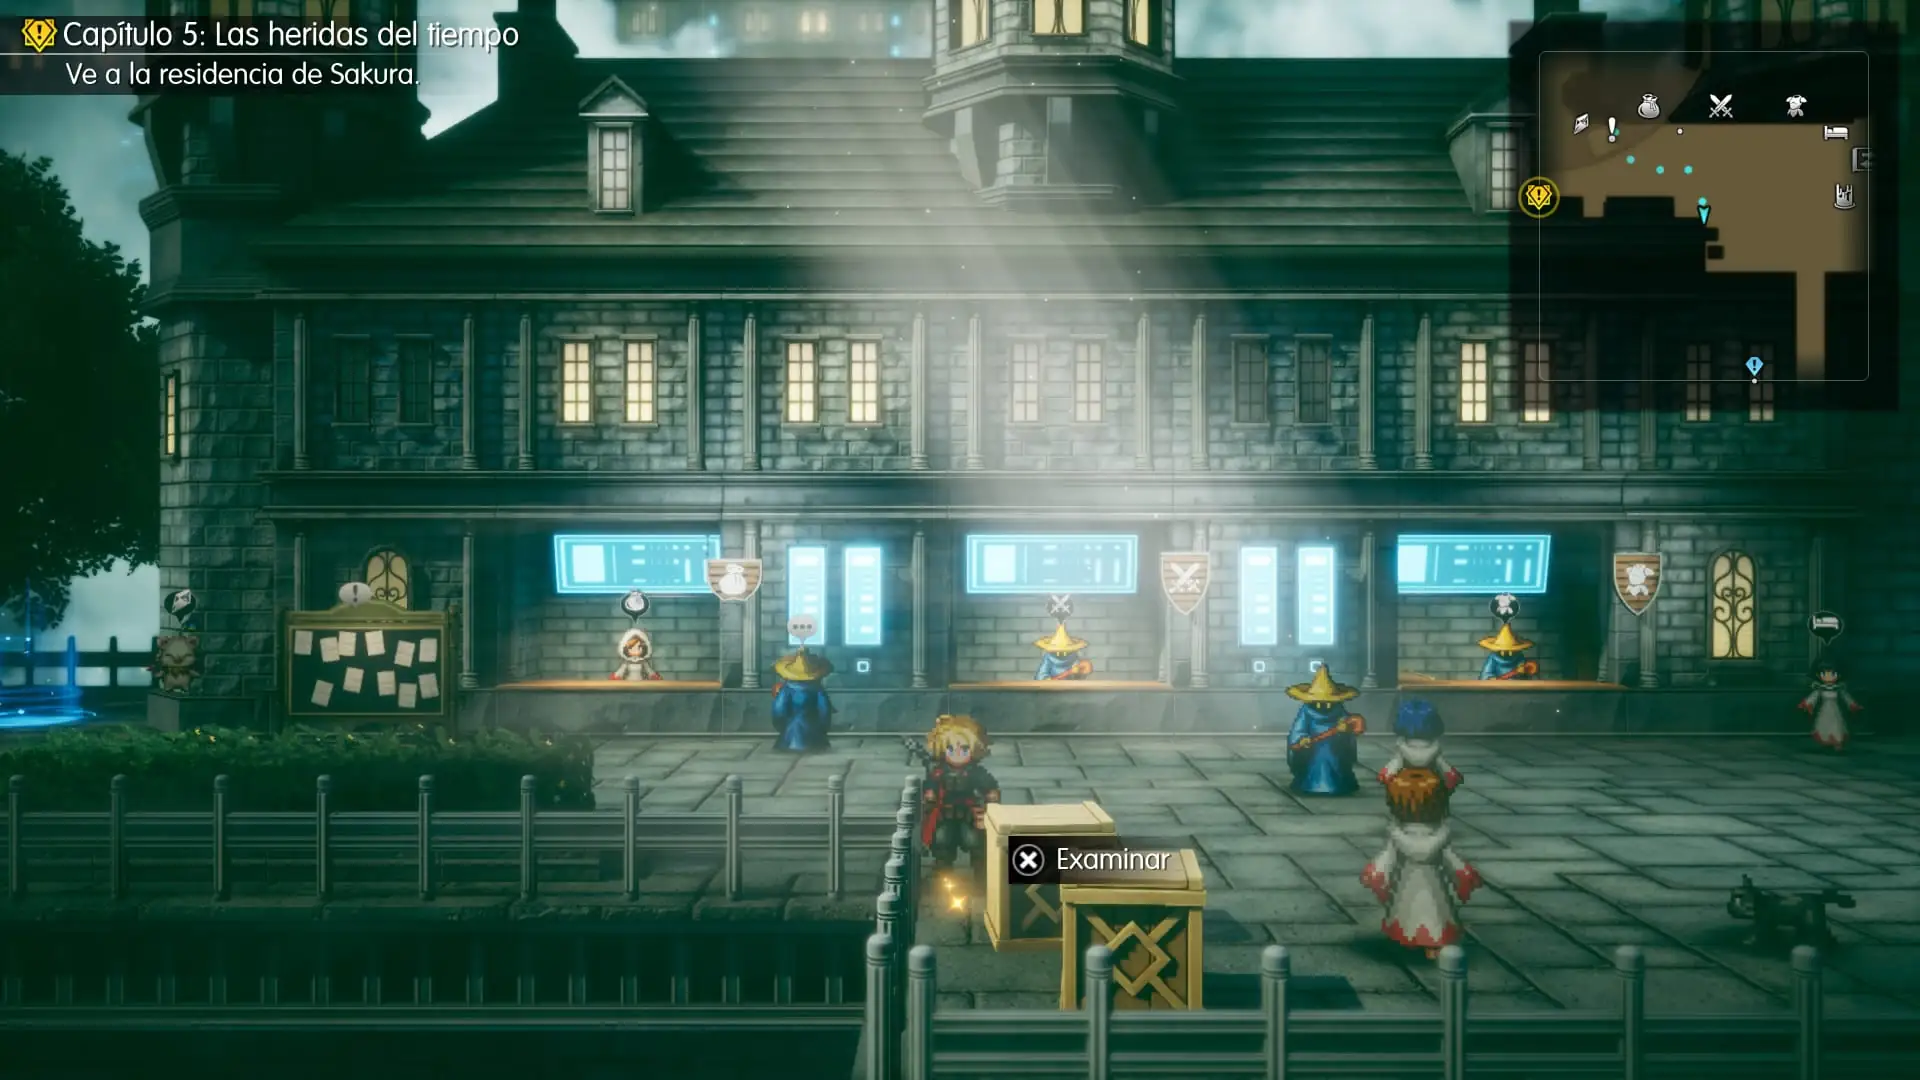
Next, go around the back of the shops to reach a chest containing the Seraphim Bow. From there, head back towards the town entrance and take the path to the left (west). Another chest at the end contains Knife of Silence ×3.
With those two chests opened, feel free to look through the shops. Mysidia sells stronger weapons and armor than many of the locations we visited in earlier chapters.
Third Mysidia Tablet Shard: fountain plaza
From the shopping area, head west, walk past the item shop and use the blue teleporter to reach the circular plaza with a fountain.
Once there, examine the columns surrounding the fountain. Beside the second column on the right, you’ll find the third Tablet Shard in the city.
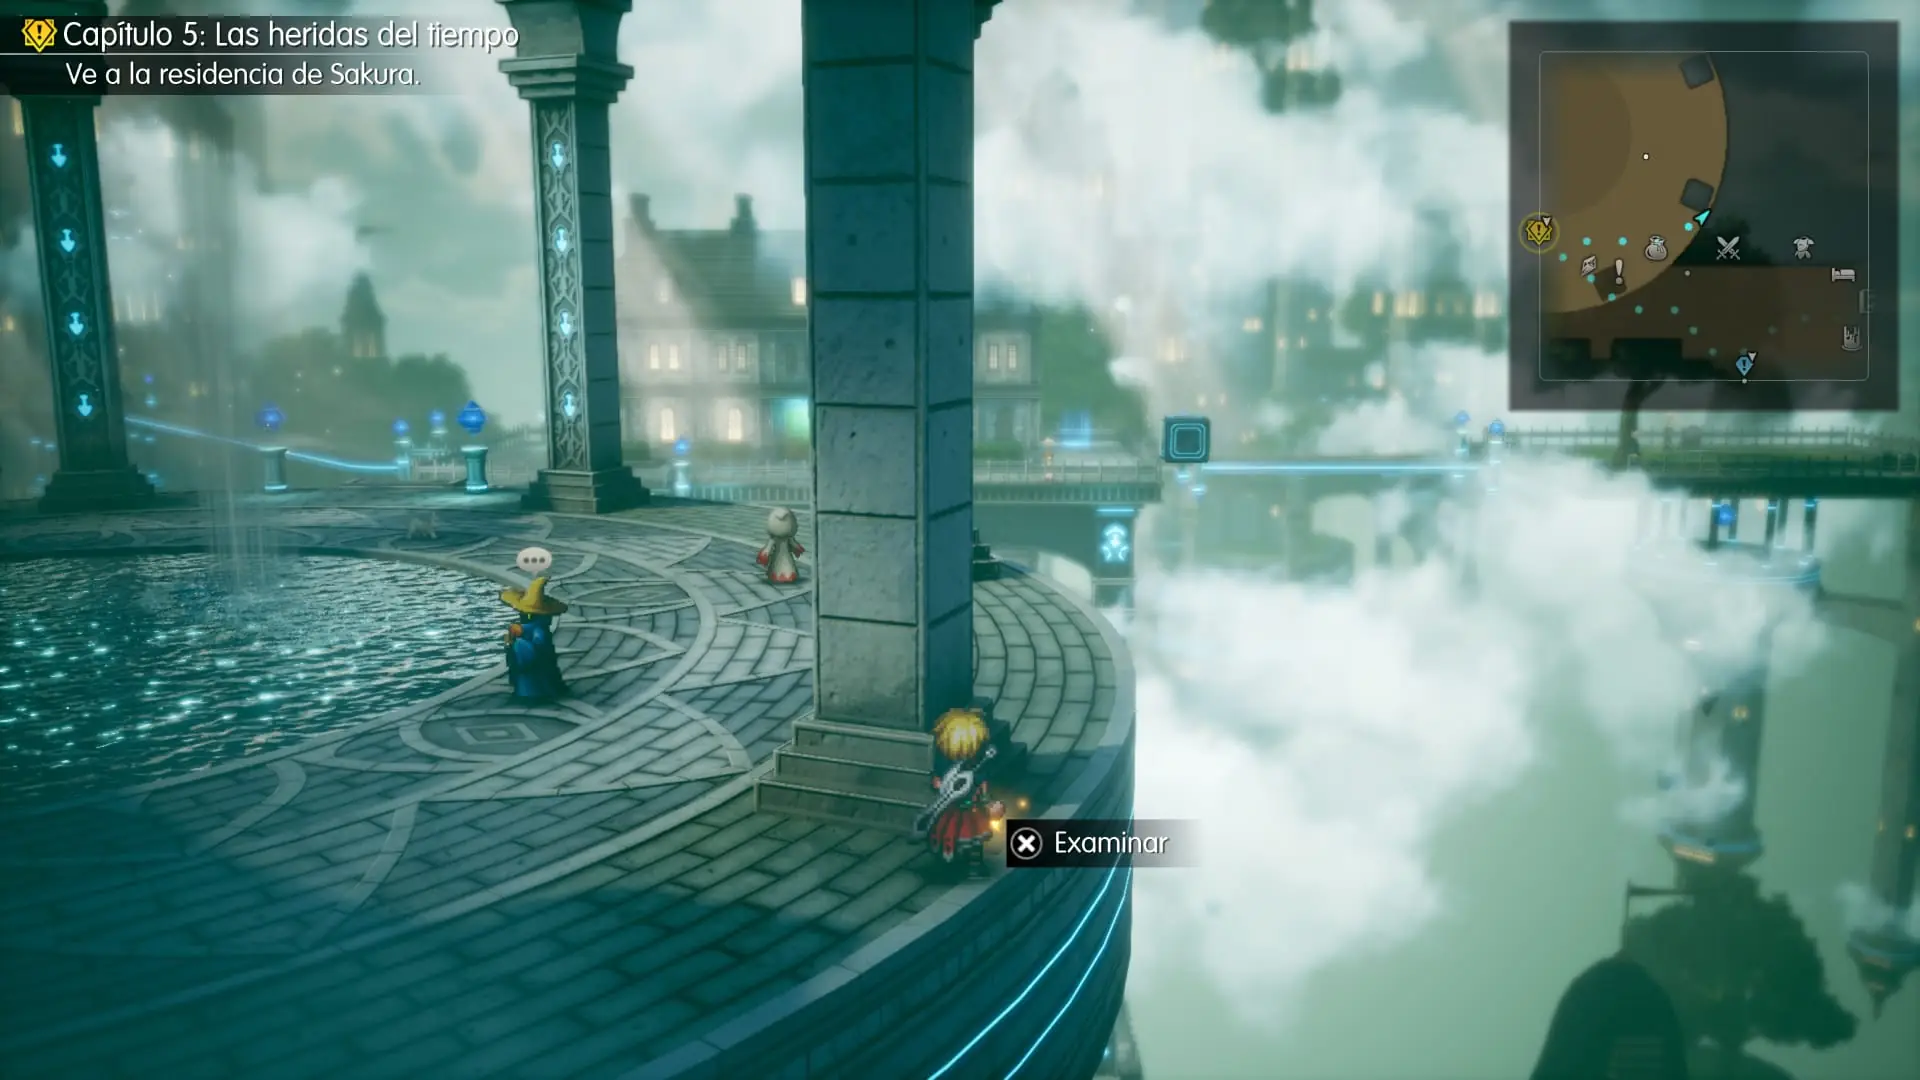
That’s all three Mysidia Tablet Shards collected. Now it’s time to meet the person waiting for us in the story.
How to reach Sakura’s house
From the circular plaza, head north. You’ll see a blue marker on the ground. Follow it to the chest containing the Knight’s Sword. Then return to the plaza and use the teleporter to Sakura’s house. There’s no need to cross all the bridges on foot.
Go inside and talk to Sakura to advance the story. She’ll explain what’s happening and ask us to deliver special potions to the villagers of Sunioo. After the scenes, she’ll join the party, so check her equipment and Visions before continuing.
Our next stop in town is the Potion Factory. We’ll return to Sakura’s house later for another accessory.
Potion Factory: Healing Springs and the story scene
Return to central Mysidia and use the teleporter leading to the Potion Factory. You can also follow the route from the circular plaza towards the factory district.
The teleporter is outside the factory. Once inside, check the left-hand side to open a chest containing Healing Spring ×2.
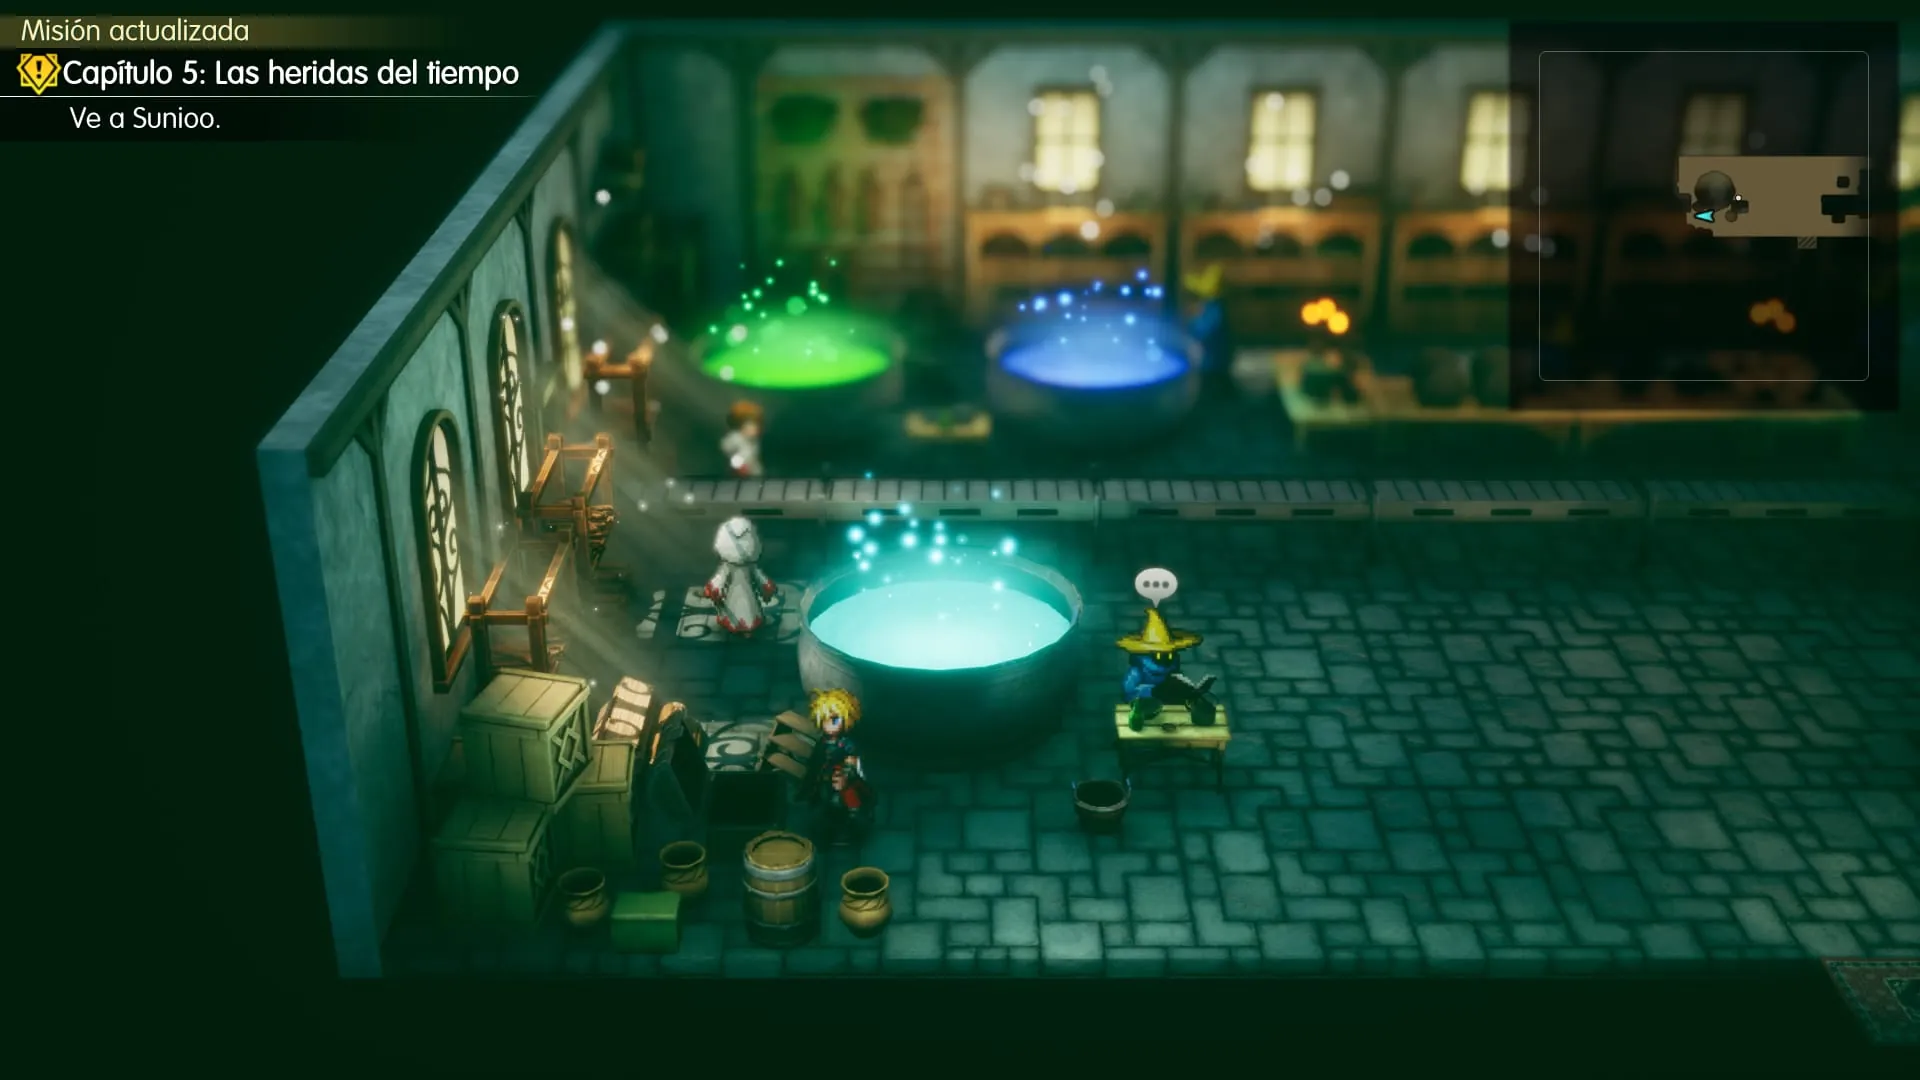
The story scene starts automatically when you enter the factory, and we’ll receive the potions for Sunioo. There’s no need to search for or speak to an NPC with a yellow story marker.
Return to Sakura’s house: Thunder God’s Earrings
After the factory scene, use Mysidia’s teleporters to return to Sakura’s house.
Check inside for a treasure chest containing Thunder God’s Earrings, an accessory that imbues non-elemental physical attacks with Lightning.
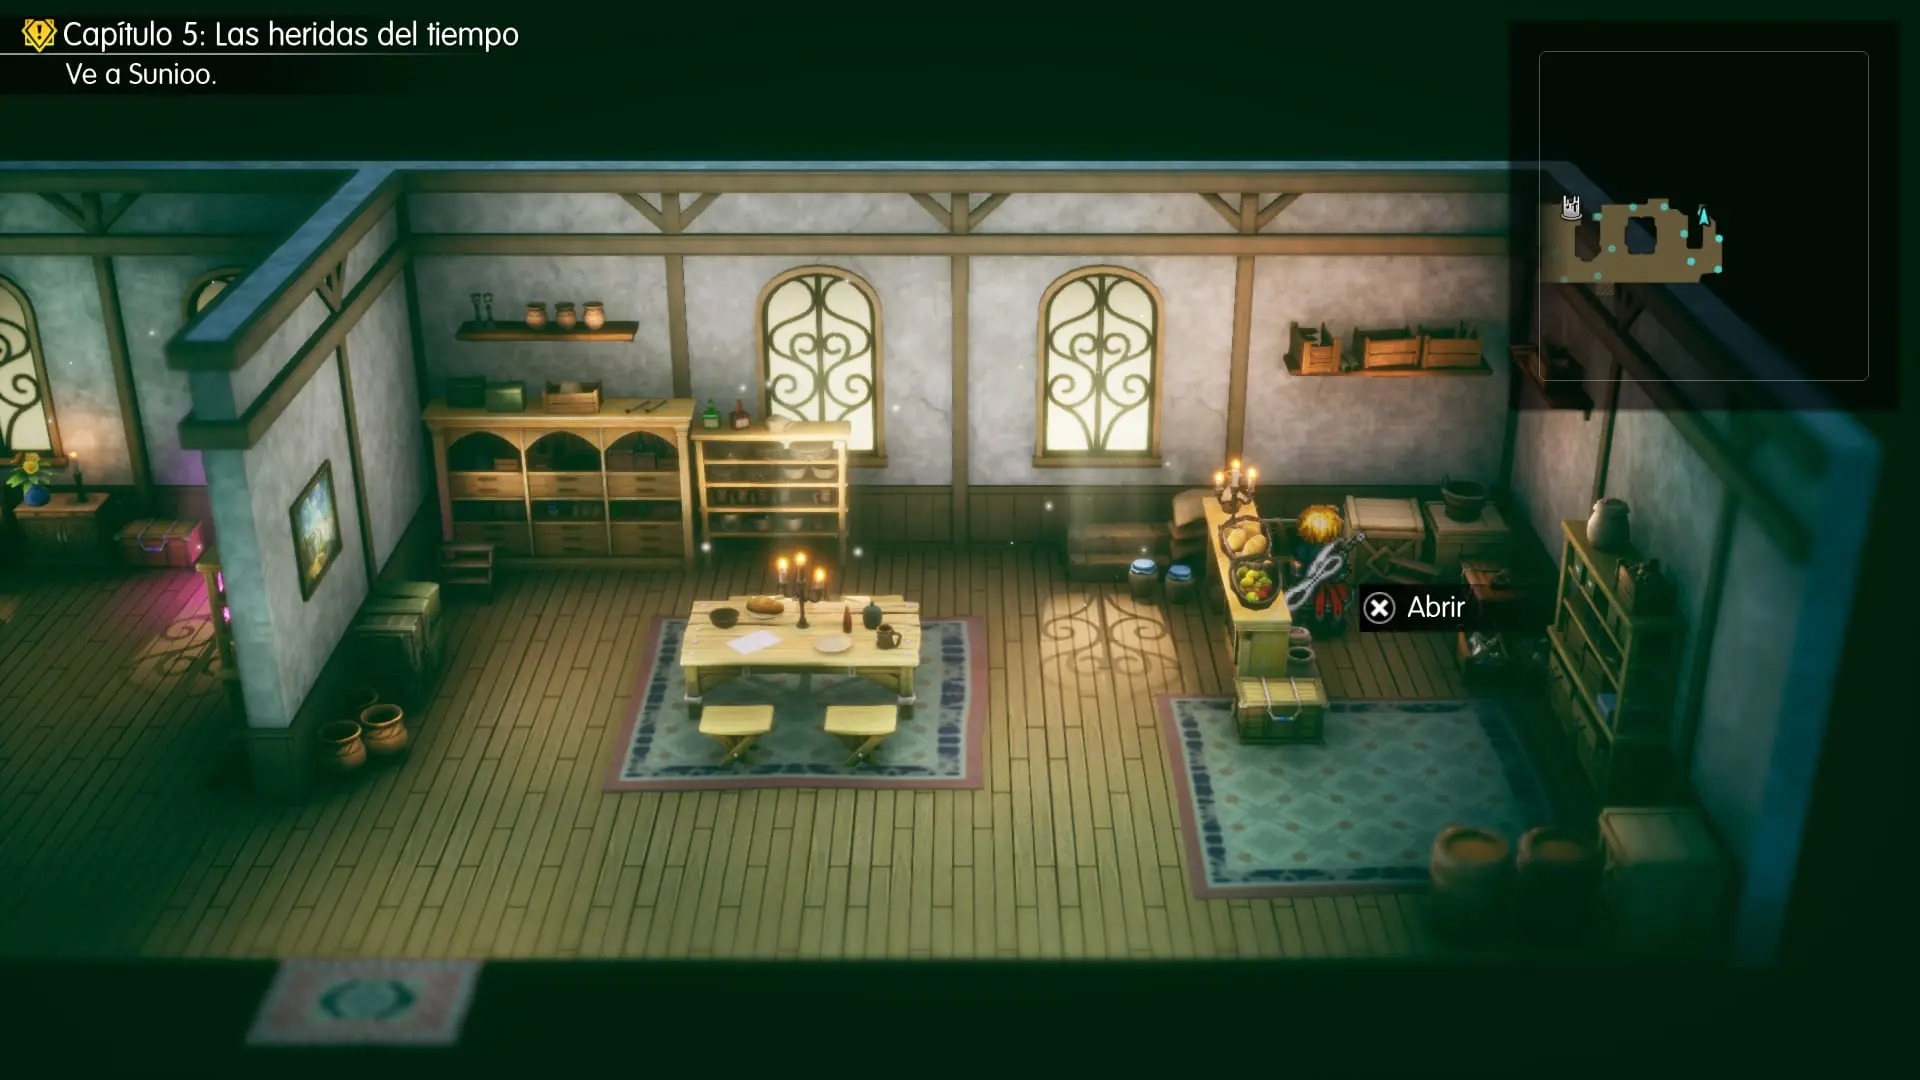
That’s all five main treasure chests in Mysidia: Knife of Silence, Seraphim Bow, Knight’s Sword, Healing Spring and Thunder God’s Earrings.
Mog Tag: all three rounds and their rewards
In the area east of Mysidia’s entrance, you’ll find some moogles who want to play tag. There are three consecutive quests, each with its own reward.
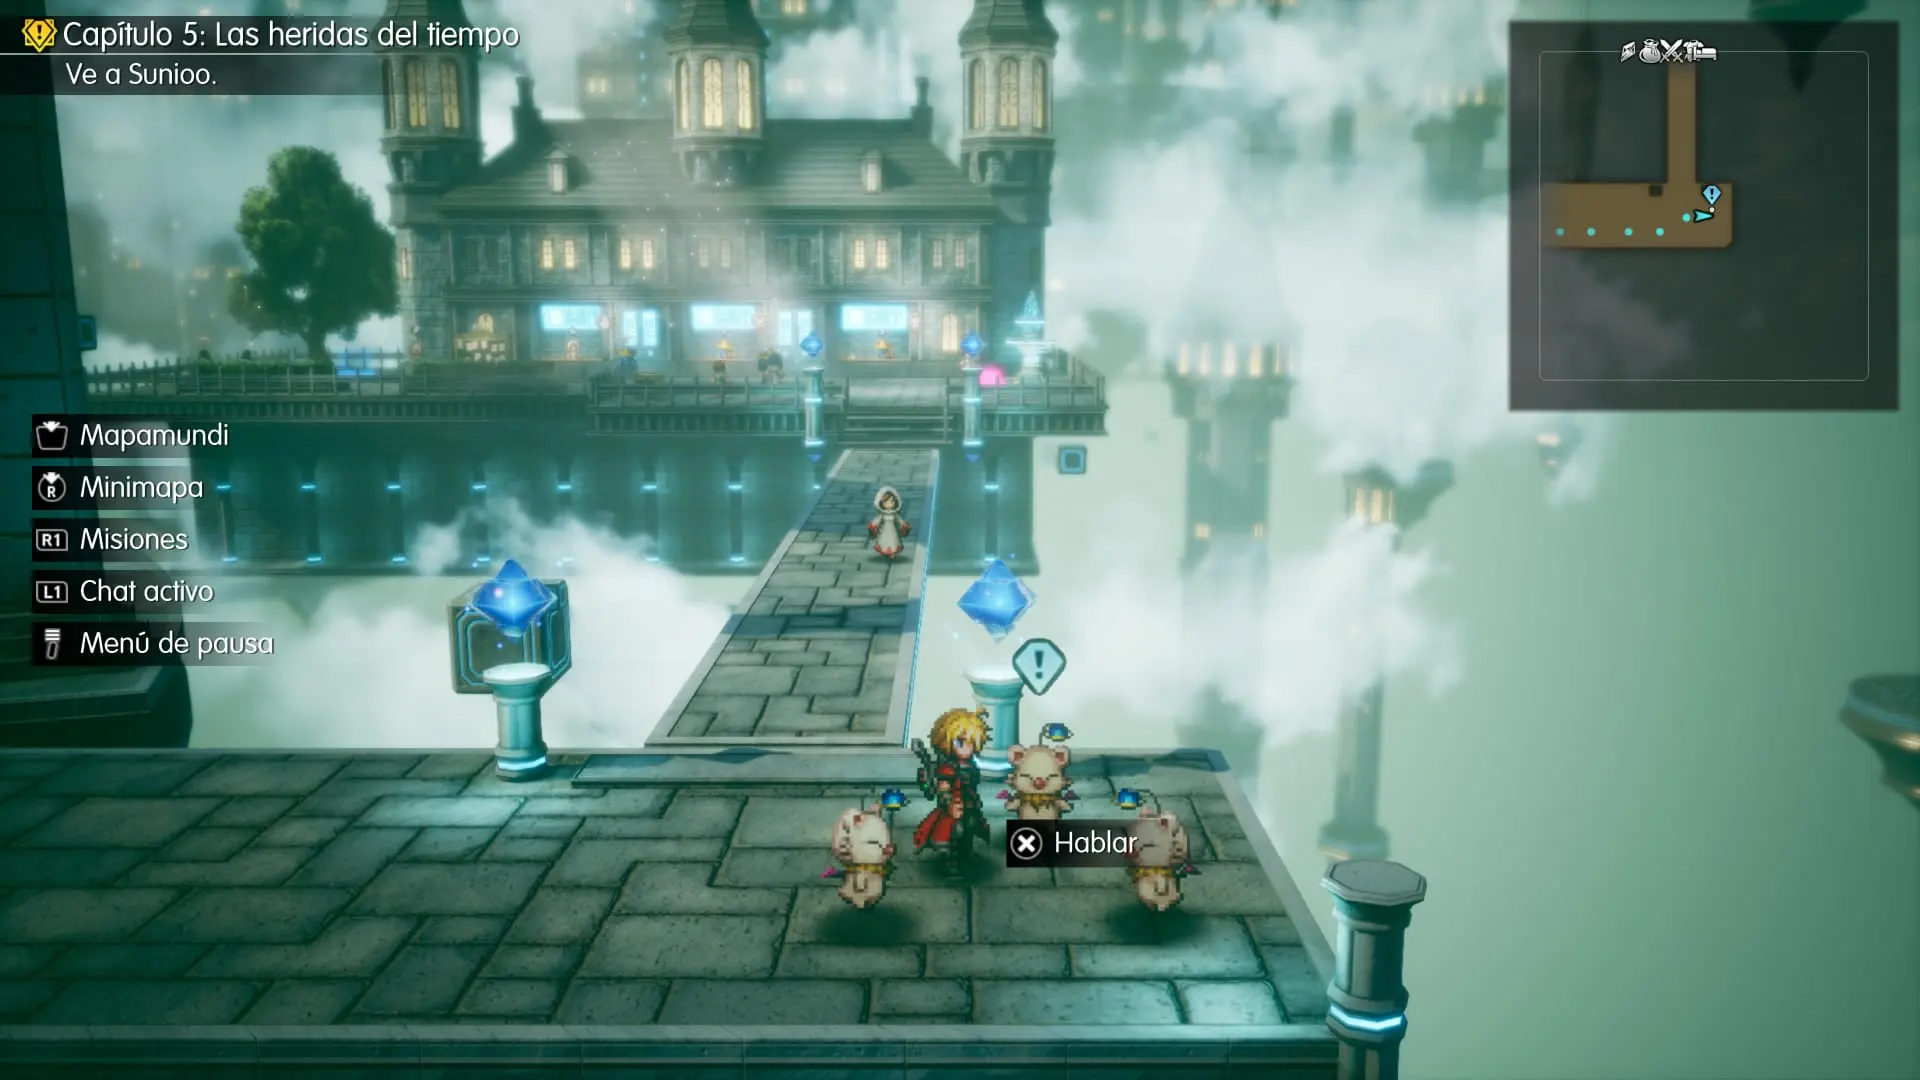
In every round, we need to catch three moogles before the three-minute timer runs out. They don’t fly around at random: each follows a repeating route across the bridges and platforms. Watch their paths, stand where they’ll pass and intercept them when they return.
Mog Tag
Talk to the moogle running the game and start the first round. The three moogles travel around the bridges and central platform: one on the eastern bridge, one near the main platform and the last on the western bridge. Catch all three to earn a Mist X-Potion.
More Mog Tag
During the first moogle challenge, you may also trigger an Active Time Chat involving Sakura. Keep an eye out for the notification as you explore.
Talk to the moogle again to start the second round. Begin at the central platform, continue south of the Potion Factory and finish on the east side of the factory. Your reward is Magicite.
Even More Mog Tag
For the last round, catch the moogle flying near the starting point first. Then head to the bridge west of the factory, and finally in front of the Potion Factory entrance. Catch all three to receive a Magicite Cryst.
Explore Mysidia’s world map before visiting Sunioo
When you leave Mysidia aboard the airship, you can trigger the Active Time Chat “Cold-Hearted Beauty”. Check for it before continuing your exploration.
Now that we have the potions, board the airship again. Before heading to the village, let’s explore the new continent for sparkling world-map pickups and visit several Sanctums of Light.
Look for sparkles on the world map along the paths and plateaus surrounding Mysidia. These are the items scattered across the region:
On the western island, there are two more items: Catastrophe to the east and Scar Orb to the west. Use the airship to reach both ends of the island.
How to get Bartz’s Vision
From Mysidia, fly towards the north of the continent and look for a peninsula extending into the sea. At the tip is a Sanctum of Light.
Go inside and examine the crystal to meet Bartz from Final Fantasy V. These are the exact English dialogue choices corresponding to our playthrough, in order:
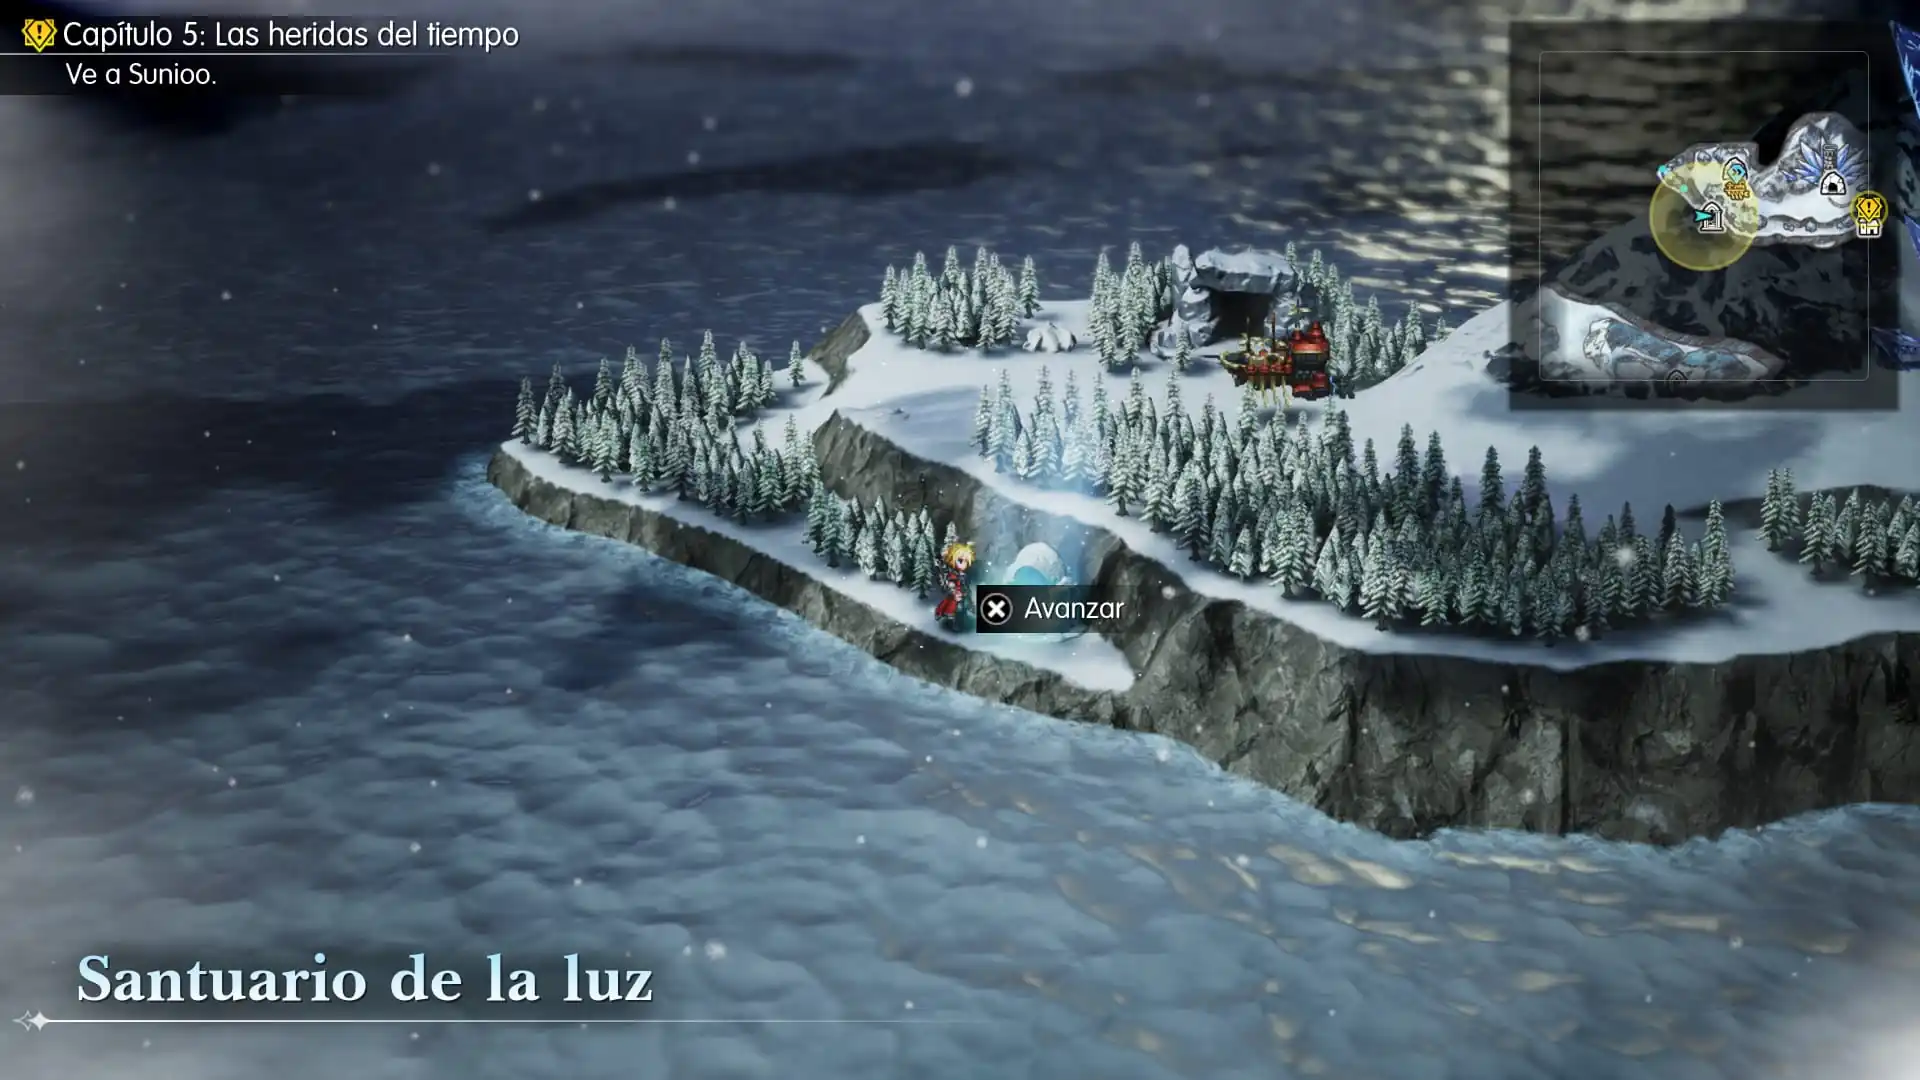
1. “Save the old amnesiac.”
2. “Try to recruit them to your cause.”
3. “Press on without looking back.”
Check his abilities in the Visions menu and equip the Vision on whichever party member you want to develop.
How to get Vaan’s Vision
Now fly towards the western edge of Mysidia. Find the cave near the coast and look for the sanctum south of the cave.
Examine the crystal to meet Vaan from Final Fantasy XII. Choose the following answers to obtain his Vision:
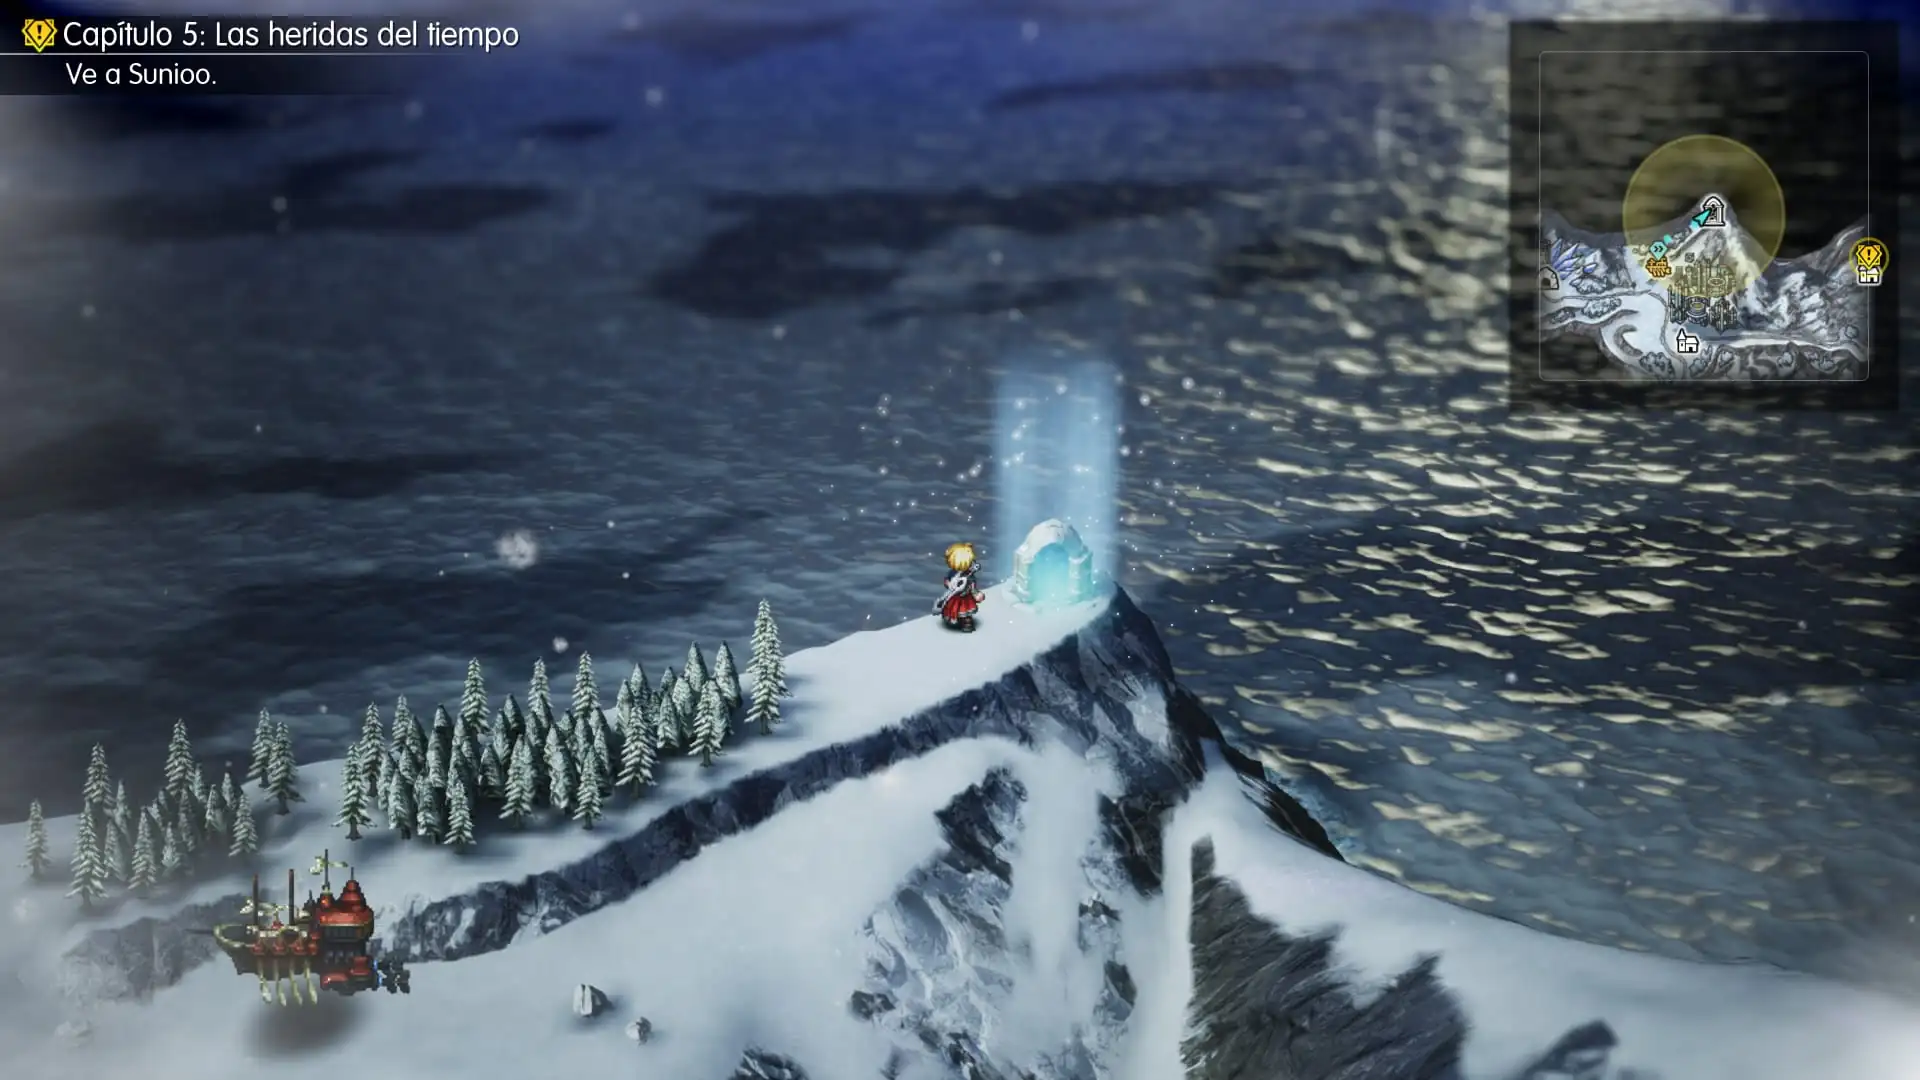
1. “Dream of taking to the skies.”
2. “Speak your mind.”
3. “Revenge heals nothing.”
How to get Lightning’s Vision
The third Vision on this continent is in southern Mysidia, at a Sanctum of Light near the Nameless Ruins. You can reach it with the airship while exploring the area.
Enter and speak with Lightning from Final Fantasy XIII. Pick these dialogue options to receive her Vision:
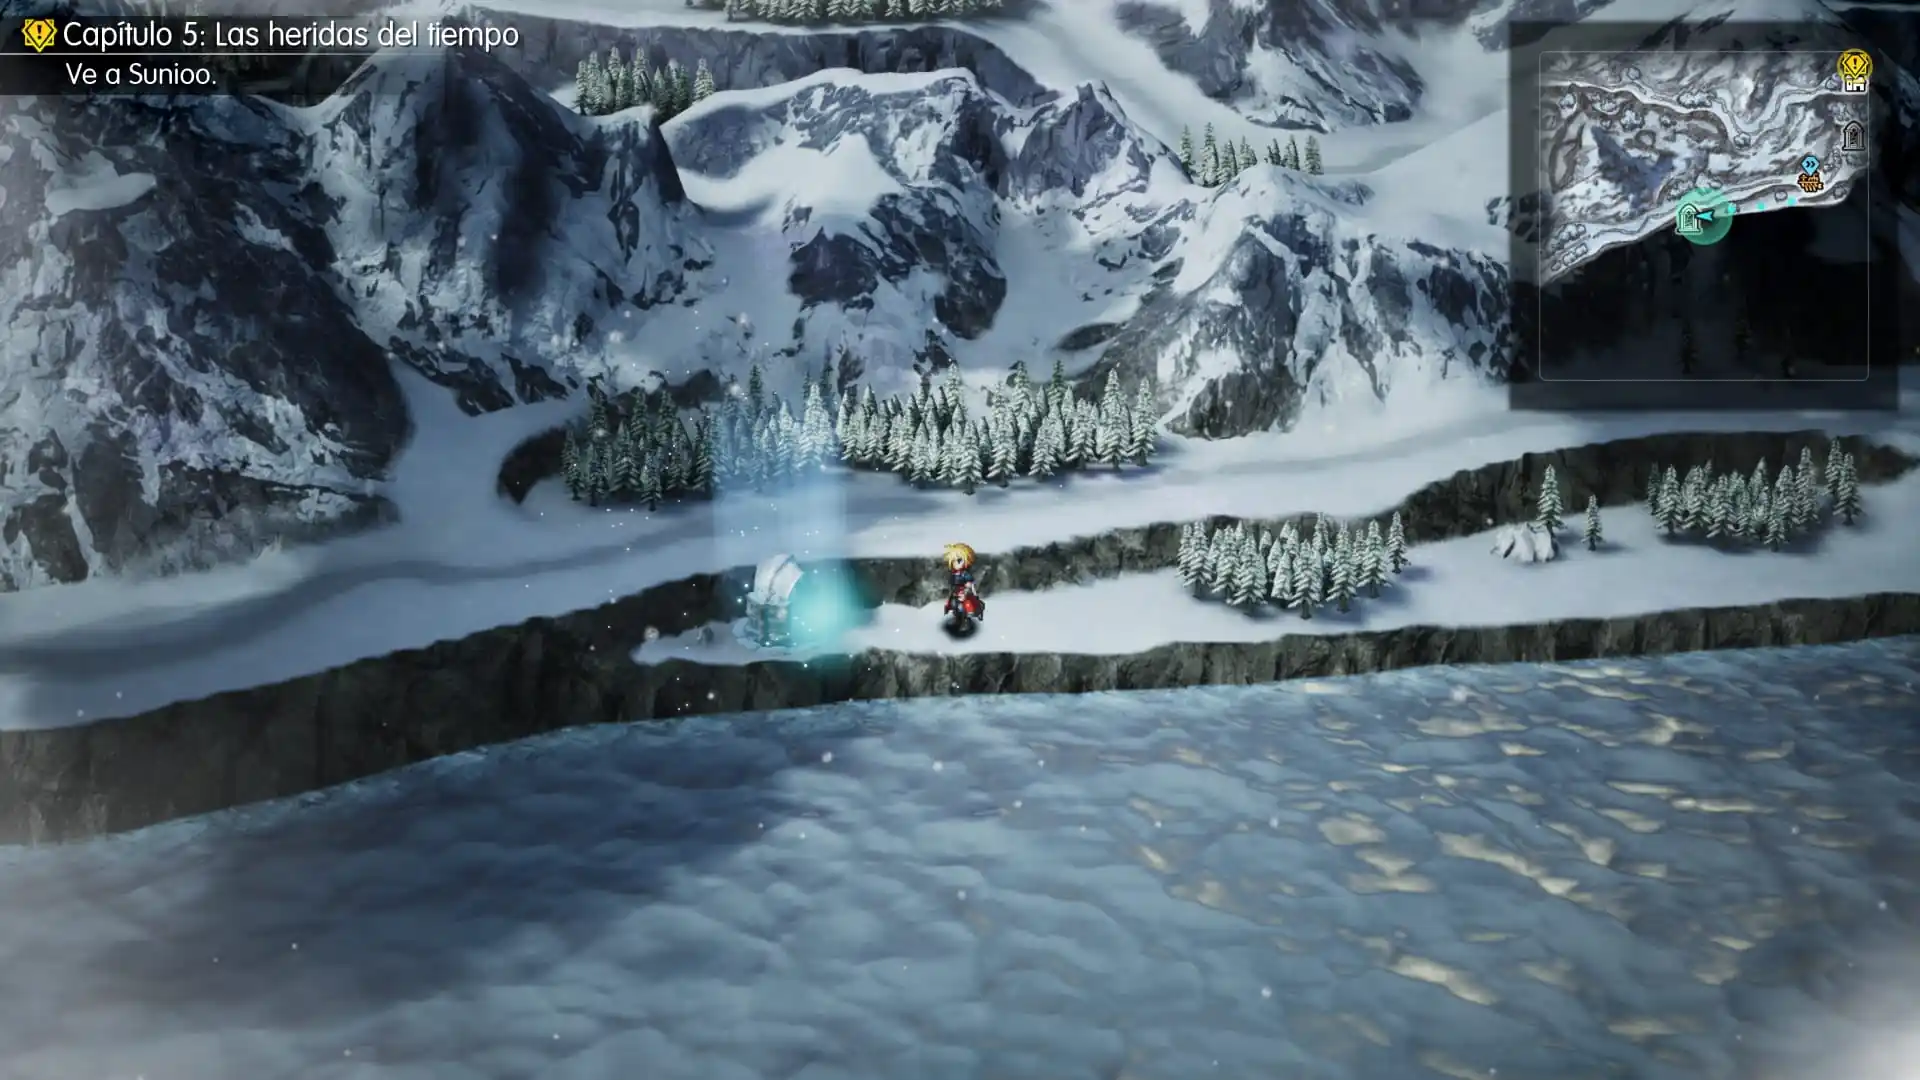
1. “Try to act as a parent.”
2. “Fight back, even if it spells your death.”
3. “Vow to succeed, even should it require a miracle.”
That gives us three more Visions to experiment with as we continue Chapter 5.
Before Sunioo: EXP and MRP farming, Mechabo, Shiva and Ifrit
Metal Cactuar island: fast EXP
Before advancing the story, we can make a detour to a small island southwest of Vaan’s Sanctum of Light. This is where we can encounter Metal Cactuars, ideal enemies for leveling up quickly and developing our party.
Dwarven Forge: Mechabo side quest
Return to the Dwarven Forge and you’ll find another side quest involving Mechabo. This is a convenient time to continue it; all the details are in our side quests guide.
Shiva: an optional Esper
On the continent with the Metal Cactuar island, look for the whirlpool. This is where you’ll find Shiva, an optional Esper we can now challenge. Save your game, check your elemental resistances and prepare your party before entering the battle.
Ifrit: the volcano east of Zoldaad
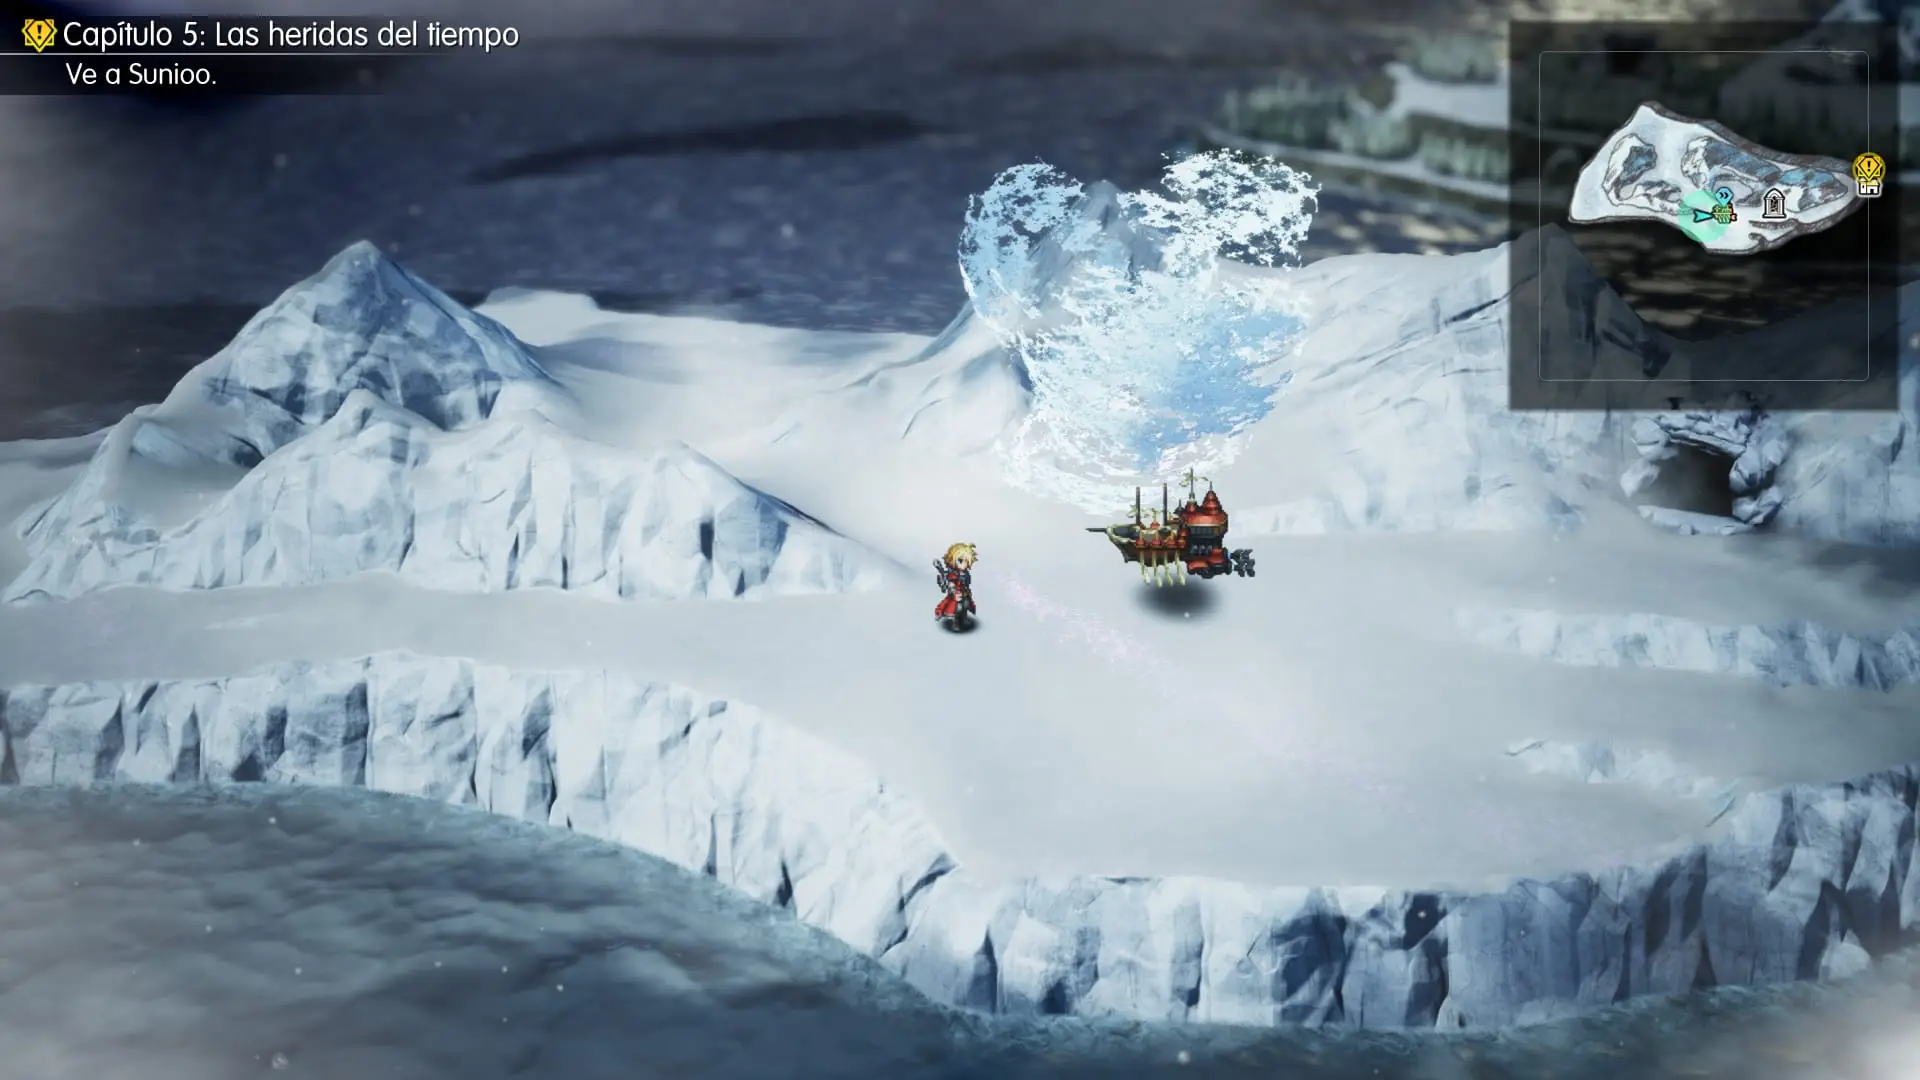
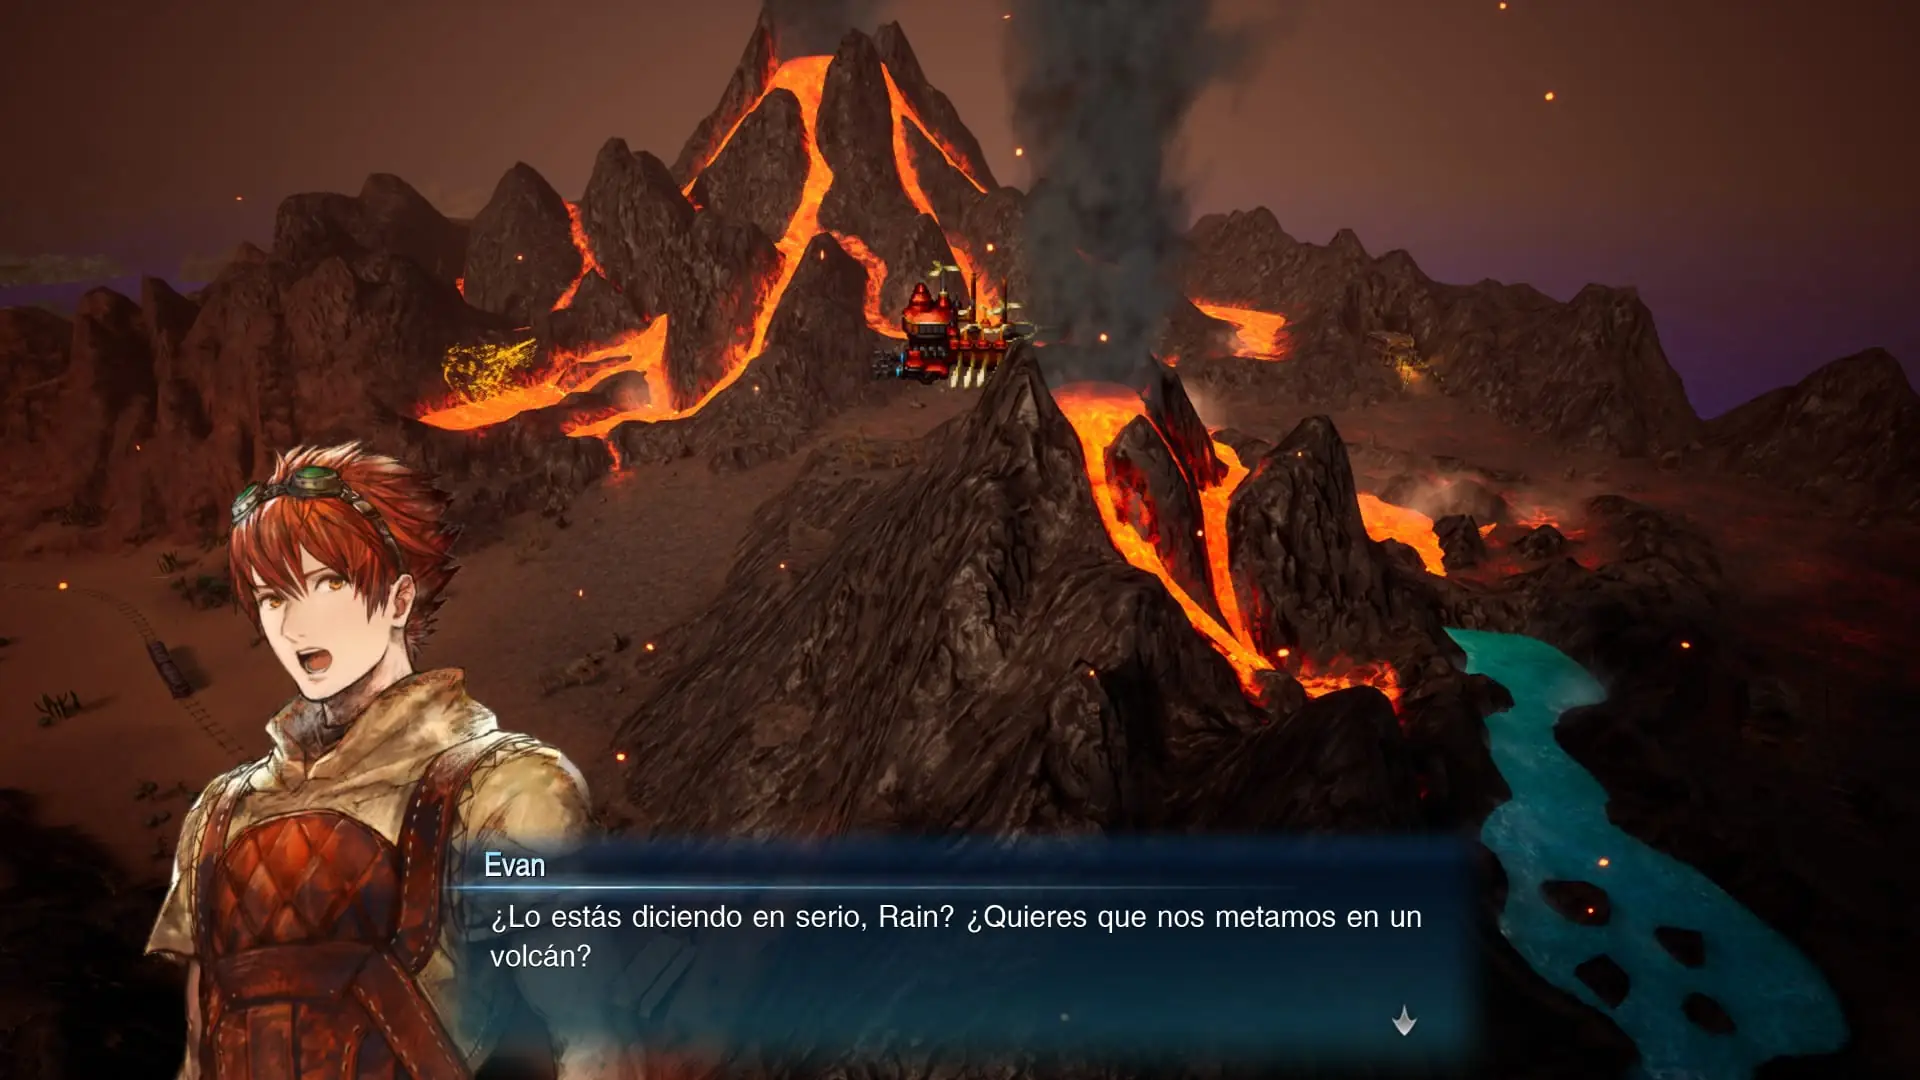
We can also challenge Ifrit at this point. Fly the airship east of Zoldaad and approach the volcano to find him. It’s another optional encounter worth considering before making our way to Sunioo.
Travel to Sunioo with the special potions
Board the airship once more and fly east from Mysidia. Sunioo is in the eastern part of the region, in a snowy area.
Land west of the village and approach along the path. Before entering, restore your HP and MP and prepare the party’s Wind abilities. As we approach Sunioo, the first major boss battle of this section begins.

How to beat Slagworm, the Sunioo boss
Use Wind to stagger Slagworm
The most effective strategy is to use Wind attacks from the start. Jake can use Gale Strike, while other party members can contribute spells such as Aerora or Aeroga, depending on their available abilities.
Despite its enormous HP pool, Slagworm has a relatively small Stagger Gauge, so we can break it several times during the fight. Make the most of every stagger window to deal heavy damage and heal before it starts moving again.
The boss is completely immune to Earth damage. Save Lid’s Earth abilities for another fight and focus on Wind instead.
What to do when Slagworm swallows a party member
Its devastating attack, Swallow, removes one character from the fight temporarily. While that character is inside, we cannot issue commands to them or heal them.
Keep using Wind to fill the Stagger Gauge. Staggering Slagworm can interrupt its attacks and give you room to recover. When it spits your ally back out with Regurgitate, heal them immediately: they can lose a large chunk of their HP.
Poison and party-wide attacks
Slagworm also uses attacks such as Snowstorm and Secrete Acid, which can affect multiple party members and inflict Poison. Keep Fina ready to heal and remove status effects.
First Tablet Shard in Sunioo
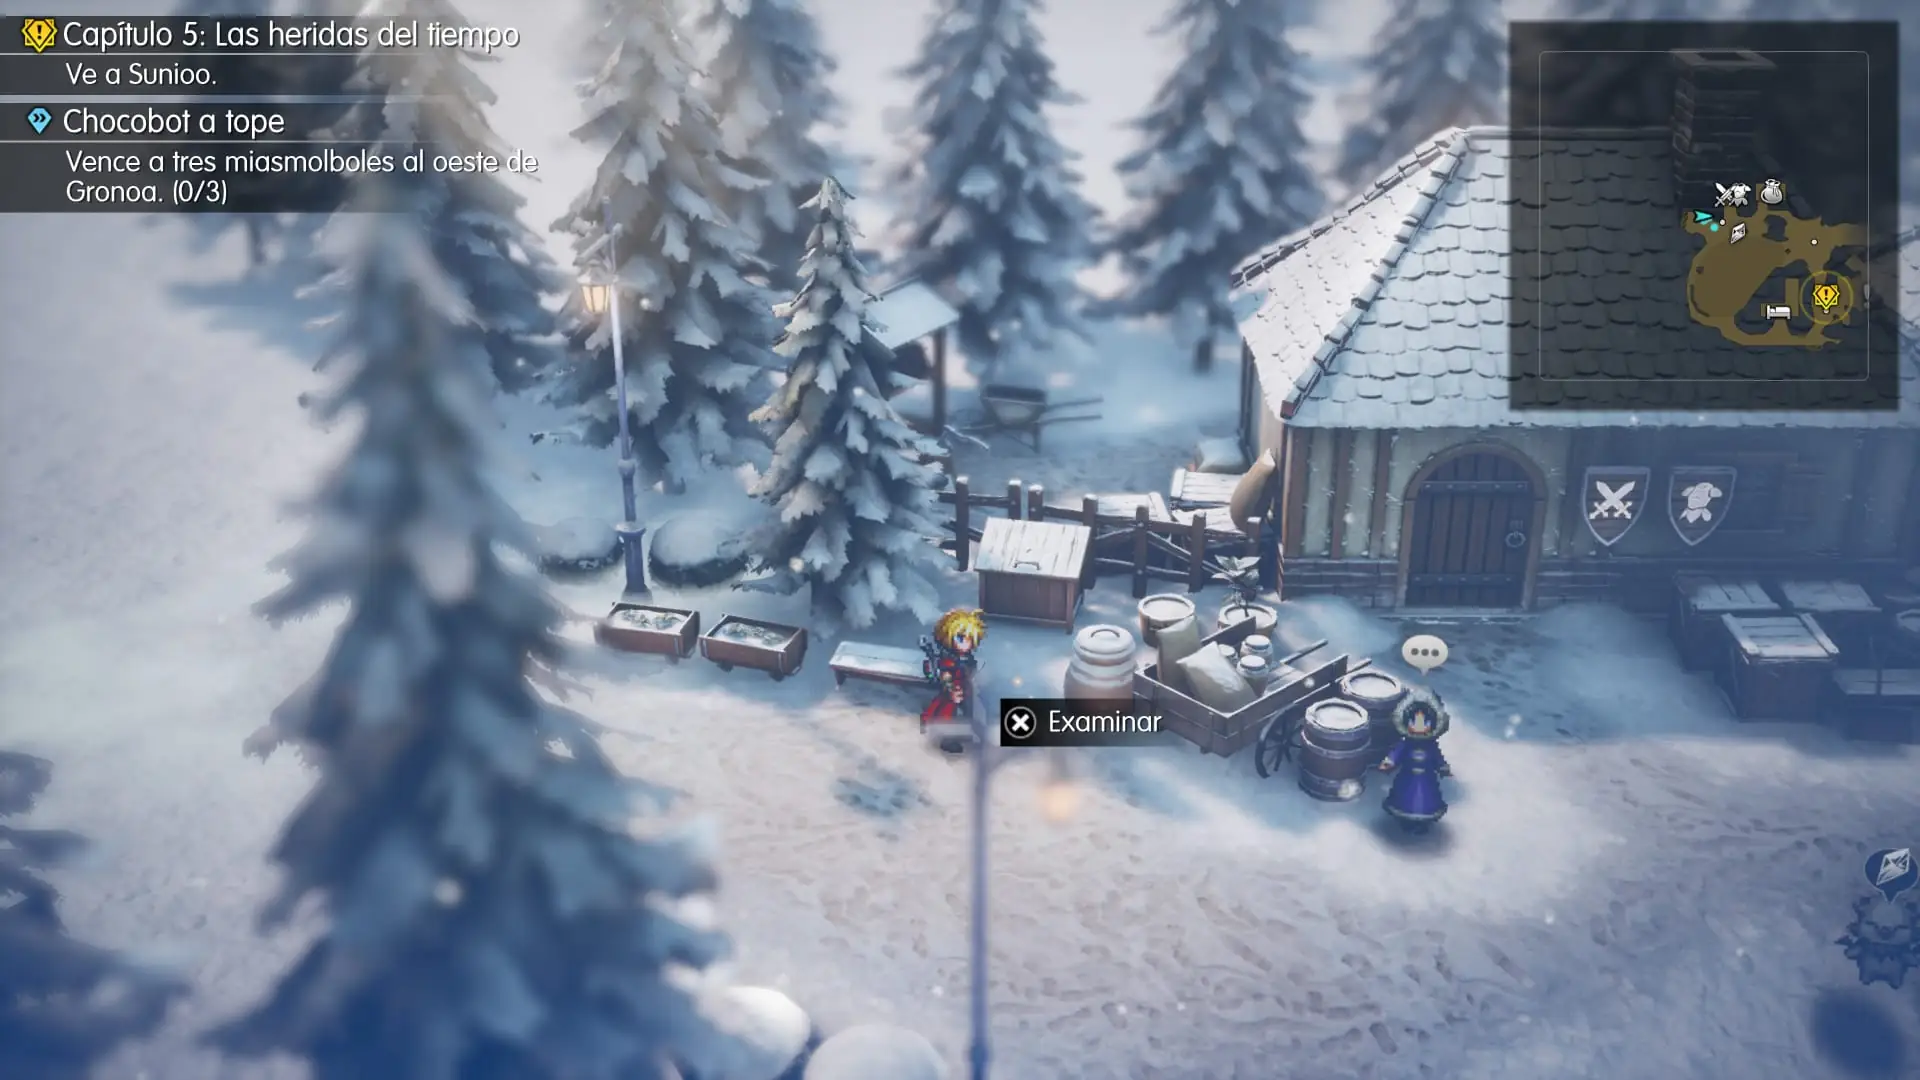
Once Slagworm is defeated, we can enter Sunioo. Just a few steps beyond the entrance, look for a sparkle between a bench and a pot.
Examine it to collect the first Sunioo Tablet Shard, the fourth one in this guide.
Treasure chests in central Sunioo
From the entrance, explore the center of the village and find the chest near the frozen ground. It contains Fuma Shuriken ×2.
Head towards the item shop and look closely at the partly hidden passage immediately to its right. Follow it to the end to find the chest holding the Arcane Coat, a useful piece of armor for characters who need extra magical protection.
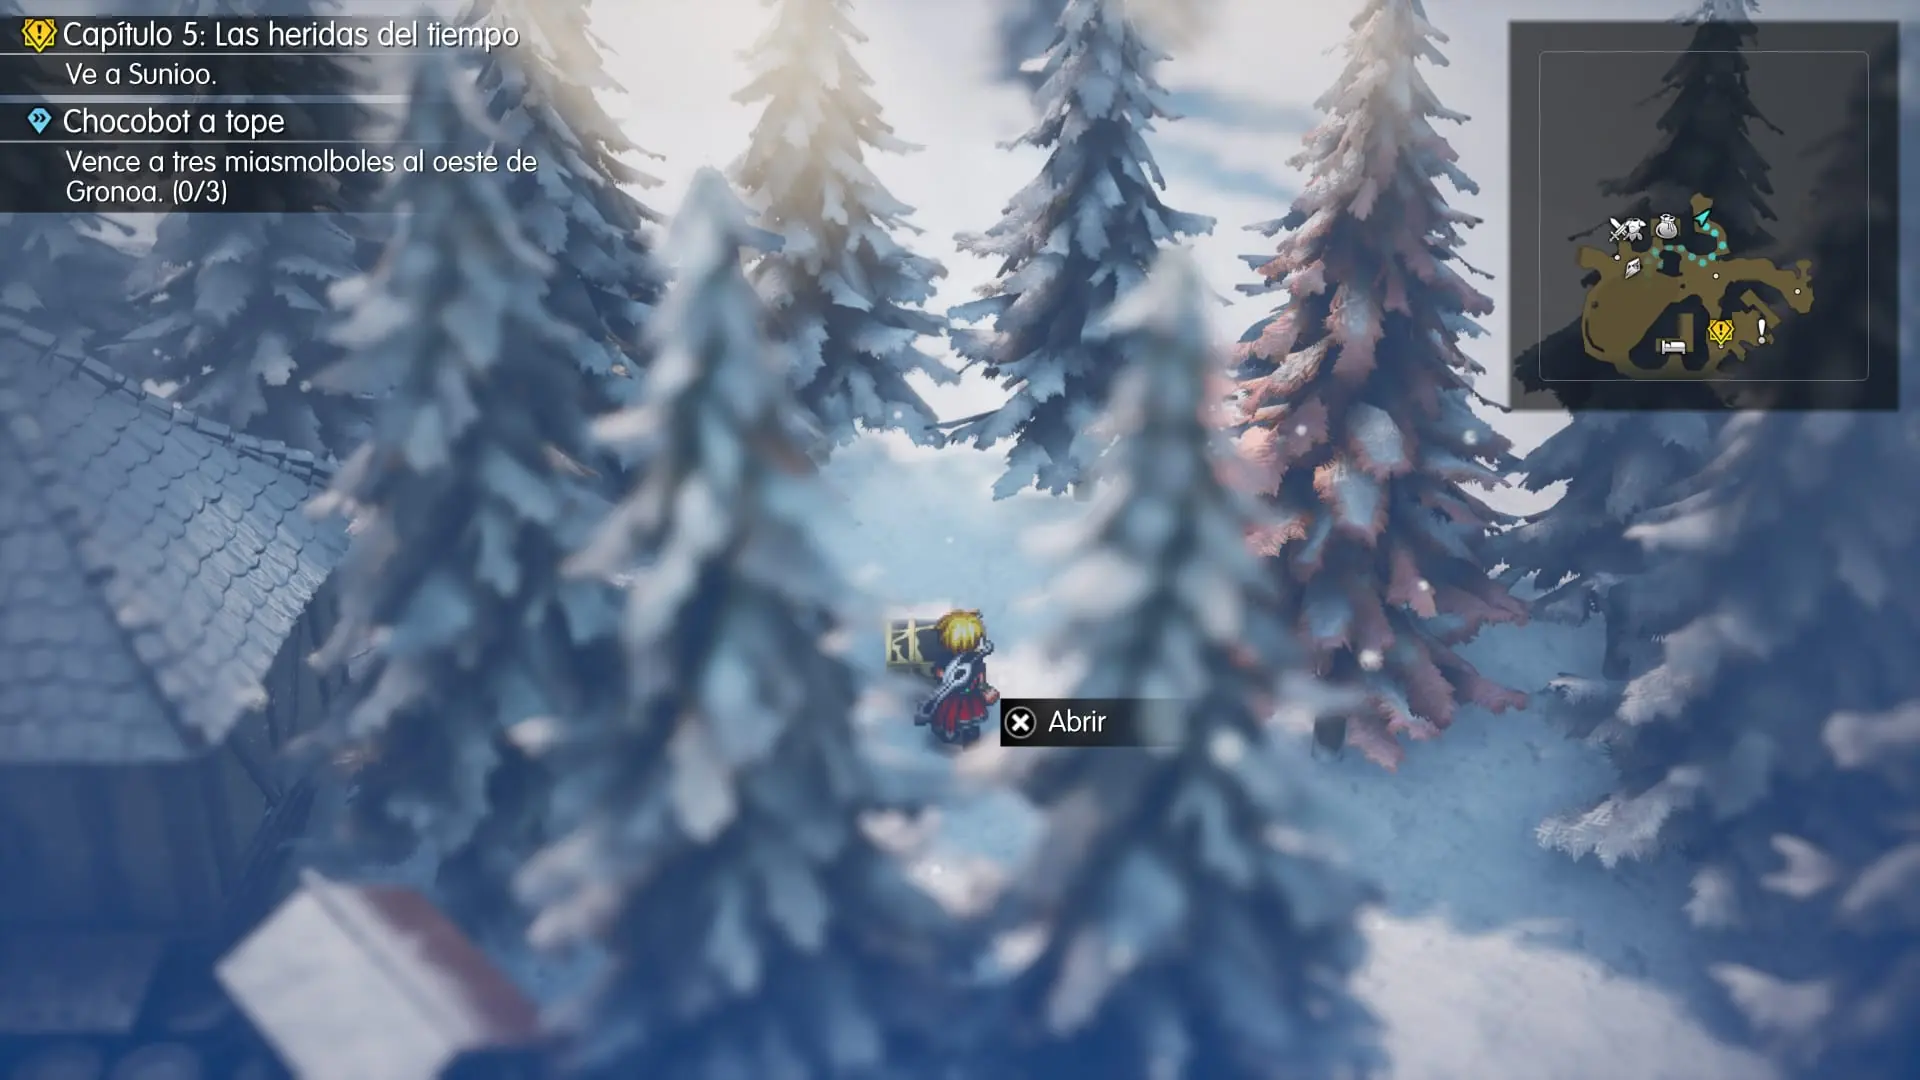
Now go into the inn and open the chest inside to obtain Water Scroll II ×2.
Phoenix Pinions and the second Sunioo Tablet Shard
From the center of the village, head east and enter the house beside the notice board. Inside is a chest with Phoenix Pinion ×2.
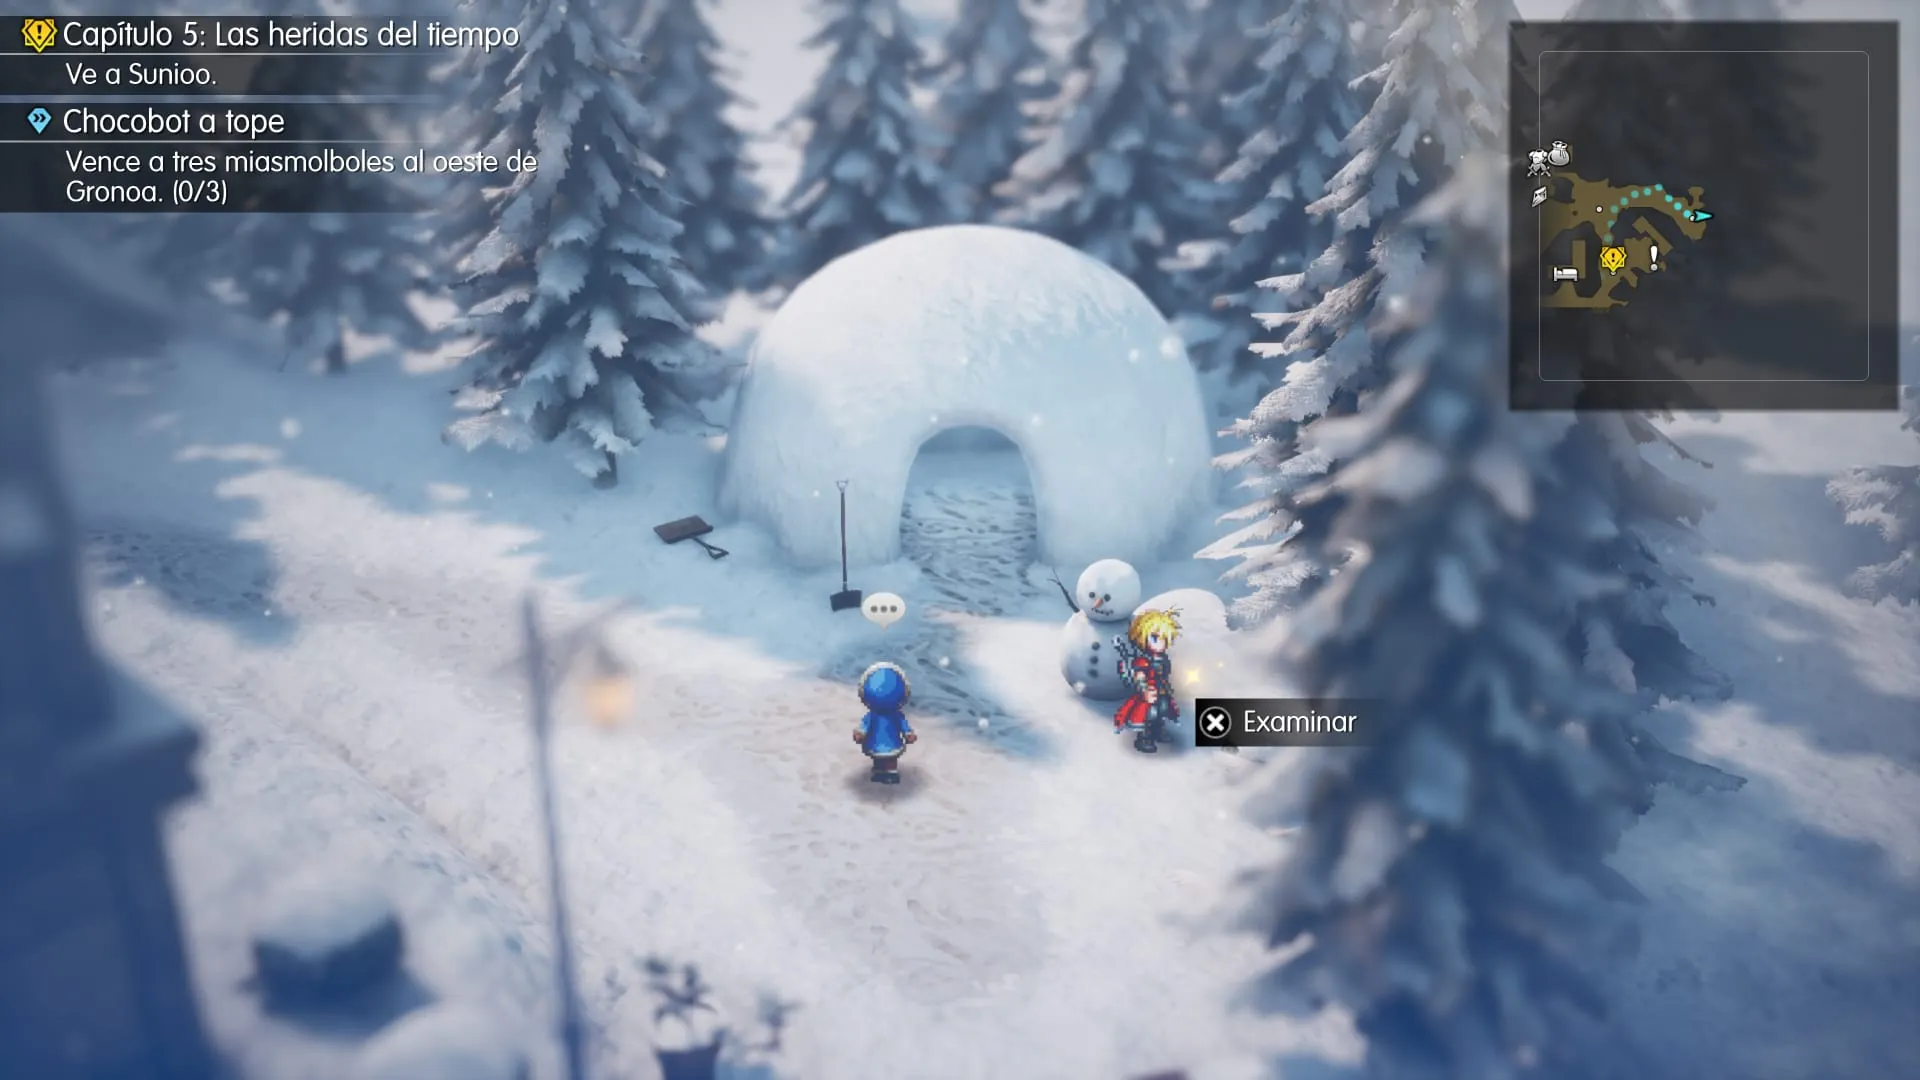
Continue towards northeastern Sunioo. Near one of the igloos, you’ll see a snowman. Examine the ground beside the snowman to pick up Sunioo’s second Tablet Shard—the fifth and final shard in this first part of Chapter 5.
Resonate Staff and “The Empire’s Future”
Now find one of the igloos in the northeastern area and enter it to open the chest containing the Resonate Staff. We collect the nearby Tablet Shard first, so there’s no need to backtrack from the igloo.
While exploring Sunioo, you’ll also unlock the Active Time Chat “The Empire’s Future”. Check your available conversations before leaving the village.
That’s all five Sunioo treasure chests: Fuma Shuriken, Arcane Coat, Water Scroll II, Phoenix Pinion and Resonate Staff.
Speak to the village chief and deliver the potions
With all the treasure collected, follow the yellow story marker to the village chief near the large building. Speak with him to deliver the special potions from Mysidia and continue Sakura’s story scenes.
After the conversation, you’ll be given a dialogue choice. Each response permanently raises one of Sakura’s attributes, so think about how you want to build her for the rest of the adventure.
“With your magic at our side, I bet we can finally give the Sworn Six a run for their money.” Maximum MP +10.
“And you’re a wise person, Sakura. You made me reflect on a lot of things. Thanks.” Magic +3.
“Yep, you’ll never be bored when you’re traveling with us, I guarantee it.” Spirit +3.
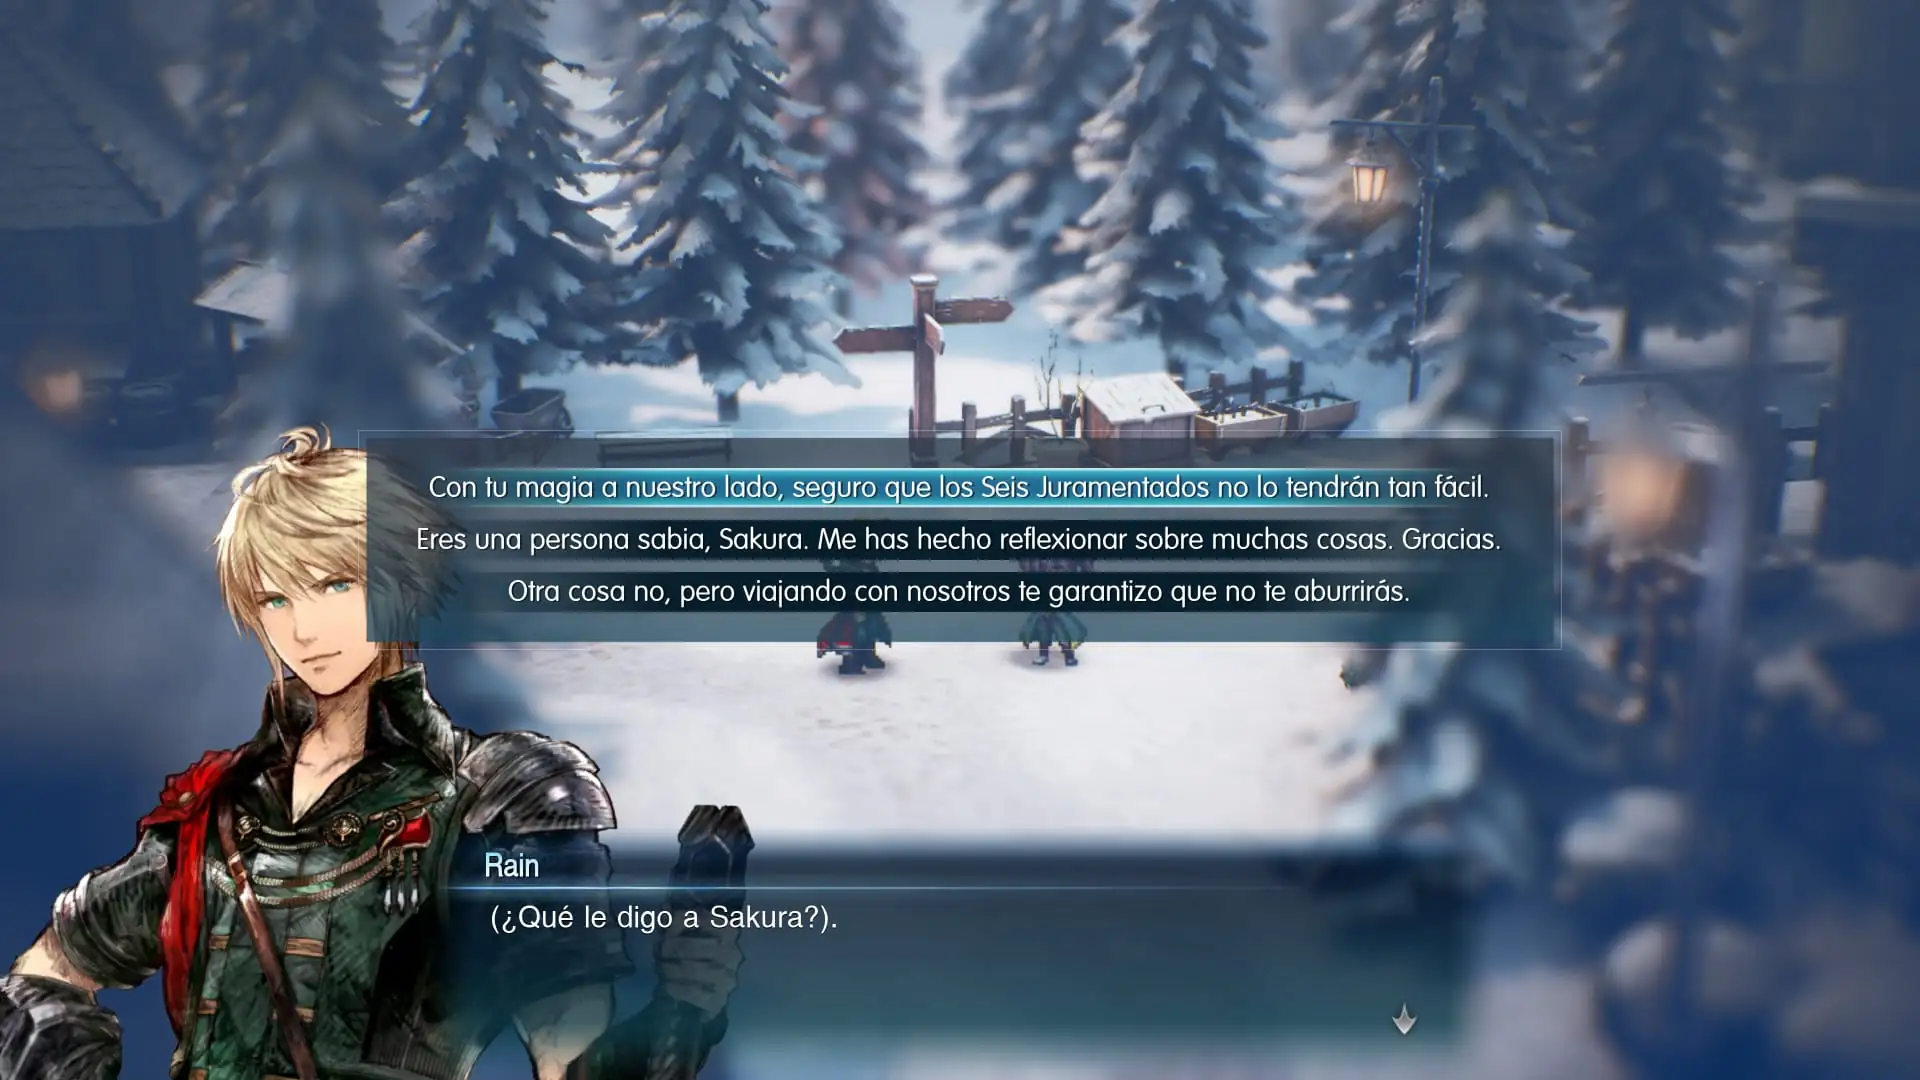
If you plan to use Sakura as a magic attacker, the second option is particularly useful. If you prefer a little more MP for longer fights, the first option is also a solid choice.
Side quest: Victoria Revivified
After delivering the potions in Sunioo, the side quest Victoria Revivified becomes available in Mysidia. When you return to the city for this quest, you can also trigger the Active Time Chat “Quaking Desert”.
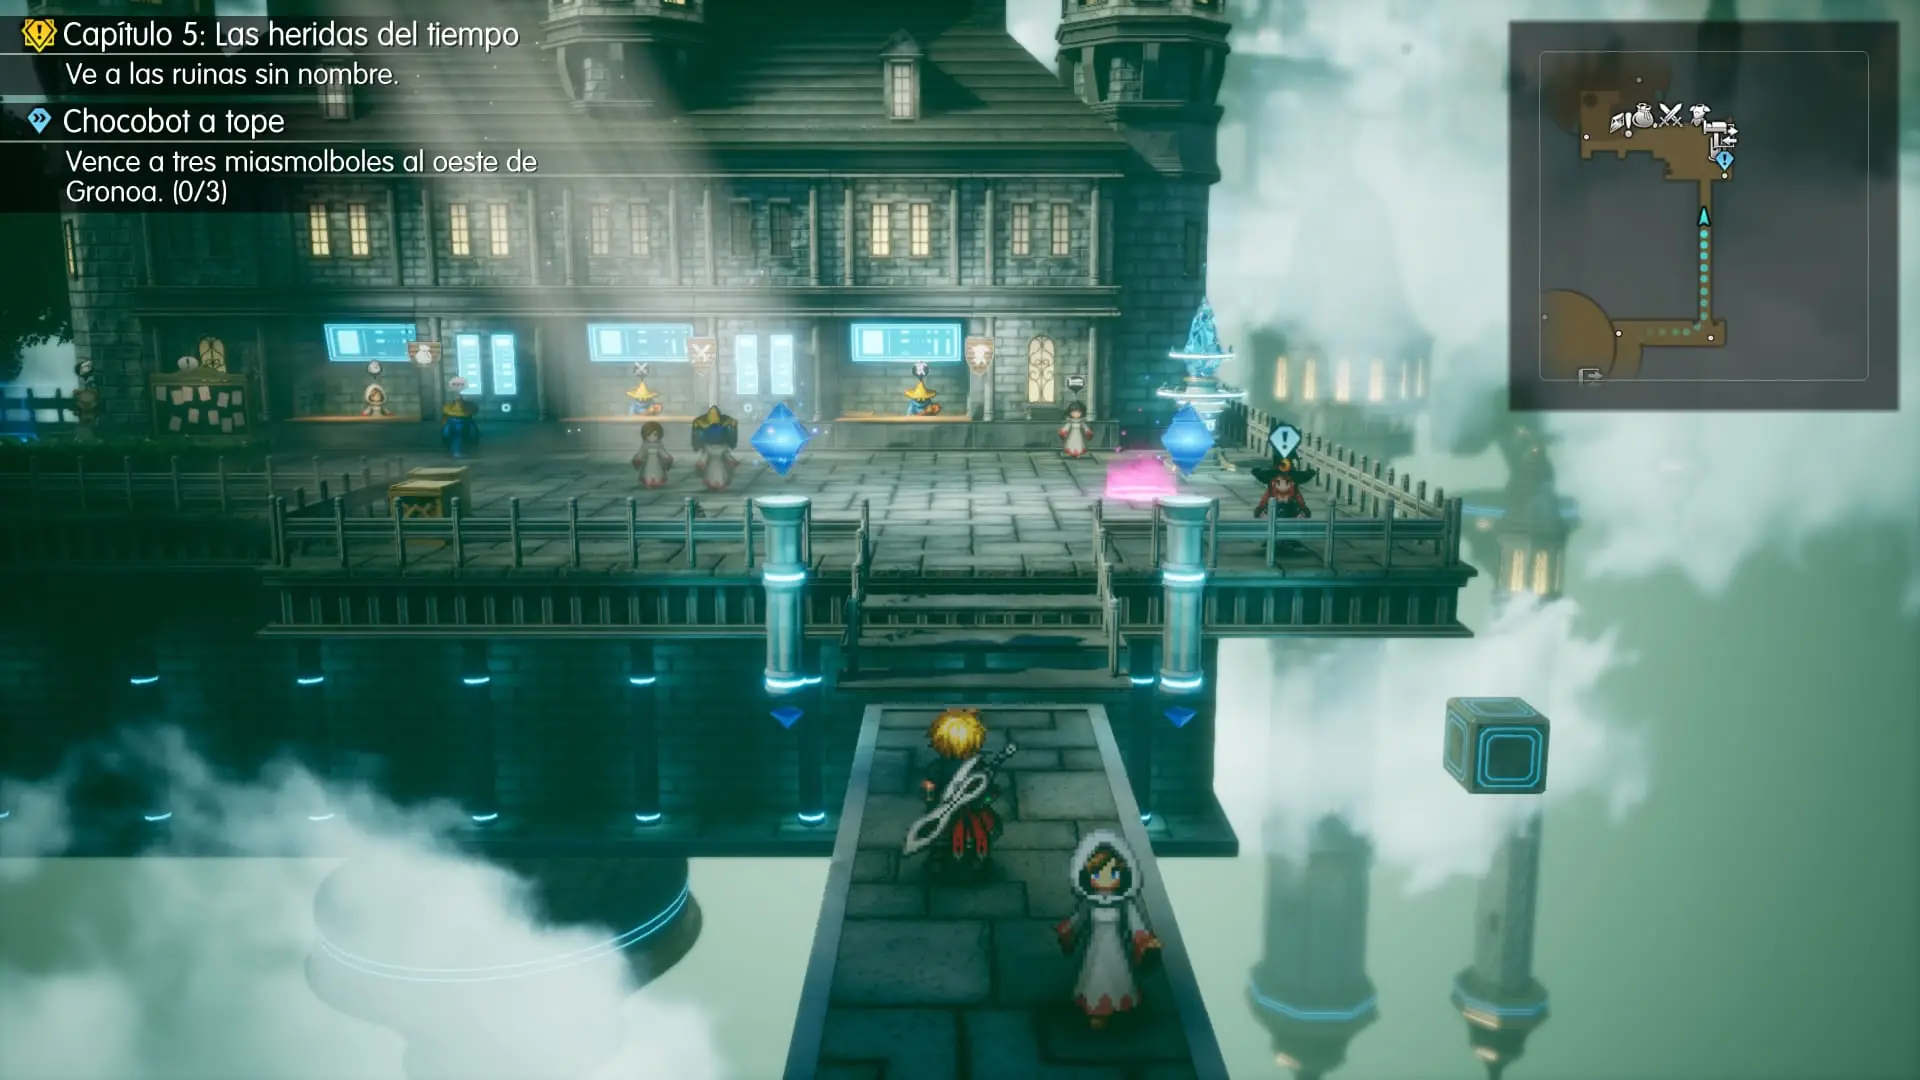
This quest takes us to several places around Mysidia and involves a battle against a group of enemies before we return to finish it. The rewards are Victoria’s Vision and Magicite. For the complete route, see our Final Fantasy Resonance side quests guide.
Next destination: Nameless Ruins
After speaking to Sunioo’s chief, the main story leads us to the Nameless Ruins, south of Mysidia. We’ll explore a new dungeon and confront two guardians before continuing the mystery surrounding the crystals.
That concludes the first Chapter 5 walkthrough, with five Tablet Shards, the chests in both settlements, three Sanctums, Victoria’s Vision and all three moogle tag challenges covered.

Medios amigos

Un medio de videojuegos dedicado a los RPGs.