


After getting the Aerialboard, the story points us toward Efreet Gorge, but we are going to detour first to Chambard, to the north. It’s well worth exploring the city before facing the heat of the next dungeon: here we can grab two recipes, two Lenses, play the balloon minigame, enter a cooking contest, and cross paths with Katrine again.
Afterwards, we’ll explore the world map to find another Lens and a Combat Command. The second half of this guide will take us into Efreet Gorge, where we’ll have to manage the intense heat and return to three locked doors after defeating the boss to collect their rewards.
First visit to Chambard: all the secrets
Upon entering Chambard, Reid makes it clear he isn’t exactly thrilled by the heat. We don’t have to trigger any mandatory scenes to progress just yet, so we can take our time and search the entire city. Start at the inn, in the first area, because there are two things to grab here without spending a single Gald.
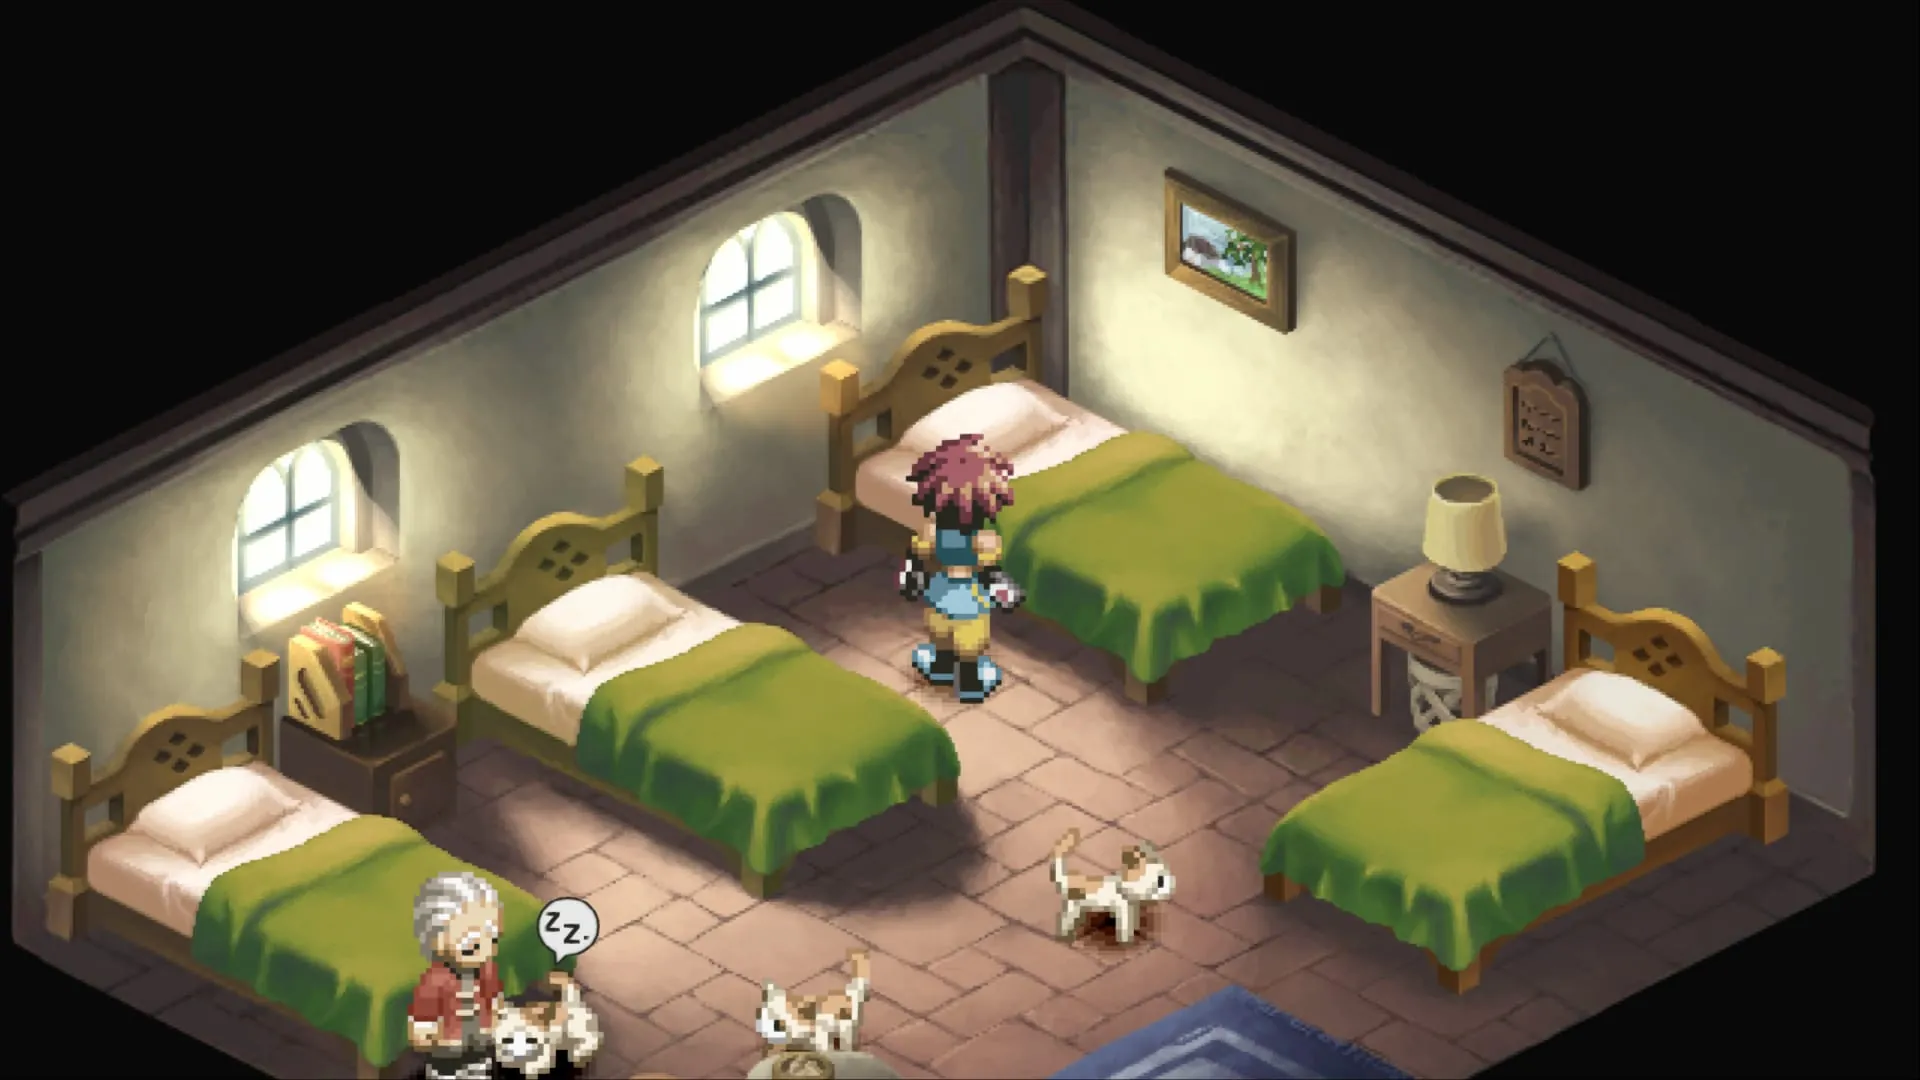
Enter the bedroom and inspect the blue vase located near the door. You’ll find 1,000 Gald. Then, look for the bed in the upper right corner. Examine it: we will discover another appearance of the Wonder Chef. We will learn the Carbonara recipe, whose ingredients are Pasta, Cheese, Eggbear Meat, Egg, and Milk, and we’ll receive the ingredients to cook it for the first time.
Irene the collector and her rewards
Leave the inn and head up the stairs to the upper area. Around here we’ll find Irene, a girl interested in the Lenses we’ve been collecting throughout our adventure. From now on, we can talk to her every time we reach a new collection milestone.
Rewards are given for collecting specific amounts of Lenses. If you have been following our guide since Rasheans, you should already be able to claim the 10 and 20 Lens rewards, provided you’ve also picked up the ones from our indicated detours.
- 10 Lenses: Combo Command.
- 20 Lenses: Inferia Cape, very useful for its fire resistance.
- 30 Lenses: Celestia Cape.
- 40 Lenses: Special accessory.
- 50 Lenses: Krona Symbol.
- 60 Lenses: Lens Hunter title for Reid.
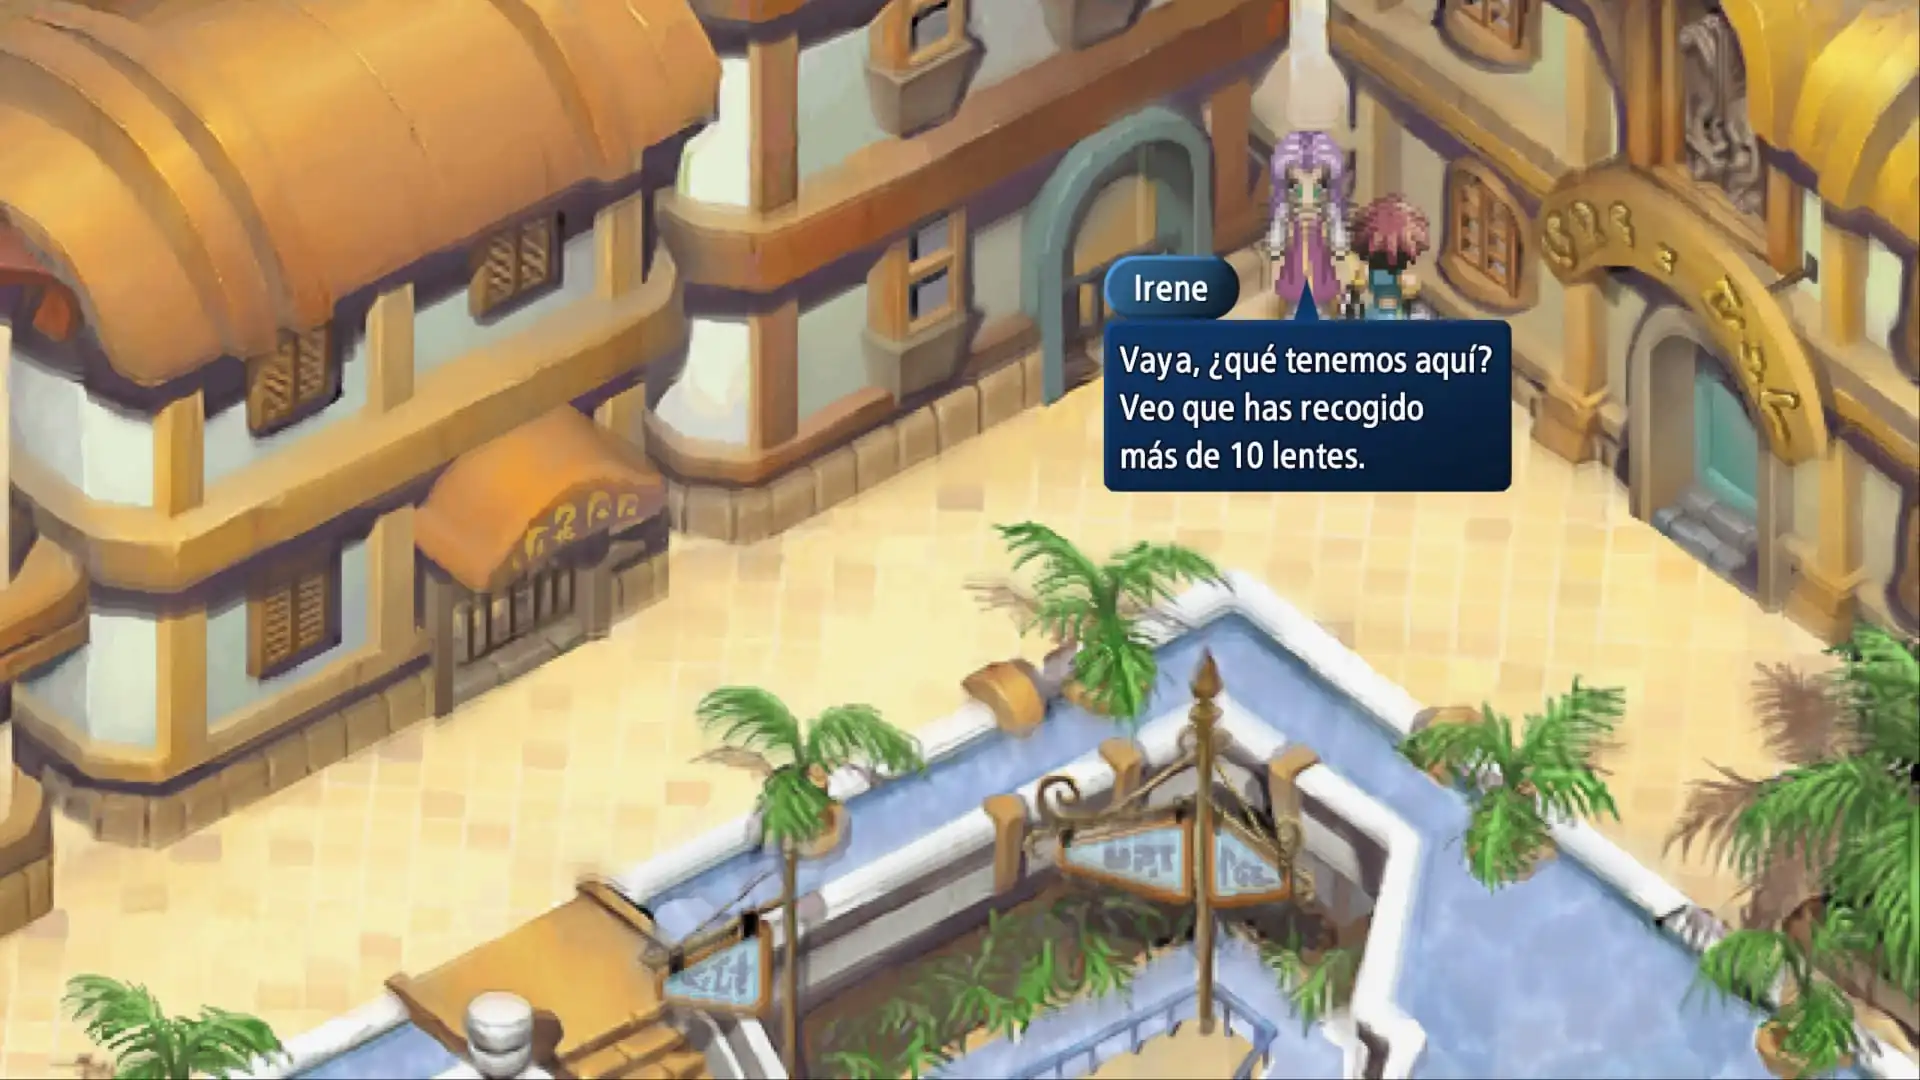
The Inferia Cape from the 20 Lenses provides 40% fire resistance. Before setting off for the Gorge, check which character can equip it: it’s a great way to put the Lenses we’ve collected to use without relying on additional purchases.
A hidden Rune Bottle in the shop
Next to Irene’s area is an item shop. Go inside and head to the right side of the interior: look for a large red container and examine it to get a Rune Bottle. Save it until you know exactly which item you want to transform, as some combinations are much more worthwhile than others.
First Lens in Chambard: the fountain and the statue
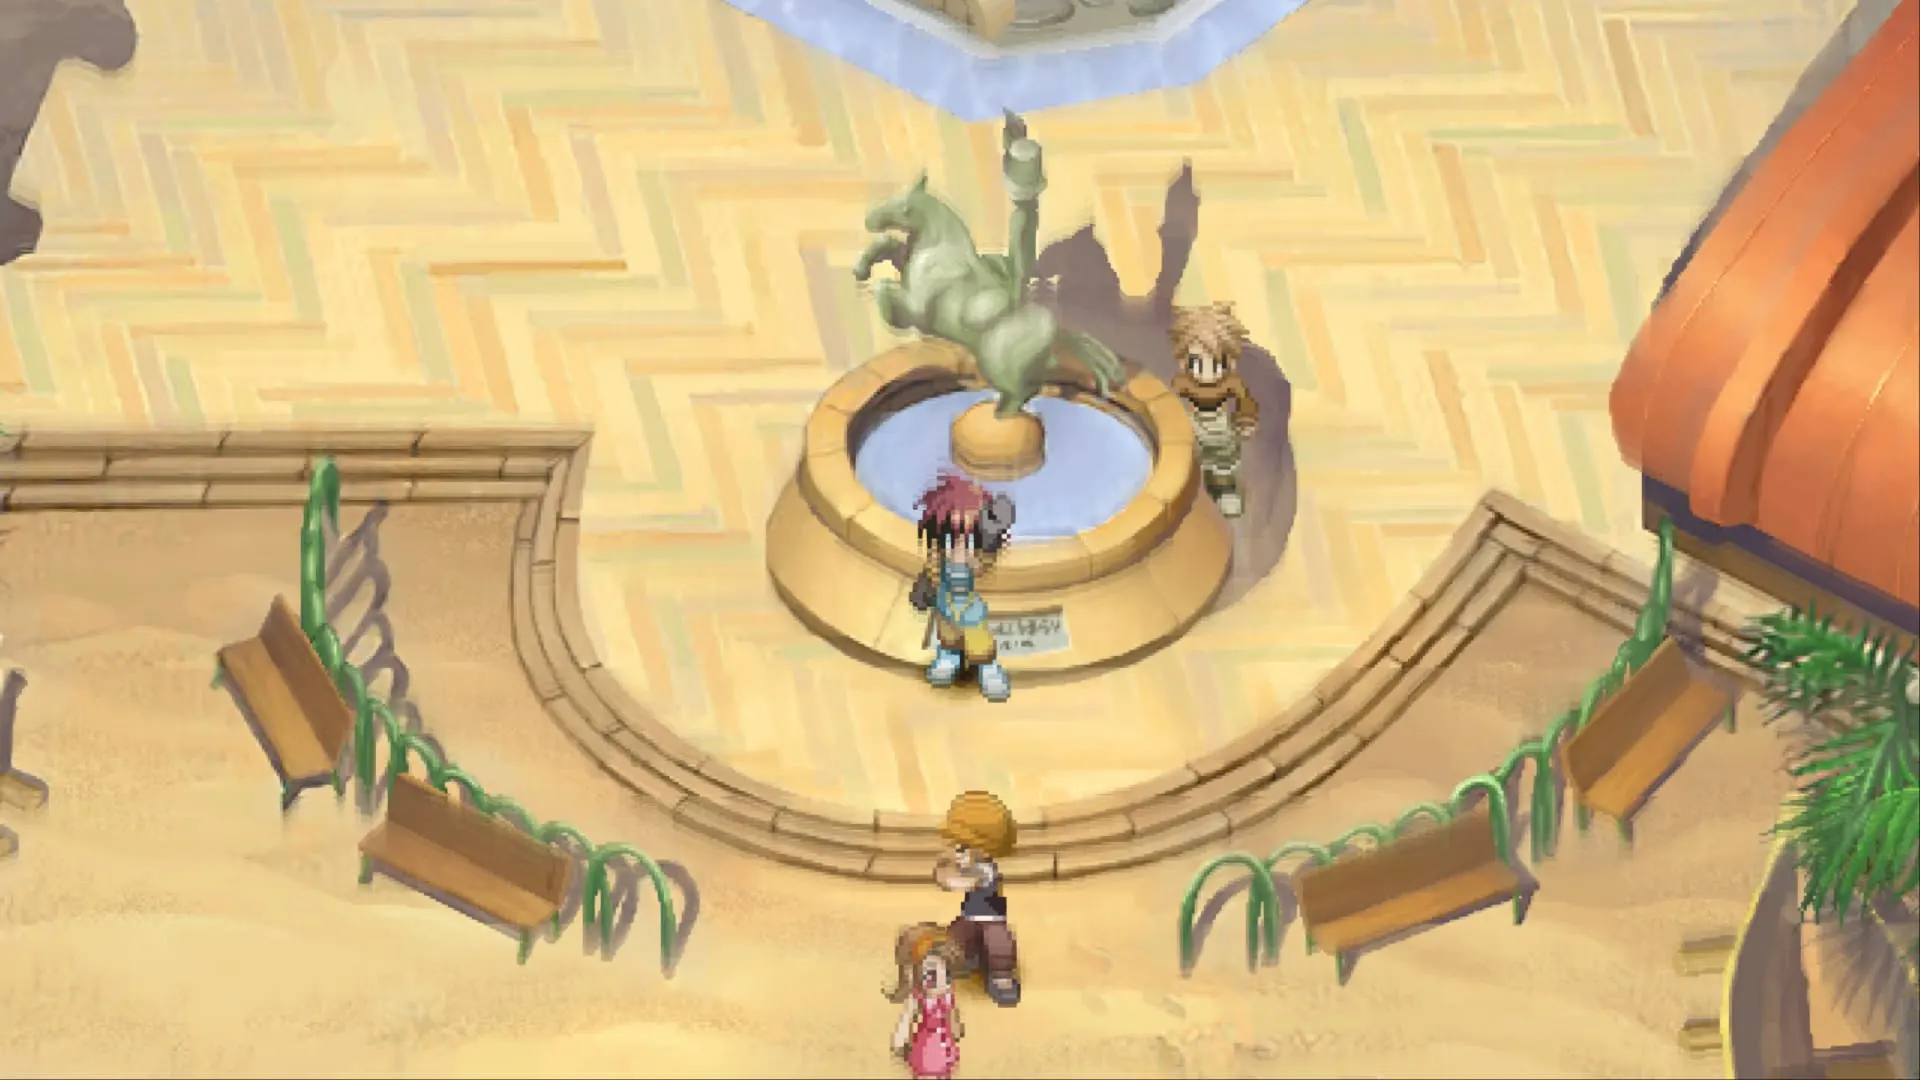
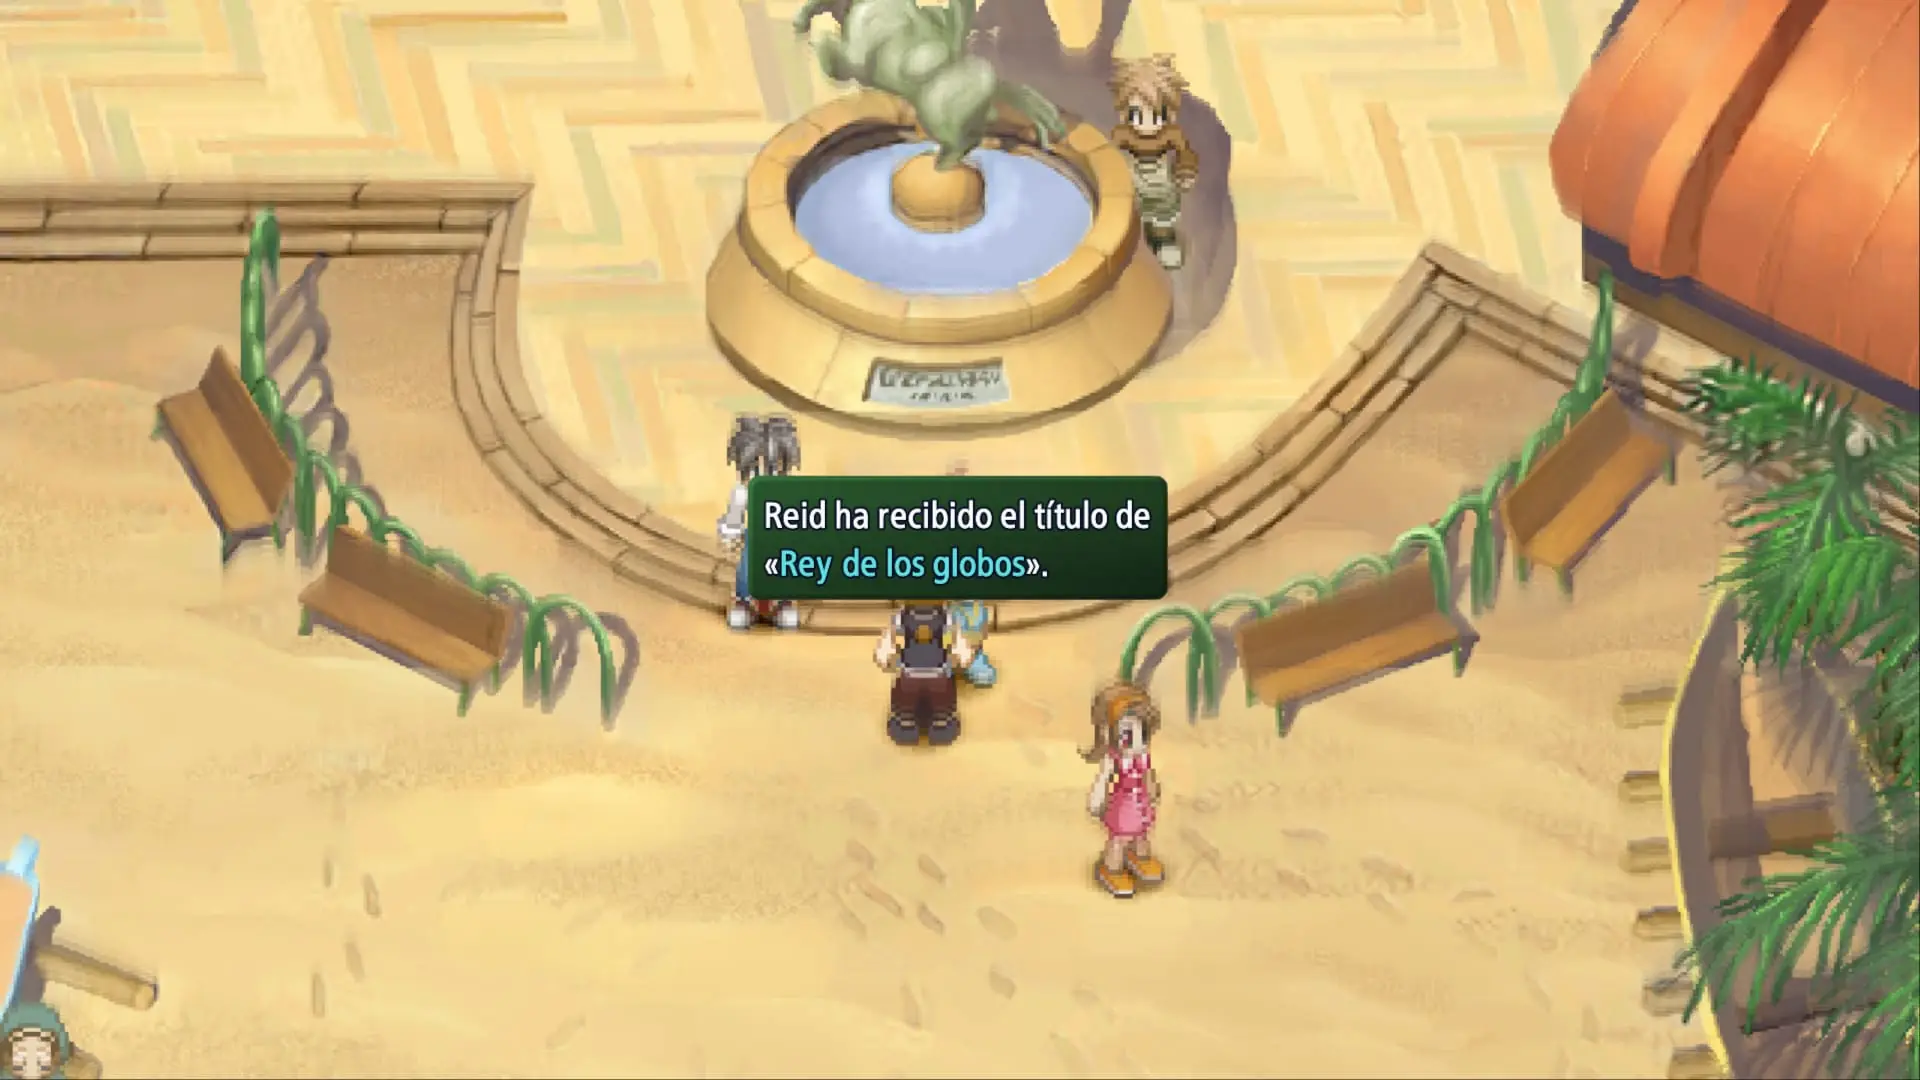
Head back to the lower part of the city and continue to the left, until you reach the fountain area near the beach. Here you’ll see a statue over the pond and the man organizing the balloon minigame. Approach the front of the fountain, right by the base of the statue, and examine it to get the first Lens in Chambard.
The chest on the beach
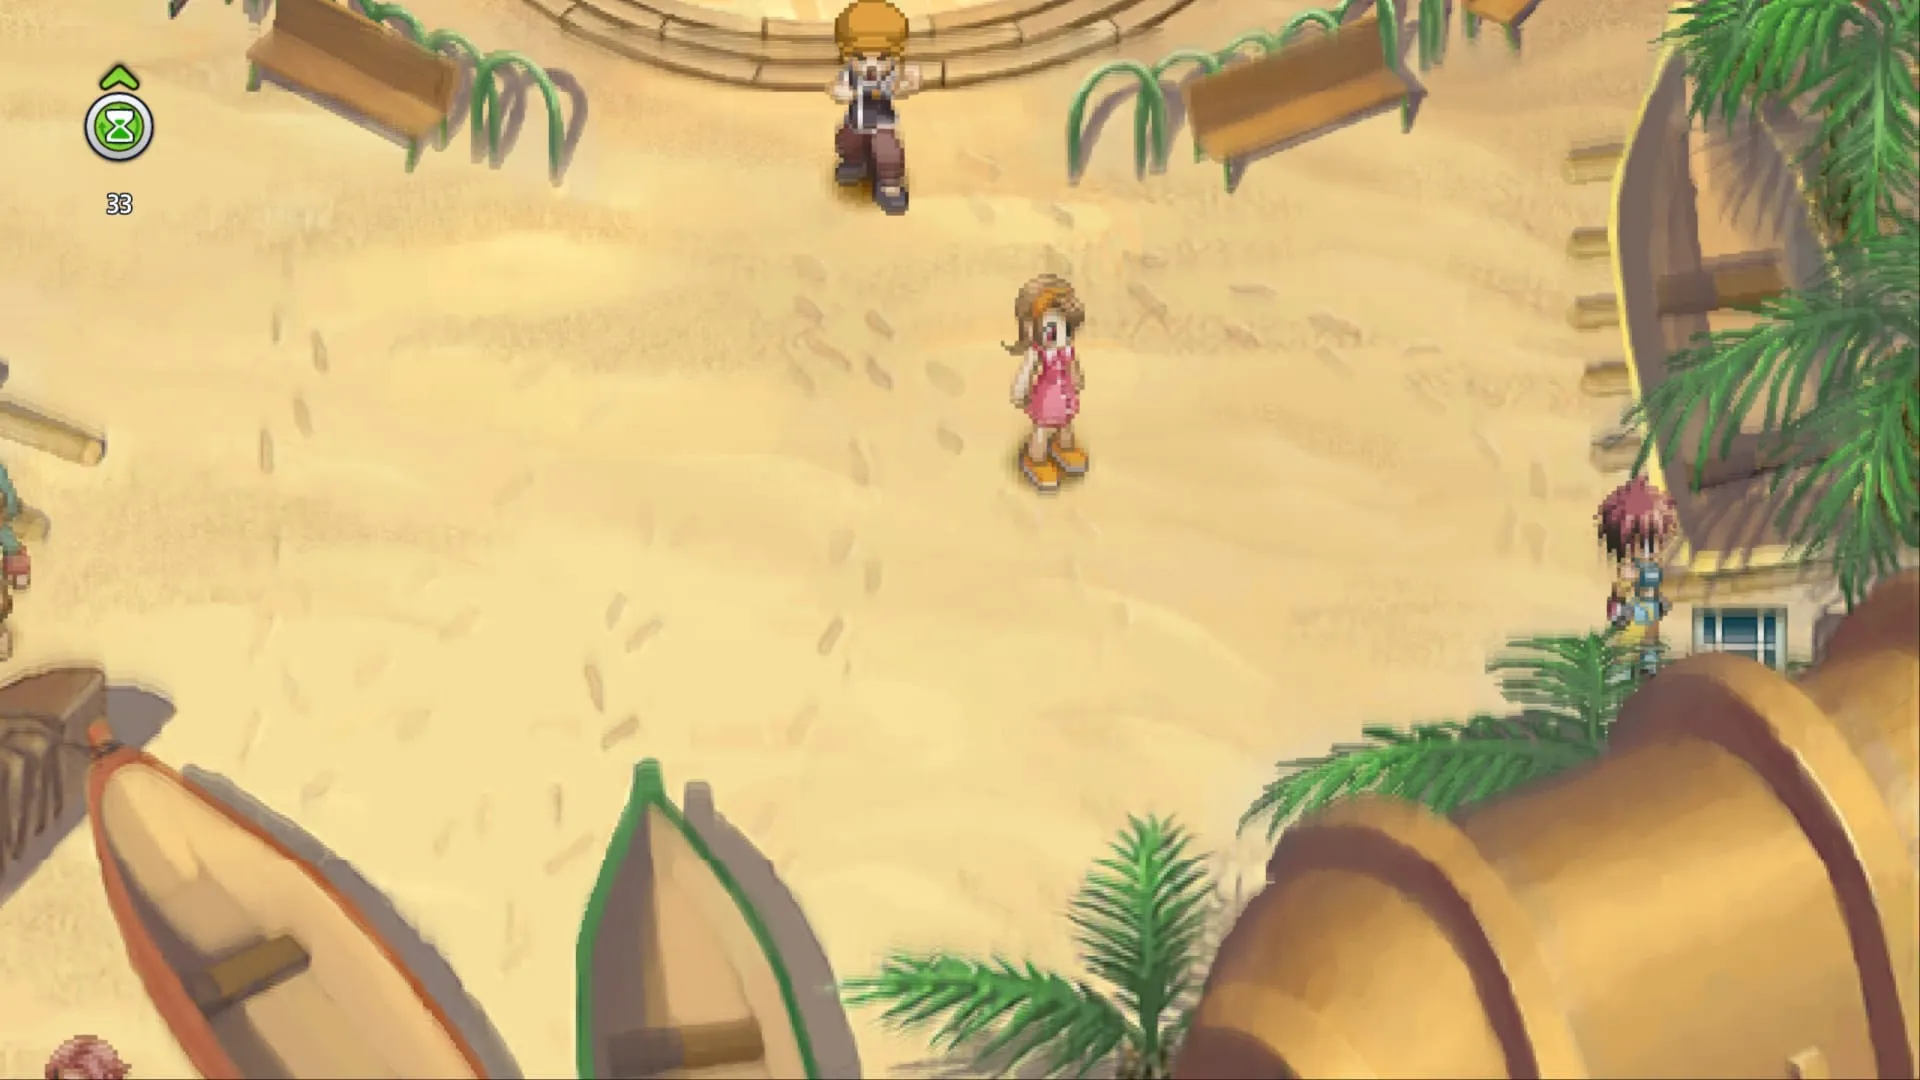
Before participating in the balloon minigame, go down to the beach and walk across the sand to the far right end. You will find a chest containing the Elven Boots, an accessory that improves the movement speed of the character wearing them. Equip them on Reid before returning to the man waiting near the fountain: they will come in handy right away.
Balloon minigame and cooking contest
How to win the balloon minigame
Talk to the man standing by the fountain, between the benches. He will invite us to participate in an activity where Reid must destroy all the balloons before time runs out. We’ll have to move fast, as they are placed at different heights and distances.
This first version of the challenge consists of five consecutive phases. We control Reid and can use his equipment and combat artes, so set up your skills before starting. The best approach is combining fast movements with strikes capable of reaching high targets or multiple balloons at once. The Elven Boots help you get around; use jumps and aerial skills for the high balloons.
Participating costs 50 Gald. It’s not enough to clear one phase and leave: you must chain all five. If you change zones mid-attempt, your progress resets. That’s why it’s best to equip the Elven Boots and adjust Reid’s skills without leaving the minigame area beforehand.
In the first two phases, it works well to attack the low balloons with quick strikes and save an upward movement for the ones above Reid. In the third, jumping will be more important; in the fourth and fifth, you should alternate between aerial attacks and strikes with some reach. If you fail by a narrow margin, pay attention to which balloon is always left behind and change the order of your attacks to reach it sooner.
Beating all five phases earns Reid the King of Balloons title. Replaying this first version of the challenge can be used to farm Melange Gels. Also, talk to the man standing near the inn after achieving victory to receive an extra 100 Gald. Make sure to talk to Aya as well, the girl hanging around this area; this conversation is useful for obtaining another prize when we return later.
Katrine and Pierre: the clothing store scene
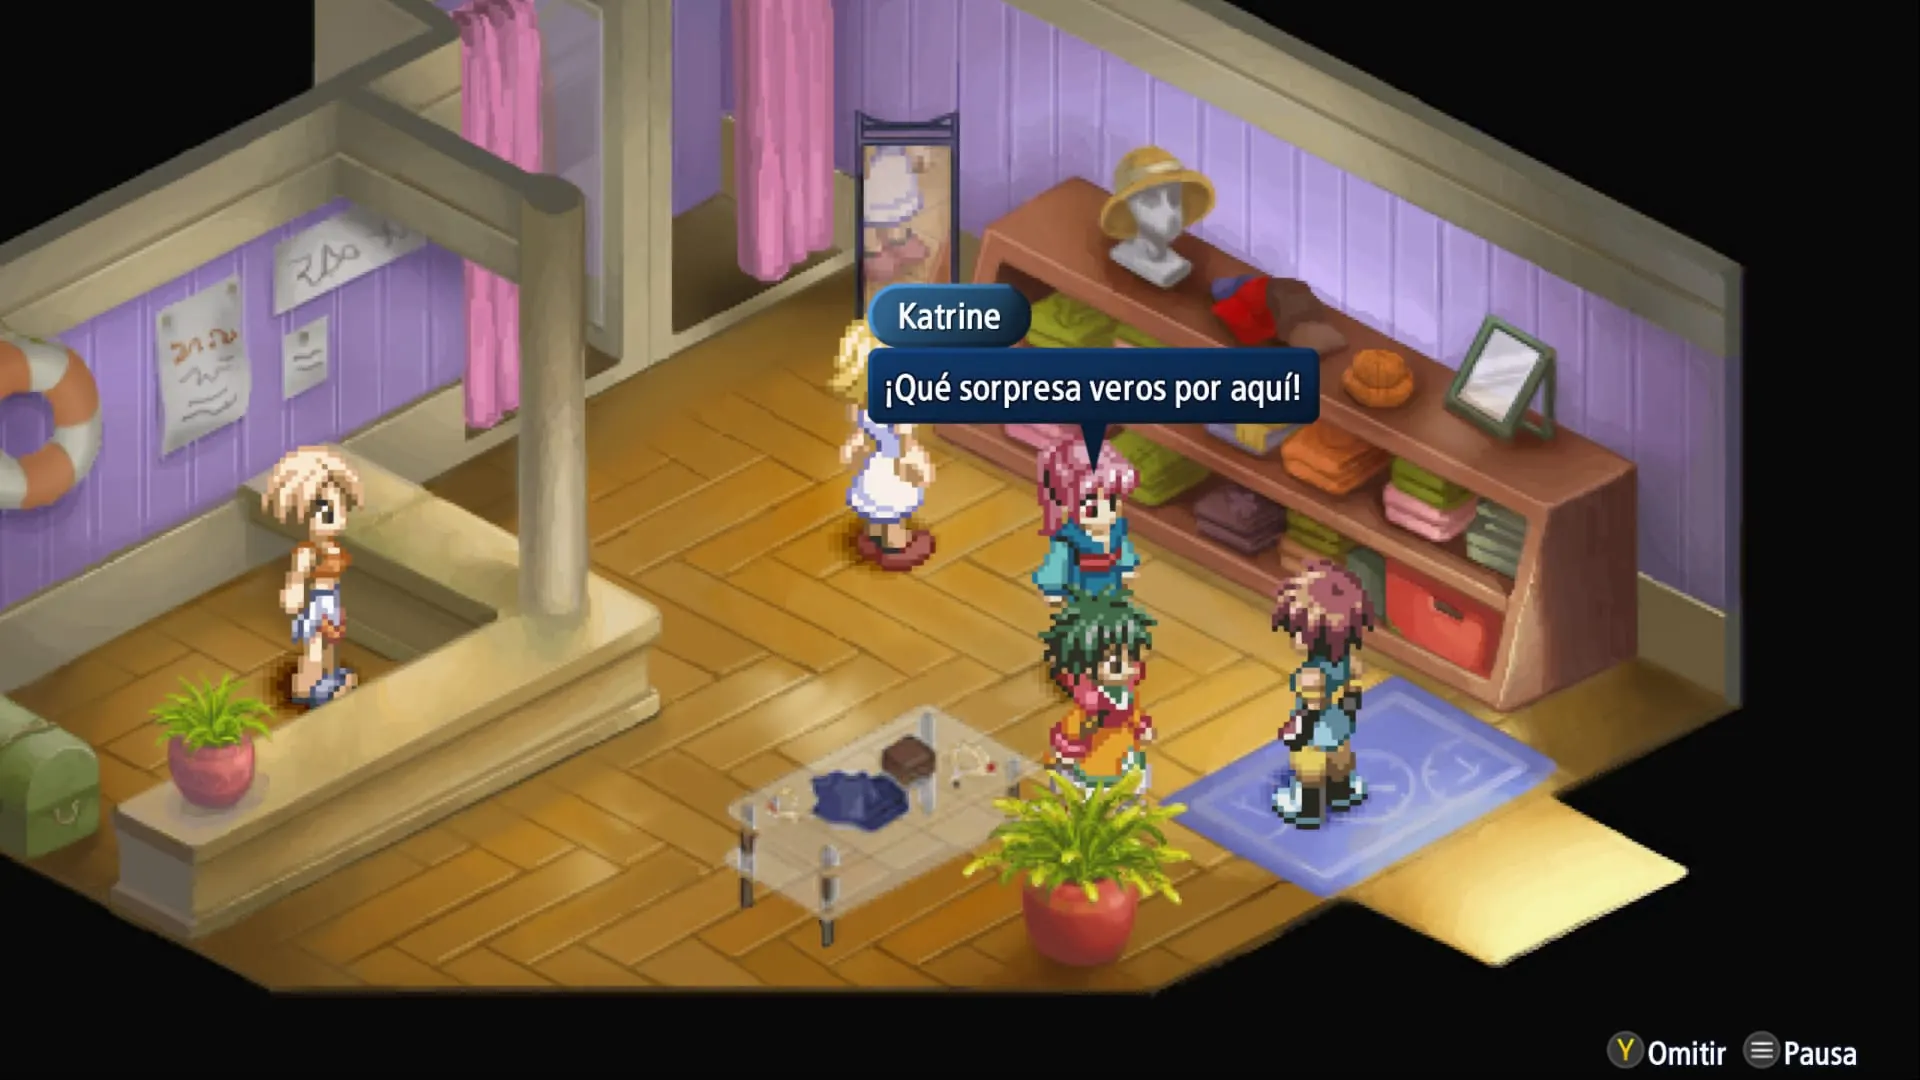
When you’re done with the balloons, head back to the upper part of that area and look for the clothing store, recognizable by its red door. Inside we’ll find Katrine again, having trouble with the prices the clerk is offering her. Farah will intervene and we’ll see a new scene regarding her story with Pierre. Make this visit now, before entering Efreet Gorge.
To get her best outcome, you should have already found her in Mintche, Morle, Barole, and the ship, as well as here. After the Gorge, we’ll have yet another opportunity related to her at the Regulus Dojo.
Chambard’s restaurant and its hidden room
Look for the building with the giant fork and spoon: it’s Chambard’s restaurant. Right as you enter, head right and walk behind the girl sitting down. You’ll reach an inner area with two chefs and an ingredient shop. If you want to train your cooking, you can take this opportunity to buy ingredients and check who’s cooking after battles. Back in the main area, talk to the character who explains how auto-cooking works.
Second recipe: Pescatore
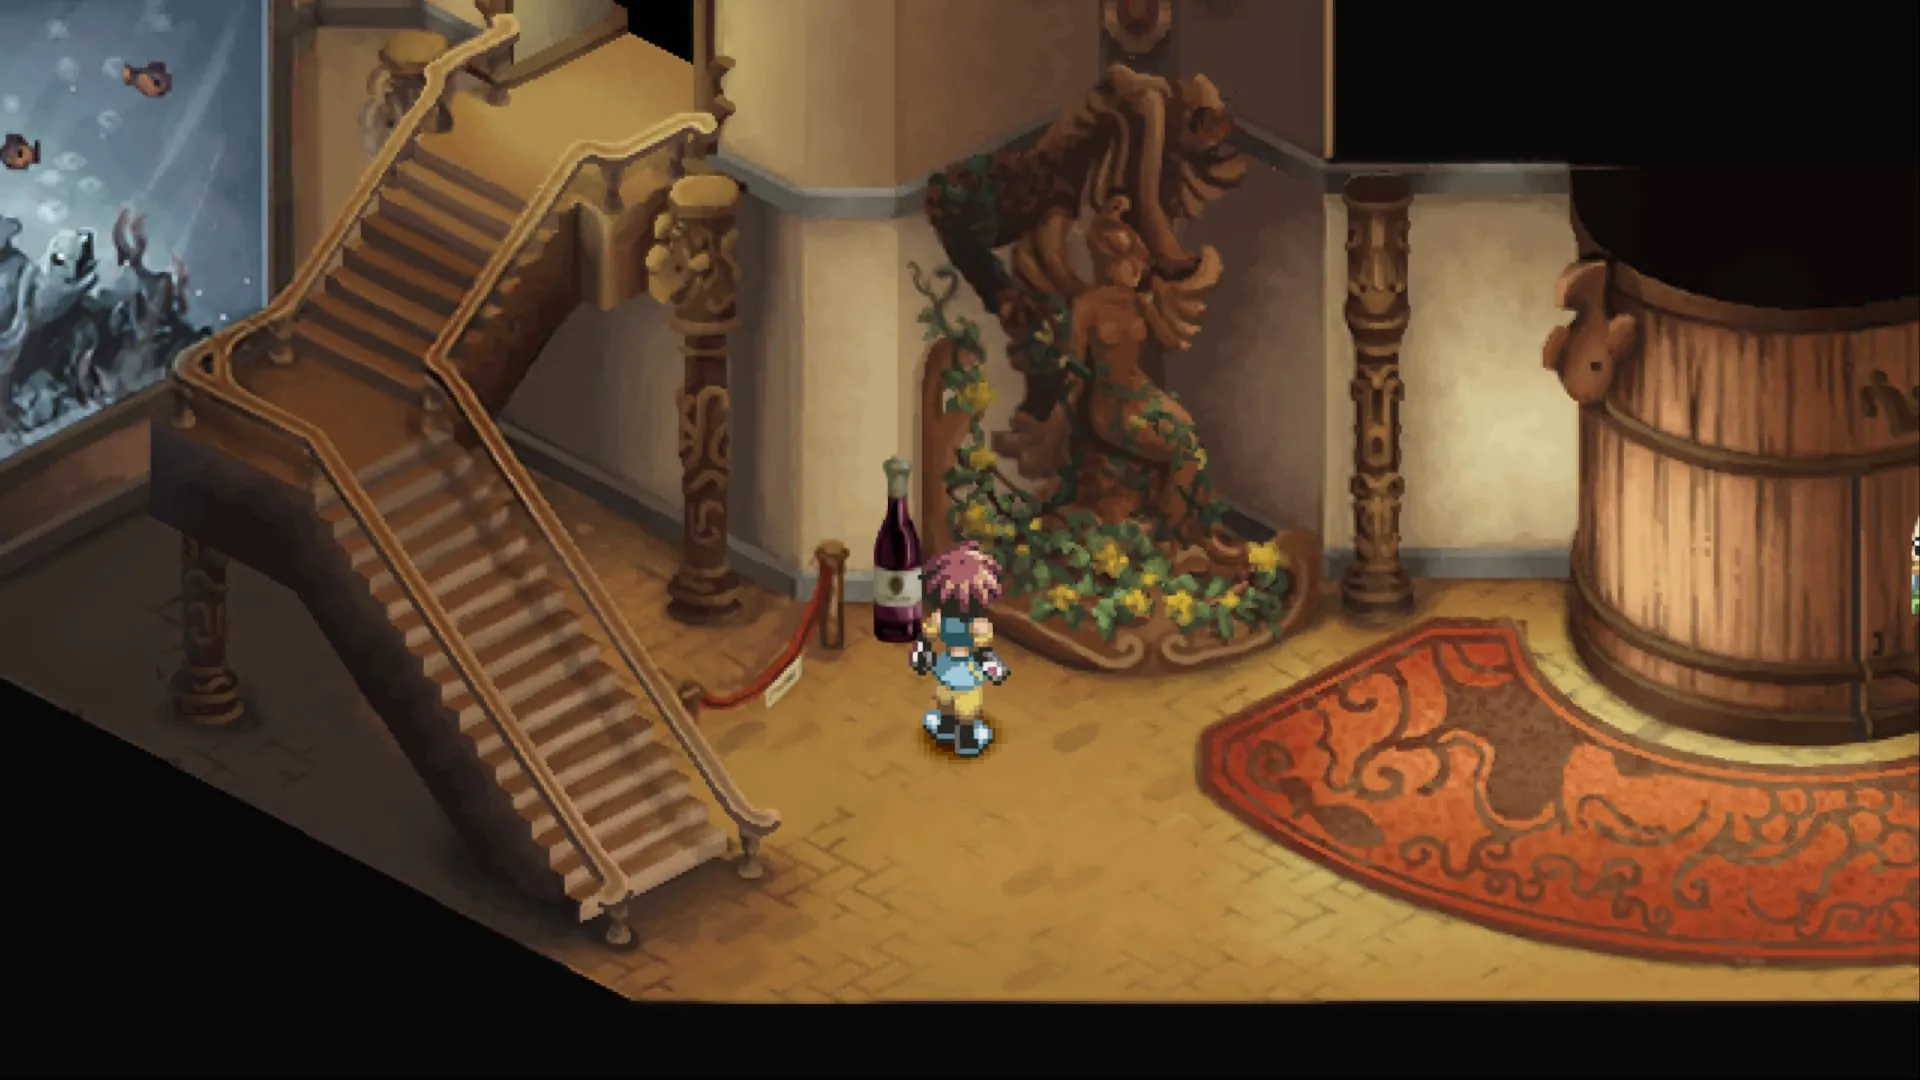
From the restaurant’s main entrance, head left near the stairs, and examine the large red wine bottle in the corner. The Wonder Chef will appear and we’ll learn the Pescatore recipe, whose ingredients are Pasta, Squid, Shrimp, and Tomato. We’ll also receive the ingredients to prepare it once.
Second Lens in Chambard: the table on the upper floor
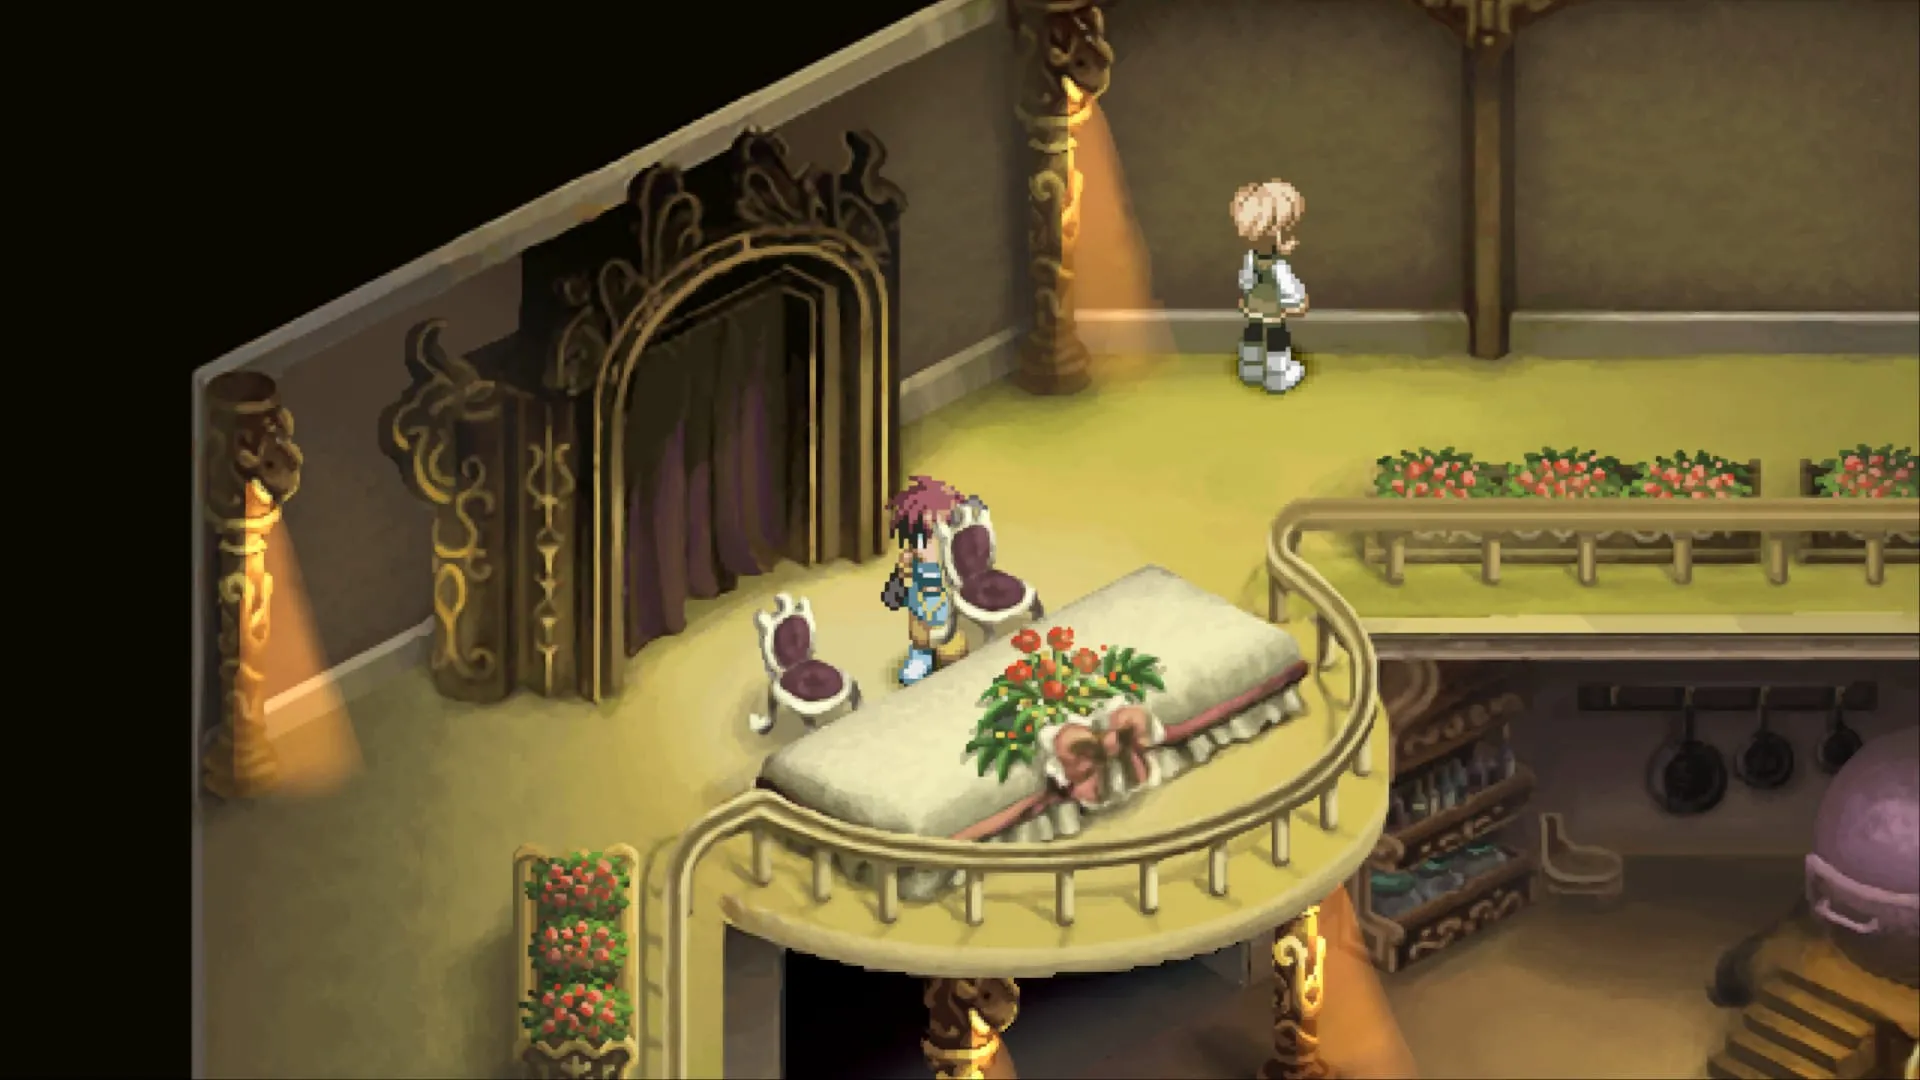
Before leaving, go up to the second floor of the restaurant. Head over to the large central table and examine the chairs next to it, especially the one on the right side, to get the second Lens in Chambard.
Cooking contest: answers for all three rounds
At the restaurant, we can also participate in a cooking contest starring Farah. The entry fee is 10,000 Gald, so don’t pay just out of curiosity if you’re not ready yet.
Before competing, make sure Farah has mastered the corresponding recipes. Culinary skill improves by preparing a dish repeatedly after battles until it reaches five stars. To win a round, Farah needs five stars in the matching recipe and to guess the four ingredient choices correctly. Failing an answer or entering with less practice will cause her to lose the duel. The 10,000 Gald is paid per entry, not just once for the whole contest.
- First round, Omurice: Onion → Rice → Lemon → Egg. Reward: a three-star chef title for Farah.
- Second round, Gratin: Kirima → Pasta → Egg → Cheese. Reward: another culinary title for Farah.
- Third round, Pescatore: Shrimp → Snow Tomato → Pasta → Squid. Reward: a third title for Farah.
The Snow Tomato from the third round isn’t available during this visit yet. We’ll get it later in the Celsius area, so we can leave that final test for when we return. If you haven’t mastered the first two recipes yet, there’s no need to complete the contest right now either.
The Lens and the Combat Command on the world map
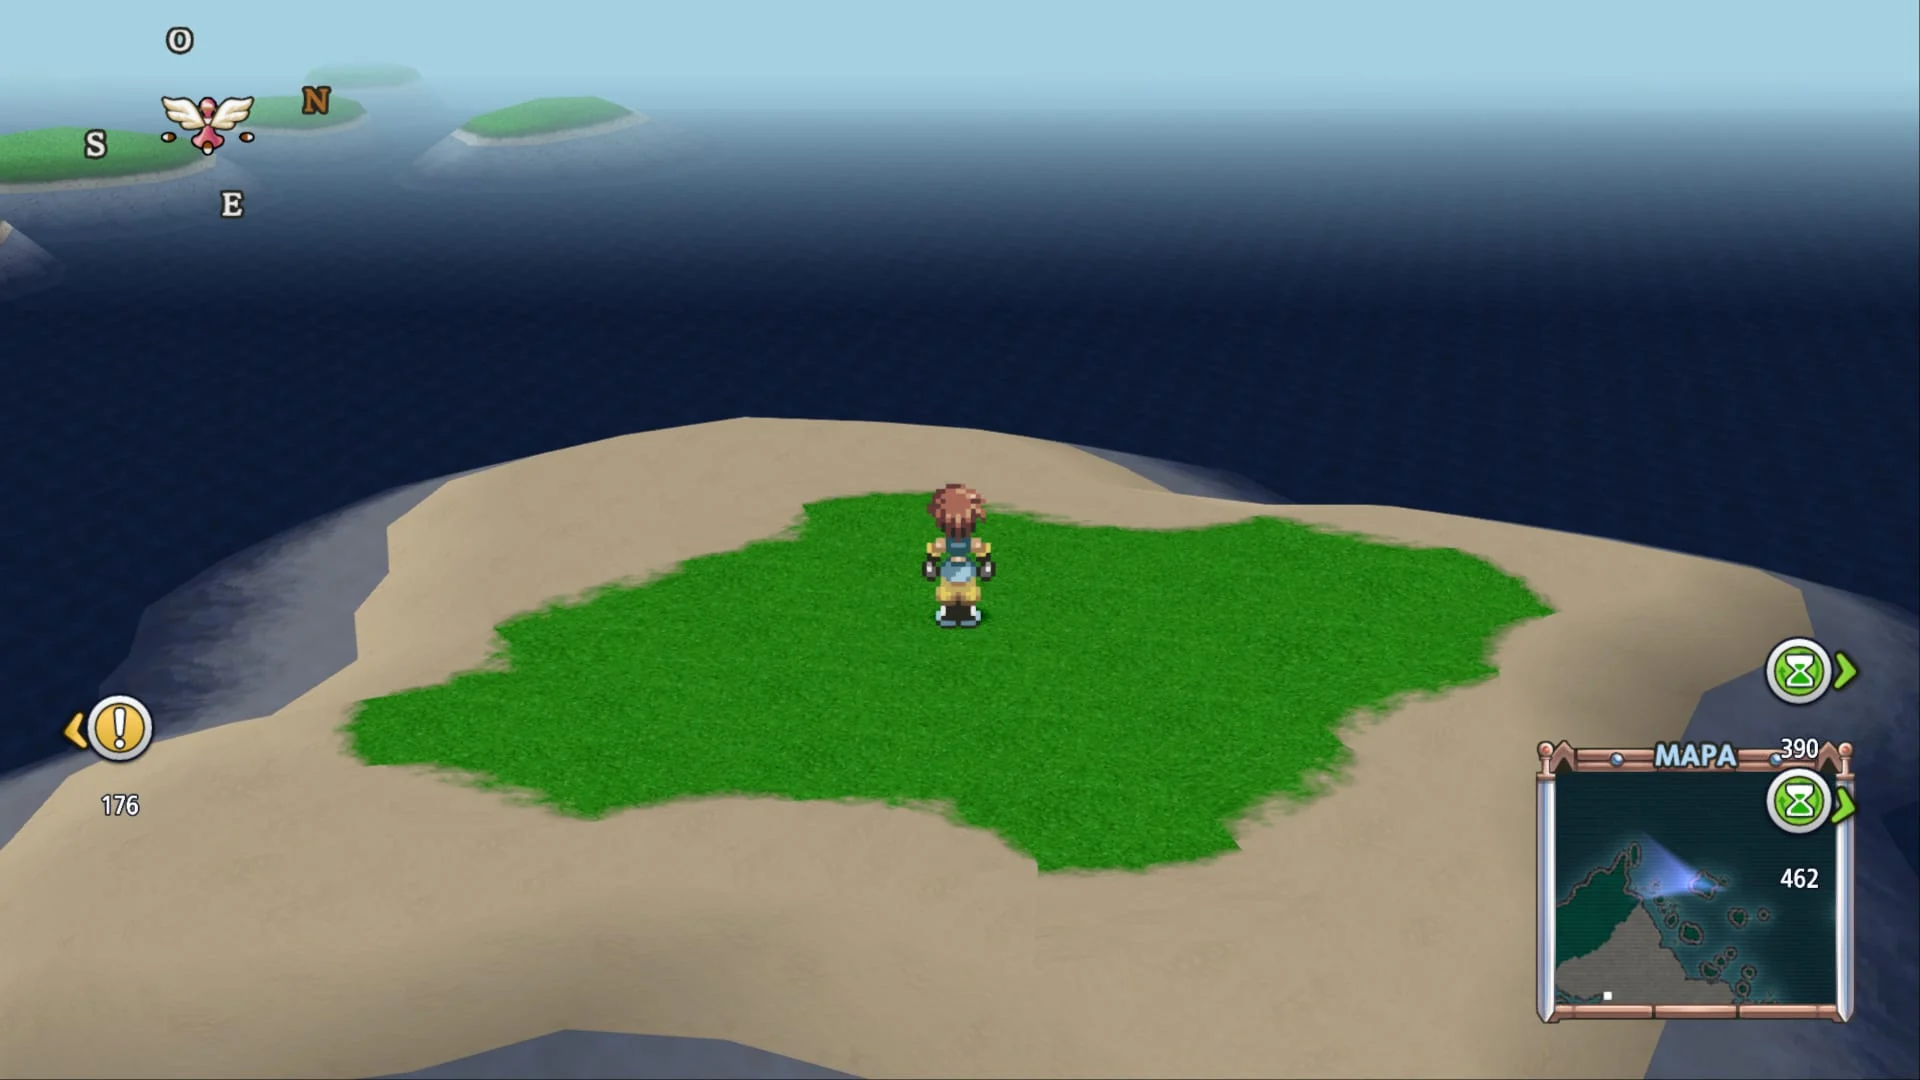
Before entering Efreet Gorge, we’re going to take a detour. Leave Chambard with the Aerialboard and look for the small island located northwest of Chambard. Walk around the island until you reach the upper left tip, where we’ll find a spot we can enter even though from the outside it just looks like part of the terrain.
Inside we’ll get another Lens and find an old man who teaches the «Front Attack» command. Talk to him before heading back to the mainland.
A northeastern island with two gels
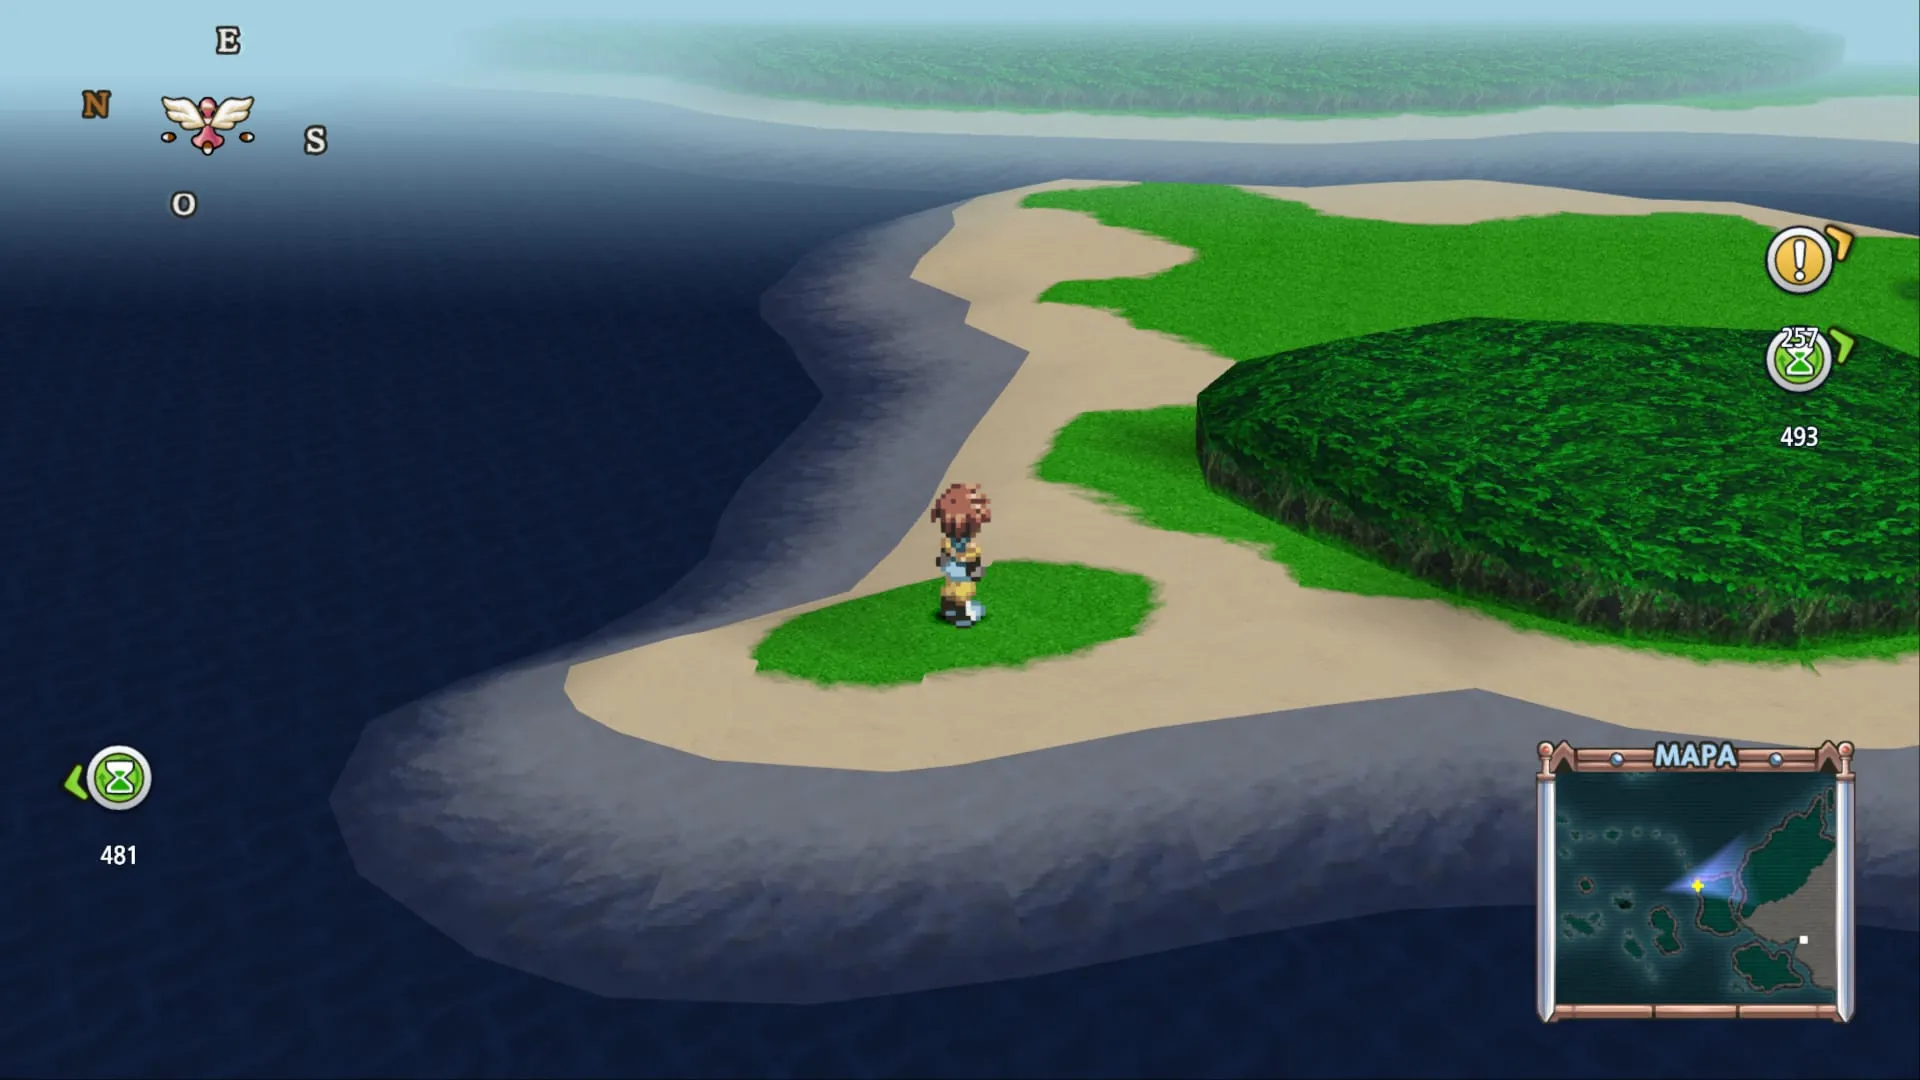
If you want to take advantage of the Aerialboard to grab more items, visit one of the northeastern islands as well: you can get two gels there before continuing towards Efreet.
How to traverse Efreet Gorge without missing items
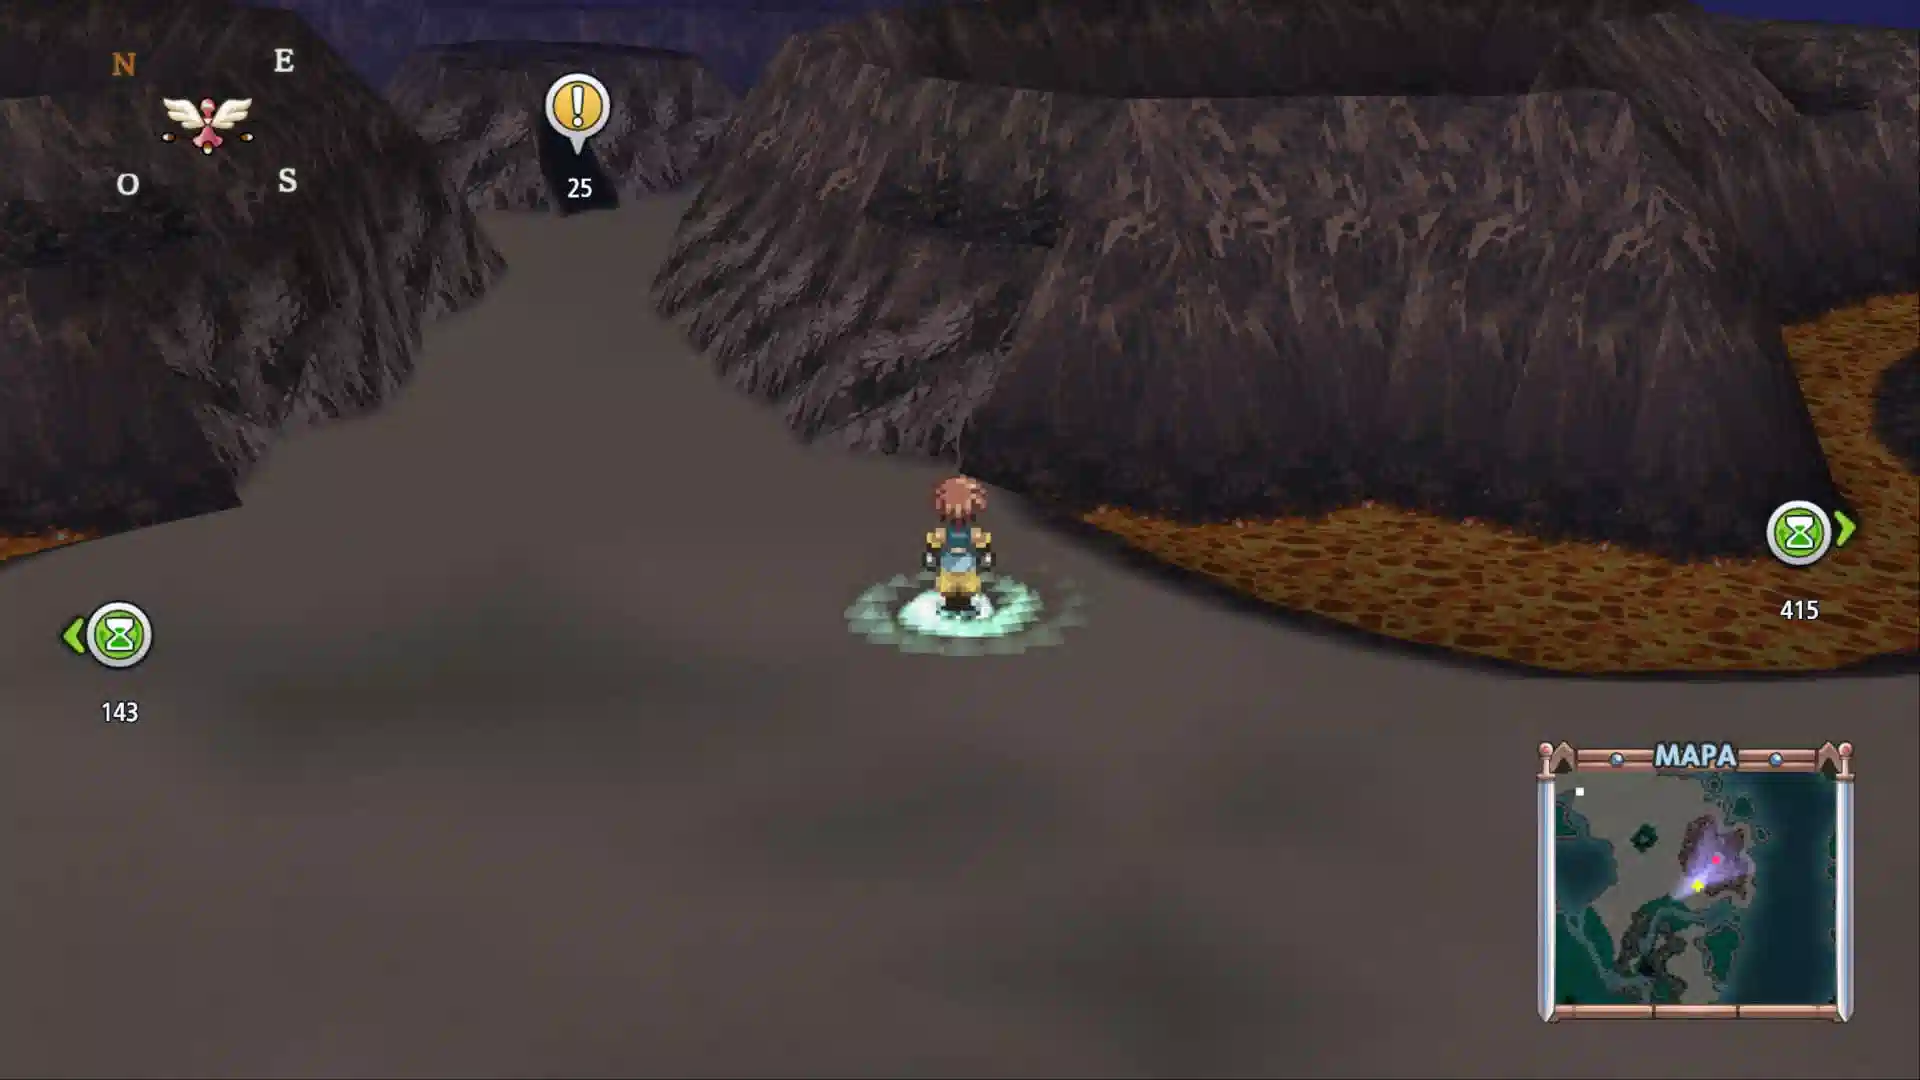
Return to the mainland and head southeast of Chambard, where the landscape completely changes and volcanic formations appear. Go around the mountains until you find the entrance to Efreet Gorge.
The heat and Undine’s protection
Upon entering, we’ll discover that the area is so scorching that we need Undine’s help to get through it. Her protection creates a barrier that prevents the heat from damaging the party, but her own energy is consumed as we move forward.
If her energy reaches zero, we won’t get an automatic game over: we’ll just lose her protection and our characters will start taking periodic damage from the heat. Walking directly through flames can also drain the protection.
It’s best to push forward without dawdling too much, grab the chests, and use the recovery points. If you run out of protection before finishing your exploration, you can exit to the world map and re-enter to restore Undine’s energy.
First detour: Toxin and Sage
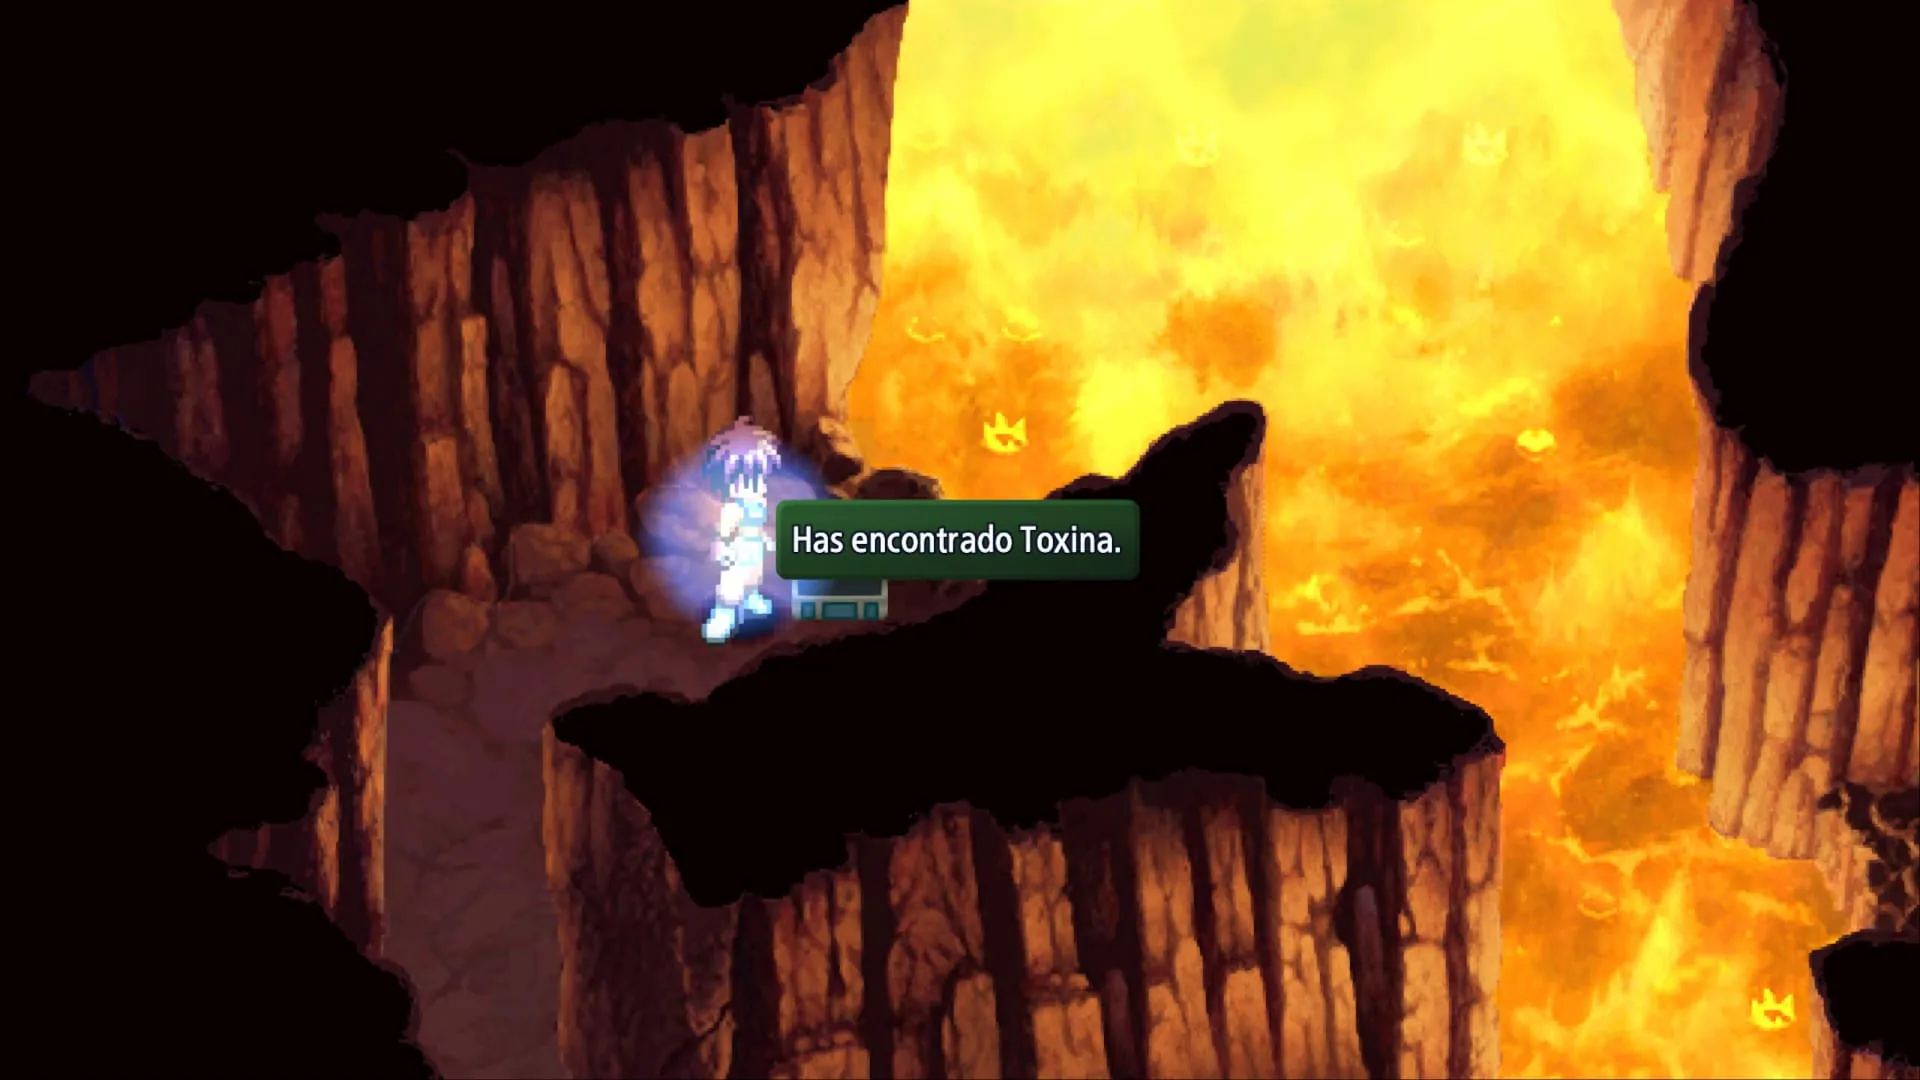
Use the first save point and proceed to the next screen. Hug the left wall and we’ll find a chest with Toxin, a piece of equipment for Farah. Head back toward the entrance of this room, go right, and in the next area turn right again to open the second chest, which contains Sage.
Flare Cape and Lemon Gel
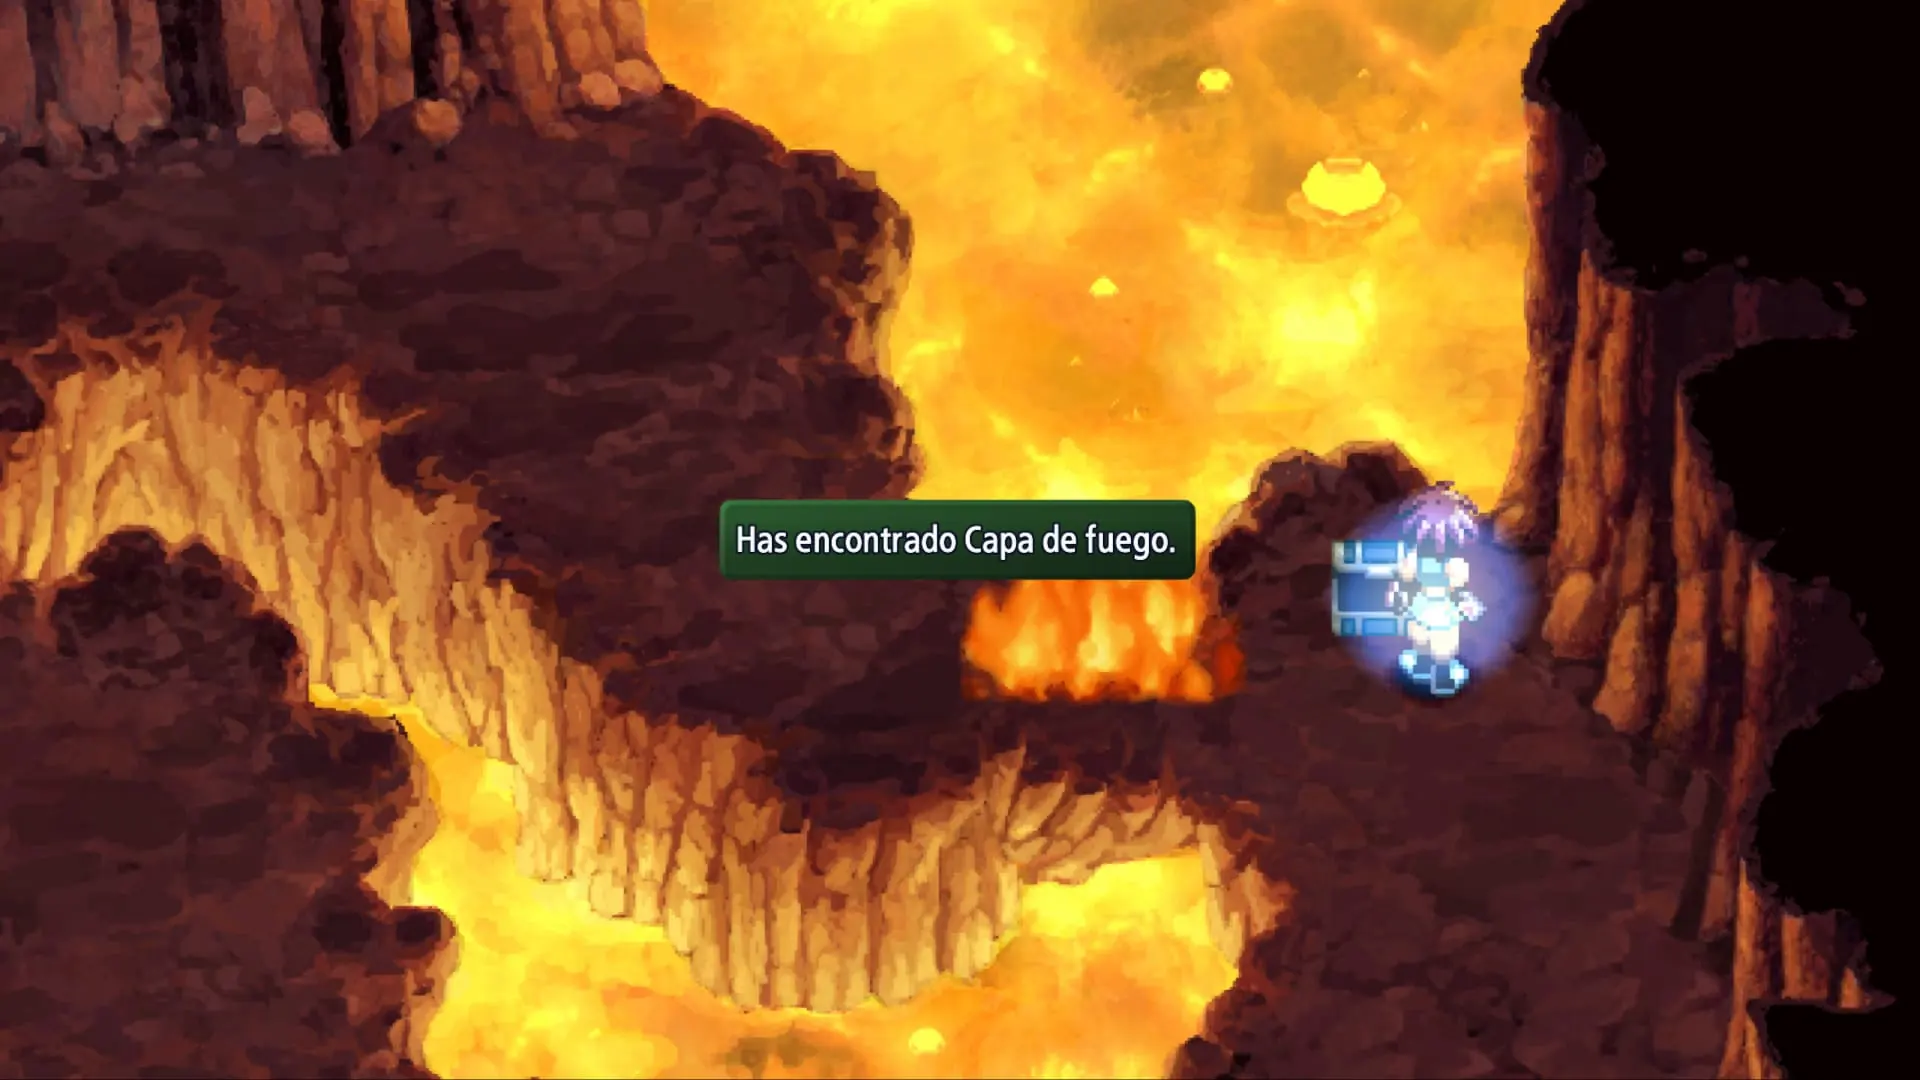
Continue to a wider room with flaming areas. Search the right side first and open the chest with the Flare Cape. Return toward the start of the room, now check the left side, and grab the Lemon Gel.
From there, look for the path heading northwest and cross the flames when you can, even if doing so drains some of Undine’s life. In the next area, the party will rest and we can recover. Camp a second time to see if an optional conversation triggers, and take the chance to save.
Remember the three sealed doors
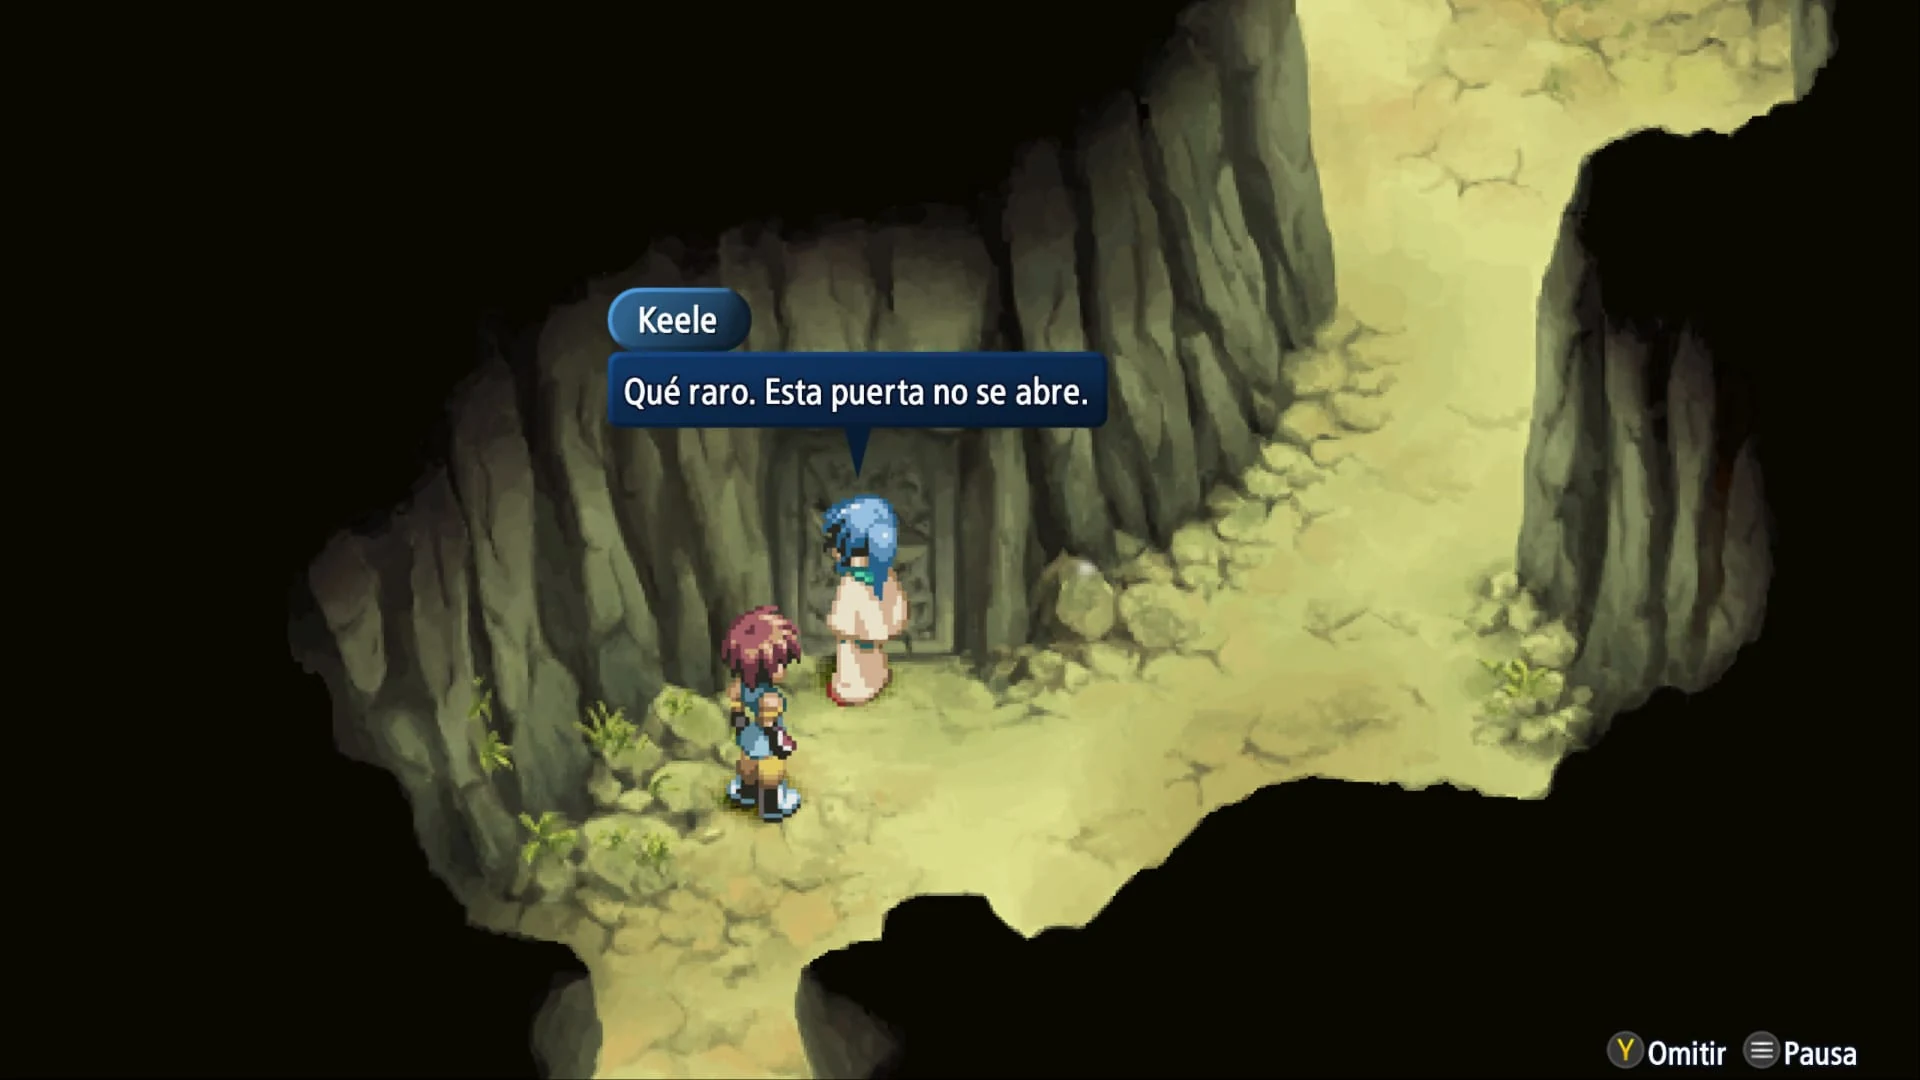
After resting, we’ll reach a room with three doors we can’t open. We don’t have the necessary tool yet. Keep this place in mind and stick to the main path: we’ll return after defeating Efreet to get the items and the Lens.
Life Bottle, Lavender, and two chests together
In the next room, go to the far right to pick up a Life Bottle. Return to the start and take the detour up and to the right to get Lavender.
Now look for the passage on the right side that leads through a wall of fire. On the other side, you’ll see two chests placed together, holding a Square Shield and a Cross Helm for Reid.
The dropping flames: Blue Ribbon and Bracelet
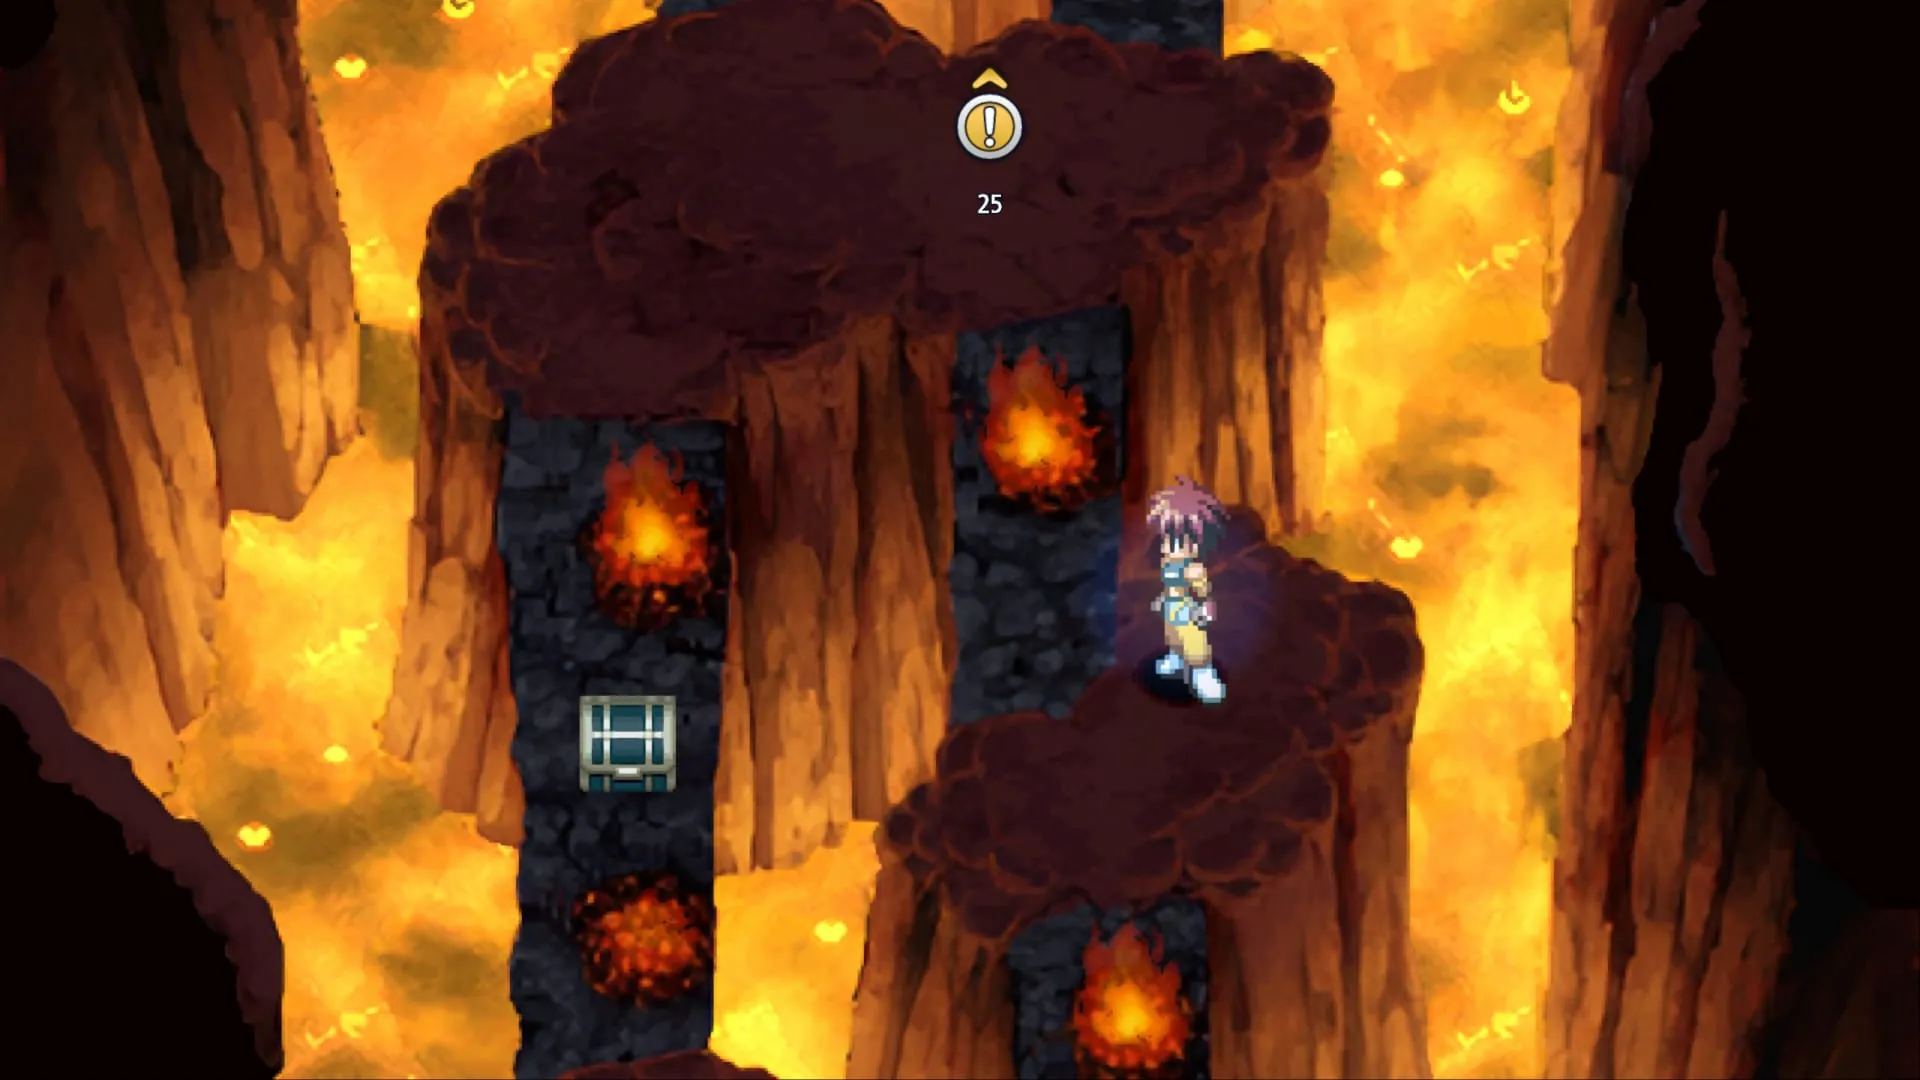
Keep moving to the right and then head up to a screen where flames periodically block the path. Stay at a safe distance and observe their rhythm. When they drop, quickly cross toward the chests on the sides. You’ll find a Blue Ribbon on the left and a Bracelet on the right.
Grab both before leaving the room. Then continue to the upper area, use the next recovery point, and save before approaching Efreet.
How to defeat Efreet
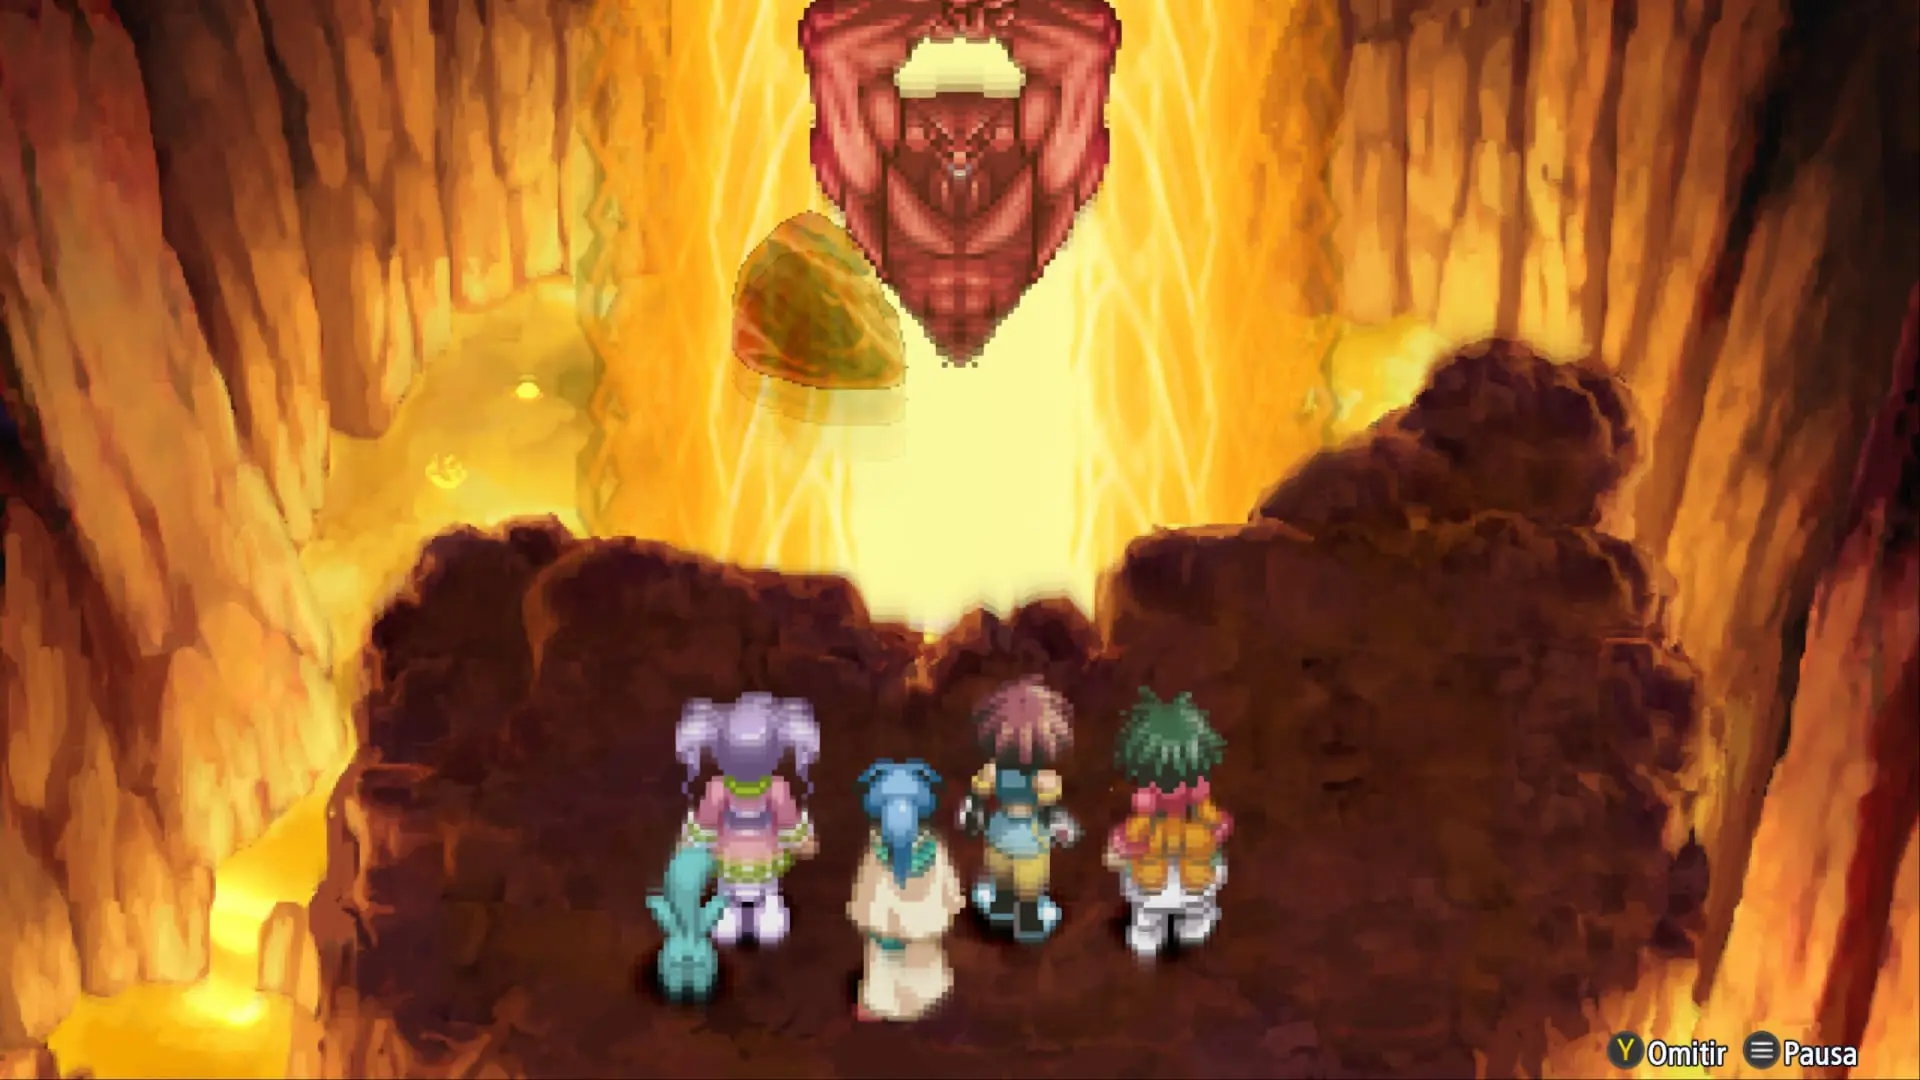
The time has come to face Efreet, who commands fire and spends a good portion of the battle suspended above the ground. You shouldn’t go in with your skills configured to only hit at ground level.
Before starting, equip any fire protection you found in the Gorge, such as the cape, and see if you can use the Inferia Cape given by Irene. Also bring enough gels to recover HP and TP.
- Attack with water: Efreet is weak against this element. Water artes allow you to pressure him from a distance; take advantage of whatever artes you have available, without assuming a specific skill is already learned.
- Don’t stay right underneath him: the burning area at his feet can hurt us. Move in, attack, and retreat when he starts retaliating.
- Use skills that reach into the air: jumping attacks and artes that have some vertical reach work better than low combos. When he loses about half of his HP, he starts chaining punch combinations: leave yourself enough room to dodge or pull back the moment he starts stringing them together.
- Protect your casters: while your characters prep their water artes, try to keep Efreet busy with Reid.
- Save resources for healing: avoid running out of TP if you still need to heal the party.
If Reid’s techniques fall short because Efreet is too high up, switch to aerial moves instead of stubbornly insisting on the same attack.
The Sorcerer’s Ring and Efreet’s new power
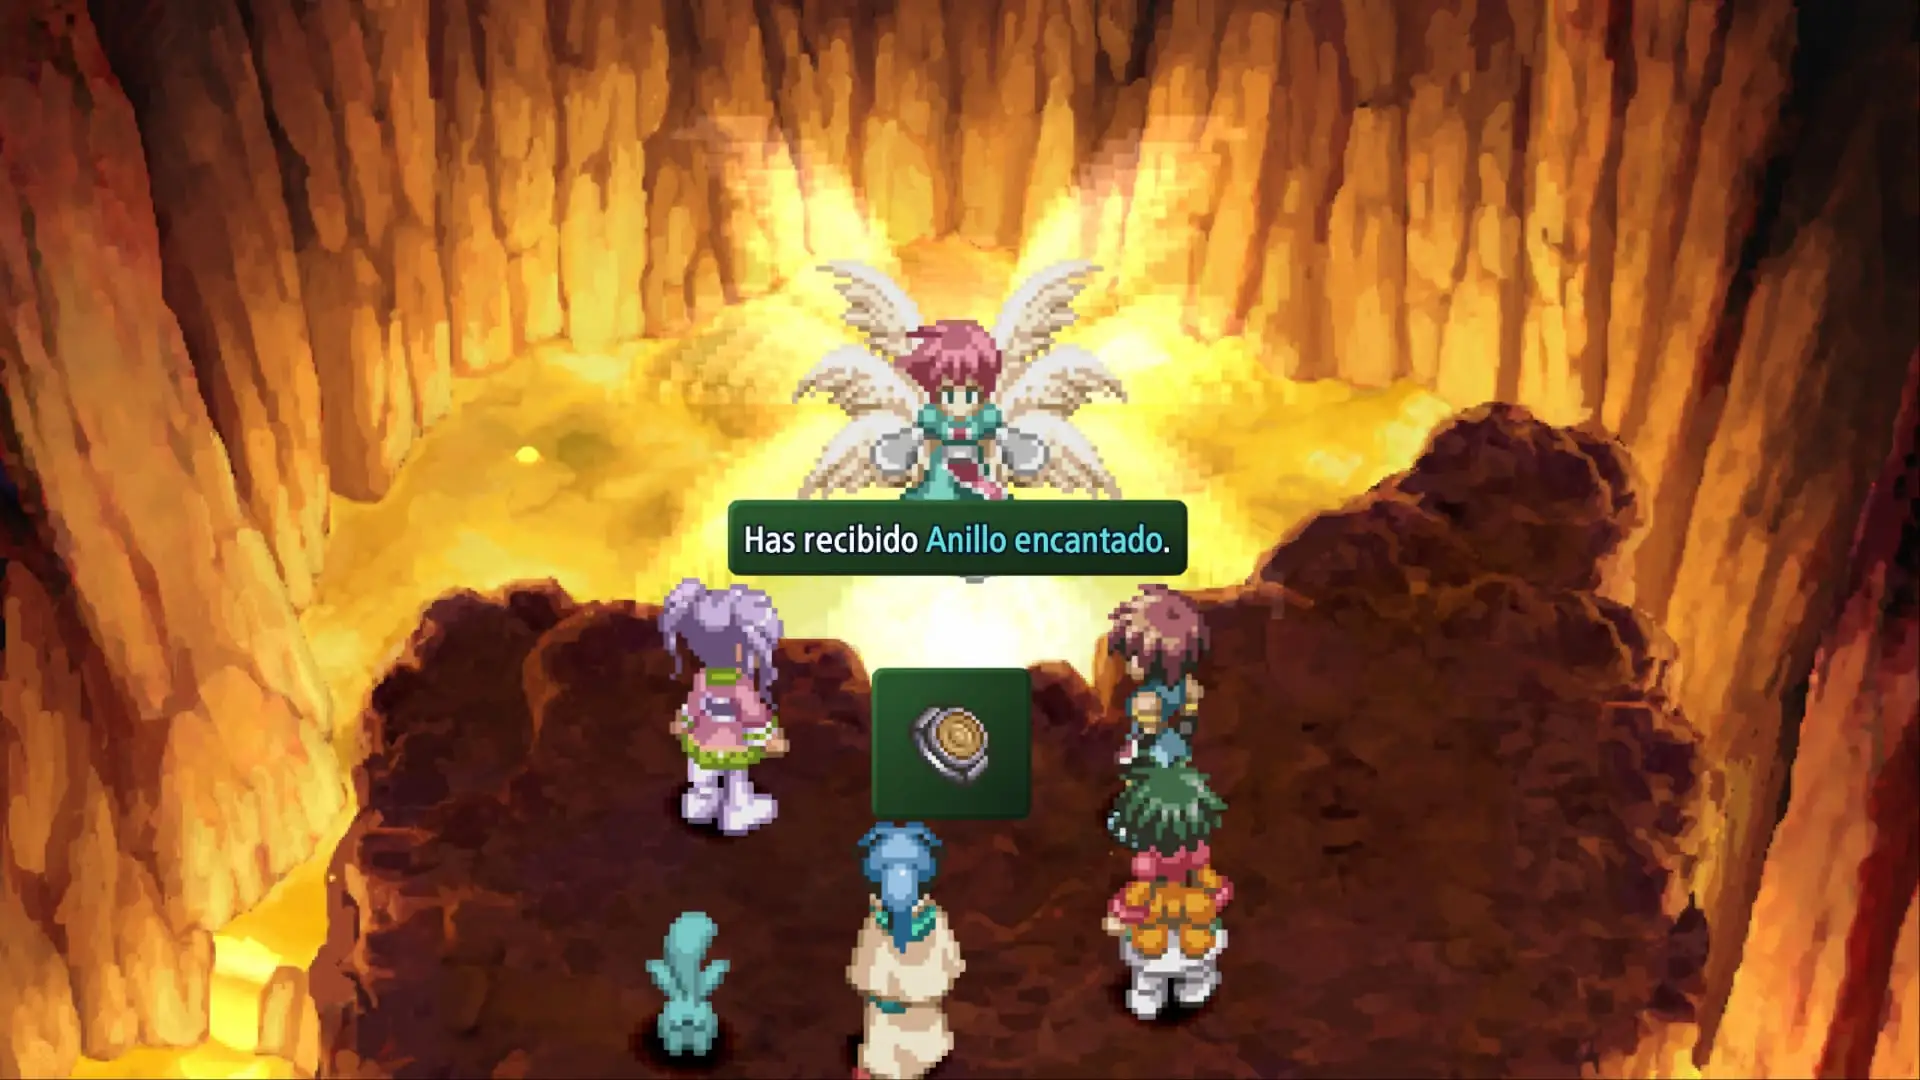
After winning, Efreet will join us. The game will ask us which cage we want to put him in; in my playthrough I chose Meredy’s. Rem will also appear and we’ll receive the Sorcerer’s Ring.
This ring lets you shoot a small burst of energy into the environment to solve mechanisms and open paths. By incorporating Efreet, we’ll gain access to new fire artes, including Eruption.
Return to the three doors: Efreet’s items and Lens
Don’t leave Efreet Gorge just yet! Now that we have the Sorcerer’s Ring, head back to the room with the three doors we saw before the boss.
Approach a door and use the ring’s blast on its mechanism. Once inside, look for the sphere in the back and shoot it again: special enemies unique to these rooms will appear. If you’re filling out your compendium, use one of these encounters to use your Spectacles, alongside the ones you already used on Efreet. After defeating them, the chest will appear.
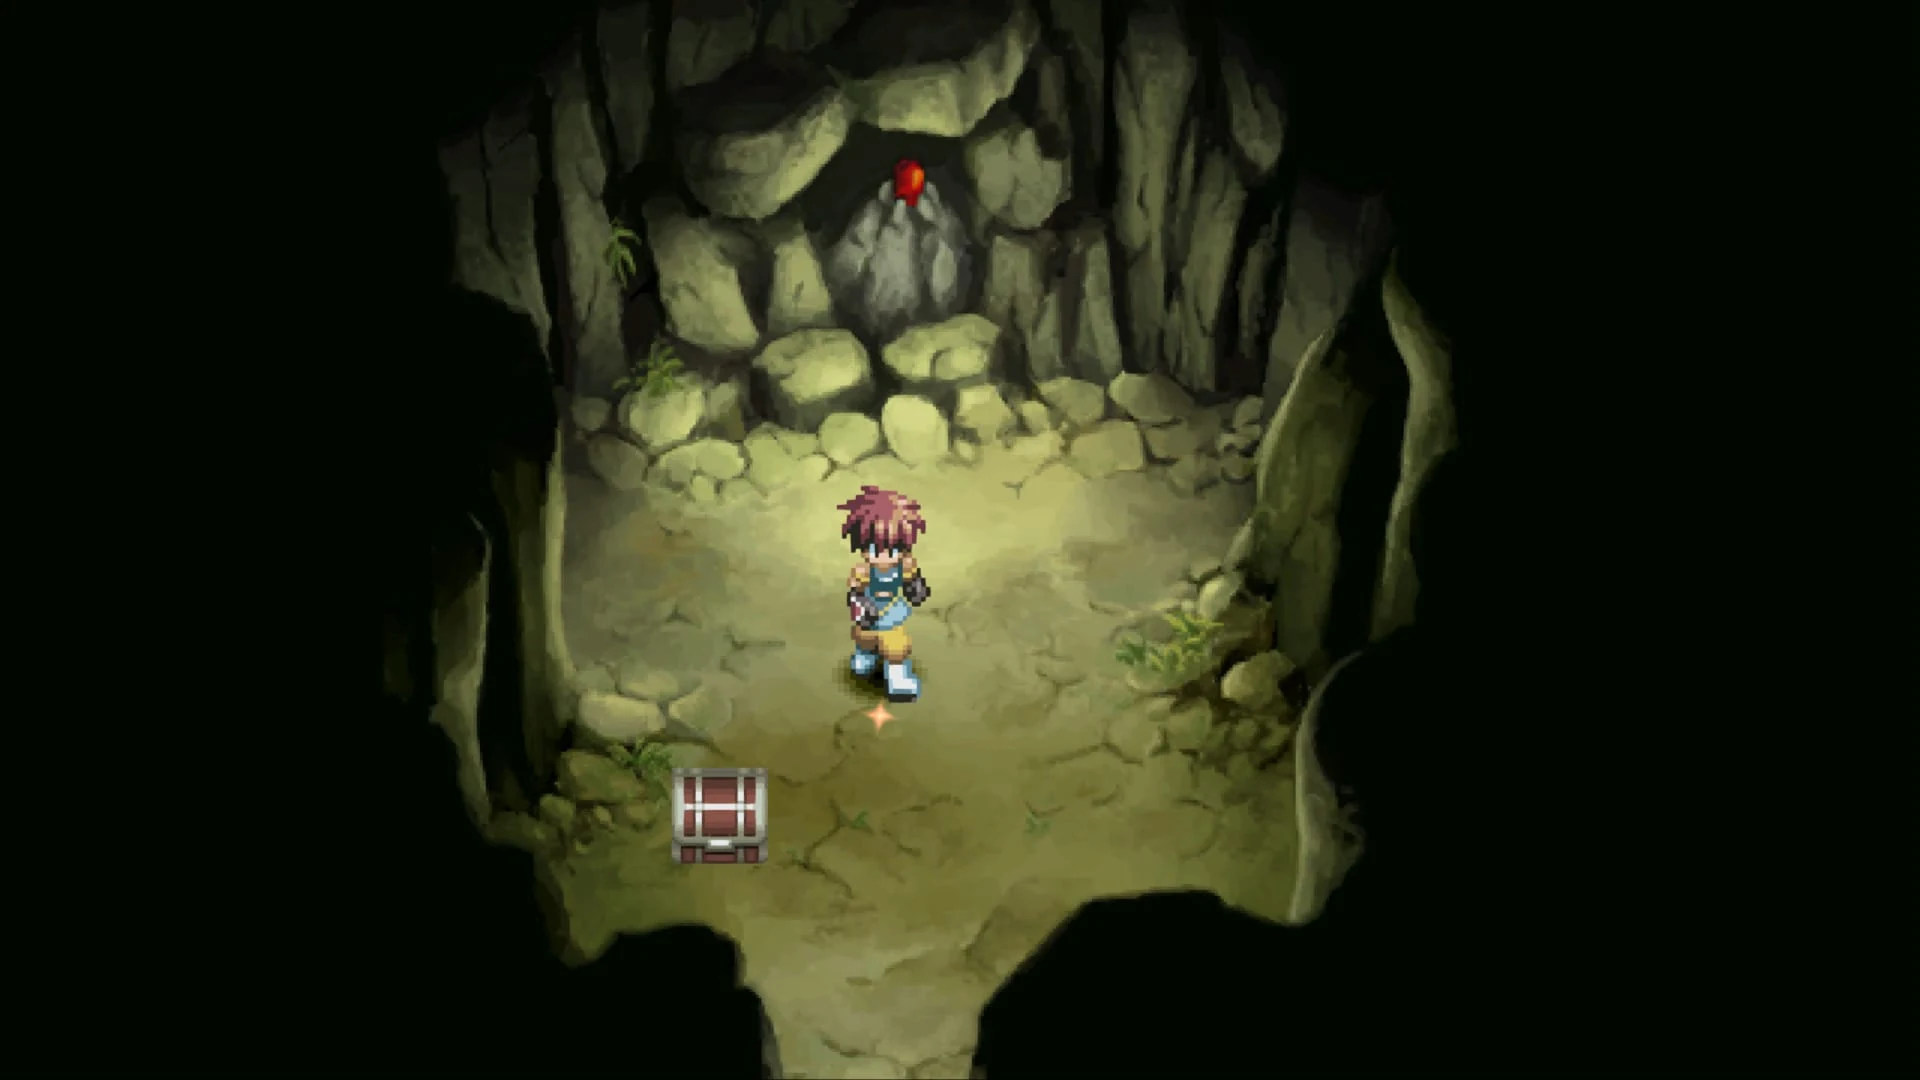
The top door yields a Rune Bottle, the middle one a Fire Shard, and the bottom one a Lens. Repeat the process in all three rooms to grab all the items.
What to do after leaving the Gorge?
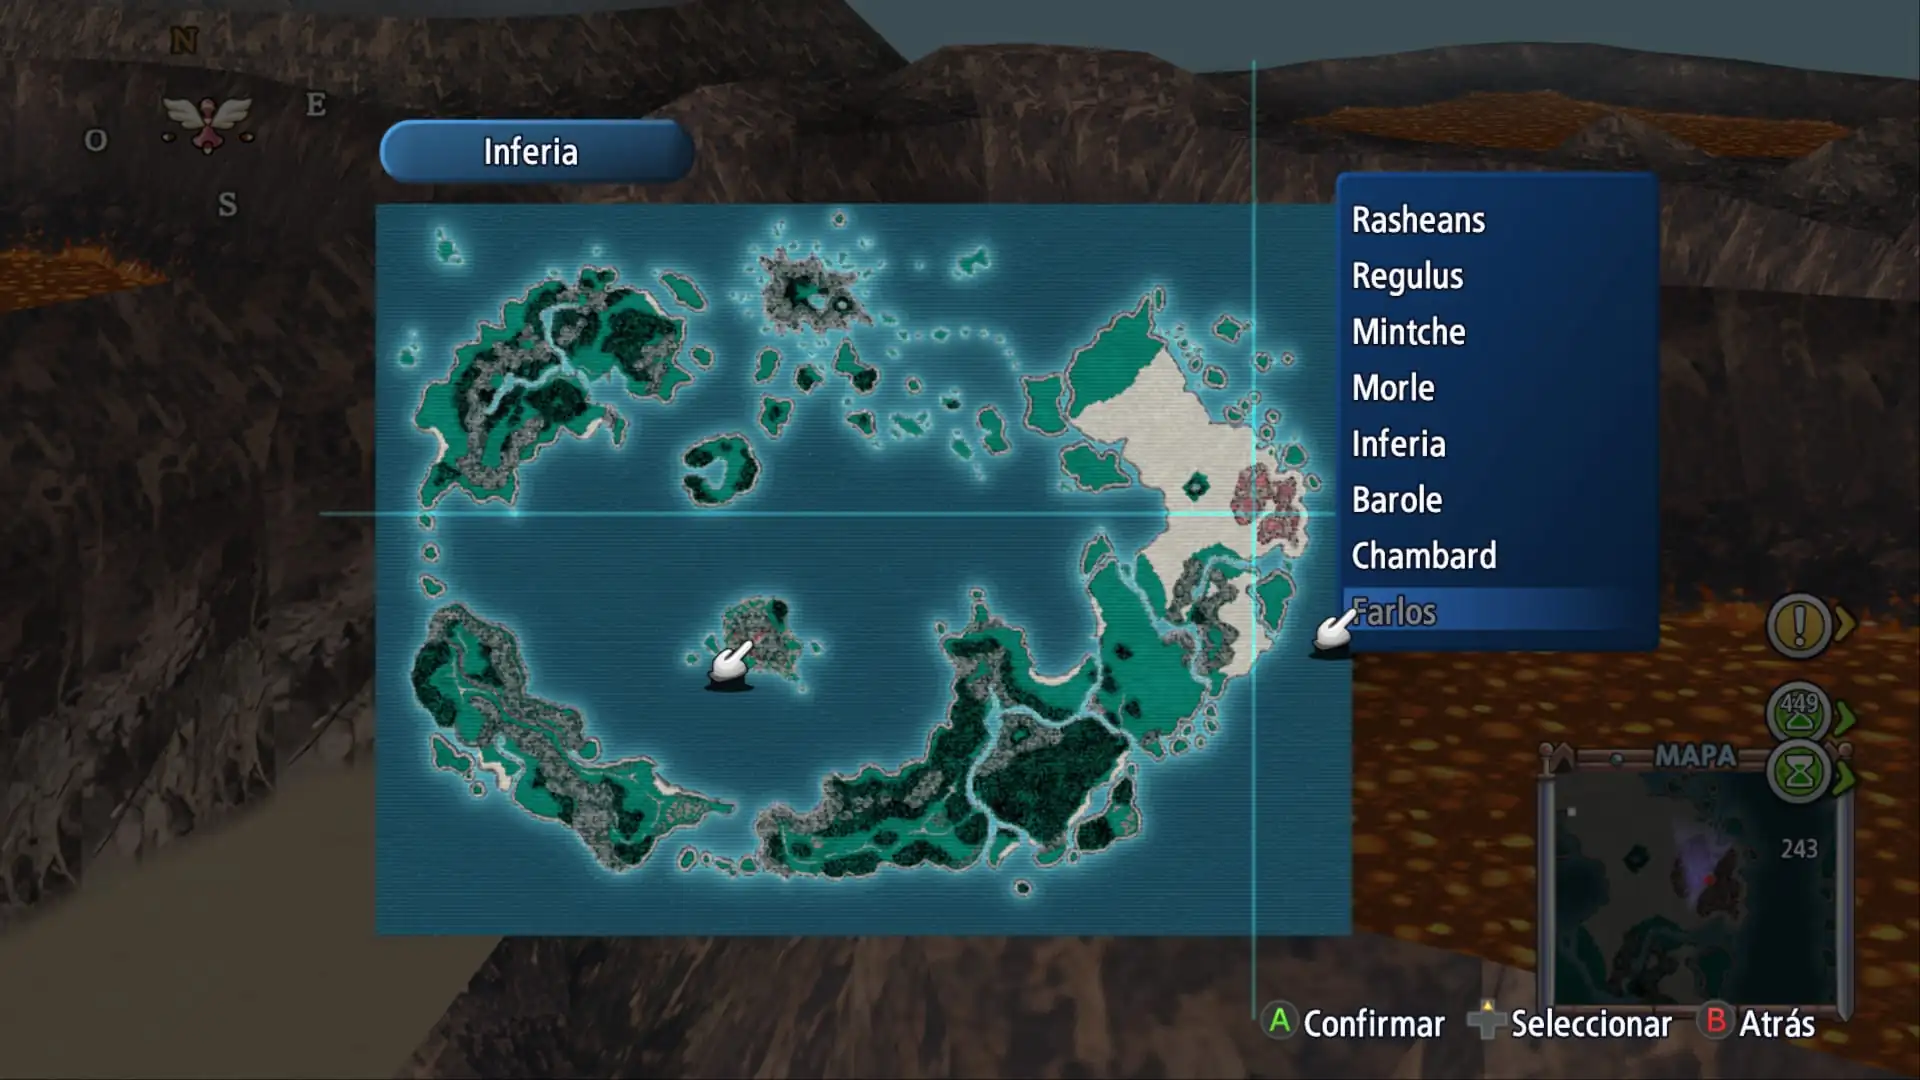
With the three chests recovered, head back to the camp and pay attention to the new story conversation. You can rest again to check for an additional scene. After that, we can finally leave the dungeon. Now that we have gathered the three greater craymels of Inferia, our next main destination will be Mt. Farlos.
If you want to continue Katrine and Pierre’s storyline, their next encounter takes place at the Regulus Dojo following this part of the adventure. We can also use this return to Inferia to finish up the search for a lost sword if we still have it pending.
Chambard and Efreet Gorge Checklist
Before moving on, verify that you have the Lenses, the recipes, and all the chests from the three doors.

Medios amigos

Un medio de videojuegos dedicado a los RPGs.