


We begin our adventure in Tales of Eternia Remastered by exploring Rasheans Forest with Reid and Farah. We’ve barely started, and there are already several things to pick up before we find out what the hell just fell out of the sky.
Afterwards, we’ll return to Rasheans, but don’t be in any hurry to leave the village. Between the houses, barrels and a few frankly ridiculous hiding places, we’ll find our first collectibles, two recipes, several items and a handful of optional scenes.
Rasheans Forest
As soon as you gain control of Reid, head towards the bottom right to move to the next screen. This is where your first battles will begin, although they shouldn’t give us too much trouble just yet.
Keep going until you reach a fork in the path. Before moving on, take the northern path: at the end of this detour, you’ll find an Apple Gel. Pick it up and return to the fork.
Now take the other path. We’ll reach another kind of crossroads with a glowing crystal. There’s a chest and a bag right next to it, so collect both before continuing.
Inside the chest you’ll find a Wooden Shield for Reid. Equip it to improve his defense right from the start. The bag contains Spectacles, which let you examine and register an enemy’s data during battle. Save these Spectacles for the first boss in Rasheans. We only have one set before facing him, and this enemy is missable for the monster records: if you defeat him without using them, you won’t get another chance to scan him in this playthrough. You’ll be able to buy more Spectacles later for regular enemies.
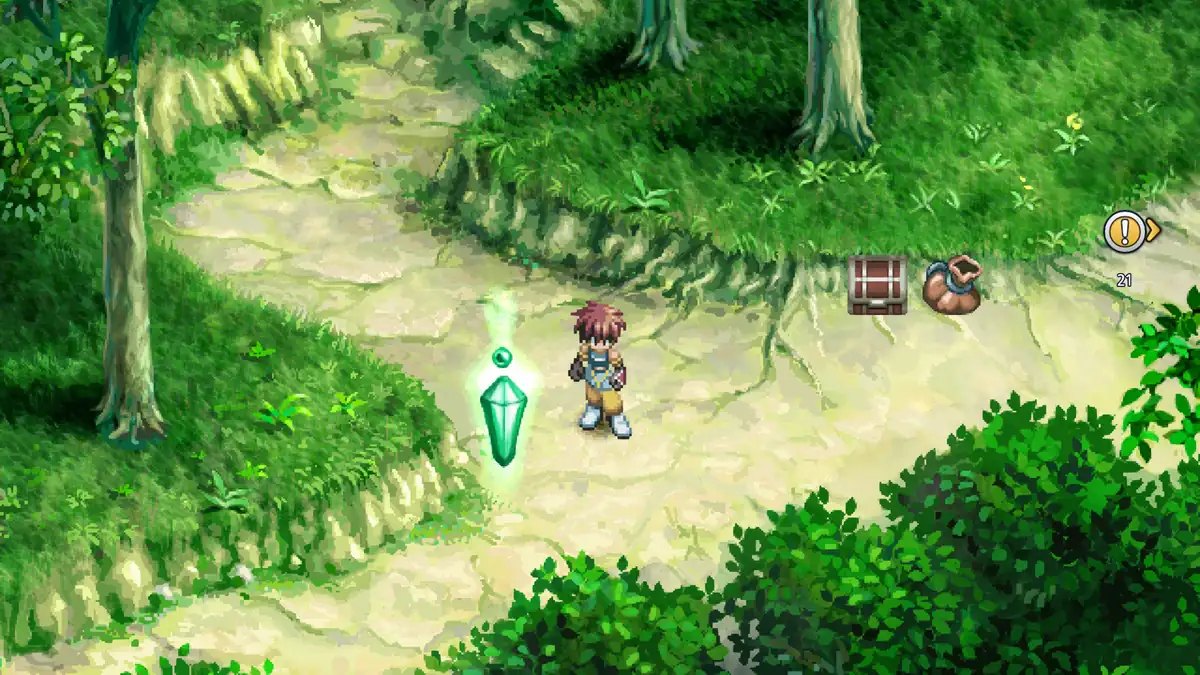
What the crystal does
Examine the glowing crystal too. You’ll use these points throughout the adventure to save your game, and when the crystal looks like this, you can also recover HP.
If you’ve fought a few battles in the forest, Reid may already have learned Sonic Blade, his first arte. Once it appears, open the menu and take a look so you can get used to assigning and using artes in battle.
The pond in Rasheans Forest
From the crystal, head towards the bottom left. As soon as you enter the next screen, you’ll notice a narrow passage between the trees to the north. You can go through it or keep heading left: both routes lead to the same place.
We’ll reach an area with a pond, a bench and a statue. Walk up to the statue and examine it, then read the sign beside it.
When you’re done, go past the bench and continue to the right. At the end, you’ll find another Apple Gel. Pick it up and return to the crystal.
Find Meredy
Back at the crossroads by the crystal, take the upper-right path this time.
In the next area we’ll see the strange creature from the introduction. It’ll run north, so simply follow it to the next screen.
We’ll reach the crash site and find Farah, Meredy and the ship. After the scenes, the party will return to Rasheans automatically.
Return to Rasheans
As soon as we arrive, we’ll go and speak to the village elder. Things take a turn for the worse pretty quickly, and we’ll end up facing our first boss, controlling Reid and Farah. Before the fight begins, make sure you still have the Spectacles from the forest.
First boss: the mysterious enemy (????)
Watch out: missable enemy! Use the Spectacles you found in the forest on the enemy shown as ????, before defeating him. This fight doesn’t repeat, and you won’t get another chance to scan this enemy in the same playthrough. If you want to complete the monster records, don’t skip this step.
He has no elemental weaknesses and resists lightning. Your best bet is to control Reid, who’s quick enough to dodge his spells. At the start he casts a lightning attack (Thunder Blade) and will often follow it up with Spark Wave: run out of range of this second move. On higher difficulties, he may also use an earth attack, so wait until it’s over before rushing in. If he starts preparing a dark summoning attack, get away from him. Use the gaps between spells to land hits with Reid while Farah supports us. If you lose, you can retry the battle without any penalty. Just remember: use the Spectacles first, then finish him off.
After the battle, we’ll see several scenes and decide to look for Keele. When we regain control, we’ll be in Farah’s house.
And this is where the real Tales tradition begins: examining absolutely everything before getting the hell out of town.
Farah’s house
Before leaving, examine the fireplace in the room we’re standing in.
Then go upstairs and examine the dressing table beside the mirror. Interacting with it triggers a short scene.
The vegetable patch and first recipe
Leave Farah’s house and head right. You’ll find a farmer working beside a vegetable patch.
Talk to him if you like, then examine the soil directly below where he’s standing. We’ll find a pomegranate here.
First recipe
Now enter the house near the vegetable patch. We’re looking for the little pink pig at the top of the room.
Yes. Examine the pig.
That little pig turns out to be one of the Wonder Chef’s peculiar hiding places. Finding him teaches us the Sandwich recipe, and he’ll give us the ingredients to make it once: Bread, Cheese and Lettuce. It’s an excellent recipe to start with, since it restores 30% of the entire party’s HP.
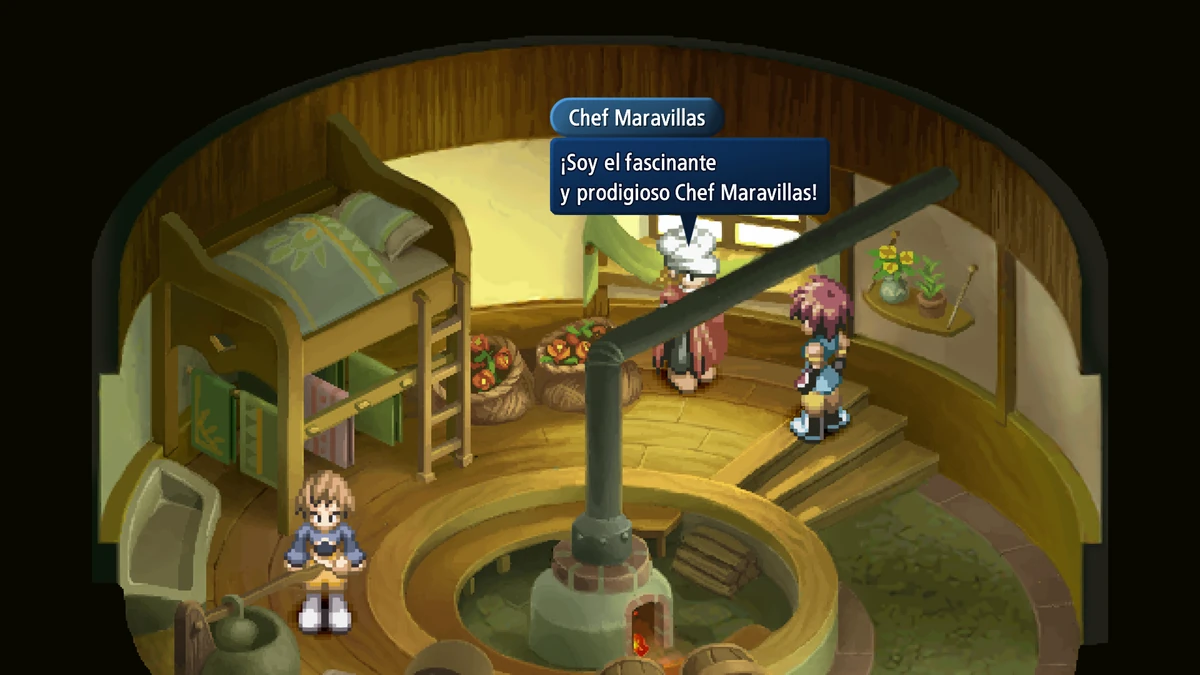
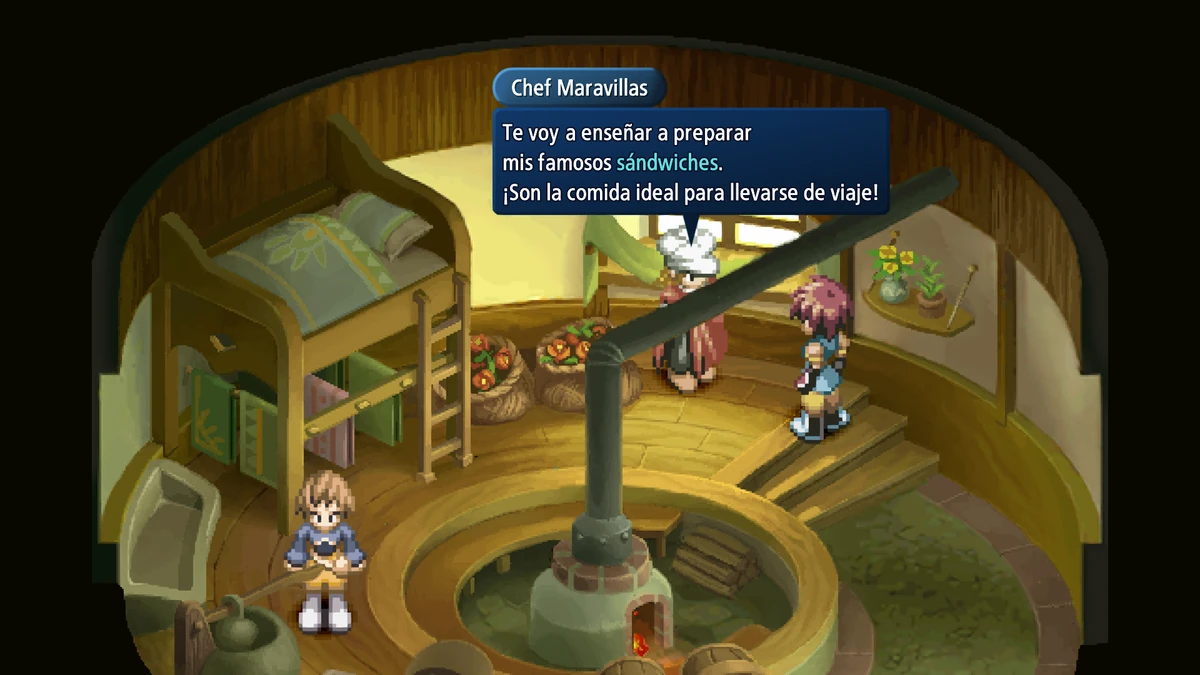
The barrels and the ranch
Leave the house and keep heading up. Then go left, passing Farah’s house, to reach the next area of Rasheans.
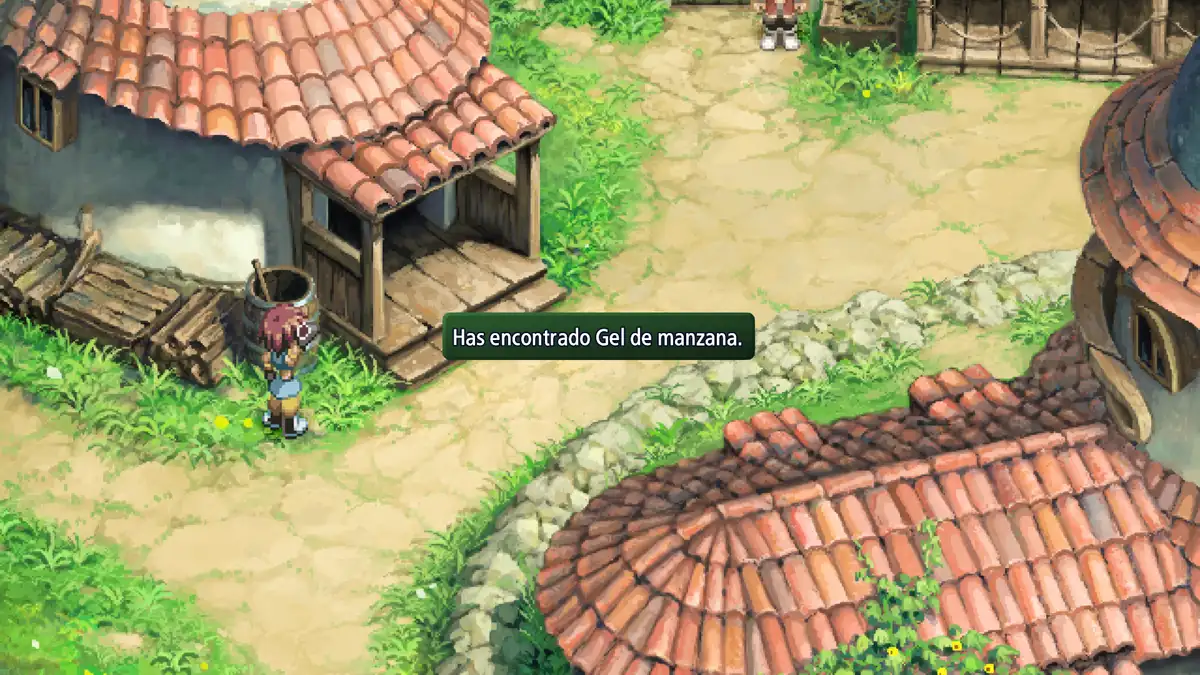
There are several hidden Apple Gels here. Examine the barrels around the ranch and the barrels near Reid’s house, one by one. The gels aren’t inside chests: you need to check the barrels themselves.
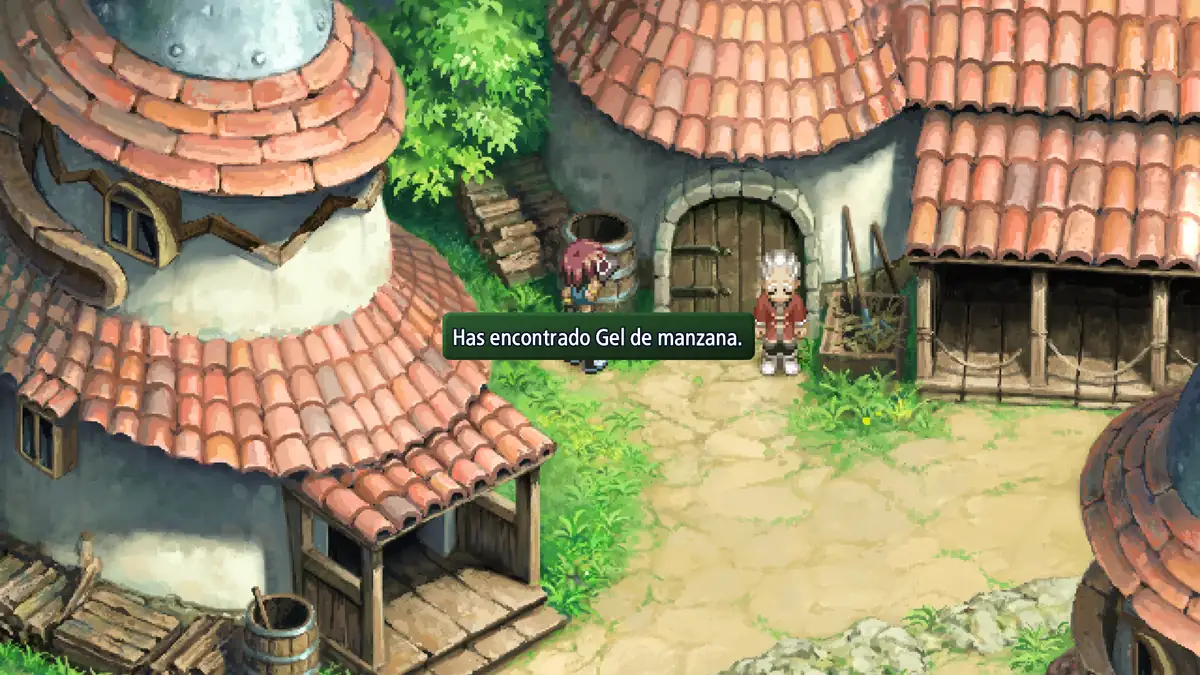
Go inside the ranch too
You’ll see a man standing in front of the entrance to a ranch. Go inside and approach the animals.
There’s nothing to collect here, but we can watch a little conversation between Reid and the cows. It won’t help us progress, but since we’re searching every last corner of Rasheans, we might as well let Reid have a chat with the cows.
Reid’s house: first Lens
Leave the ranch and enter the house next door: Reid’s house.
Before heading down to the basement, look at the area north of the table. There’s a row of clothes: examine the item of clothing on the far right to trigger a short scene.
Also examine the meat hanging on the wall right beside it, as that has a separate interaction.
Then go up the stairs. On the upper floor, there’s a picture on the right-hand wall. Take a look, then head back downstairs. You can also rest in Reid’s bed to recover all your HP, so make the most of it if the forest battles have left you in rough shape.
First Lens in Rasheans
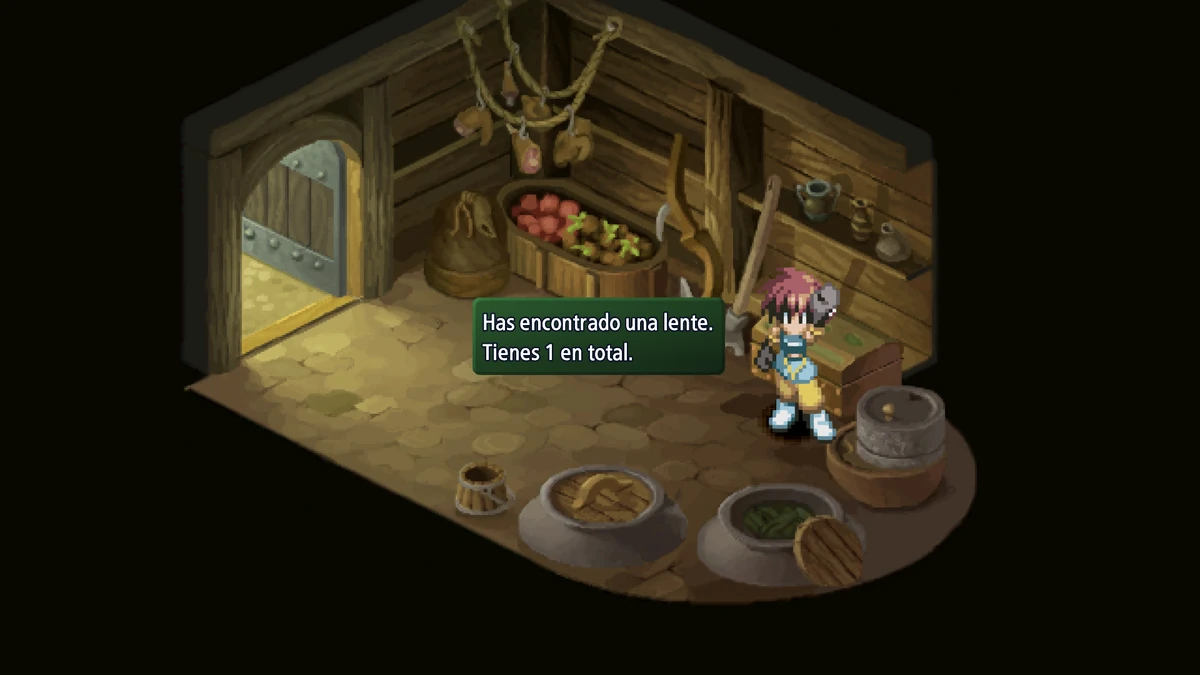
From the ground floor, head down to the basement. At the back, we’ll find a chest and a container.
Open the chest to get our first Lens of the adventure.
Don’t leave just yet: examine the container right beside it to pick up another Apple Gel.
The elder’s house: money and the Collector’s Book
Leave Reid’s house and head to the elder’s house. On the lower floor, go down and to the left, towards the area in front of the broken wall.
Examine the vase or piece of furniture in the bottom-left corner, opposite the damaged wall, to get 500 Gald.
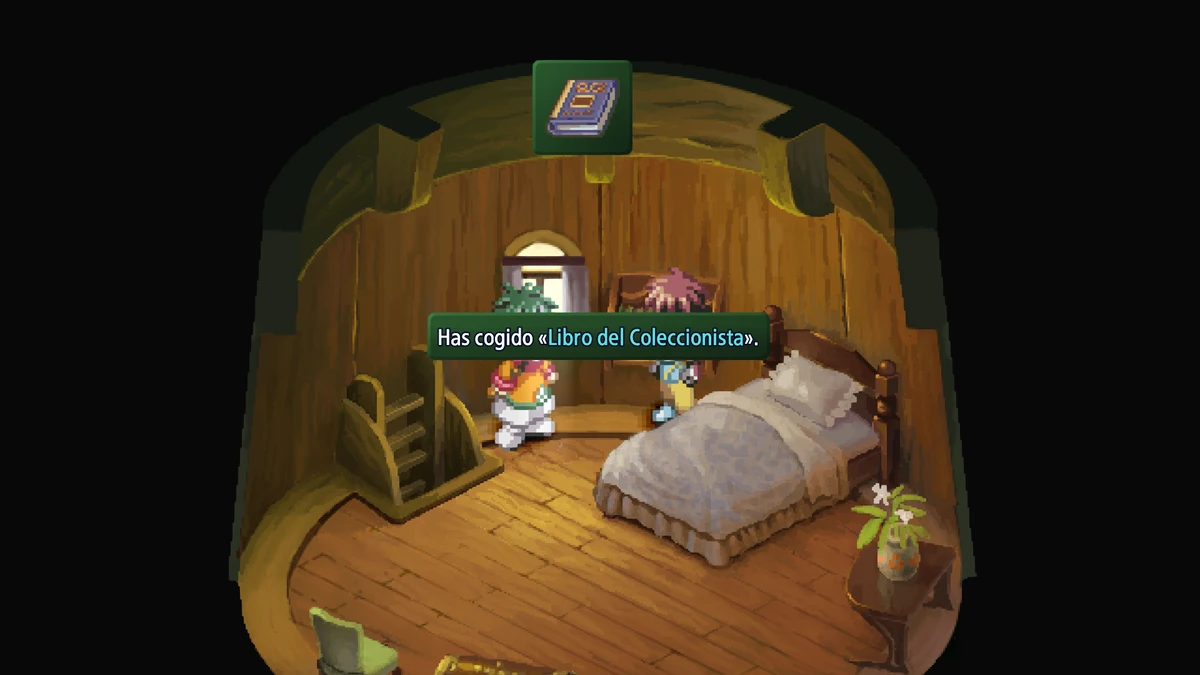
Now go to the other end of the house and climb the stairs. Upstairs, examine the bookshelf to get the Collector’s Book.
We don’t need to do anything else with it for now. The important thing is to pick it up already, so we’ll have it available when it starts becoming useful later on.
Second collectible and weapon trading
Leave the elder’s house and keep heading south to reach the final area of the village.
In the bottom-left corner, there’s a character who’s partly hidden from view. Talk to him and he’ll offer to exchange our current weapon for one of two others.
The exchange is completely optional. We can swap our Hand Axe for a Short Sword or a Short Spear. If you want to complete the item catalogue, talk to him several times and try out all three weapons: you can repeat the exchange, although you can’t use it to duplicate equipment. Don’t sell your starting Hand Axe before doing this: the man will only trade with you if you still have it or have continued exchanging weapons with him. Afterwards, keep whichever weapon you prefer for Reid.
Second Lens in Rasheans
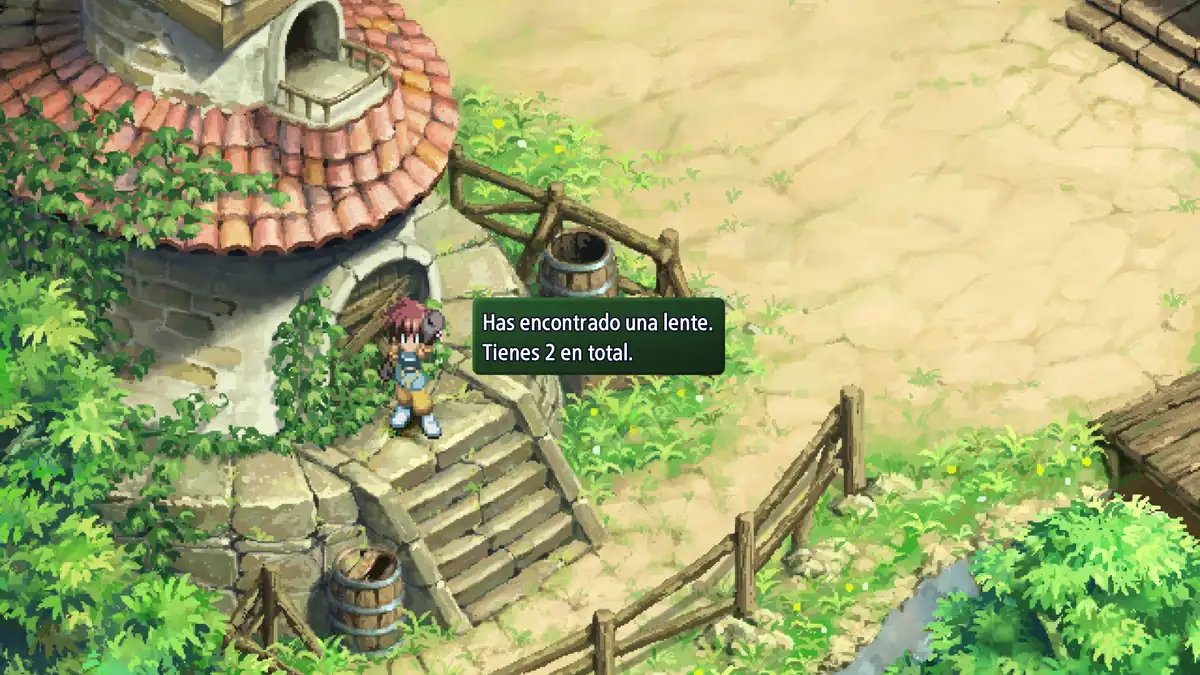
Right next to that character is an abandoned building. Approach its wooden door and examine it.
It hardly seems like the most logical place in the world to hide anything, but this is where we’ll find our second Lens.
Traveler’s Shop: second recipe
Now enter the Traveler’s Shop, beside the village exit. Inside, you’ll see a character walking around the shop. Talk to him for various explanations of the combat system.
Find the second recipe
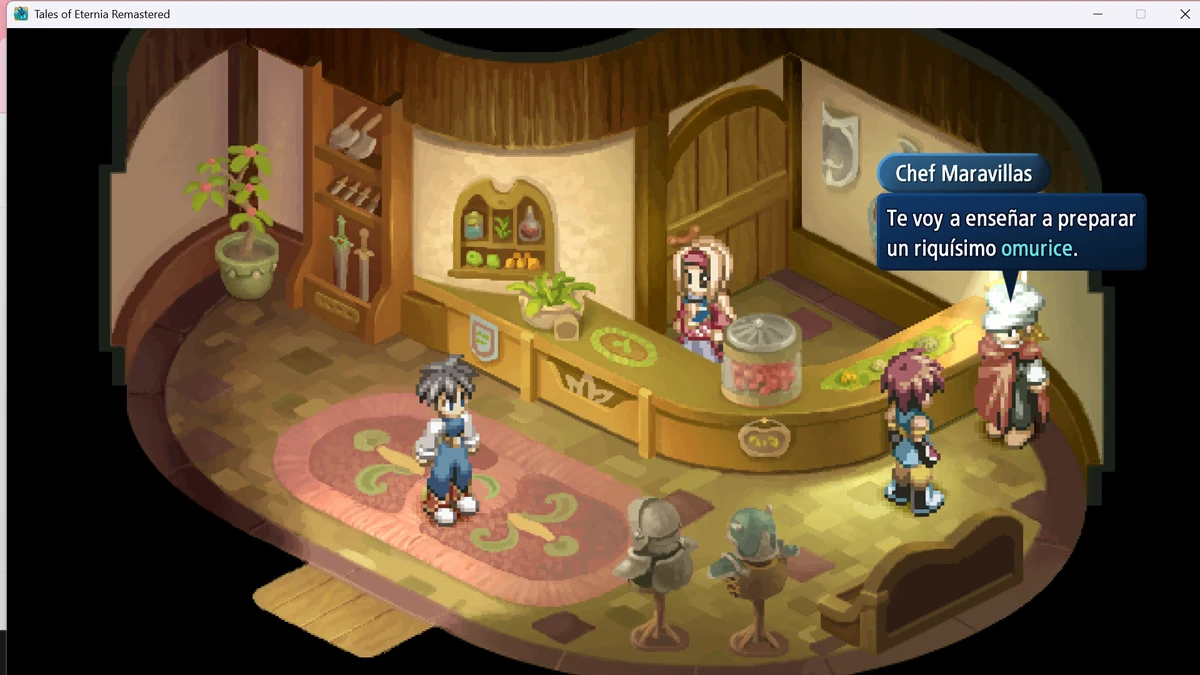
Before leaving, take a look at the decorative suit of armor beside the counter. Yes, we’re examining this too. Apparently, the cook is still determined to hide in the most ridiculous places, so interact with the armor to uncover him.
We’ll meet the recipe-giving character again and learn the Omelette recipe. He’ll give us Rice, Onion and Egg to make it once. Keep this recipe in mind, because it cures status ailments for every party member. You don’t need to buy anything: just examine the armor to discover the Wonder Chef.
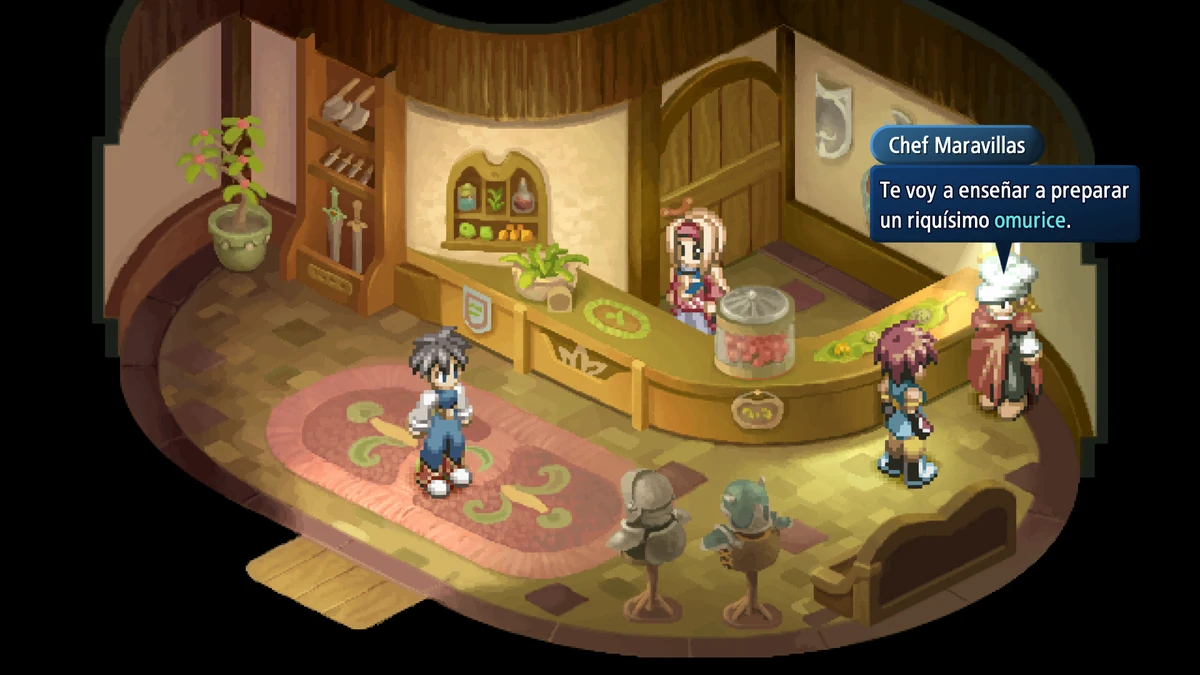
See another screenshot of the Omelette recipe
Is buying equipment worth it?
Since we’re already here, talk to the shopkeeper and see which weapons and armor he sells. There’s no need to empty the shop: compare what’s currently equipped with what’s on offer, and only buy something if it’s a genuine upgrade for Reid. If you’re still missing any recipes or Lens, you can return to Rasheans after leaving, so you don’t need to buy everything right now.
Before leaving Rasheans
With all that done, we’re ready to leave. Before crossing the small bridge in the southern area, make sure you haven’t missed anything.
- Collect the items in Rasheans Forest, including the Spectacles for the first boss.
- Examine the crystal in the forest.
- Visit the pond and examine the statue and sign.
- Reach the crash site and meet Meredy.
- Use the Spectacles on the first boss before defeating him (monster records).
- Examine the fireplace and dressing table in Farah’s house.
- Pick up the pomegranate from the vegetable patch.
- Learn the Sandwich recipe.
- Check the barrels around the ranch, the barrels near Reid’s house and the basement for hidden Apple Gels.
- Go into the ranch and trigger the scene.
- Examine the clothes and meat in Reid’s house, and remember that his bed can restore your HP.
- Get the first Lens in the basement.
- Pick up the Apple Gel beside the first Lens.
- Collect the 500 Gald in the elder’s house.
- Pick up the Collector’s Book from the bookshelf.
- Talk to the weapon trader several times if you want to register all three weapons in the Collector’s Book. Don’t sell your starting Hand Axe first.
- Get the second Lens.
- Remember that the Lens at the crash site can be collected when you return to the forest later.
- Talk to the tutorial character in the shop.
- Learn the Omelette recipe by examining the suit of armor on display beside the counter.
- When you cross the bridge at the exit, a conversation will play automatically, marked by a yellow icon; also check the conversations available when camping.
First steps on the world map
Once we cross the bridge and leave Rasheans, the game will explain a few features we’ll use throughout the journey.
These include the ability to camp on the world map to restore some HP and check our next destination whenever we’re unsure where to go. Try camping before you wander too far: there are more conversations here than you might expect. If you like seeing them all, rest at different points before moving on, because some are only available during a particular part of the story. When you cross the bridge leading out of Rasheans, a conversation will trigger automatically; you’ll see the yellow icon showing where to go next.
And that’s it: we’re leaving Rasheans behind. Our next destination is Rasheans River Pier, although the trip will also take us to Regulus Dojo.

Medios amigos

Un medio de videojuegos dedicado a los RPGs.