


Welcome to Elderfield: All Treasure Maps and Where to Find Them
There are 12 Treasure Maps in Welcome to Elderfield. Some are given to you by characters, others depend on RNG, and two can be obtained while fishing. Here is how to get every Treasure Map and, more importantly, where you need to dig afterwards.
Once you obtain a Treasure Map, use it from your inventory to see a small hand-drawn clue. Some are easy enough to recognise, while others are much less obvious and give you very little idea of where you are actually supposed to go.


All 12 Treasure Maps and locations
| Map | How to get it | Where to dig |
|---|---|---|
| 1 | Pet the cat inside the Farmhouse | Mall parking lot |
| 2 | Loan Ellie some money while she is shopping | Sewers F1 |
| 3 | Talk to Alice | Ranch |
| 4 | Ritual Candles in the Parks and Recreation office | Lakefront |
| 5 | RNG loot from Tier 1 books in the Mall Mines | Mall F1 |
| 6 | Talk to Molly in her Workshop | Mall F1 |
| 7 | Talk to Celeste | Northwest Town |
| 8 | Gossip with Blorph | Town Park |
| 9 | Fishing treasure loot | Old Woods |
| 10 | Fishing treasure loot | Tanner’s carpentry shop |
| 11 | Talk to Alice while she is visiting the Farmhouse | Mall Music Store |
| 12 | Talk to Josh in the Art Gallery | Sewers F1 |
Treasure Map 1
The first Treasure Map is obtained by petting the cat inside the Farmhouse. You do not need to search around the crops for a cat wandering outside: go inside the house and interact with the cat there.
Once you have the map, use it from your inventory to see its clue:
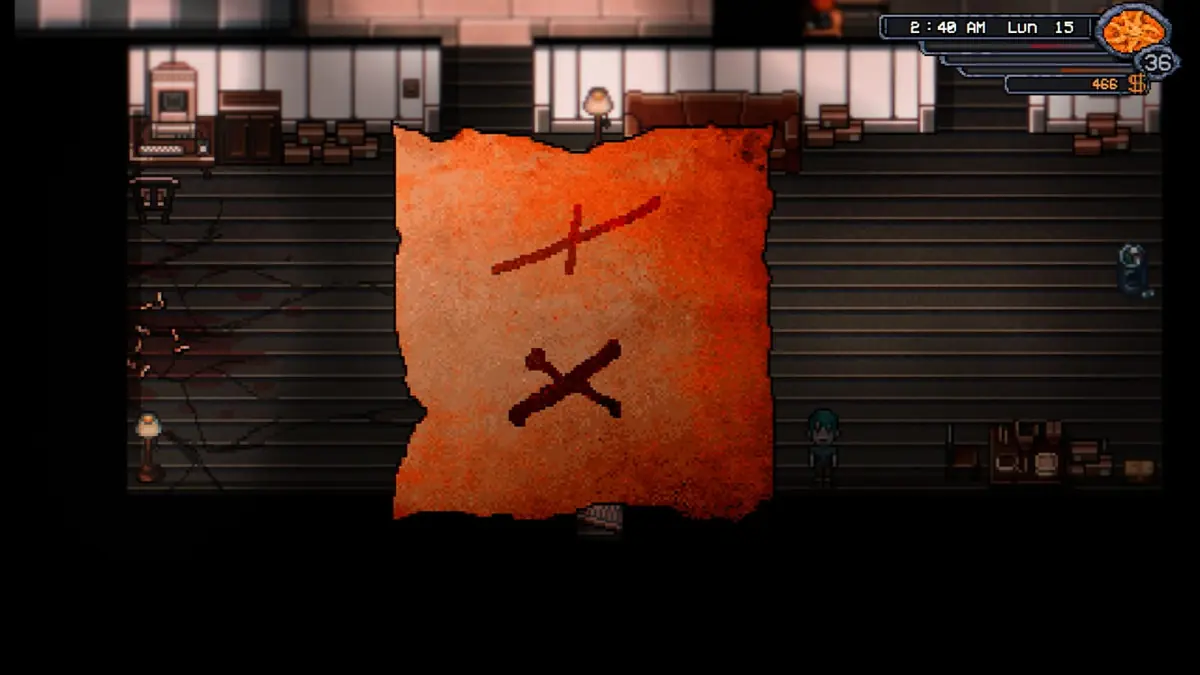
The clue leads to the Mall parking lot. Go to the left of the main entrance and look for the large tree in this area. Dig beside the tree to find the treasure.
Treasure Map 2
To get Treasure Map 2, you need to find Ellie while she is shopping in the General Store. Talk to her and agree to loan her some money when she asks.
Afterwards, head down to Sewers F1 and find the God Shrine below the drain. The spot where you need to dig is to the right of the shrine.
Treasure Map 3
Alice gives you Treasure Map 3 during one of her conversations.
This is the clue you will receive:
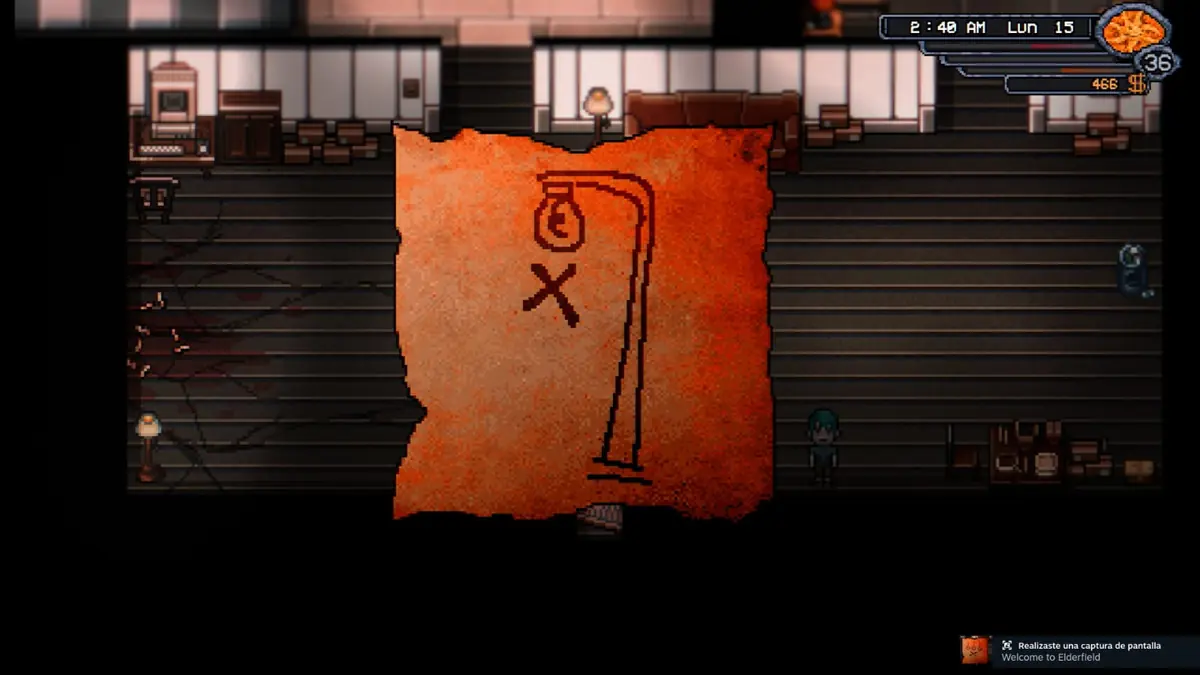
The clue leads to the Ranch. Go to Klaus’s house and look for the streetlamp next to it. Dig beneath the streetlamp to uncover the treasure.
Treasure Map 4
This map is tied to one of the Mysteries in Welcome to Elderfield. Make your way to the Parks and Recreation office in the Sewers and investigate the Ritual Candles inside.
The result is determined by a roll. Rolling a 6 gives you Treasure Map 4 the first time, along with two blessings.
Once you have the map, head to the Lakefront. Look for the wooden picnic table next to a tree, with a life buoy below it. The treasure is buried immediately to the right of the tree.
If you are still working through these events, check our Welcome to Elderfield Mysteries guide for the rest of their locations and results.
Treasure Map 5
Treasure Map 5 can appear as RNG loot from Tier 1 books in the Mall Mines. There is no character who hands this one to you, so you may need several attempts before it appears.
Once you get it, this is the clue:
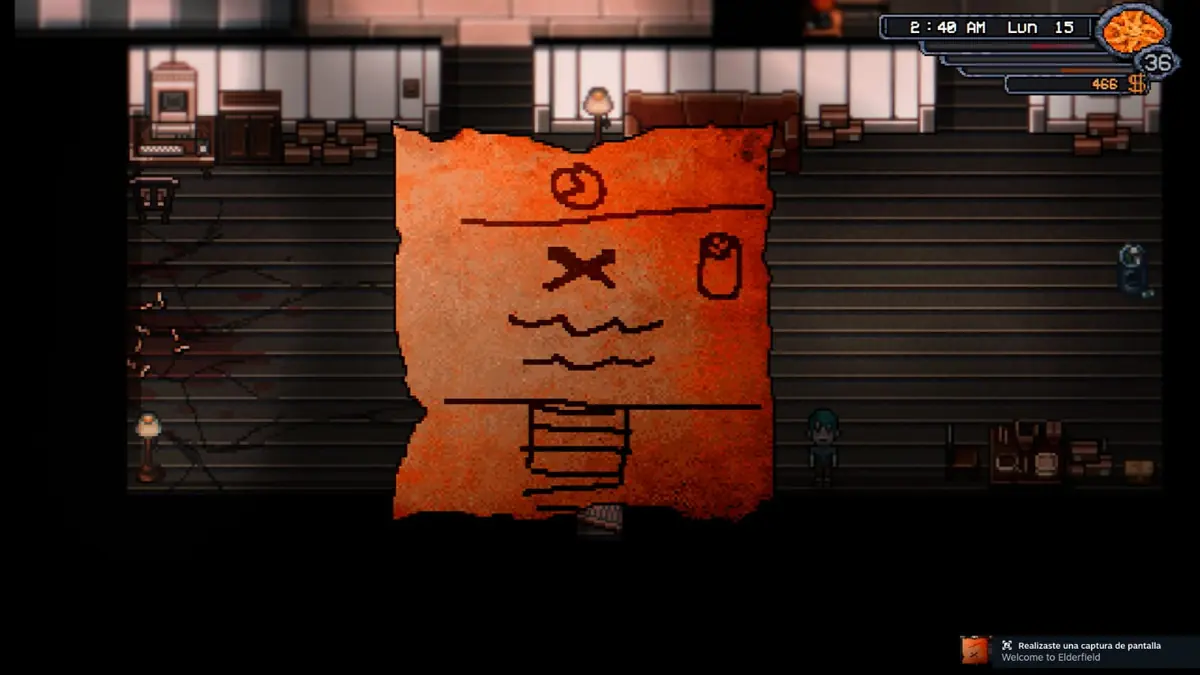
The clue points to the Mall Back Offices, specifically the area around the Stalktopus pond. You need access to the locked section behind the Mall F1 Hallway door, so bring a Basic Skeleton Key if you have not opened it yet.
Once inside, find the indoor fishing pond. The dig spot is just below the clock, on the opposite side of the pond.
If you have not fully explored this part of the building yet, use our complete Welcome to Elderfield Shopping Mall guide.
Treasure Map 6
Treasure Map 6 is given to you by Molly when you talk to her in her Workshop.
Open the map from your inventory to see this clue:
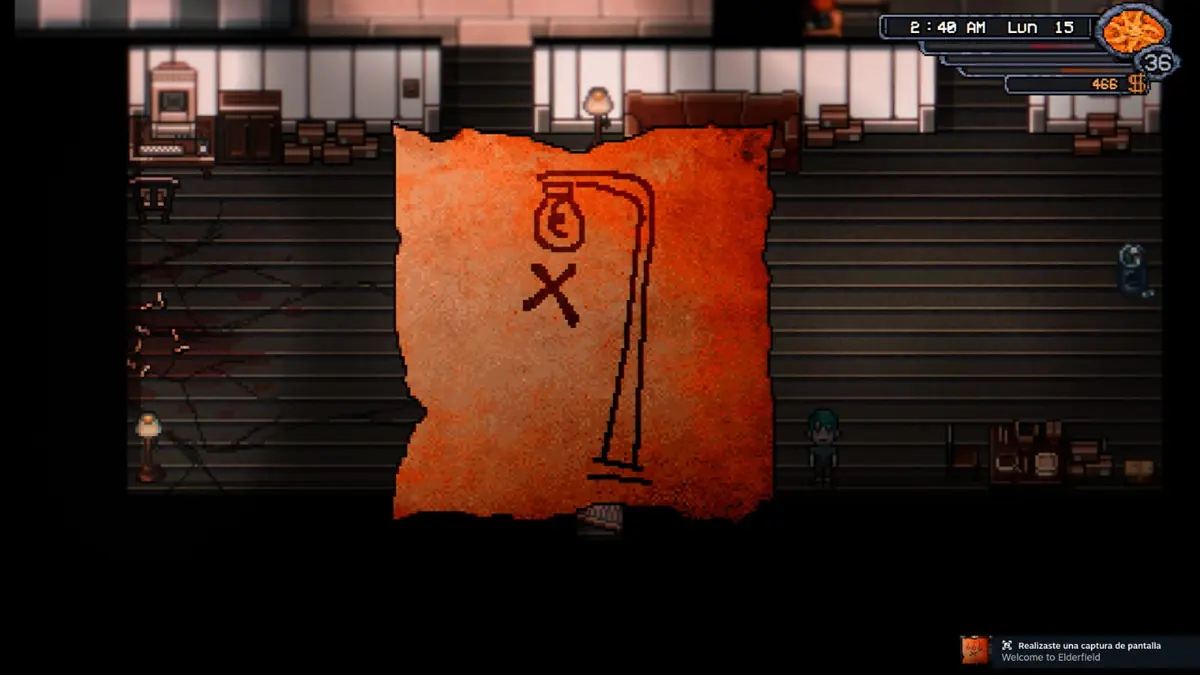
The clue leads back to Mall F1. Go to the area to the left of the Mines entrance and look for the blue garbage can. The treasure is buried beside it.
Treasure Map 7
Celeste gives you this Treasure Map when you talk to her. If you cannot find her around Town, check the Library, as it is one of the locations she visits during her routine.
For the treasure itself, head to the northwestern part of Town, north of the Church. Look for the water tower with an eye symbol and the large tree beside it. Dig to the right of the tree.
Treasure Map 8
To get Treasure Map 8, you need to gossip with Blorph. During one of these conversations, Blorph will give you the map directly.
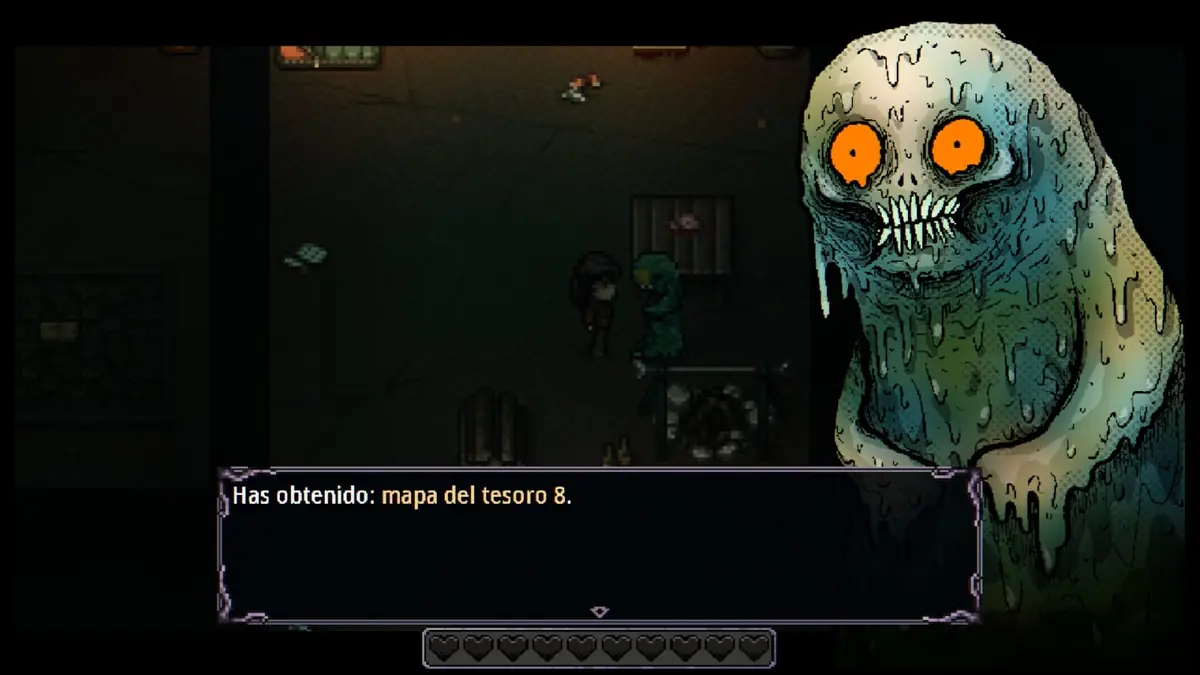
Next, head to the Town Park and find the seesaw. The treasure is buried directly below it.
Treasure Map 9
Treasure Map 9 can appear as treasure while fishing. There is no character or specific conversation involved here, so getting it comes down to RNG.
Once you have it, head to the Old Woods. The dig spot is in the main area, beside the stairs and close to a woodland shrine.
If you are still finding your way around the area, check our complete Old Woods guide.
Treasure Map 10
Treasure Map 10 can also be obtained while fishing. Just like Map 9, there is no NPC who gives it to you, so you will need to wait for it to appear as fishing treasure.
Once you have the map, head to Tanner’s carpentry shop on the outskirts of Town. The dig spot is in the area around the carpentry shop.
Treasure Map 11
To get this map, you need to talk to Alice while she is visiting the Farmhouse.
Open it from your inventory and you will see this clue:
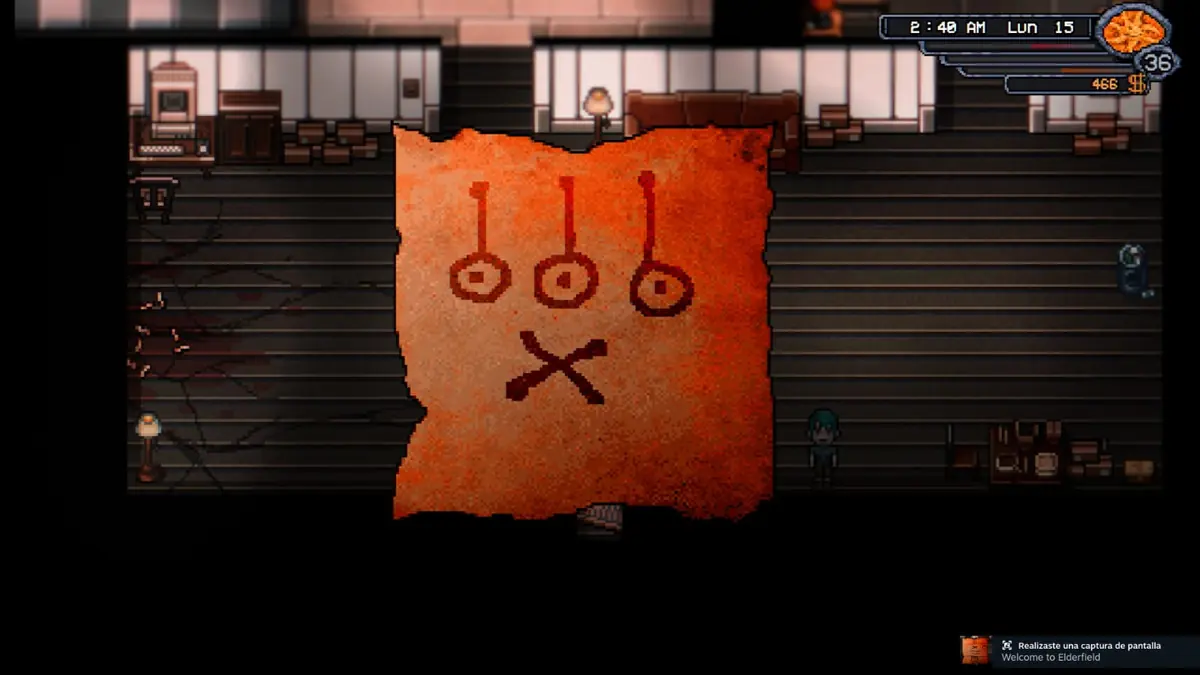
The clue points to the Music Store on Mall F1. Go inside and look at the back wall for the three brown guitars. Dig directly in front of them to find the treasure.
Treasure Map 12
The final Treasure Map is given to you by Josh when you talk to him in the Art Gallery.
Once you have it, head to Sewers F1. The dig spot is near one of the locations Blorph visits as part of their routine.
This guide was made possible thanks to Kwalee, who provided us with a copy of Welcome to Elderfield so we could explore the game and prepare our review and guides.

Medios amigos

Un medio de videojuegos dedicado a los RPGs.